

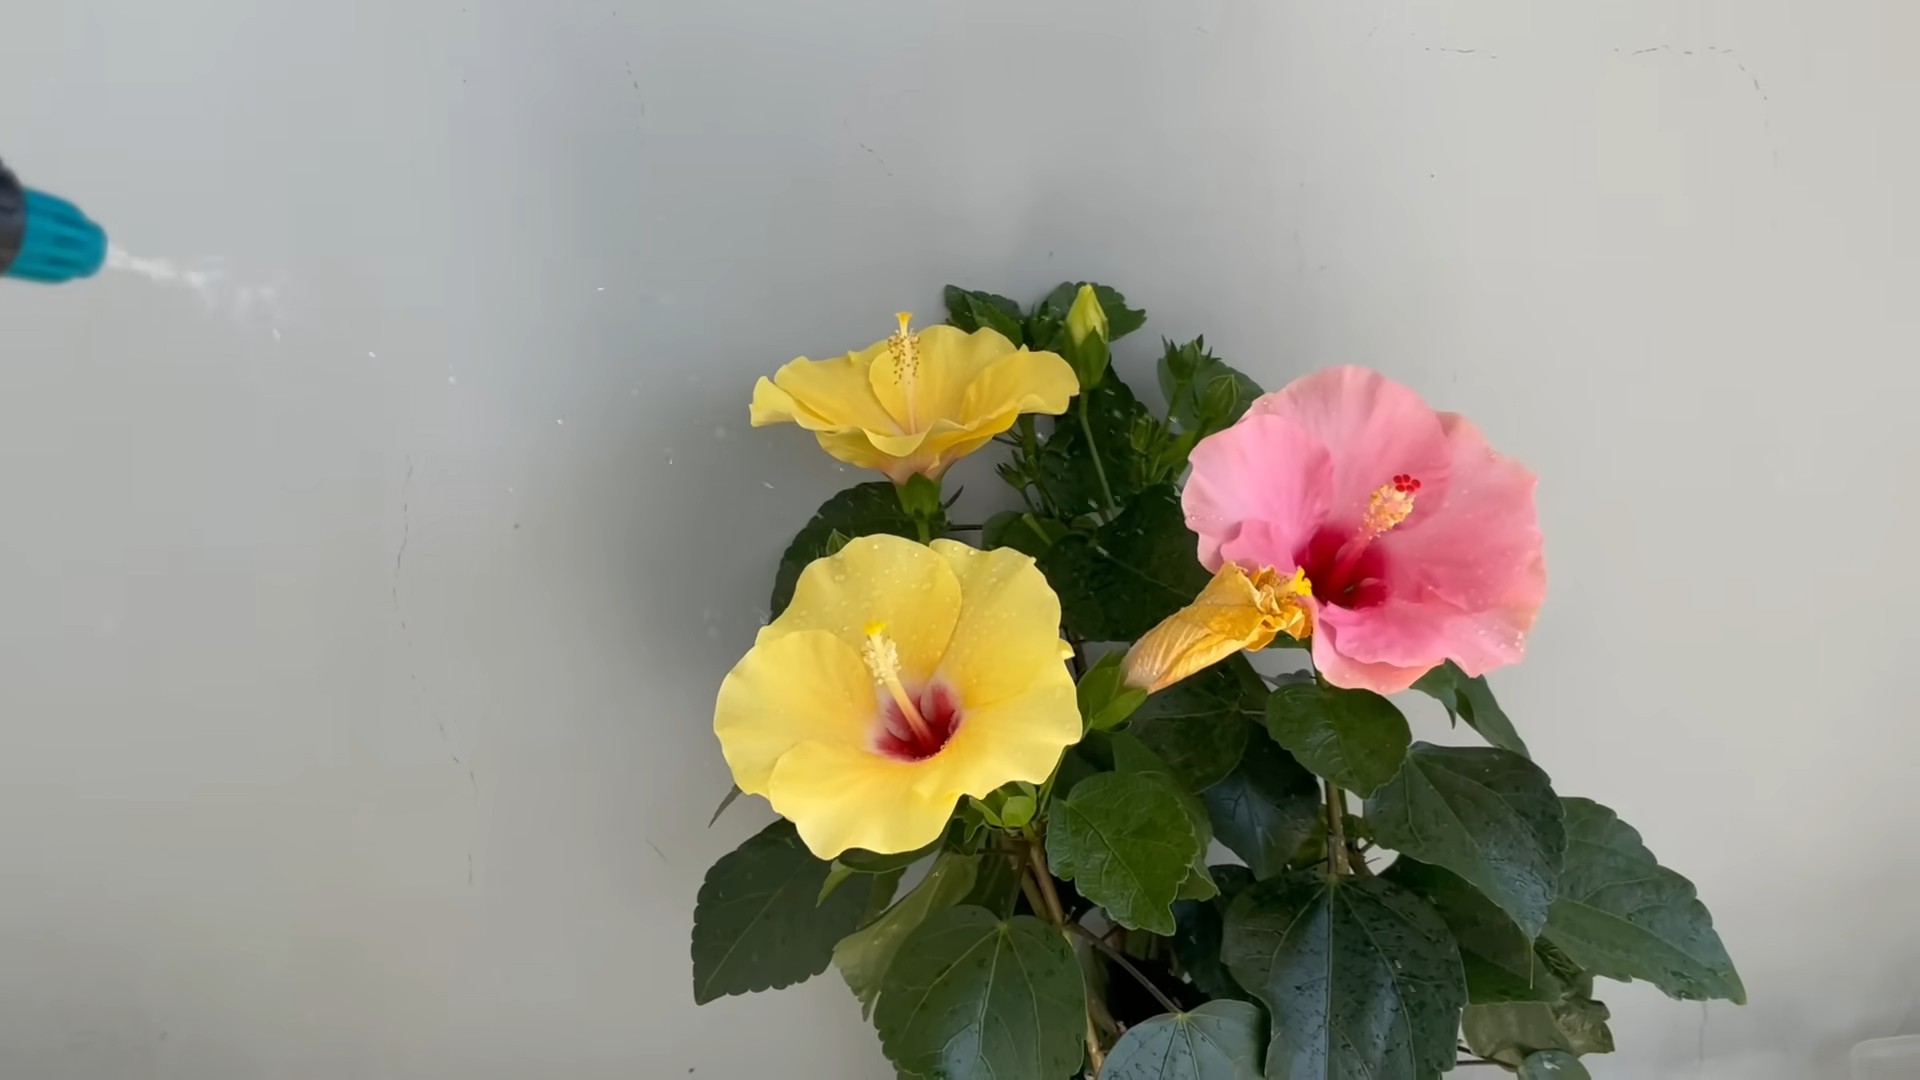
Grow Bigger Hibiscus Flowers – who wouldn’t want that?! Imagine your garden bursting with vibrant, show-stopping hibiscus blooms, the envy of all your neighbors. I know I would! For centuries, the hibiscus has captivated cultures worldwide, symbolizing beauty, love, and even royalty in some societies. From the tropical landscapes of Hawaii to the serene gardens of Asia, these stunning flowers have always held a special place.
But let’s be honest, sometimes getting those picture-perfect hibiscus flowers can feel like a real challenge. You might be doing everything “right,” but still ending up with blooms that are smaller than you hoped for. That’s where these DIY tricks and hacks come in! I’m going to share some simple, yet incredibly effective, methods to help you grow bigger hibiscus flowers than you ever thought possible. These aren’t complicated techniques requiring expensive equipment; they’re easy-to-implement strategies that will make a noticeable difference.
Whether you’re a seasoned gardener or just starting out, these tips will empower you to unlock the full potential of your hibiscus plants. Get ready to witness a transformation in your garden and enjoy the breathtaking beauty of truly magnificent hibiscus blooms. Let’s dive in and get those flowers growing!
How to Get HUGE Hibiscus Blooms: My Secret DIY Fertilizer Recipe
Okay, hibiscus lovers, let’s talk about getting those show-stopping, dinner-plate-sized blooms we all dream of! I’ve been experimenting with hibiscus care for years, and I’ve finally cracked the code to consistently producing massive, vibrant flowers. The secret? A homemade fertilizer blend that’s packed with exactly what these tropical beauties crave. Forget those expensive, store-bought fertilizers – this DIY recipe is not only more effective, but it’s also much kinder to your wallet.
Understanding Hibiscus Needs
Before we dive into the recipe, it’s crucial to understand what hibiscus plants need to thrive and produce those enormous flowers. They’re heavy feeders, meaning they require a good amount of nutrients, especially during their blooming season. Here’s a breakdown:
* Nitrogen (N): Essential for healthy foliage growth. Too much, though, and you’ll get lots of leaves but fewer flowers. We want a balanced approach.
* Phosphorus (P): The key to flower development! Phosphorus encourages bud formation and larger, more vibrant blooms. This is where we’ll focus our efforts.
* Potassium (K): Important for overall plant health, disease resistance, and strong stems. It also contributes to flower color and size.
* Magnesium (Mg): Hibiscus are particularly fond of magnesium. A deficiency can lead to yellowing leaves (chlorosis).
* Iron (Fe): Another micronutrient that prevents chlorosis and keeps those leaves a healthy green.
* Trace Elements: Other micronutrients like boron, copper, manganese, and zinc are also important, but in smaller quantities.
My Super Secret Hibiscus Fertilizer Recipe
Alright, here’s the recipe I’ve been perfecting. It’s a combination of readily available ingredients that provide a balanced dose of nutrients, with a particular emphasis on phosphorus.
Ingredients:
* Bone Meal: A fantastic source of phosphorus. It’s slow-release, so it provides a steady supply of this crucial nutrient. (2 parts)
* Epsom Salts (Magnesium Sulfate): Provides magnesium, which is essential for healthy foliage and vibrant blooms. (1 part)
* Potassium Sulfate: A readily available source of potassium. (1 part)
* Fish Emulsion: Adds a boost of nitrogen and trace elements. Use a diluted solution. (Liquid form, to be added later)
* Iron Chelate: Helps prevent iron deficiency and keeps leaves green. (A pinch)
* Banana Peels (Optional): Banana peels are rich in potassium. You can bury them near the base of your hibiscus or make a banana peel tea.
Tools You’ll Need:
* Measuring cups or spoons
* A mixing container (bucket or large bowl)
* Gloves (optional, but recommended)
* Watering can
Step-by-Step Instructions: Mixing and Applying the Fertilizer
Now, let’s get down to business! Here’s how to mix and apply this amazing fertilizer:
Phase 1: Creating the Dry Mix
1. Gather Your Ingredients: Make sure you have all the ingredients listed above ready to go.
2. Measure the Bone Meal: Using your measuring cup, add 2 parts of bone meal to your mixing container. For example, if you’re using a 1-cup measure, add 2 cups of bone meal.
3. Measure the Epsom Salts: Add 1 part of Epsom salts to the mixing container. Using the same measure as before, add 1 cup of Epsom salts.
4. Measure the Potassium Sulfate: Add 1 part of potassium sulfate to the mixing container. Again, use the same measure – 1 cup in our example.
5. Add the Iron Chelate: Add just a pinch of iron chelate to the mixture. Too much iron can be harmful. A teaspoon or less is usually sufficient.
6. Mix Thoroughly: Using your hands (with gloves on!) or a garden trowel, thoroughly mix all the dry ingredients together until they are evenly distributed.
Phase 2: Preparing the Liquid Fertilizer
1. Dilute the Fish Emulsion: Fish emulsion is very concentrated and can burn your plants if used undiluted. Follow the instructions on the fish emulsion container for proper dilution. Usually, it’s something like 1 tablespoon per gallon of water.
2. Prepare Your Watering Can: Fill your watering can with the diluted fish emulsion solution.
Phase 3: Applying the Fertilizer to Your Hibiscus
1. Water Your Hibiscus First: Before applying the fertilizer, water your hibiscus plant thoroughly. This helps the roots absorb the nutrients more effectively and prevents fertilizer burn.
2. Apply the Dry Mix: Sprinkle the dry fertilizer mix around the base of your hibiscus plant, avoiding direct contact with the stem. Use about 1/4 cup for smaller plants (in pots less than 12 inches) and up to 1/2 cup for larger plants (in pots larger than 12 inches or in the ground).
3. Gently Work the Fertilizer into the Soil: Using a small garden fork or your hands (with gloves), gently work the dry fertilizer into the top inch or two of the soil.
4. Water with the Fish Emulsion Solution: Slowly and evenly water the area where you applied the dry fertilizer with the diluted fish emulsion solution. This will help dissolve the dry fertilizer and deliver the nutrients to the roots.
5. Repeat Every 4-6 Weeks: During the blooming season (usually spring and summer), repeat this fertilizing process every 4-6 weeks for best results. Reduce the frequency to every 8 weeks during the dormant season (fall and winter).
Tips for Even Bigger Blooms
Here are a few extra tips to maximize your hibiscus blooms:
* Sunlight is Key: Hibiscus need at least 6 hours of direct sunlight per day to bloom profusely. Place your plants in a sunny location.
* Watering: Hibiscus like consistently moist soil, but don’t let them sit in standing water. Water deeply when the top inch of soil feels dry.
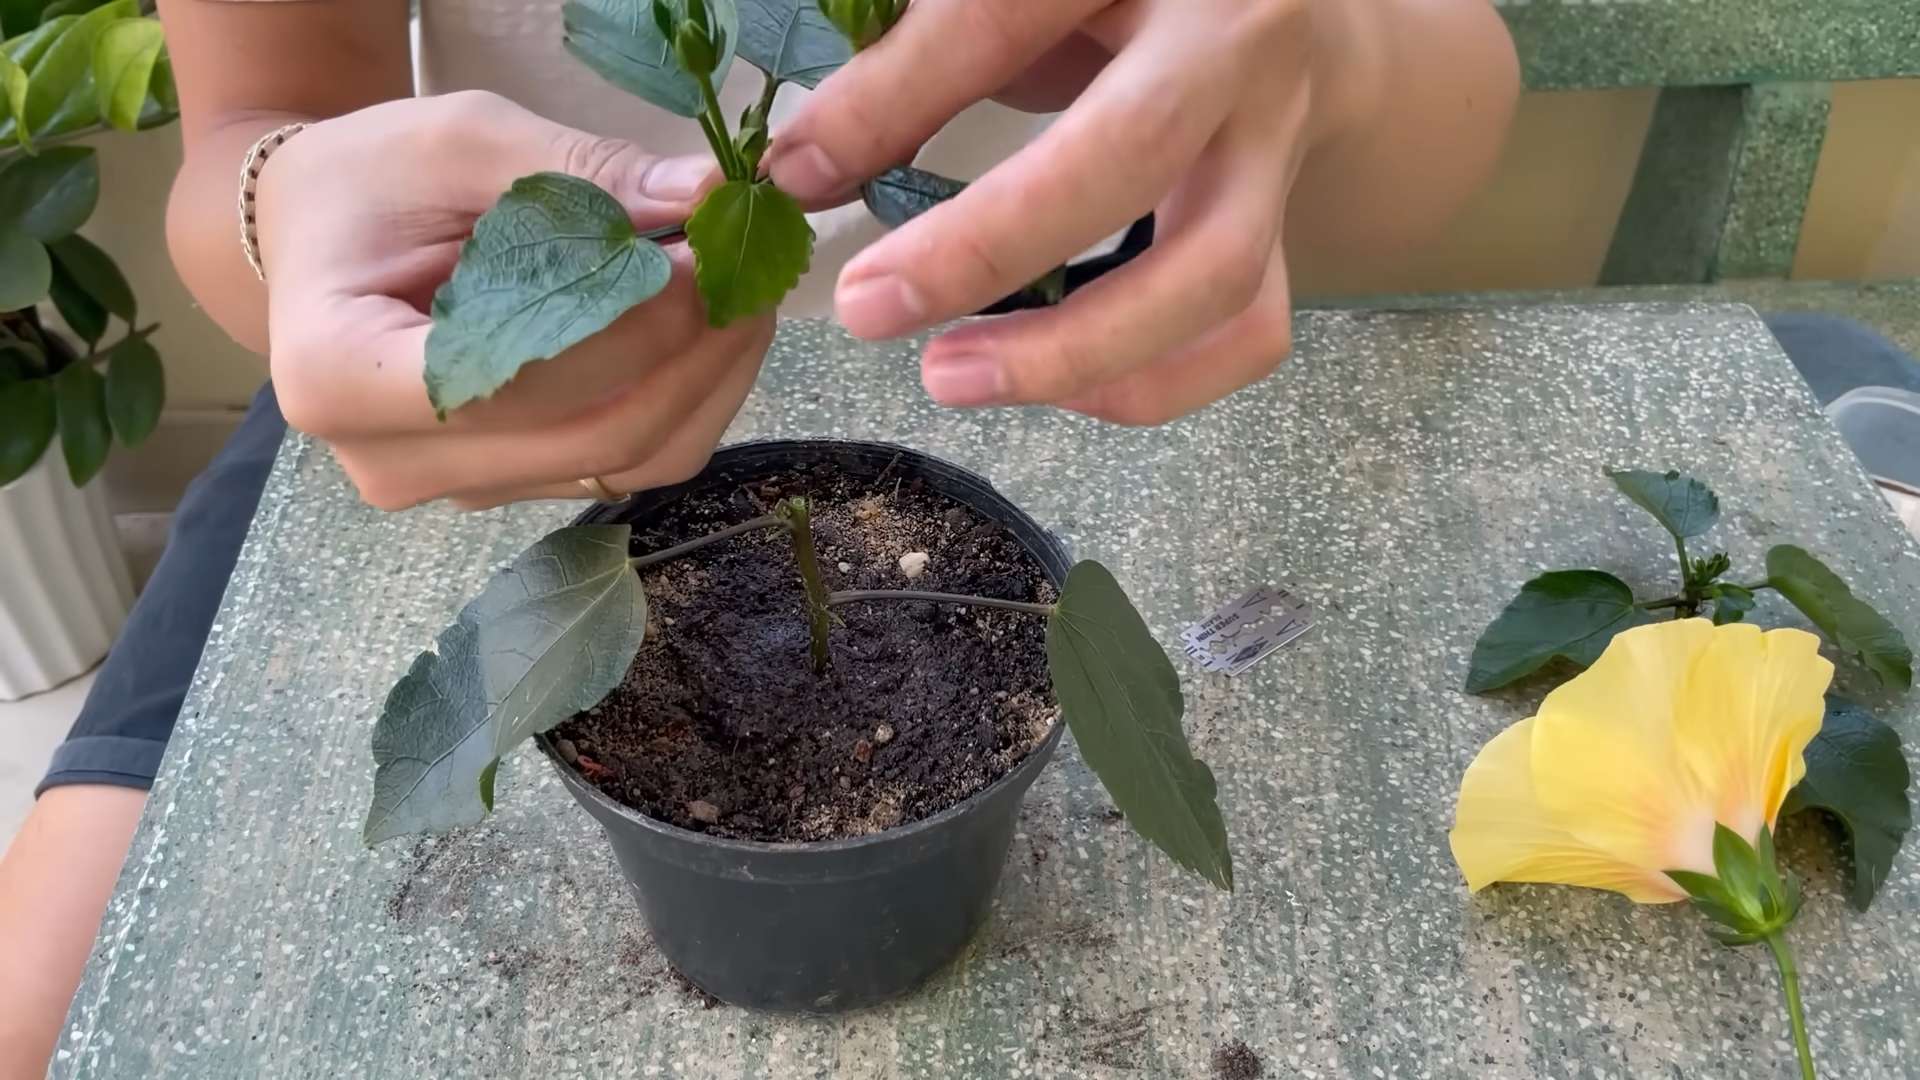
* Pruning: Prune your hibiscus in late winter or early spring to encourage new growth and more blooms. Remove any dead, damaged, or crossing branches.
* Pest Control: Keep an eye out for pests like aphids, spider mites, and whiteflies. Treat infestations promptly with insecticidal soap or neem oil.
* Soil pH: Hibiscus prefer slightly acidic soil (pH 6.0-6.5). You can test your soil pH with a soil testing kit and amend it if necessary.
* Banana Peel Tea (Optional): As mentioned earlier, banana peels are a great source of potassium. To make banana peel tea, soak banana peels in water for a few days, then use the water to water your hibiscus.
* Coffee Grounds (Optional): Coffee grounds are slightly acidic and contain nitrogen. You can sprinkle used coffee grounds around the base of your hibiscus, but use them sparingly.
* Mulching: Mulch around your hibiscus plant with organic matter like shredded bark or compost to help retain moisture, suppress weeds, and regulate soil temperature.
* Choose the Right Variety: Some hibiscus varieties are naturally more prolific bloomers than others. Do some research and choose varieties that are known for their large, showy flowers.
* Consistent Care: The most important thing is to provide consistent care. Regular watering, fertilizing, and pruning will help your hibiscus thrive and produce those amazing blooms you’re after.
Troubleshooting Common Hibiscus Problems
Even with the best care, you might encounter some problems with your hibiscus. Here are a few common issues and how to address them:
* Yellowing Leaves (Chlorosis): This is often a sign of magnesium or iron deficiency. Epsom salts and iron chelate can help correct this.
* Bud Drop: Bud drop can be caused by a variety of factors, including inconsistent watering, temperature fluctuations, pest infestations, and nutrient deficiencies. Make sure you’re providing consistent care and addressing any underlying issues.
* Lack of Blooms: If your hibiscus isn’t blooming, it could be due to insufficient sunlight, over-fertilizing with nitrogen, or improper pruning. Make sure your plant is getting enough sunlight, use a balanced fertilizer, and prune it correctly.
* Pest Infestations: Aphids, spider mites, and whiteflies are common hibiscus pests. Treat infestations promptly with insecticidal soap or neem oil.
Why This Recipe Works
This DIY fertilizer recipe works because it provides hibiscus plants with the specific nutrients they need in the right proportions. The bone meal provides a slow-release source of phosphorus, which is essential for flower development. Epsom salts provide magnesium, which prevents chlorosis and keeps leaves healthy. Potassium sulfate provides potassium, which supports overall plant health and flower color. Fish emulsion adds a boost of nitrogen and trace elements. And iron chelate prevents iron deficiency.
By using this recipe and following the tips
Conclusion
So, there you have it! Unlocking the secret to truly magnificent hibiscus blooms isn’t about expensive fertilizers or complicated gardening techniques. It’s about understanding your plant’s needs and providing them with a simple, yet powerful boost using our DIY trick. This method, focusing on readily available ingredients and a straightforward application, is a game-changer for anyone looking to grow bigger hibiscus flowers.
Why is this a must-try? Because it’s effective, affordable, and environmentally friendly. Commercial fertilizers can be harsh on your plants and the surrounding ecosystem. This DIY approach allows you to control exactly what your hibiscus is receiving, ensuring optimal health and vibrant blooms without the risk of chemical imbalances. Plus, the satisfaction of seeing your hibiscus thrive thanks to your own homemade concoction is unparalleled.
But the beauty of this DIY trick lies in its adaptability. Feel free to experiment with variations to suit your specific hibiscus variety and local climate. For instance, if you live in an area with acidic soil, you might consider adding a small amount of lime to your mixture to balance the pH. Alternatively, if your hibiscus is already showing signs of strong growth, you can reduce the frequency of application to avoid over-fertilizing.
Consider adding a tablespoon of Epsom salts (magnesium sulfate) to the mixture every other feeding. Magnesium is crucial for chlorophyll production, which directly impacts the vibrancy and size of your hibiscus flowers. Another variation involves incorporating banana peels into your compost tea. Banana peels are rich in potassium, a key nutrient for flower development. Simply bury the peels near the base of your hibiscus plant or steep them in water to create a potassium-rich solution.
Don’t be afraid to get creative and tailor the recipe to your hibiscus’s unique needs. The key is to observe your plant closely and adjust your approach accordingly. Look for signs of nutrient deficiencies, such as yellowing leaves or stunted growth, and modify your DIY mixture to address those specific issues.
We are confident that this DIY trick will transform your hibiscus plants, rewarding you with an abundance of larger, more vibrant flowers. But don’t just take our word for it! We encourage you to try it out for yourself and witness the incredible results firsthand.
Once you’ve given it a go, we’d love to hear about your experience. Share your photos, tips, and variations in the comments section below. Let’s create a community of hibiscus enthusiasts who are passionate about growing the most beautiful blooms possible. Your insights could help other gardeners achieve their hibiscus dreams! Remember, gardening is a journey of learning and experimentation, and we’re all in this together. So, grab your ingredients, get your hands dirty, and prepare to be amazed by the power of this simple DIY trick to grow bigger hibiscus flowers. Happy gardening!
Frequently Asked Questions (FAQ)
What exactly does this DIY trick do for my hibiscus?
This DIY trick provides your hibiscus with a balanced blend of essential nutrients that are crucial for healthy growth and abundant flowering. It focuses on providing potassium, phosphorus, and other micronutrients that are often lacking in regular soil. Potassium is vital for flower development, phosphorus supports root growth and overall plant vigor, and micronutrients contribute to the plant’s overall health and resilience. By providing these nutrients in an easily absorbable form, the DIY trick helps your hibiscus produce larger, more vibrant flowers and stronger, healthier foliage. It essentially acts as a natural and gentle fertilizer, promoting optimal growth from the roots to the blooms.
How often should I apply this DIY mixture to my hibiscus?
The frequency of application depends on several factors, including the age and size of your hibiscus, the type of soil it’s planted in, and the climate you live in. As a general guideline, we recommend applying the mixture every 2-4 weeks during the growing season (spring and summer). During the dormant season (fall and winter), you can reduce the frequency to once every 6-8 weeks. However, it’s important to observe your plant closely and adjust the frequency accordingly. If you notice signs of over-fertilization, such as leaf burn or excessive salt buildup in the soil, reduce the frequency. Conversely, if your hibiscus is not showing signs of improvement, you may need to increase the frequency. Remember, consistency is key, but always prioritize the health and well-being of your plant.
Can I use this DIY trick on other flowering plants besides hibiscus?
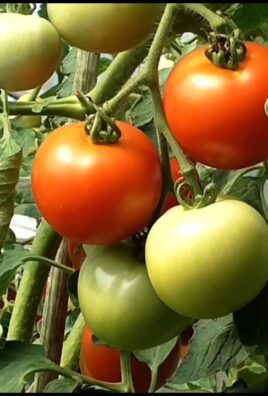
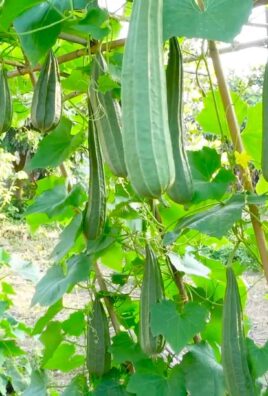
While this DIY trick is specifically formulated to meet the needs of hibiscus plants, it can also be beneficial for other flowering plants that have similar nutrient requirements. Plants like roses, bougainvillea, and geraniums, which are heavy feeders and require a good balance of potassium and phosphorus, may also benefit from this mixture. However, it’s important to research the specific nutrient needs of each plant before applying the DIY trick. Some plants may require different ratios of nutrients, or they may be sensitive to certain ingredients. Always start with a diluted solution and observe your plants closely for any signs of adverse reactions. When in doubt, it’s always best to consult with a gardening expert or conduct a soil test to determine the specific nutrient needs of your plants.
What are the signs of over-fertilizing my hibiscus?
Over-fertilizing can be detrimental to your hibiscus, leading to a variety of problems. Some common signs of over-fertilization include:
* **Leaf burn:** The tips and edges of the leaves may turn brown and crispy.
* **Salt buildup:** A white crust may form on the soil surface or around the base of the plant.
* **Stunted growth:** The plant may stop growing or even shrink in size.
* **Yellowing leaves:** While yellowing leaves can also indicate nutrient deficiencies, they can also be a sign of over-fertilization.
* **Root damage:** Excessive fertilizer can damage the roots, making it difficult for the plant to absorb water and nutrients.
If you notice any of these signs, it’s important to take action immediately. Flush the soil with plenty of water to remove excess fertilizer. Avoid fertilizing for several weeks, and then resume fertilization at a lower concentration and frequency.
What if I don’t have all the ingredients listed in the recipe?
While the specific combination of ingredients in our recipe is designed to provide the optimal balance of nutrients for hibiscus plants, you can still achieve good results even if you don’t have all the ingredients. The key is to focus on providing the essential nutrients that your hibiscus needs, such as potassium, phosphorus, and micronutrients. If you’re missing a particular ingredient, you can try substituting it with another ingredient that provides similar nutrients. For example, if you don’t have bone meal (a source of phosphorus), you can use rock phosphate or superphosphate instead. Similarly, if you don’t have Epsom salts (a source of magnesium), you can use magnesium sulfate or dolomite lime. Just be sure to adjust the quantities accordingly and monitor your plants closely for any signs of nutrient deficiencies or imbalances. Remember, gardening is all about experimentation, so don’t be afraid to try different combinations of ingredients to find what works best for your hibiscus.
How do I know if my hibiscus is getting enough sunlight?
Hibiscus plants thrive in full sun, requiring at least 6-8 hours of direct sunlight per day. Insufficient sunlight can lead to stunted growth, fewer flowers, and dull foliage. To determine if your hibiscus is getting enough sunlight, observe its growth habits. If the leaves are pale green or yellow, and the plant is not producing many flowers, it may not be getting enough sunlight. Another sign is leggy growth, where the stems are long and spindly with few leaves. If you suspect that your hibiscus is not getting enough sunlight, try moving it to a sunnier location. If that’s not possible, you can supplement with artificial lighting, such as grow lights.
Can I use tap water to make the DIY mixture?
While tap water is generally safe to use for watering plants, it can sometimes contain chlorine or other chemicals that can be harmful to hibiscus plants. If your tap water is heavily chlorinated, it’s best to let it sit out for 24 hours before using it to allow the chlorine to dissipate. Alternatively, you can use rainwater, well water, or distilled water, which are all free of chlorine and other harmful chemicals. Using high-quality water will help ensure that your hibiscus plants are healthy and thriving.
Leave a Comment