

Grow Broccoli at Home – sounds intimidating, right? But trust me, it’s way easier (and more rewarding!) than you might think. Forget those bland, overpriced heads at the grocery store. Imagine plucking crisp, vibrant broccoli straight from your own backyard – bursting with flavor and packed with nutrients. That’s the magic we’re unlocking today!
For centuries, broccoli has been a culinary staple, tracing its roots back to ancient Roman civilization. They prized it not only for its taste but also for its health benefits. Now, you can continue that tradition right in your own garden. But why bother with the effort? Well, commercially grown broccoli often travels long distances, losing freshness and vital nutrients along the way. Plus, you have no control over the pesticides and chemicals used in its cultivation.
That’s where our DIY tricks come in! I’m going to share simple, effective techniques that will empower you to grow broccoli at home, even if you have limited space or gardening experience. We’ll cover everything from seed starting to pest control, ensuring you have a bountiful harvest of delicious, healthy broccoli. Get ready to ditch the store-bought stuff and embrace the joy of homegrown goodness!
Growing Broccoli at Home: A DIY Guide for Beginners
Hey there, fellow gardening enthusiasts! I’m so excited to share my experience and guide you through growing your own broccoli at home. It’s surprisingly rewarding, and nothing beats the taste of fresh, homegrown broccoli. Don’t be intimidated; even if you’re a complete beginner, you can absolutely do this!
Choosing Your Broccoli Variety
Before we dive into the nitty-gritty, let’s talk about broccoli varieties. There are tons of options, each with its own characteristics. Here are a few popular choices:
- Calabrese: This is your classic broccoli, producing a large central head. It’s a reliable choice and widely available.
- Waltham 29: A great option for cooler climates, known for its cold hardiness.
- DiCicco: This variety matures quickly and produces smaller heads, perfect if you want a faster harvest.
- Romanesco: If you’re feeling adventurous, try Romanesco! It has a unique, fractal-like head and a slightly nutty flavor.
I personally love Calabrese for its large heads and reliable growth, but feel free to experiment and find what works best for you!
Getting Started: Seeds vs. Transplants
You have two main options for starting your broccoli: seeds or transplants.
- Seeds: Starting from seed gives you more control over the entire process and is generally more economical. However, it requires a bit more time and effort.
- Transplants: Buying transplants from a local nursery is a quicker and easier option, especially if you’re short on time or space.
I usually start my broccoli from seed indoors, about 6-8 weeks before the last expected frost. This gives them a head start and ensures they’re strong enough to withstand the outdoor elements.
Starting Broccoli Seeds Indoors (My Preferred Method)
Here’s my step-by-step guide to starting broccoli seeds indoors:
- Gather Your Supplies: You’ll need:
- Broccoli seeds (of course!)
- Seed starting trays or small pots
- Seed starting mix (a light, well-draining mix is crucial)
- A spray bottle filled with water
- A heat mat (optional, but helpful for germination)
- A grow light (also optional, but provides consistent light)
- Prepare Your Seed Starting Trays: Fill your trays or pots with the seed starting mix. Gently tap them to settle the soil.
- Sow the Seeds: Make a small indentation (about ¼ inch deep) in the soil of each cell or pot. Place 2-3 seeds in each indentation. This increases the chances of at least one seed germinating.
- Cover the Seeds: Gently cover the seeds with a thin layer of seed starting mix.
- Water the Seeds: Use a spray bottle to thoroughly moisten the soil. Avoid overwatering, as this can lead to damping off (a fungal disease that can kill seedlings).
- Provide Warmth and Light: Place the trays on a heat mat (if using) and under a grow light (if using). If you don’t have a heat mat, a warm spot in your house will do. If you don’t have a grow light, place the trays near a sunny window, but be sure to rotate them regularly to prevent the seedlings from leaning towards the light.
- Maintain Moisture: Keep the soil consistently moist, but not soggy. Check the soil daily and water as needed.
- Thin the Seedlings: Once the seedlings have emerged and have a couple of true leaves (the second set of leaves), thin them to one seedling per cell or pot. Choose the strongest, healthiest-looking seedling and gently snip off the others at the soil line.
Hardening Off Your Seedlings
Before transplanting your broccoli seedlings outdoors, you need to “harden them off.” This process gradually acclimates them to the outdoor environment, making them less susceptible to shock.
- Start Slowly: Begin by placing the seedlings outdoors in a sheltered location (like a porch or patio) for just a few hours each day.
- Gradually Increase Exposure: Over the course of a week or two, gradually increase the amount of time the seedlings spend outdoors, and expose them to more sunlight and wind.
- Monitor the Weather: Pay close attention to the weather forecast. If there’s a risk of frost, bring the seedlings back indoors.
Preparing Your Garden Bed
Broccoli thrives in well-drained soil that is rich in organic matter. Here’s how I prepare my garden bed:
- Choose a Sunny Location: Broccoli needs at least 6 hours of sunlight per day.
- Amend the Soil: Dig in plenty of compost or well-rotted manure to improve soil fertility and drainage.
- Check the Soil pH: Broccoli prefers a soil pH of 6.0 to 7.0. You can test your soil pH with a soil testing kit and amend it accordingly.
- Remove Weeds: Clear the area of any weeds or debris.
Transplanting Your Broccoli Seedlings
Now for the exciting part – transplanting your broccoli seedlings into the garden!
- Choose a Cloudy Day: Transplanting on a cloudy day will help reduce stress on the seedlings.
- Dig Holes: Dig holes that are slightly larger than the root balls of the seedlings, spacing them about 18-24 inches apart.
- Gently Remove Seedlings: Carefully remove the seedlings from their trays or pots, being careful not to damage the roots.
- Place Seedlings in Holes: Place each seedling in a hole, making sure the top of the root ball is level with the surrounding soil.
- Fill in Holes: Fill in the holes with soil and gently firm it around the seedlings.
- Water Thoroughly: Water the seedlings thoroughly after transplanting.
- Mulch: Add a layer of mulch around the plants to help retain moisture and suppress weeds. I like to use straw or wood chips.
Caring for Your Broccoli Plants
Once your broccoli plants are in the ground, it’s important to provide them with proper care to ensure a bountiful harvest.
- Watering: Broccoli needs consistent moisture, especially during hot, dry weather. Water deeply and regularly, aiming for about 1-1.5 inches of water per week.
- Fertilizing: Broccoli is a heavy feeder, so it’s important to fertilize regularly. I like to use a balanced organic fertilizer, following the instructions on the package. You can also side-dress with compost or well-rotted manure.
- Weeding: Keep the area around your broccoli plants free of weeds. Weeds compete with the broccoli for nutrients and water.
- Pest Control: Broccoli is susceptible to several pests, including cabbage worms, aphids, and flea beetles. I prefer to use organic pest control methods, such as hand-picking pests, using insecticidal soap, or applying Bacillus thuringiensis (Bt).
- Protecting from Cold: If you experience a late frost, protect your broccoli plants with row covers or blankets.
Common Broccoli Pests and Diseases
Let’s be real, growing broccoli isn’t always smooth sailing. You might encounter some pests and diseases along the way. Here’s what to watch out for:
- Cabbage Worms: These green caterpillars can decimate your broccoli leaves. Hand-picking them off or using Bt is effective.
- Aphids: These tiny insects suck the sap from plants. A strong blast of water from the hose or insecticidal soap can help.
- Flea Beetles: These small beetles chew tiny holes in the leaves. Row covers can prevent them from reaching your plants.
- Clubroot: This fungal disease causes swollen roots and stunted growth. Prevent it by ensuring good soil drainage and avoiding planting broccoli in the same spot year after year.
- Downy Mildew: This fungal disease causes yellow spots on the leaves. Improve air circulation and avoid overhead watering to prevent it.
Harvesting Your Broccoli
The moment you’ve been waiting for! Harvesting your homegrown broccoli is incredibly satisfying.
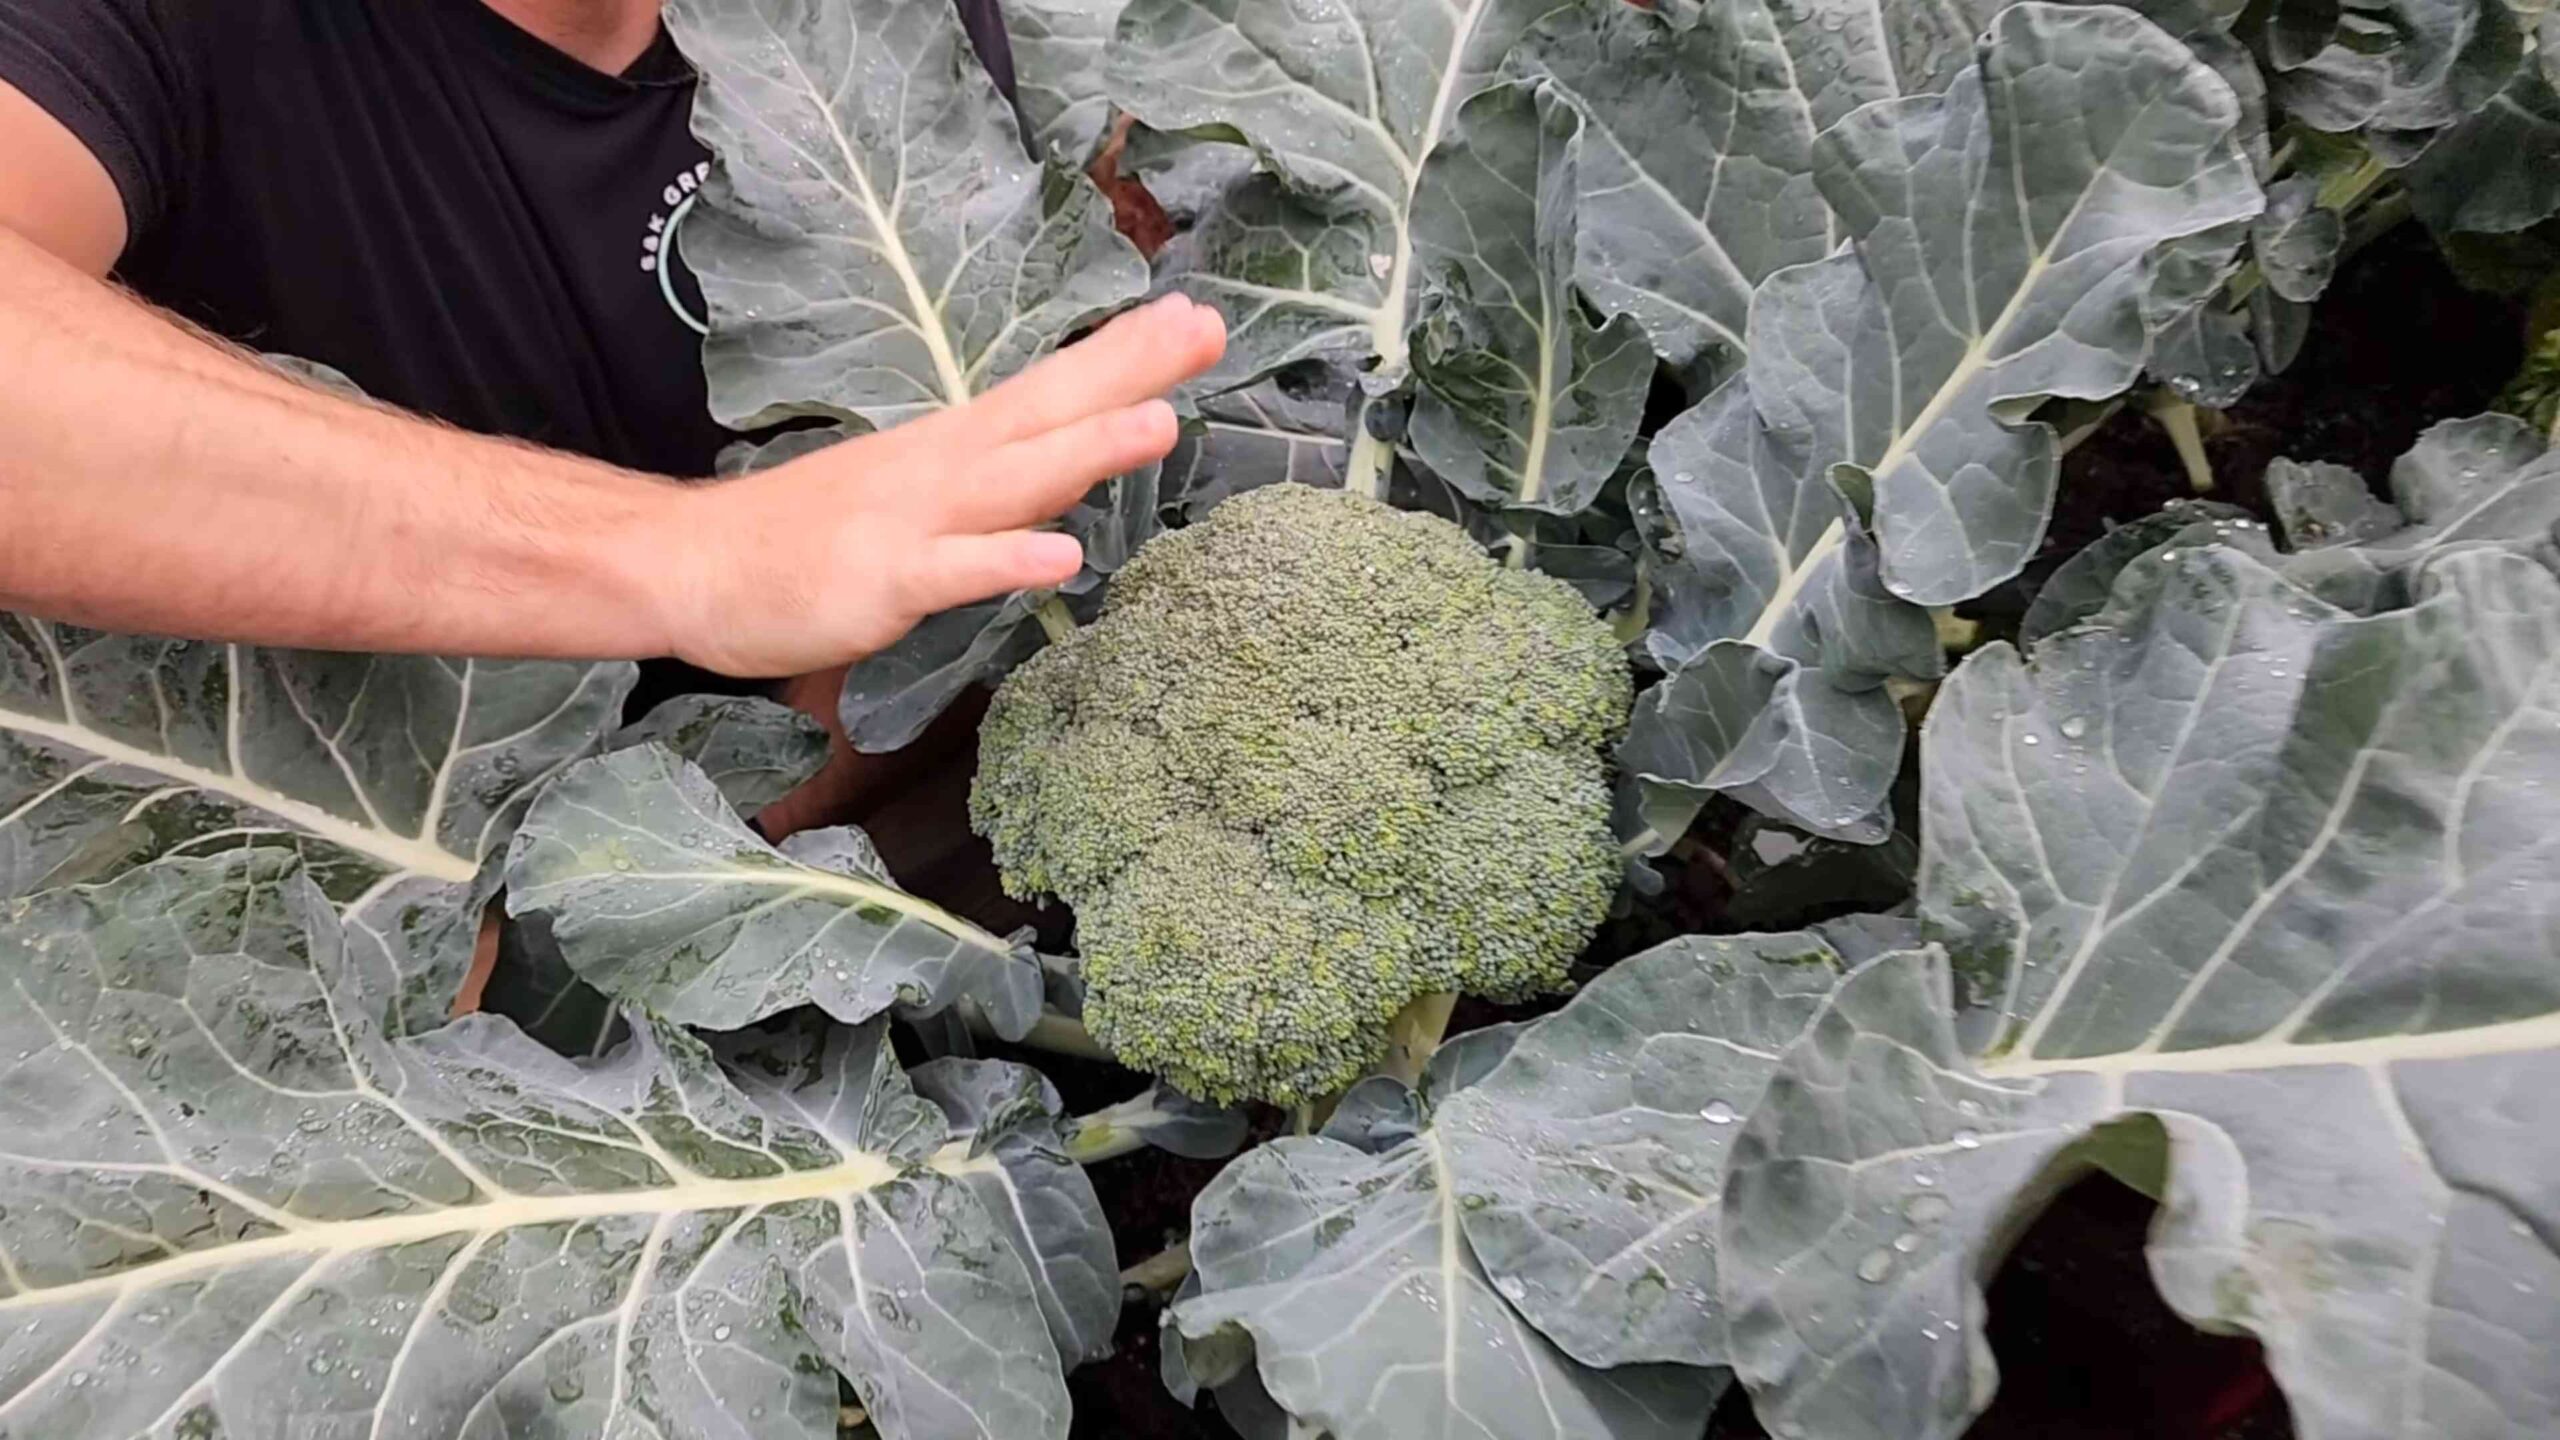
- Timing is Key: Harvest your broccoli when the head is firm and the florets are tightly closed. If the florets start to open and turn yellow, it’s past its prime.
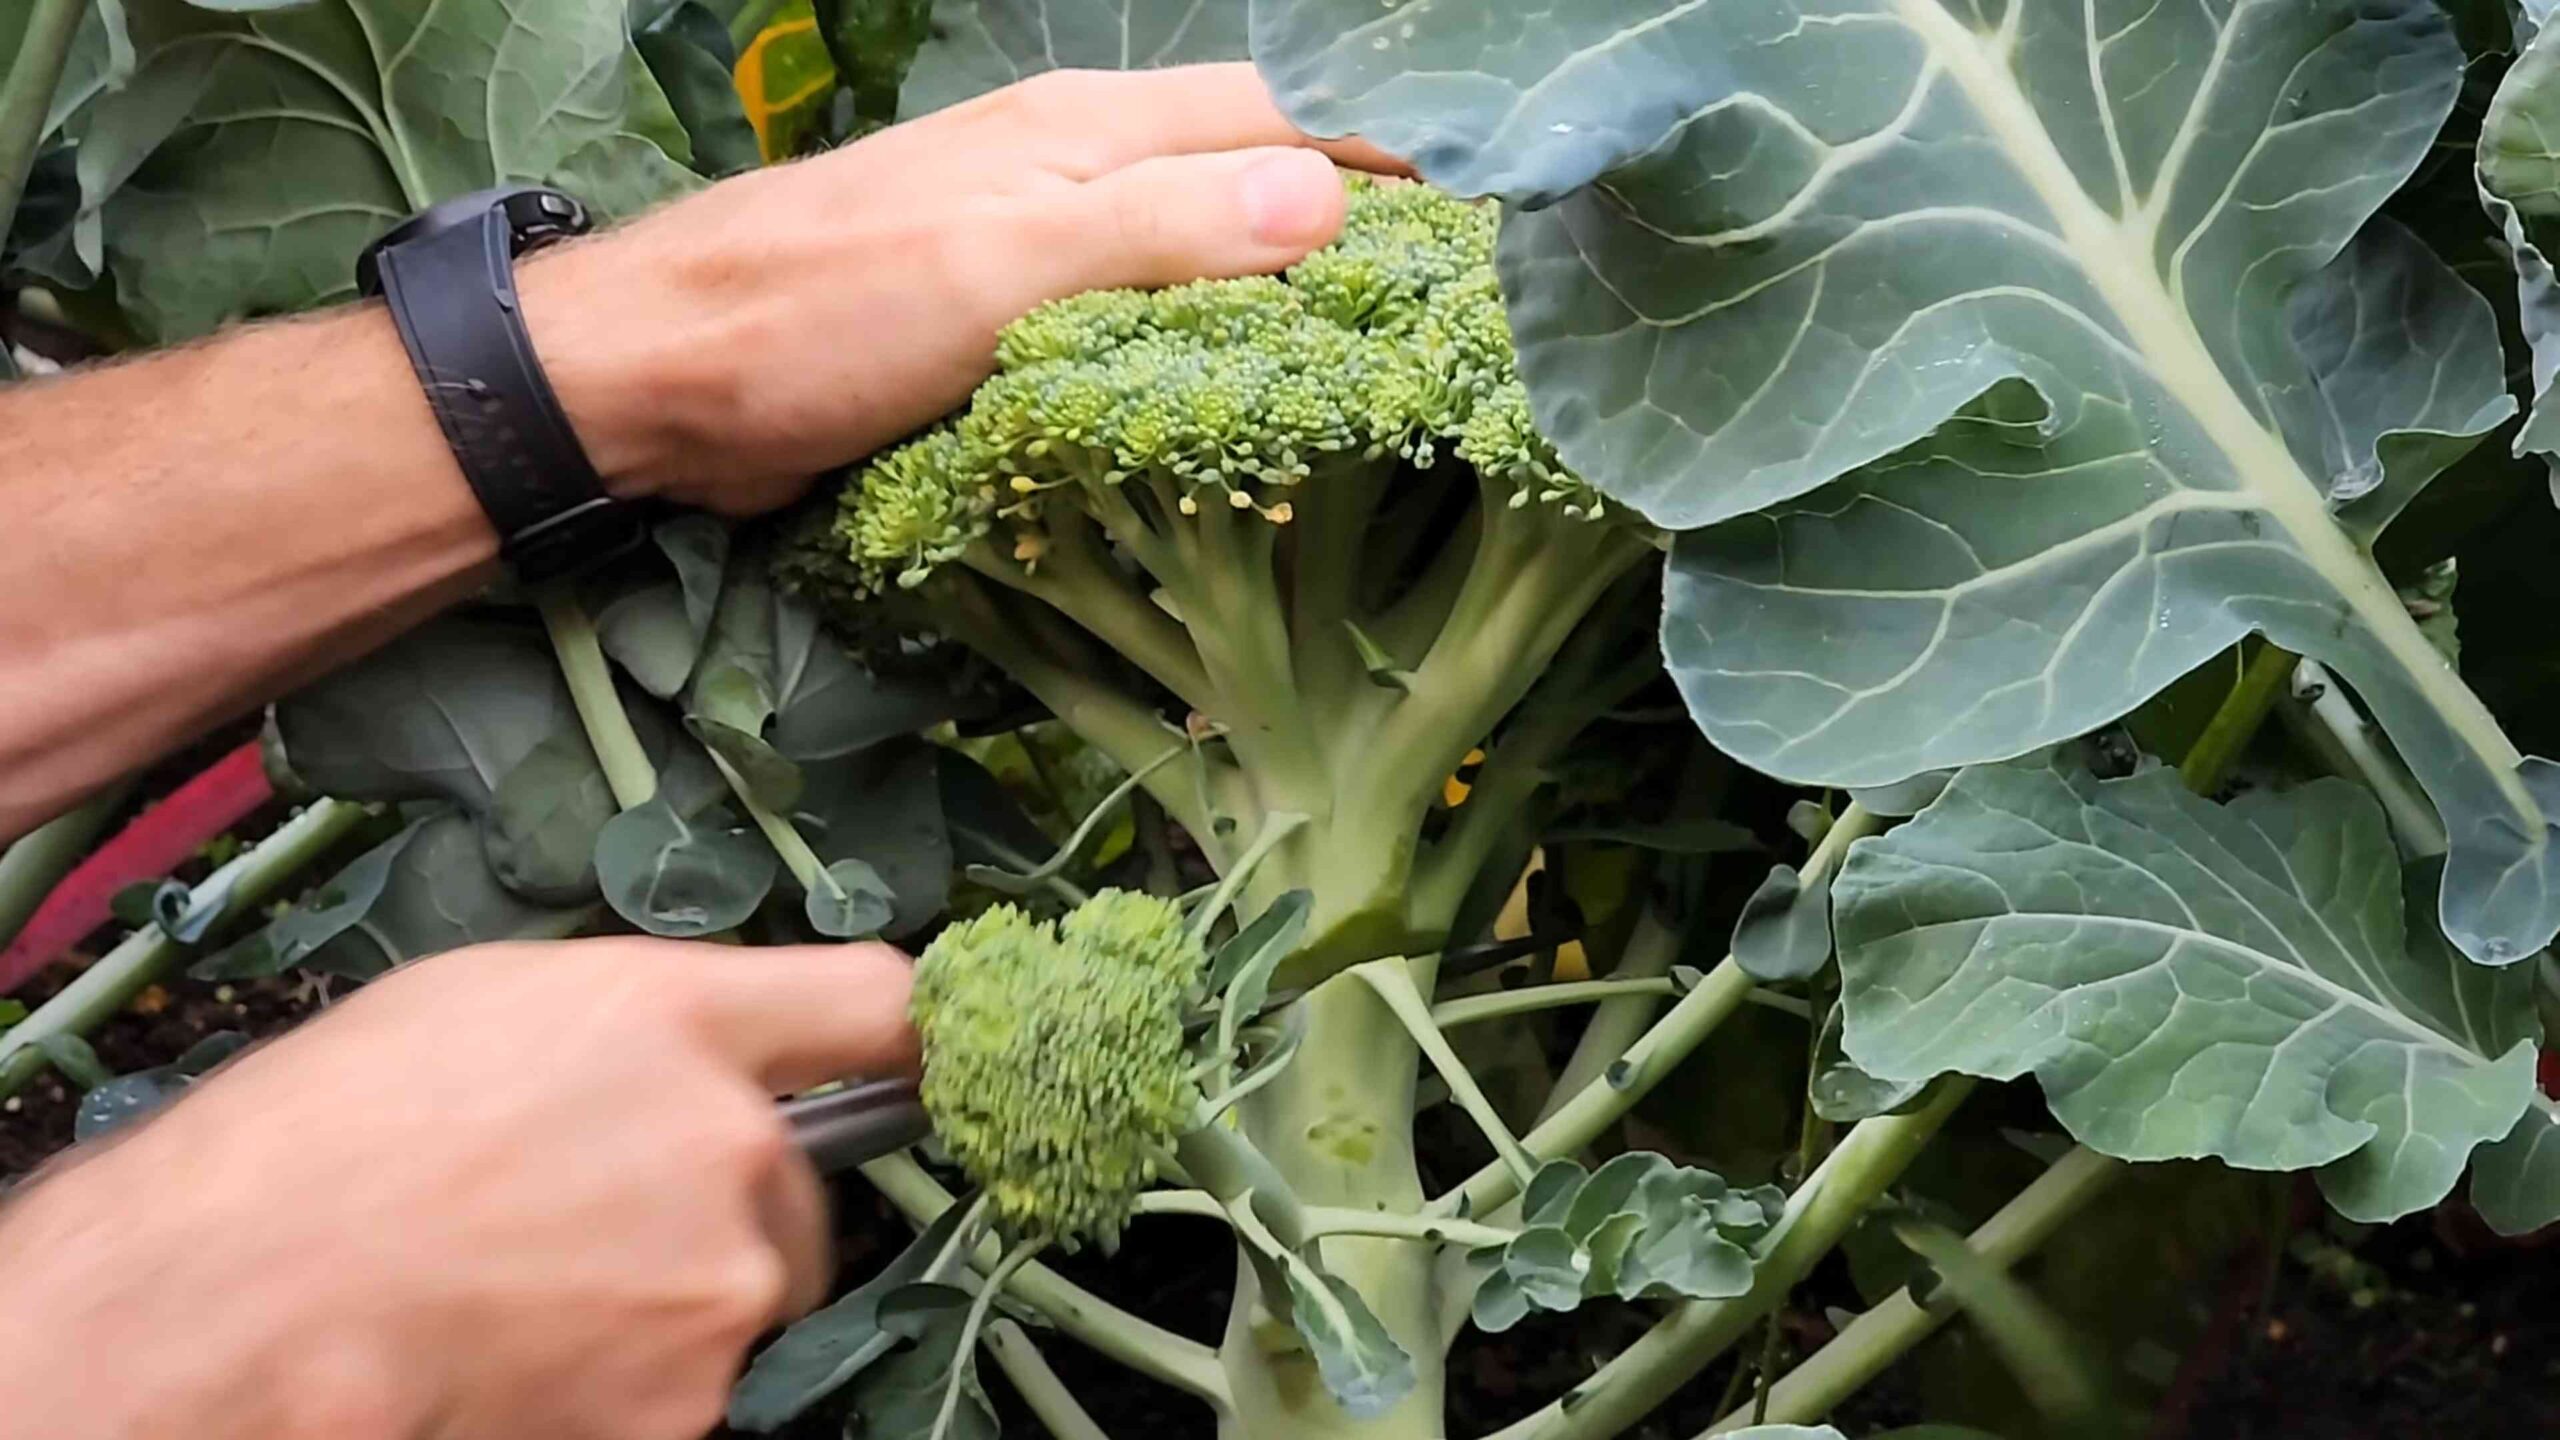
- Cut the Head: Use a sharp knife to cut the main head from the plant, leaving a few inches of stem.
Conclusion
So, there you have it! Growing broccoli at home isn’t just a gardening project; it’s an investment in your health, your taste buds, and your connection to the natural world. We’ve walked you through the process, from selecting the right seeds to harvesting those beautiful, nutrient-packed heads. But why is this DIY trick a must-try?
Firstly, the flavor of homegrown broccoli is simply unparalleled. Forget the bland, sometimes bitter taste of store-bought varieties. Freshly harvested broccoli bursts with a sweetness and vibrancy that will transform your meals. Imagine steaming it lightly and drizzling it with olive oil and a squeeze of lemon, or roasting it until tender-crisp with a sprinkle of parmesan cheese. The possibilities are endless!
Secondly, you have complete control over the growing process. You can choose organic seeds, avoid harmful pesticides, and ensure your broccoli is grown in nutrient-rich soil. This means you’re feeding your family the healthiest, most wholesome food possible. In a world where we’re increasingly concerned about what we put into our bodies, this level of control is invaluable.
Thirdly, growing broccoli at home is incredibly rewarding. There’s something deeply satisfying about nurturing a plant from seed to harvest. Watching those tiny seedlings sprout and develop into mature broccoli plants is a testament to your hard work and dedication. It’s a connection to nature that can be incredibly therapeutic and grounding.
But the benefits don’t stop there! You can also experiment with different varieties of broccoli to find your favorites. Try growing Romanesco broccoli with its stunning fractal patterns, or broccoli rabe with its slightly bitter, peppery flavor. You can even try growing purple sprouting broccoli for a beautiful and unique addition to your garden.
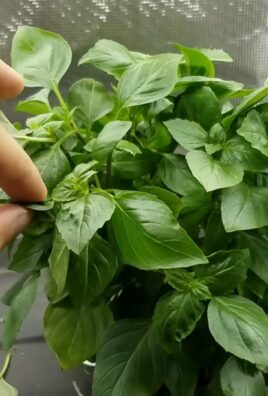
Consider companion planting your broccoli with herbs like rosemary, sage, or thyme to deter pests and enhance its flavor. You can also interplant it with flowers like marigolds or nasturtiums to attract beneficial insects and add a splash of color to your garden.
Don’t be afraid to experiment and adapt the techniques we’ve discussed to suit your specific climate and growing conditions. Gardening is a learning process, and every season brings new challenges and opportunities.
We truly believe that anyone can successfully grow broccoli at home, regardless of their experience level. All it takes is a little patience, a little effort, and a willingness to learn. So, what are you waiting for? Grab some seeds, prepare your soil, and get ready to embark on a delicious and rewarding gardening adventure.
We’re confident that you’ll be amazed by the results. And once you’ve harvested your first crop of homegrown broccoli, we encourage you to share your experience with us! Tell us about your successes, your challenges, and your favorite ways to enjoy your homegrown bounty. Share your photos and tips on social media using #HomegrownBroccoli and let’s inspire others to discover the joy of growing their own food. Let’s all learn how to grow broccoli at home!
Frequently Asked Questions (FAQ)
What is the best time of year to plant broccoli?
The best time to plant broccoli depends on your climate. Broccoli is a cool-season crop, meaning it thrives in temperatures between 60°F and 70°F (15°C and 21°C). In areas with mild winters, you can plant broccoli in the fall for a winter or early spring harvest. In areas with cold winters, you should start your broccoli seeds indoors 6-8 weeks before the last expected frost and transplant them outdoors in the spring. For a fall harvest in colder climates, start seeds indoors in mid-summer.
How much sunlight does broccoli need?
Broccoli needs at least 6 hours of direct sunlight per day to thrive. Choose a planting location that receives full sun for optimal growth and head development. If you live in a particularly hot climate, some afternoon shade can be beneficial to prevent the plants from bolting (going to seed prematurely).
What kind of soil is best for growing broccoli?
Broccoli prefers well-drained, fertile soil that is rich in organic matter. The ideal soil pH is between 6.0 and 7.0. Before planting, amend your soil with compost, aged manure, or other organic materials to improve its fertility and drainage. A soil test can help you determine if your soil needs any additional amendments.
How often should I water my broccoli plants?
Broccoli plants need consistent moisture to thrive. Water deeply and regularly, especially during dry periods. Aim to keep the soil consistently moist but not waterlogged. Mulching around your plants can help retain moisture and suppress weeds. A good rule of thumb is to water when the top inch of soil feels dry to the touch.
What are some common pests and diseases that affect broccoli?
Broccoli is susceptible to several pests and diseases, including cabbage worms, aphids, flea beetles, clubroot, and downy mildew. Regularly inspect your plants for signs of infestation or disease. Use organic pest control methods such as handpicking pests, using insecticidal soap, or applying Bacillus thuringiensis (Bt) to control cabbage worms. To prevent diseases, ensure good air circulation, avoid overhead watering, and practice crop rotation.
How do I know when my broccoli is ready to harvest?
Broccoli is ready to harvest when the central head is firm, tight, and a deep green color. The individual florets should be tightly closed. If the florets start to open and turn yellow, it’s a sign that the broccoli is overripe. Use a sharp knife to cut the head from the plant, leaving a few inches of stem. Side shoots will often develop after the main head is harvested, providing you with additional broccoli for several weeks.
Can I grow broccoli in containers?
Yes, you can grow broccoli in containers, but you’ll need to choose a large container that is at least 12 inches in diameter and 12 inches deep. Use a high-quality potting mix and ensure the container has good drainage. Container-grown broccoli may require more frequent watering and fertilization than broccoli grown in the ground. Choose a compact variety of broccoli that is well-suited for container gardening.
How do I fertilize my broccoli plants?
Broccoli is a heavy feeder and benefits from regular fertilization. Apply a balanced fertilizer (e.g., 10-10-10) at planting time and then side-dress with a nitrogen-rich fertilizer every 3-4 weeks during the growing season. You can also use organic fertilizers such as compost tea or fish emulsion. Avoid over-fertilizing, as this can lead to excessive foliage growth and reduced head development.
What is “bolting” and how can I prevent it?
Bolting is when a plant prematurely goes to seed, usually due to stress such as heat or lack of water. Bolting can cause the broccoli head to become loose and bitter. To prevent bolting, choose heat-tolerant varieties, provide adequate water, and protect your plants from extreme temperatures. Mulching can also help keep the soil cool and moist.
Can I eat the broccoli leaves?
Yes, broccoli leaves are edible and nutritious! They have a slightly bitter flavor similar to kale or collard greens. You can cook them in the same way you would cook other leafy greens, such as steaming, sautéing, or adding them to soups and stews. Choose young, tender leaves for the best flavor and texture.


Leave a Comment