

Grow Mint at Home – and unlock a world of fresh flavors and fragrant possibilities right outside your door! Have you ever dreamt of effortlessly snipping fresh mint leaves for a refreshing mojito, a vibrant salad, or a soothing cup of tea? Well, dream no more! This DIY guide is your passport to a thriving mint patch, even if you think you have a black thumb.
Mint, with its invigorating aroma and versatile uses, has been cherished for centuries. From ancient Egyptians using it for medicinal purposes to Romans crowning themselves with mint wreaths, this herb boasts a rich history. In many cultures, mint symbolizes hospitality and is offered as a sign of welcome. But beyond its historical significance, growing your own mint offers a practical solution to a common problem: store-bought mint often wilts quickly and lacks the intense flavor of freshly grown herbs.
I know what you’re thinking: “Mint is invasive! I’ve heard horror stories!” And you’re right, it can be. But fear not! I’m here to share simple, effective DIY tricks and hacks to successfully grow mint at home, keeping it contained and thriving. Whether you have a sprawling garden or just a sunny windowsill, I’ll show you how to cultivate your own personal mint oasis. Get ready to enjoy the delightful benefits of homegrown mint – it’s easier than you think!
Growing Mint Like a Pro: My Foolproof DIY Guide
Hey there, fellow plant enthusiasts! I’m so excited to share my tried-and-true method for growing mint at home. Seriously, fresh mint elevates everything from mojitos to salads, and having it readily available is a game-changer. Plus, it’s surprisingly easy, even if you don’t have a green thumb (trust me, I’ve killed my fair share of plants!). This guide will walk you through everything you need to know, from choosing the right variety to harvesting your bounty. Let’s get started!
Choosing Your Mint Variety
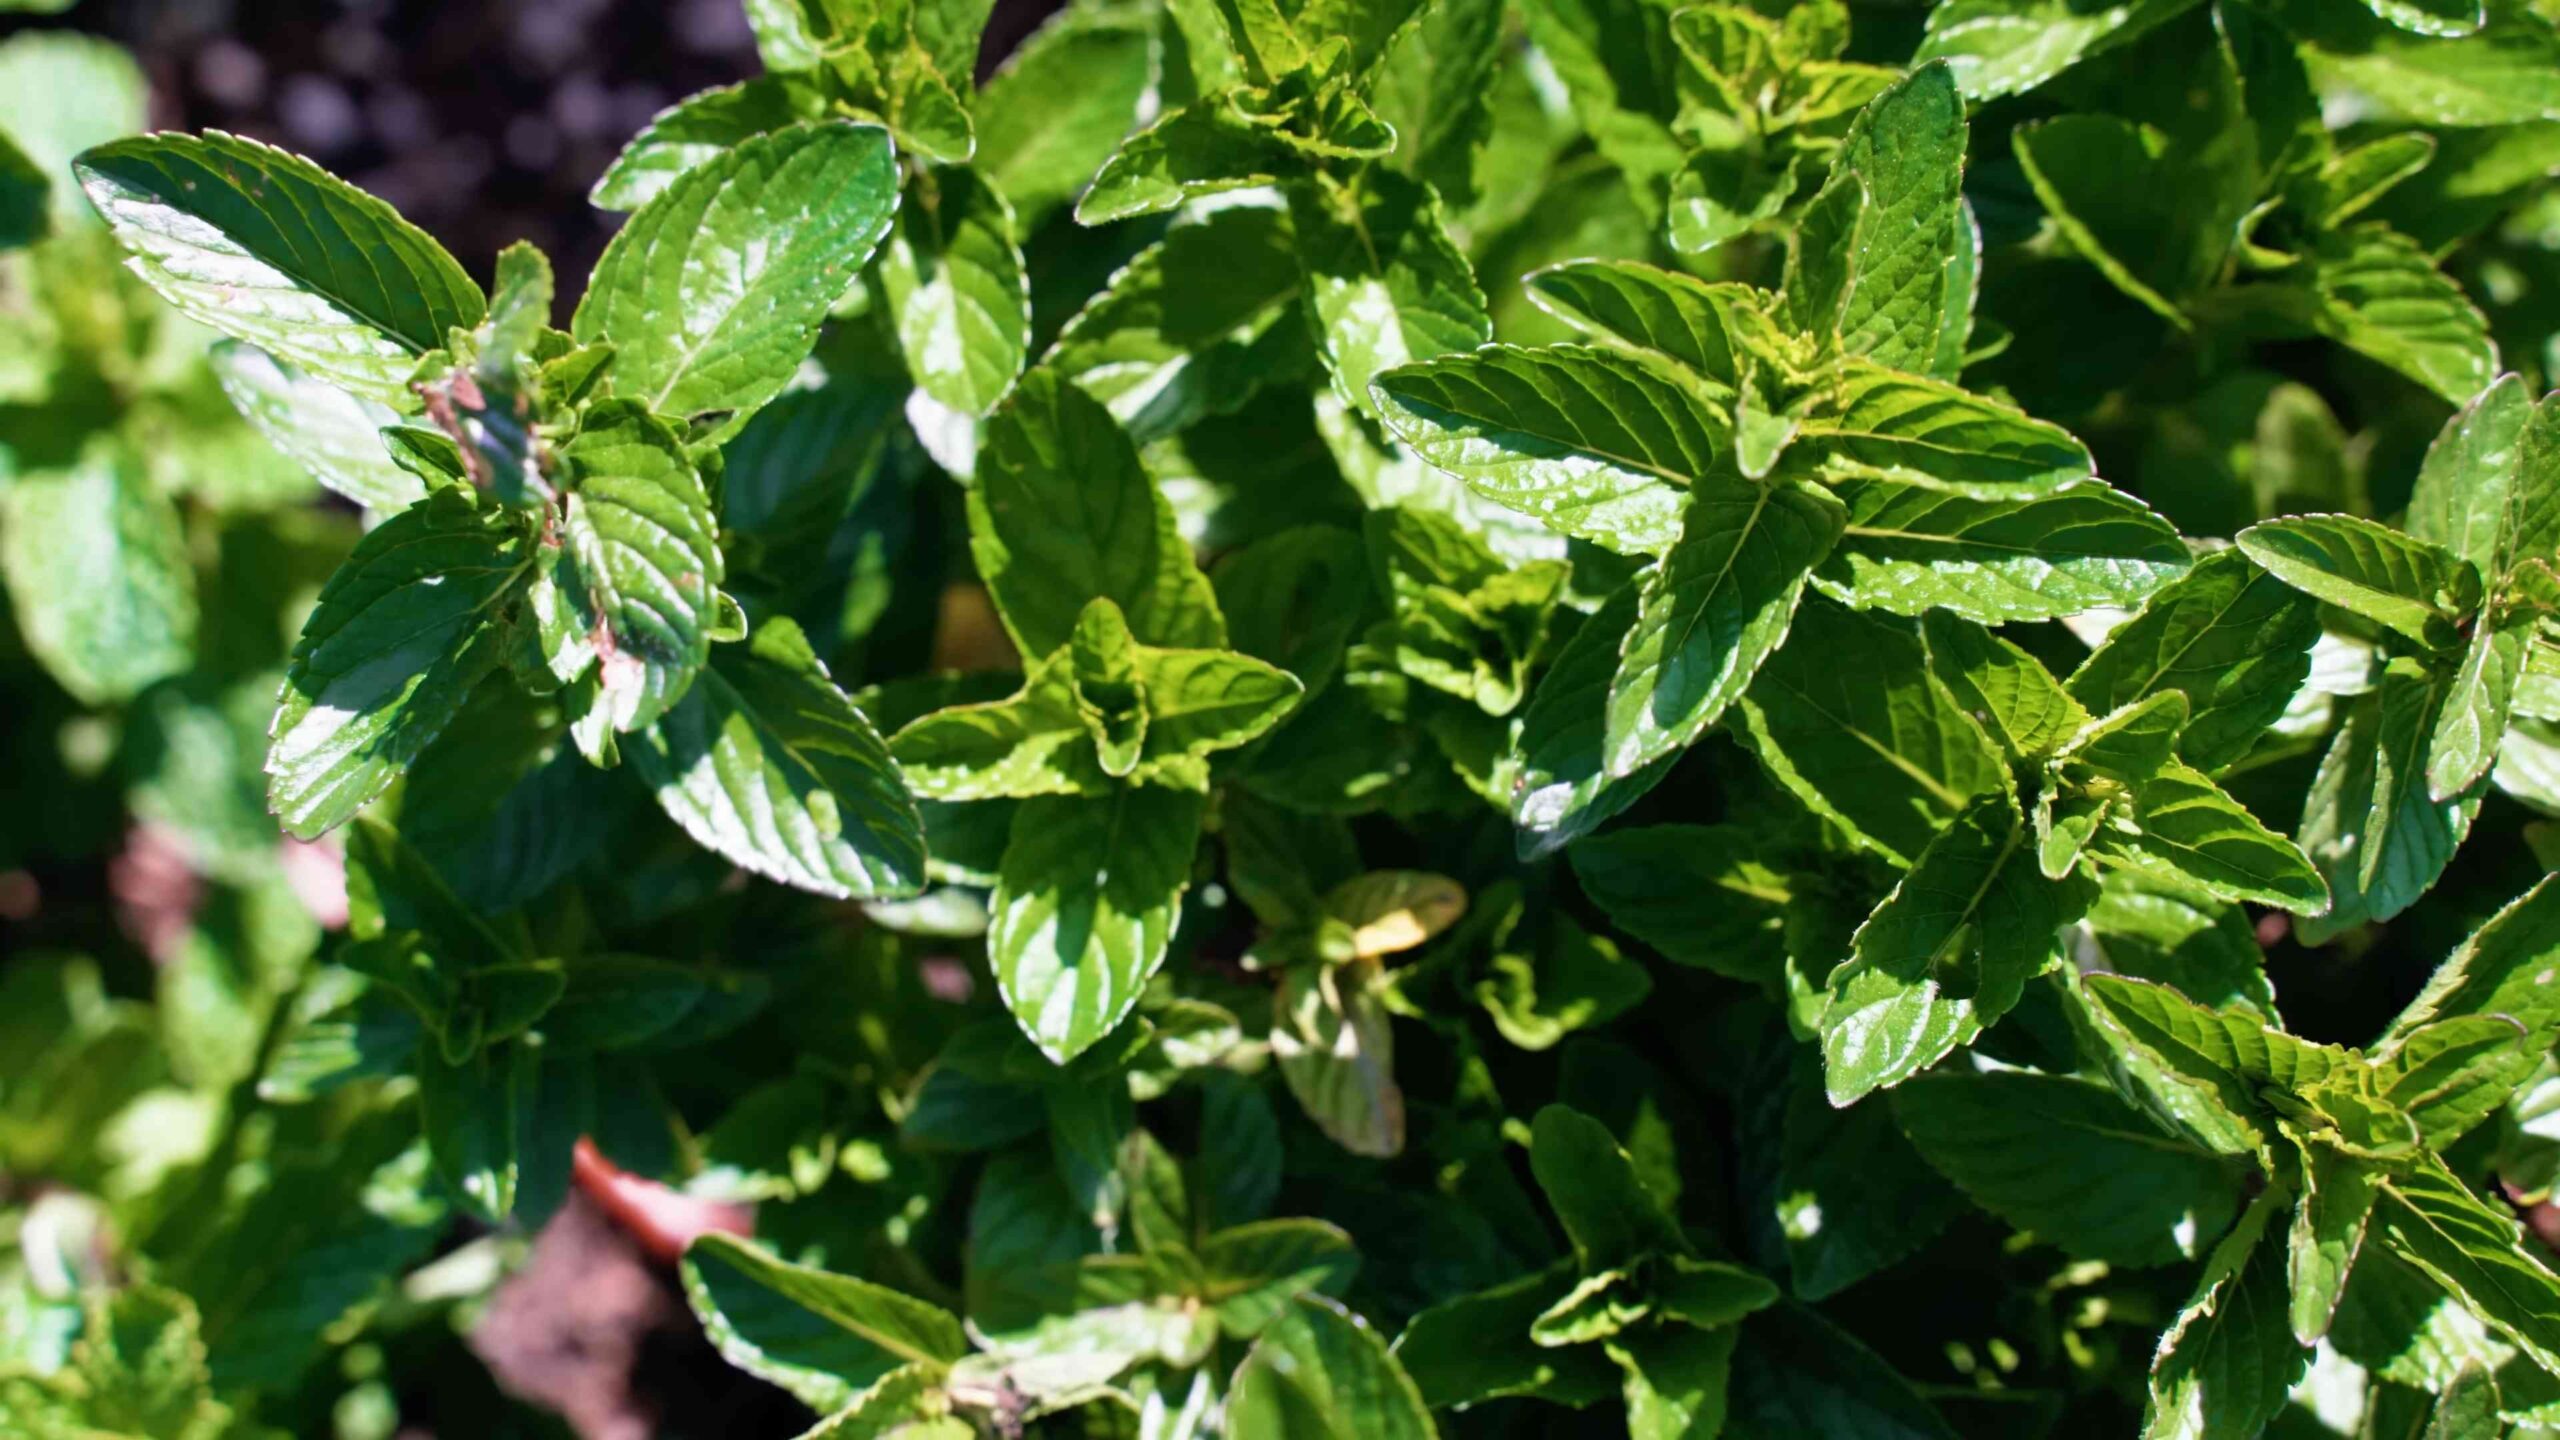
Before we dive into the nitty-gritty, let’s talk about mint varieties. There’s a whole world beyond just “mint,” and each type has its own unique flavor profile. Here are a few popular options:
* Peppermint: This is your classic mint, with a strong, refreshing flavor. It’s perfect for teas, desserts, and even savory dishes.
* Spearmint: A bit milder and sweeter than peppermint, spearmint is the go-to for mojitos and chewing gum.
* Chocolate Mint: As the name suggests, this variety has a subtle chocolatey aroma and flavor. It’s delicious in desserts and drinks.
* Orange Mint: This one has a citrusy twist, making it a great addition to salads and fruit salads.
* Apple Mint: A softer, fruitier flavor that’s great for teas and garnishes.
I personally love growing a mix of peppermint and spearmint, but feel free to experiment and find your favorites! You can usually find mint plants at your local garden center or even some grocery stores.
Getting Started: What You’ll Need
Okay, let’s gather our supplies. Here’s what you’ll need to successfully grow mint at home:
* Mint Plant(s): Choose your desired variety from a reputable source. Make sure the plant looks healthy, with vibrant green leaves and no signs of pests or disease.
* Pot(s): Mint is notorious for spreading, so I highly recommend growing it in containers. Choose pots that are at least 6 inches in diameter and have drainage holes.
* Potting Mix: Use a good-quality potting mix that’s well-draining. Avoid using garden soil, as it can become compacted and doesn’t provide adequate drainage.
* Watering Can or Hose: You’ll need a way to water your mint plants regularly.
* Optional:
* Fertilizer: A balanced liquid fertilizer can help boost growth, but it’s not essential.
* Pruning Shears or Scissors: For harvesting and trimming your mint.
* Plant Markers: If you’re growing multiple varieties, these will help you keep track of which is which.
Planting Your Mint
Now for the fun part: planting! Follow these steps to get your mint off to a great start:
1. Prepare Your Pot(s): Fill your pot(s) with potting mix, leaving about an inch of space at the top.
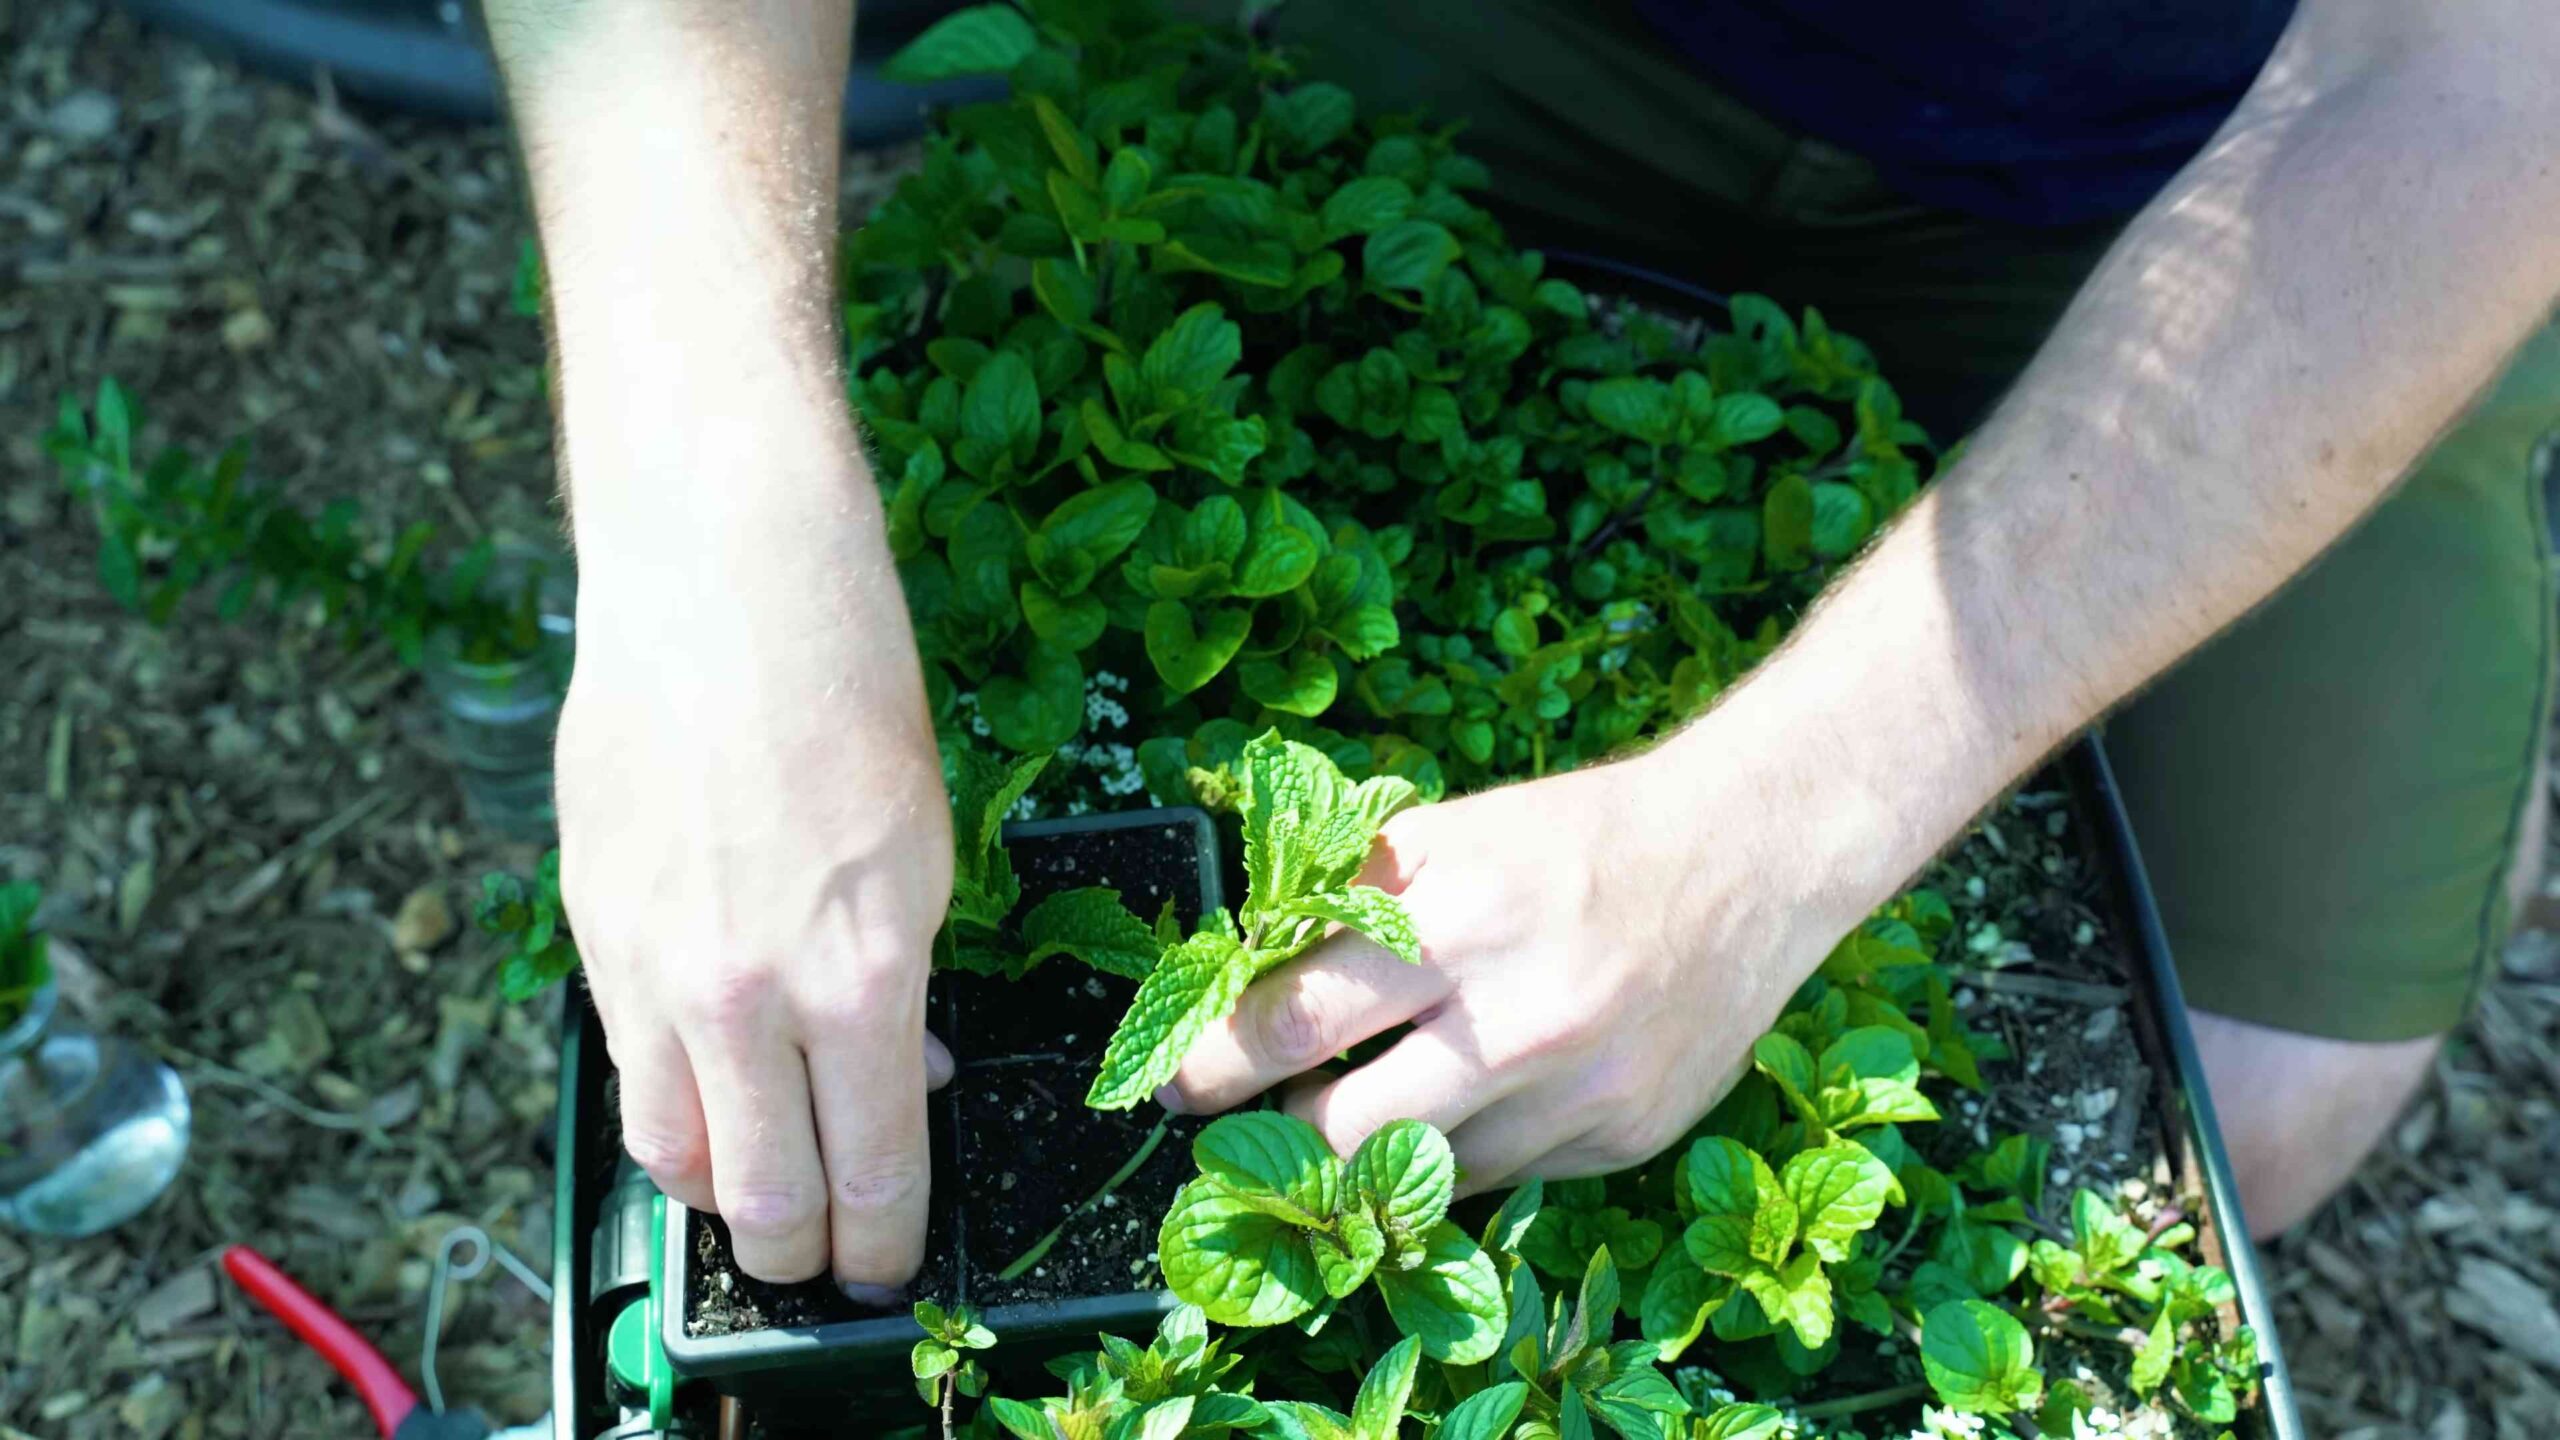
2. Remove the Mint Plant from Its Container: Gently squeeze the sides of the container to loosen the plant. Carefully remove the plant, being mindful not to damage the roots.
3. Loosen the Roots: Gently tease apart the roots with your fingers. This will encourage them to spread out and establish themselves in the new pot.
4. Plant the Mint: Place the mint plant in the center of the pot, making sure the top of the root ball is level with the soil surface.
5. Fill in with Potting Mix: Add more potting mix around the plant, gently pressing it down to secure it.
6. Water Thoroughly: Water the plant thoroughly until water drains out of the drainage holes. This will help settle the soil and hydrate the roots.
Caring for Your Mint
Once your mint is planted, it’s time to provide it with the care it needs to thrive. Here’s what you need to know:
* Sunlight: Mint loves sunlight, but it can also tolerate partial shade. Aim for at least 4-6 hours of sunlight per day. If you’re growing your mint indoors, place it near a sunny window.
* Watering: Keep the soil consistently moist, but not soggy. Water when the top inch of soil feels dry to the touch. Avoid overwatering, as this can lead to root rot.
* Fertilizing (Optional): If you want to give your mint a boost, you can fertilize it every few weeks with a balanced liquid fertilizer. Follow the instructions on the fertilizer label.
* Pruning: Regular pruning is essential for keeping your mint plant healthy and productive. Pinch off the top leaves regularly to encourage bushier growth.
* Pest Control: Mint is generally pest-resistant, but it can occasionally be affected by aphids or spider mites. If you notice any pests, you can try spraying the plant with insecticidal soap.
* Containment: I cannot stress this enough: Mint spreads like crazy! If you plant it in the ground, it will quickly take over your garden. That’s why I strongly recommend growing it in containers. If you do plant it in the ground, consider using a barrier to contain its roots.
Harvesting Your Mint
Now for the best part: harvesting your mint! You can start harvesting your mint as soon as the plant is established, usually a few weeks after planting.
1. Choose Your Leaves: Select the leaves you want to harvest. I usually go for the larger, more mature leaves.
2. Cut or Pinch: You can either cut the stems with pruning shears or scissors, or simply pinch off the leaves with your fingers.
3. Harvest Regularly: The more you harvest, the more your mint will grow! Regular harvesting encourages bushier growth and prevents the plant from becoming leggy.
4. Preserving Your Mint: If you have more mint than you can use fresh, you can preserve it by drying it or freezing it. To dry mint, simply hang the stems upside down in a cool, dry place until the leaves are crispy. To freeze mint, chop the leaves and freeze them in ice cube trays with water.
Troubleshooting
Even with the best care, you might encounter a few challenges along the way. Here are some common problems and how to fix them:
* Yellowing Leaves: This could be a sign of overwatering, underwatering, or nutrient deficiency. Check the soil moisture and adjust your watering accordingly. If the soil is consistently moist, you may be overwatering. If the soil is dry, you may need to water more frequently. You can also try fertilizing the plant with a balanced liquid fertilizer.
* Leggy Growth: This is usually caused by insufficient sunlight. Move your mint plant to a sunnier location. Regular pruning can also help prevent leggy growth.
* Pests: As mentioned earlier, mint can occasionally be affected by aphids or spider mites. Spray the plant with insecticidal soap to get rid of these pests.
* Root Rot: This is caused by overwatering and poor drainage. Make sure your pot has drainage holes and that you’re not overwatering the plant. If you suspect root rot, you may need to repot the plant in fresh potting mix.
Propagating Mint
Mint is incredibly easy to propagate, which means you can easily create new plants from cuttings. This is a great way to expand your mint collection or share your mint with friends and family.
1. Take a Cutting: Choose a healthy stem that’s about 4-6 inches long. Cut the stem just below a leaf node (the point where a leaf grows out of the stem).
2. Remove Lower Leaves: Remove the leaves from the bottom half of the stem.
3. Place in Water: Place the cutting in a glass of water, making sure the bottom nodes are submerged.
4. Wait for Roots: Place the glass in a bright, indirect light location. Change the water every few days. Within a week or two, you should see roots starting to grow.
5. Plant in Potting Mix: Once the roots are about an inch long, you can plant the cutting in a pot filled with potting mix.
6. Care for New Plant: Water the new plant regularly and provide it with the same care as your other mint plants.
Enjoying Your Homegrown Mint
Now that you’ve successfully grown your own mint, it’s time to enjoy the fruits (or rather, leaves!) of your labor. Here are just a few ideas:
* Mojitos: The classic mint cocktail!
* Mint Tea: A refreshing and soothing beverage.
* Salads: Add mint to salads for a burst of flavor.
* Desserts: Mint pairs perfectly with chocolate, fruit, and other sweet treats.
* Garnish: Use mint as a garnish for drinks
Conclusion
So, there you have it! Growing mint at home isn’t just a fun project; it’s a game-changer for your culinary creations, your beverages, and even your home’s ambiance. Forget those sad, wilted bunches from the grocery store that cost a fortune and lose their flavor within days. With a little effort, you can have a thriving mint plant right at your fingertips, ready to provide fresh, vibrant leaves whenever you need them.
Why is this DIY trick a must-try? Because it empowers you to control the quality and freshness of your mint. You know exactly where it came from, what it’s been exposed to, and how it’s been cared for. This translates to a superior flavor that store-bought mint simply can’t match. Imagine the difference in your mojitos, your teas, your salads, and even your desserts when you use freshly picked, homegrown mint. The aroma alone is enough to elevate your entire cooking experience.
Beyond the flavor benefits, growing mint at home is incredibly rewarding. It’s a connection to nature, a small act of self-sufficiency, and a constant reminder of the simple pleasures in life. Plus, it’s a fantastic way to reduce your reliance on plastic packaging and support a more sustainable lifestyle.
But the best part? It’s incredibly easy! As we’ve outlined, you don’t need a green thumb or a sprawling garden to successfully grow mint. Whether you choose to propagate from cuttings, plant seeds, or transplant a starter plant, the process is straightforward and forgiving.
Ready to take your mint game to the next level? Consider these variations and suggestions:
* Experiment with different varieties: Peppermint, spearmint, chocolate mint, orange mint – the possibilities are endless! Each variety offers a unique flavor profile that can add a new dimension to your dishes and drinks.
* Grow mint indoors: If you live in an apartment or have limited outdoor space, don’t worry! Mint thrives indoors with sufficient sunlight or a grow light.
* Use mint in creative ways: Don’t limit yourself to culinary applications. Use mint to make refreshing iced tea, infuse water, create homemade beauty products, or even deter pests in your garden.
* Preserve your harvest: When your mint plant is overflowing with leaves, dry them for later use or freeze them in ice cube trays for a quick and easy addition to smoothies and cocktails.
We are confident that once you experience the joy of growing mint at home, you’ll never go back to store-bought mint again. It’s a simple, satisfying, and delicious way to enhance your life.
So, what are you waiting for? Grab a pot, some soil, and a mint cutting or seeds, and get started today! We can’t wait to hear about your experiences. Share your photos, tips, and recipes with us in the comments below. Let’s create a community of home-grown mint enthusiasts! Let us know how your journey to grow mint at home is going.
Frequently Asked Questions (FAQs)
Q: How much sunlight does mint need?
A: Mint thrives in partial shade to full sun. Ideally, aim for at least 4-6 hours of sunlight per day. If you’re growing mint indoors, place it near a sunny window or use a grow light to supplement natural light. Insufficient sunlight can lead to leggy growth and reduced flavor.
Q: What kind of soil is best for growing mint?
A: Mint prefers well-draining soil that is rich in organic matter. A good potting mix amended with compost or aged manure will provide the nutrients and drainage that mint needs to thrive. Avoid heavy clay soils, as they can become waterlogged and lead to root rot.
Q: How often should I water my mint plant?
A: Water your mint plant regularly, keeping the soil consistently moist but not soggy. Check the soil moisture by sticking your finger about an inch deep. If the soil feels dry, it’s time to water. During hot, dry weather, you may need to water more frequently. Be careful not to overwater, as this can lead to root rot.
Q: How do I propagate mint from cuttings?
A: Propagating mint from cuttings is a simple and effective way to create new plants. Take a 4-6 inch cutting from a healthy stem, removing the lower leaves. Place the cutting in a glass of water, ensuring that the nodes (where the leaves were removed) are submerged. Roots should begin to form within a week or two. Once the roots are about an inch long, you can transplant the cutting into a pot filled with well-draining soil.
Q: Is mint invasive?
A: Yes, mint is known for its invasive nature. It spreads rapidly through underground runners, which can quickly take over a garden bed. To prevent mint from spreading, it’s best to grow it in a container or a raised bed. You can also bury a barrier around the planting area to contain the roots.
Q: How do I harvest mint?
A: You can harvest mint leaves at any time during the growing season. Simply pinch or cut off the stems just above a leaf node. Regular harvesting will encourage the plant to produce more leaves. For the best flavor, harvest mint in the morning after the dew has dried.
Q: What are some common problems that affect mint plants?
A: Mint plants can be susceptible to a few common problems, including aphids, spider mites, and fungal diseases. To prevent these problems, provide good air circulation, avoid overwatering, and inspect your plants regularly for signs of pests or diseases. If you notice any problems, treat them promptly with an appropriate insecticide or fungicide.
Q: Can I grow different varieties of mint together?
A: While you can technically grow different varieties of mint together, it’s generally not recommended. Mint varieties can cross-pollinate, which can result in offspring with unpredictable flavors and characteristics. If you want to grow multiple varieties of mint, it’s best to keep them separated in different containers or areas of the garden.
Q: How do I dry mint for later use?
A: To dry mint, harvest the stems and tie them together in small bundles. Hang the bundles upside down in a cool, dry, and well-ventilated place. Allow the mint to dry completely, which may take several weeks. Once the leaves are dry and brittle, crumble them and store them in an airtight container.
Q: Can I freeze mint?
A: Yes, freezing mint is a great way to preserve its flavor and aroma. Wash the mint leaves and pat them dry. Then, place them in a single layer on a baking sheet and freeze for a few hours. Once the leaves are frozen, transfer them to a freezer bag or container. You can also freeze mint leaves in ice cube trays filled with water or olive oil.
Q: My mint plant is looking leggy. What should I do?
A: Leggy growth in mint plants is often caused by insufficient sunlight. Move your plant to a sunnier location or supplement with a grow light. You can also prune the plant back to encourage bushier growth.
Q: Is it safe to consume mint that has been treated with pesticides?
A: It is generally not recommended to consume mint that has been treated with pesticides, especially if the pesticides are not specifically labeled for use on edible plants. If you must use pesticides, choose organic options and follow the instructions carefully. Always wash the mint leaves thoroughly before consuming them.

Leave a Comment