

Grow Mint at Home Easily and unlock a world of fresh flavors and fragrant aromas right at your fingertips! Have you ever dreamt of snipping fresh mint leaves for your mojito, or adding a vibrant touch to your summer salads? Well, dream no more! This DIY guide is your passport to a thriving mint patch, even if you think you have a “brown thumb.”
Mint, with its invigorating scent and versatile uses, has been cherished for centuries. From ancient Roman banquets where it was used to freshen breath and flavor sauces, to traditional medicinal practices across cultures, mint has always held a special place. Today, we can easily bring this historical herb into our homes.
But why should you bother to grow mint at home easily? Simple! Store-bought mint can be expensive and often lacks the intense flavor of homegrown varieties. Plus, growing your own is incredibly rewarding and sustainable. Imagine the satisfaction of knowing exactly where your herbs come from and avoiding those plastic containers from the grocery store.
This article is packed with simple, effective DIY tricks and hacks that will help you cultivate a flourishing mint plant, regardless of your gardening experience. We’ll cover everything from choosing the right container and soil to watering techniques and pest control. Get ready to transform your kitchen windowsill or balcony into a mini mint paradise!
“`html
Grow Mint at Home: A Beginner’s Guide to a Thriving Herb Garden
Hey there, fellow plant enthusiasts! Are you ready to dive into the wonderful world of growing your own mint? Trust me, it’s easier than you think, and the rewards – fresh, fragrant mint for teas, cocktails, and culinary creations – are totally worth it. I’m going to walk you through everything you need to know to cultivate a thriving mint patch right in your own home.
Why Grow Mint?
Before we get started, let’s talk about why mint is such a fantastic herb to grow. First off, it’s incredibly versatile. You can use it in everything from mojitos and mint juleps to salads, sauces, and even desserts. Plus, the aroma is just divine! But the best part? Mint is super easy to grow, even for beginners. It’s a vigorous plant that can thrive in a variety of conditions, making it a low-maintenance addition to your indoor or outdoor garden.
Choosing Your Mint Variety
There are tons of different mint varieties out there, each with its own unique flavor and aroma. Some popular choices include:
* Peppermint: Classic mint flavor, great for teas and desserts.
* Spearmint: Milder and sweeter than peppermint, perfect for mojitos and savory dishes.
* Chocolate Mint: A fun variety with a hint of chocolate flavor.
* Orange Mint: A citrusy twist on the classic mint flavor.
* Apple Mint: A fruity and refreshing mint with a subtle apple aroma.
I recommend starting with a variety that you know you’ll enjoy using. Spearmint and peppermint are always safe bets, but don’t be afraid to experiment and find your favorites!
Getting Started: Propagation Methods
There are a few different ways to get your mint journey started. You can either buy a starter plant from a nursery or propagate your own from cuttings. I personally prefer propagation because it’s a fun and cost-effective way to expand your mint collection.
Propagating Mint from Cuttings
This is my go-to method because it’s so simple and reliable. Here’s how to do it:
1. Select a Healthy Stem: Choose a healthy, non-flowering stem from an existing mint plant. The stem should be about 4-6 inches long.
2. Remove Lower Leaves: Gently remove the leaves from the bottom 2 inches of the stem. This will expose the nodes where roots will grow.
3. Place in Water: Put the stem in a glass or jar filled with water, making sure the nodes are submerged.
4. Find a Sunny Spot: Place the glass in a bright, indirect sunlight location. Avoid direct sunlight, which can scorch the leaves.
5. Change the Water Regularly: Change the water every 1-2 days to keep it fresh and prevent bacteria growth.
6. Wait for Roots to Grow: Within a week or two, you should start to see roots emerging from the nodes.
7. Plant in Soil: Once the roots are about an inch long, it’s time to plant your new mint plant in soil.
Buying a Starter Plant
If you’re short on time or just prefer to skip the propagation process, you can always buy a starter plant from a local nursery or garden center. Just make sure to choose a healthy-looking plant with vibrant green leaves and no signs of pests or diseases.
Planting Your Mint
Now that you have your mint plant (either propagated from cuttings or purchased from a nursery), it’s time to get it planted.
1. Choose the Right Pot: Mint is a vigorous grower and can quickly outgrow small pots. I recommend using a pot that’s at least 8-10 inches in diameter. Make sure the pot has drainage holes to prevent waterlogging.
2. Select a Good Soil Mix: Mint prefers well-draining soil that’s rich in organic matter. A good potting mix for herbs will work perfectly. You can also amend your own soil by adding compost or other organic materials.
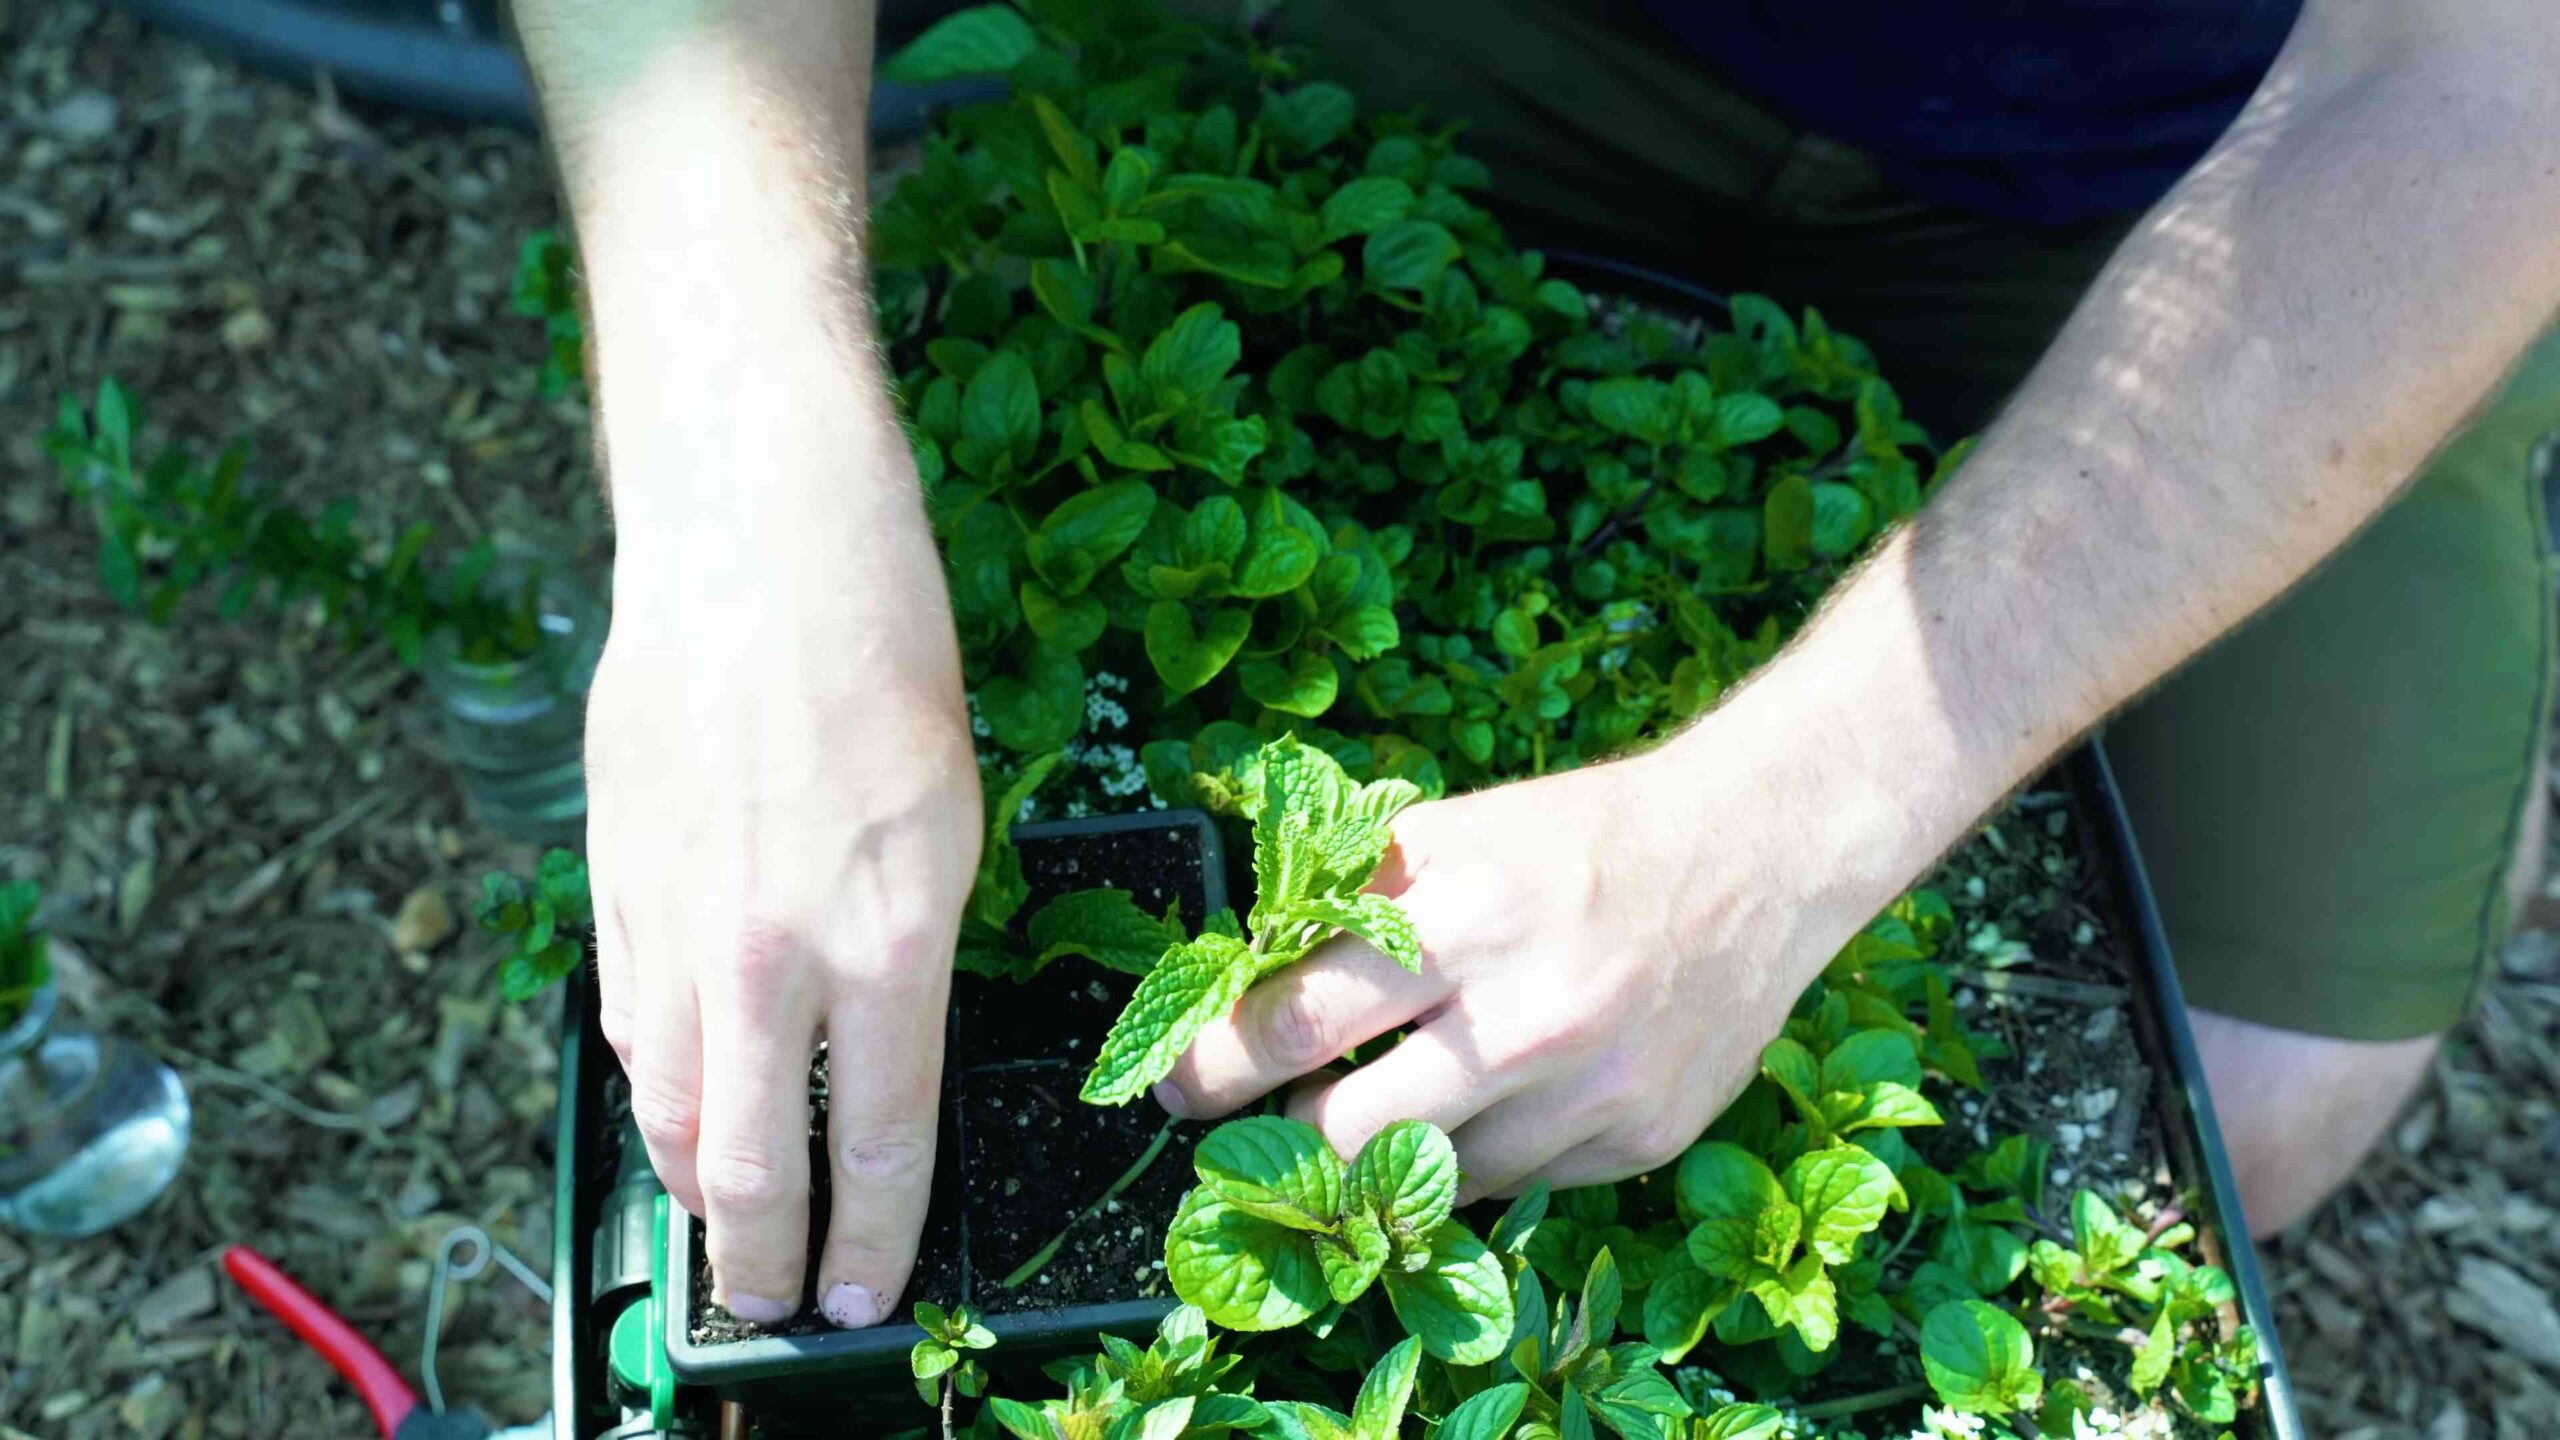
3. Plant Your Mint: Gently remove the mint plant from its original container and loosen the roots slightly. Place the plant in the center of the pot and fill in around it with soil. Make sure the top of the root ball is level with the soil surface.
4. Water Thoroughly: Water the plant thoroughly after planting, until water drains out of the drainage holes.
5. Choose the Right Location: Mint thrives in partial shade to full sun. If you’re growing it indoors, place it near a sunny window. If you’re growing it outdoors, choose a spot that gets at least 4-6 hours of sunlight per day.
Caring for Your Mint
Once your mint is planted, it’s important to provide it with the right care to keep it healthy and thriving.
1. Watering: Mint likes to be kept consistently moist, but not waterlogged. Water the plant when the top inch of soil feels dry to the touch. Avoid overwatering, which can lead to root rot.
2. Fertilizing: Mint is a relatively light feeder, but it will benefit from occasional fertilization. You can use a balanced liquid fertilizer diluted to half strength every 2-4 weeks during the growing season.
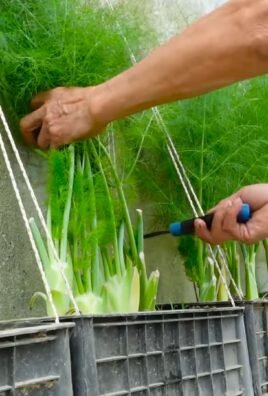
3. Pruning: Regular pruning is essential for keeping your mint plant bushy and productive. Pinch off the tips of the stems regularly to encourage branching. You can also harvest leaves as needed for culinary use.
4. Pest Control: Mint is generally pest-resistant, but it can occasionally be affected by aphids, spider mites, or whiteflies. If you notice any pests, you can try spraying the plant with insecticidal soap or neem oil.
5. Controlling Spread: This is a big one! Mint is notorious for being invasive. If you’re growing it outdoors, it’s best to plant it in a container to prevent it from spreading uncontrollably. Even indoors, it can become root-bound quickly, so repotting every year or two is a good idea.
Harvesting Your Mint
Harvesting mint is easy! Simply snip off the stems or leaves as needed. The more you harvest, the more the plant will grow. For the best flavor, harvest mint in the morning, after the dew has dried.
Troubleshooting
Even with the best care, you might encounter some problems along the way. Here are a few common issues and how to address them:
* Yellowing Leaves: This can be caused by overwatering, underwatering, or nutrient deficiencies. Adjust your watering schedule and fertilize the plant if necessary.
* Leggy Growth: This is usually a sign that the plant isn’t getting enough sunlight. Move it to a brighter location.
* Pests: As mentioned earlier, aphids, spider mites, and whiteflies can sometimes be a problem. Treat them with insecticidal soap or neem oil.
* Root Rot: This is caused by overwatering and poor drainage. Make sure your pot has drainage holes and avoid overwatering. If the plant is severely affected, you may need to repot it with fresh soil.
Using Your Fresh Mint
Now for the fun part – using your homegrown mint! Here are just a few ideas:
* Teas: Steep fresh mint leaves in hot water for a refreshing and soothing tea.
* Cocktails: Add mint to mojitos, mint juleps, and other cocktails.
* Salads: Chop fresh mint and add it to salads for a burst of flavor.
* Sauces: Use mint in sauces for lamb, chicken, or fish.
* Desserts: Add mint to ice cream, chocolate desserts, and fruit salads.
* Garnish: Use mint sprigs as a garnish for drinks and dishes.
Preserving Your Mint
If you have more mint than you can use fresh, you can preserve it for later use. Here are a few methods:
* Drying: Hang bunches of mint upside down in a cool, dry place until the leaves are completely dry. Then, crumble the leaves and store them in an airtight container.
* Freezing: Chop fresh mint leaves and freeze them in ice cube trays with water or olive oil.
* Mint Syrup: Make a simple syrup with sugar and water, then steep fresh mint leaves in the syrup. Strain the syrup and store it in the refrigerator.
Final Thoughts
Growing mint at home is a rewarding experience that anyone can enjoy. With a little bit of care and attention, you can have a thriving mint patch that provides you with fresh, fragrant herbs for all your culinary and beverage needs. So go ahead, give it a try! I promise you won’t regret it. Happy gardening!
“`
Conclusion
So, there you have it! Growing mint at home easily is not just a possibility; it’s a delightful reality waiting to unfold in your kitchen or garden. We’ve walked through the simple steps, debunked common myths, and armed you with the knowledge to cultivate your own thriving mint patch. Why is this a must-try? Because fresh mint elevates everything. Imagine the vibrant mojitos, the fragrant teas, the zesty salads, and the decadent desserts, all infused with the unparalleled flavor of homegrown mint. Store-bought mint simply can’t compare to the intensity and freshness you’ll achieve with your own plants.
Beyond the culinary benefits, growing mint is incredibly rewarding. It’s a therapeutic activity that connects you with nature, even in the smallest of spaces. Watching your mint sprigs flourish, knowing you nurtured them from tiny cuttings or seeds, brings a unique sense of accomplishment. Plus, it’s an incredibly sustainable practice, reducing your reliance on commercially grown herbs and minimizing your environmental footprint.
But the beauty of growing mint at home easily lies in its versatility. Don’t limit yourself to just one variety! Experiment with different types of mint, each offering its own unique flavor profile. Try spearmint for classic mint sauces and refreshing drinks. Peppermint adds a cool, invigorating touch to teas and desserts. Chocolate mint offers a subtle cocoa undertone, perfect for adding a touch of indulgence to your creations. Apple mint boasts a fruity aroma that complements salads and fruit salads beautifully. The possibilities are endless!
Consider these variations to further personalize your mint-growing experience:
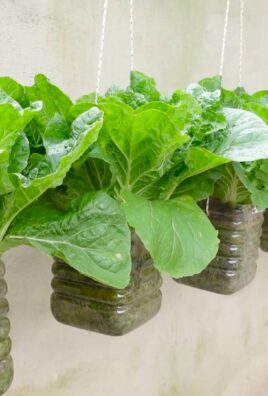
* Vertical Gardening: If you’re short on space, explore vertical gardening options. Mint thrives in hanging baskets, wall planters, or stacked pots, adding a touch of greenery to even the smallest balconies or patios.
* Hydroponics: For a more modern approach, try growing mint hydroponically. This soilless method allows for faster growth and greater control over nutrient levels.
* Companion Planting: Plant mint alongside vegetables like tomatoes, cabbage, and broccoli. Its strong scent can help deter pests and protect your crops.
* Mint Tea Garden: Create a dedicated mint tea garden with a variety of mint types specifically chosen for their tea-making qualities.
We wholeheartedly encourage you to embark on this mint-growing adventure. It’s easier than you think, and the rewards are immeasurable. Don’t be afraid to experiment, learn from your mistakes, and most importantly, have fun!
And now, we want to hear from you! Have you tried growing mint at home? What are your favorite tips and tricks? What varieties have you had the most success with? Share your experiences in the comments below. Let’s create a community of mint enthusiasts, sharing our knowledge and inspiring others to discover the joy of homegrown herbs. Your insights could be invaluable to someone just starting out. So, grab your pots, soil, and mint cuttings, and let’s get growing! We can’t wait to see what you create.
Frequently Asked Questions (FAQ)
Why is my mint plant not thriving?
There are several reasons why your mint plant might not be thriving. The most common culprits are:
* Insufficient Sunlight: Mint needs at least 4-6 hours of sunlight per day. If your plant isn’t getting enough light, it may become leggy and produce fewer leaves.
* Overwatering or Underwatering: Mint prefers consistently moist soil, but it doesn’t like to be waterlogged. Check the soil moisture regularly and water when the top inch feels dry. Conversely, if the leaves are wilting and the soil is bone dry, you’re likely underwatering.
* Poor Soil Drainage: Mint needs well-draining soil to prevent root rot. If your soil is heavy and compacted, amend it with compost or perlite to improve drainage.
* Nutrient Deficiency: Mint benefits from regular fertilization. Use a balanced liquid fertilizer every few weeks during the growing season. Yellowing leaves can indicate a nitrogen deficiency.
* Pests or Diseases: Inspect your plant regularly for pests like aphids, spider mites, or whiteflies. Treat infestations promptly with insecticidal soap or neem oil. Mint can also be susceptible to fungal diseases like powdery mildew. Ensure good air circulation and avoid overhead watering to prevent these issues.
How often should I water my mint plant?
The frequency of watering depends on several factors, including the climate, the type of pot, and the soil. As a general rule, water your mint plant when the top inch of soil feels dry to the touch. In hot, dry weather, you may need to water daily. In cooler, more humid weather, you may only need to water every few days. Always check the soil moisture before watering to avoid overwatering.
Can I grow mint indoors?
Yes, you can absolutely grow mint indoors! In fact, it’s a great way to have fresh mint available year-round. To grow mint indoors, provide it with:
* Bright, Indirect Light: Place your mint plant near a sunny window that receives at least 4-6 hours of indirect sunlight per day. If you don’t have enough natural light, you can supplement with a grow light.
* Well-Draining Soil: Use a potting mix that drains well to prevent root rot.
* Consistent Moisture: Keep the soil consistently moist, but not waterlogged.
* Good Air Circulation: Ensure good air circulation to prevent fungal diseases.
* Regular Fertilization: Fertilize your mint plant every few weeks with a balanced liquid fertilizer.
How do I propagate mint?
Mint is incredibly easy to propagate, making it a great plant for beginners. The easiest method is stem cuttings:
1. Cut a 4-6 inch stem from a healthy mint plant, just below a leaf node.
2. Remove the leaves from the bottom 2 inches of the stem.
3. Place the stem in a glass of water, ensuring that the bottom nodes are submerged.
4. Place the glass in a bright, indirect light location.
5. Change the water every few days.
6. Within a week or two, roots will begin to form.
7. Once the roots are about an inch long, plant the cutting in a pot filled with well-draining soil.
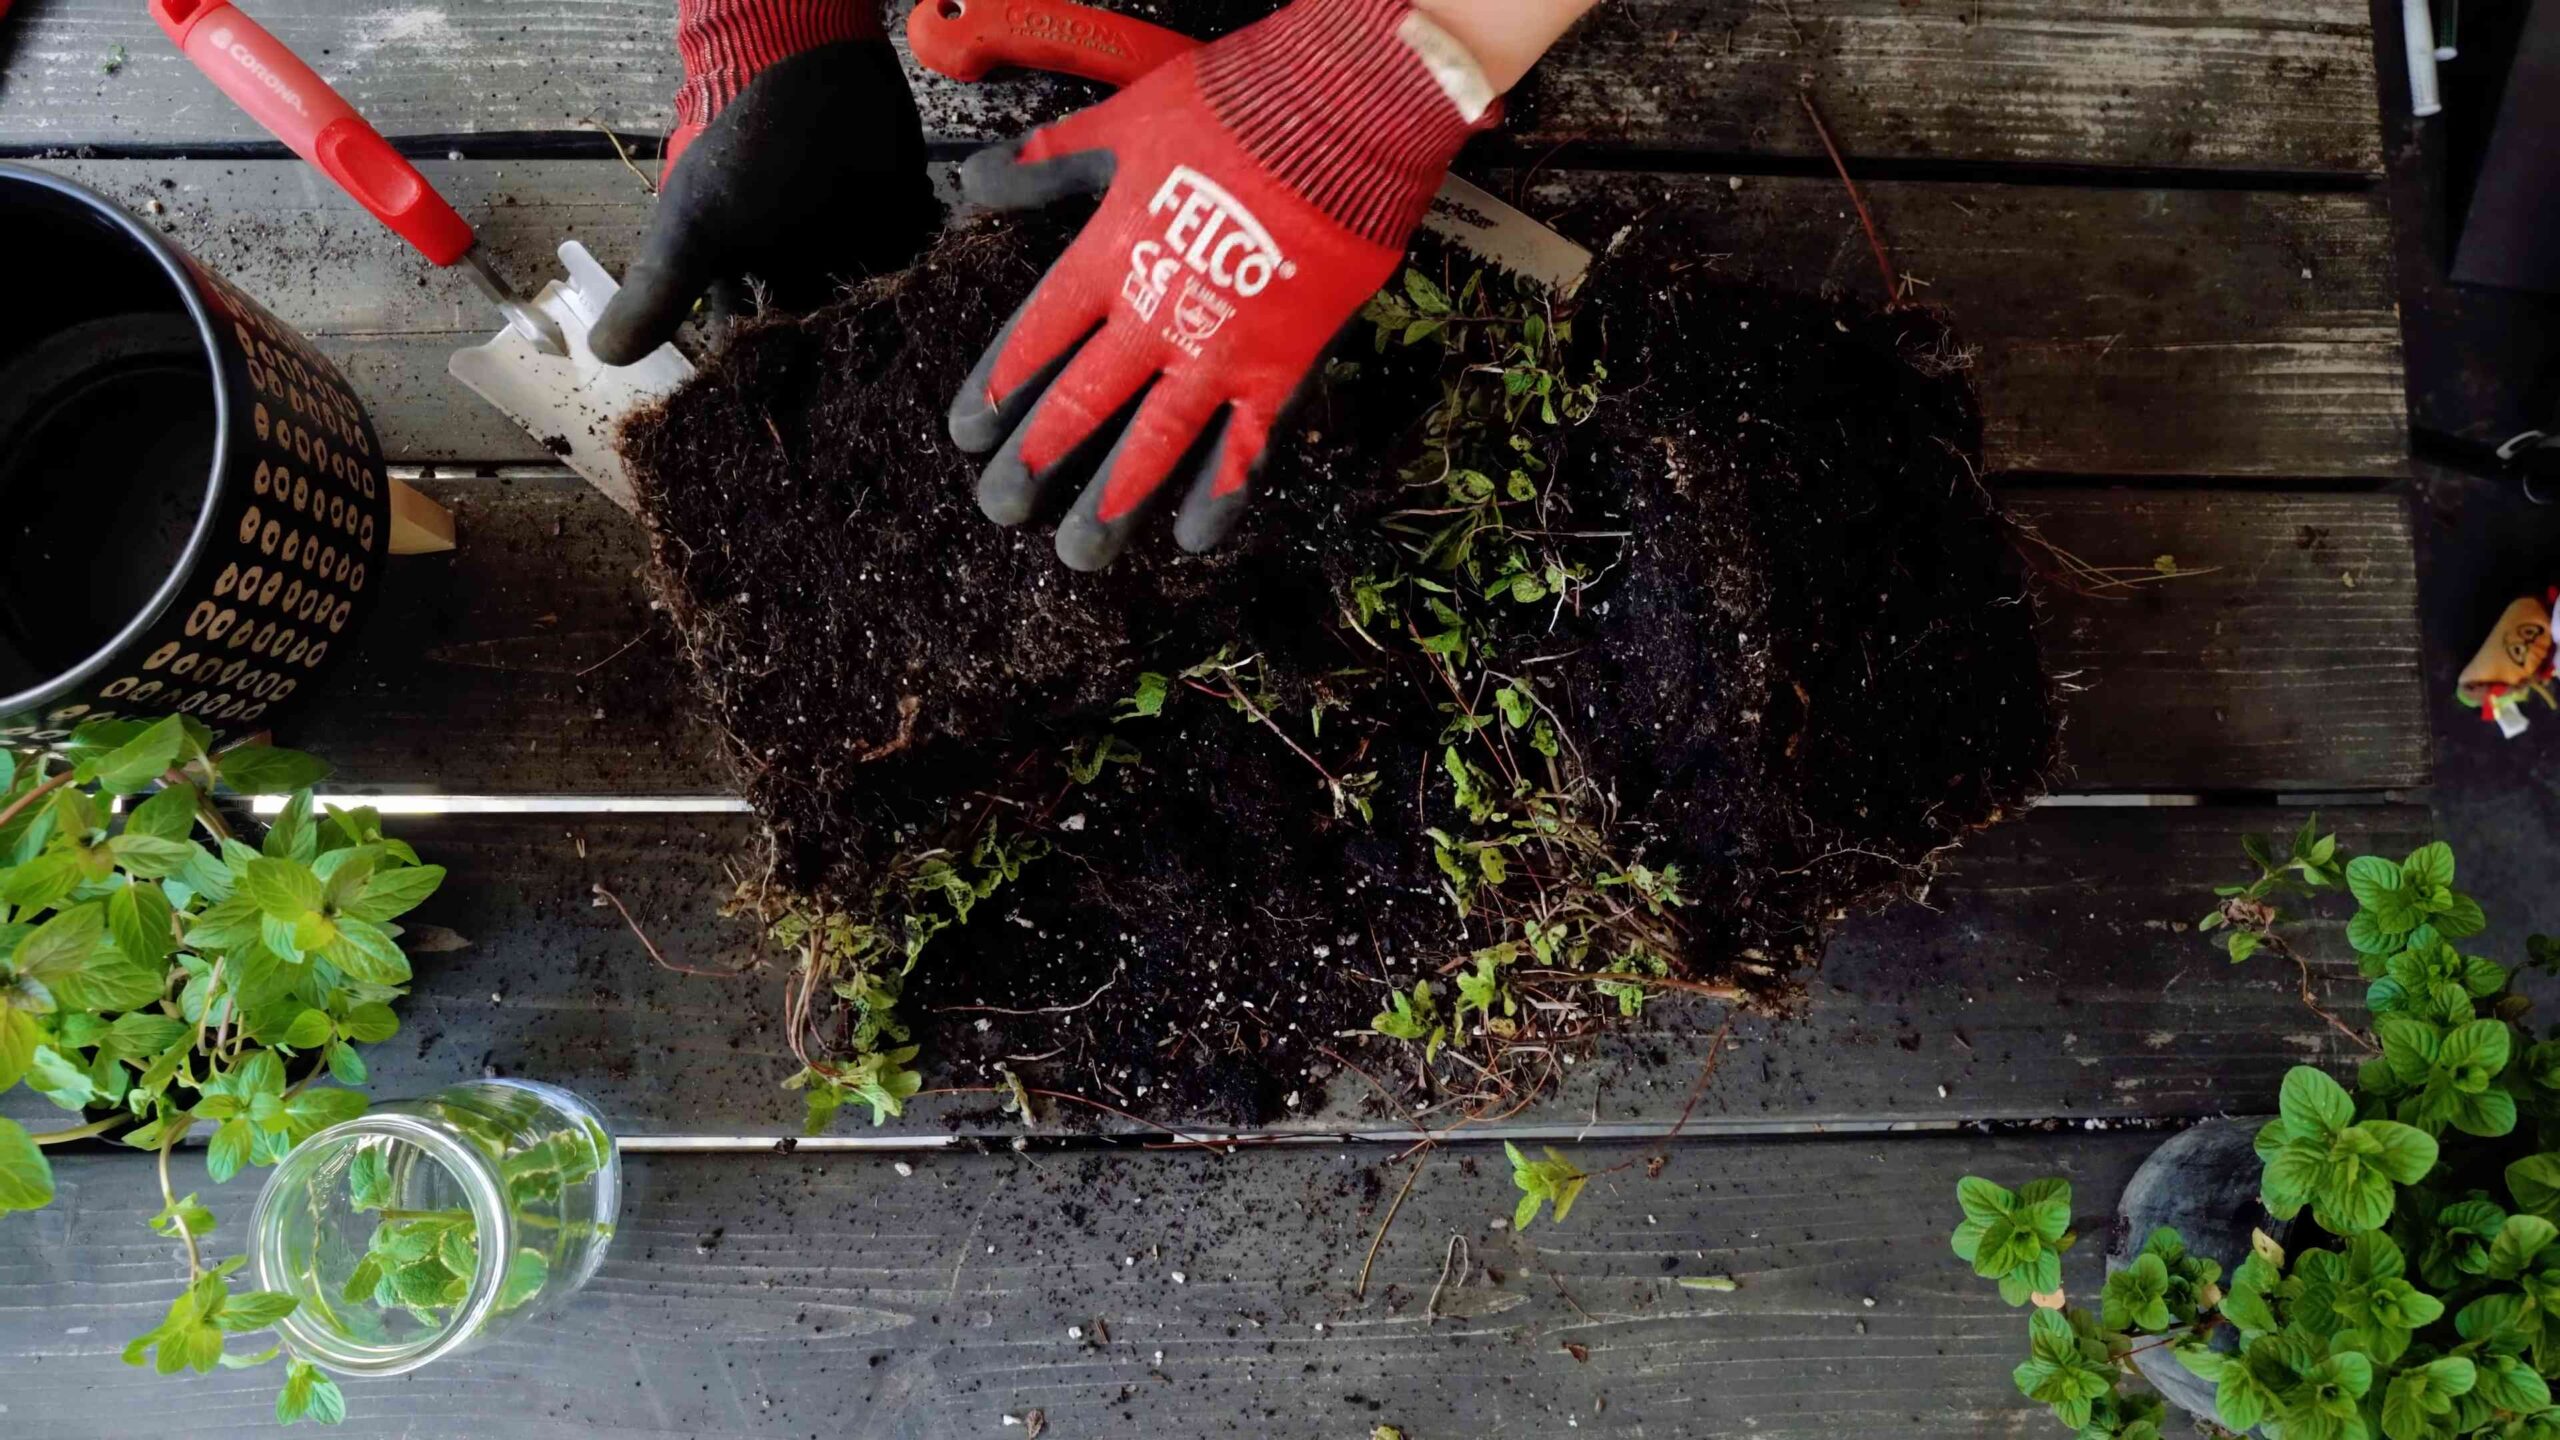
You can also propagate mint by division. Simply dig up a mature mint plant and divide the root ball into smaller sections, each with its own stems and roots. Replant the sections in separate pots.
Why is my mint plant spreading so aggressively?
Mint is known for its aggressive growth habit. It spreads rapidly through underground runners, which can quickly take over your garden. To control its spread, consider these options:
* Plant in Containers: The easiest way to contain mint is to grow it in pots or containers. This prevents the runners from spreading into surrounding areas.
* Bury a Barrier: If you want to plant mint in the ground, bury a physical barrier around the planting area. This can be a plastic or metal edging that extends at least 12 inches below the soil surface.
* Regular Pruning: Regularly prune your mint plant to remove any runners that are starting to spread.
* Monitor and Remove: Keep a close eye on your mint plant and remove any unwanted growth as soon as you see it.
What are some common uses for homegrown mint?
Homegrown mint is incredibly versatile and can be used in a wide variety of ways:
* Beverages: Add fresh mint to teas, lemonades, mojitos, and other refreshing drinks.
* Culinary Dishes: Use mint in salads, sauces, soups, and desserts. It pairs well with lamb, chicken, and vegetables.
* Garnish: Use mint sprigs as a garnish for cocktails, desserts, and other dishes.
* Essential Oils: Mint can be used to make essential oils, which have a variety of therapeutic benefits.
* Potpourri: Dried mint leaves can be used in potpourri to add a refreshing scent to your home.
* Medicinal Purposes: Mint has been used for centuries for its medicinal properties. It can help relieve indigestion, headaches, and other ailments.
How do I harvest mint?
Harvest mint by snipping off stems just above a leaf node. This will encourage the plant to produce new growth. You can harvest mint throughout the growing season. For the best flavor, harvest mint in the morning, after the dew has dried.
How do I dry mint?
To dry mint, gather stems together and tie them with twine. Hang the bundles upside down in a cool, dark, and well-ventilated place. Allow the mint to dry completely, which may take several weeks. Once the leaves are dry and brittle, crumble them and store them in an airtight container. You can also dry mint in a dehydrator or oven on a low setting.
Leave a Comment