

Grow Pineapples in Containers? Absolutely! Imagine plucking a juicy, homegrown pineapple right from your patio – it’s easier than you think! For centuries, pineapples have symbolized hospitality and luxury, a tradition stemming from their rarity and exotic appeal. Did you know that in colonial America, pineapples were often rented out as centerpieces for parties because they were so expensive?
Today, you don’t need a tropical plantation to enjoy this delicious fruit. I’m here to show you how to grow pineapples in containers, even if you have limited space. Many people are intimidated by the idea of growing their own food, especially something as seemingly complex as a pineapple. But trust me, with a few simple tricks and a little patience, you can transform your balcony, deck, or even a sunny windowsill into your very own pineapple patch. This DIY guide will provide you with the knowledge and confidence to successfully cultivate these tropical delights, saving you money at the grocery store and impressing your friends and family with your green thumb. Let’s get started and unlock the secrets to growing your own sweet success!
Growing Pineapples in Containers: A Tropical Treat at Home!
Hey there, fellow plant enthusiasts! Ever dreamed of harvesting your own juicy pineapple without living in a tropical paradise? Well, guess what? You can! Growing pineapples in containers is surprisingly easy and rewarding. I’m going to walk you through everything you need to know to cultivate your own spiky friend and enjoy the sweet taste of homegrown pineapple.
Choosing Your Pineapple Top
The first step to pineapple success is selecting the right starting material. You’re not going to start from seed (that’s a whole different ballgame!). Instead, we’re using the top of a store-bought pineapple.
* Look for a healthy pineapple: Choose a ripe pineapple with vibrant green leaves. Avoid pineapples with brown, wilted, or damaged leaves. The fruit itself should be fragrant and slightly soft to the touch.
* Twist or cut the top: Gently twist the leafy top off the pineapple. If it doesn’t come off easily, use a sharp knife to cut it off, leaving about an inch of fruit attached.
* Remove excess fruit: Carefully remove any remaining fruit from the base of the top. This is crucial because rotting fruit can lead to fungal problems and prevent rooting. I usually use a small knife to pare away the flesh, being careful not to damage the base where the roots will emerge.
* Peel back the lower leaves: Peel off the bottom few layers of leaves to expose the stem. This will encourage root growth. You should see small root primordia (tiny bumps) on the stem.
Preparing the Pineapple Top for Planting
Now that you have your pineapple top, it’s time to prepare it for planting. This involves drying and, optionally, rooting it in water.
* Drying the top: This is a crucial step to prevent rot. Place the pineapple top upside down in a dry, well-ventilated area for about a week. This allows the cut end to callous over, reducing the risk of fungal infections. I usually put mine on a paper towel on a windowsill.
* (Optional) Rooting in water: While not strictly necessary, rooting the pineapple top in water can give it a head start. Place the base of the top in a glass or jar of water, ensuring that only the stem is submerged. Change the water every few days to keep it fresh. You should see roots emerge within a few weeks.
* Important Note: Don’t let the leaves sit in water, as this can cause them to rot.
Planting Your Pineapple Top
Once your pineapple top has calloused over (or rooted in water), it’s time to plant it in a container.
* Choosing the right container: Select a pot that is at least 10-12 inches in diameter and depth. Pineapples have a relatively shallow root system, but they still need enough space to grow. Make sure the pot has drainage holes to prevent waterlogging.
* Selecting the right soil: Pineapples prefer well-draining, slightly acidic soil. A good potting mix for pineapples is a blend of:
* 1 part potting soil
* 1 part perlite or vermiculite (for drainage)
* 1 part peat moss or coconut coir (for acidity and moisture retention)
I usually mix my own, but you can also find pre-made pineapple potting mixes online or at your local garden center.
* Planting the top: Fill the pot with your chosen potting mix, leaving a few inches of space at the top. Dig a hole in the center of the pot and carefully place the pineapple top in the hole. Backfill with soil, gently firming it around the base of the top. Make sure the base of the leaves is just above the soil line.
* Watering after planting: Water the newly planted pineapple top thoroughly, allowing the excess water to drain out of the drainage holes.
Caring for Your Pineapple Plant
Now that your pineapple is planted, it’s time to provide it with the care it needs to thrive.
* Sunlight: Pineapples need plenty of sunlight, at least 6-8 hours per day. Place your container in a sunny location, such as a south-facing window or a patio. If you live in a climate with hot summers, you may need to provide some afternoon shade to prevent the leaves from scorching.
* Watering: Water your pineapple plant regularly, but avoid overwatering. Allow the soil to dry out slightly between waterings. I usually water mine when the top inch of soil feels dry to the touch. During the winter months, you can reduce watering frequency.
* Fertilizing: Pineapples are heavy feeders and benefit from regular fertilization. Use a balanced fertilizer (e.g., 10-10-10) every 2-3 months during the growing season (spring and summer). You can also use a liquid fertilizer diluted to half strength every 2 weeks.
* Temperature: Pineapples thrive in warm temperatures, ideally between 65°F and 85°F (18°C and 29°C). Protect your plant from frost and freezing temperatures. If you live in a cold climate, you’ll need to bring your pineapple plant indoors during the winter.
* Humidity: Pineapples appreciate high humidity. If you live in a dry climate, you can increase humidity by misting the leaves regularly or placing the pot on a tray filled with pebbles and water.
* Pest and disease control: Pineapples are relatively pest-resistant, but they can be susceptible to mealybugs and scale. Inspect your plant regularly for signs of infestation and treat accordingly. Fungal diseases can also be a problem, especially if the soil is too wet. Ensure good drainage and avoid overwatering to prevent fungal problems.
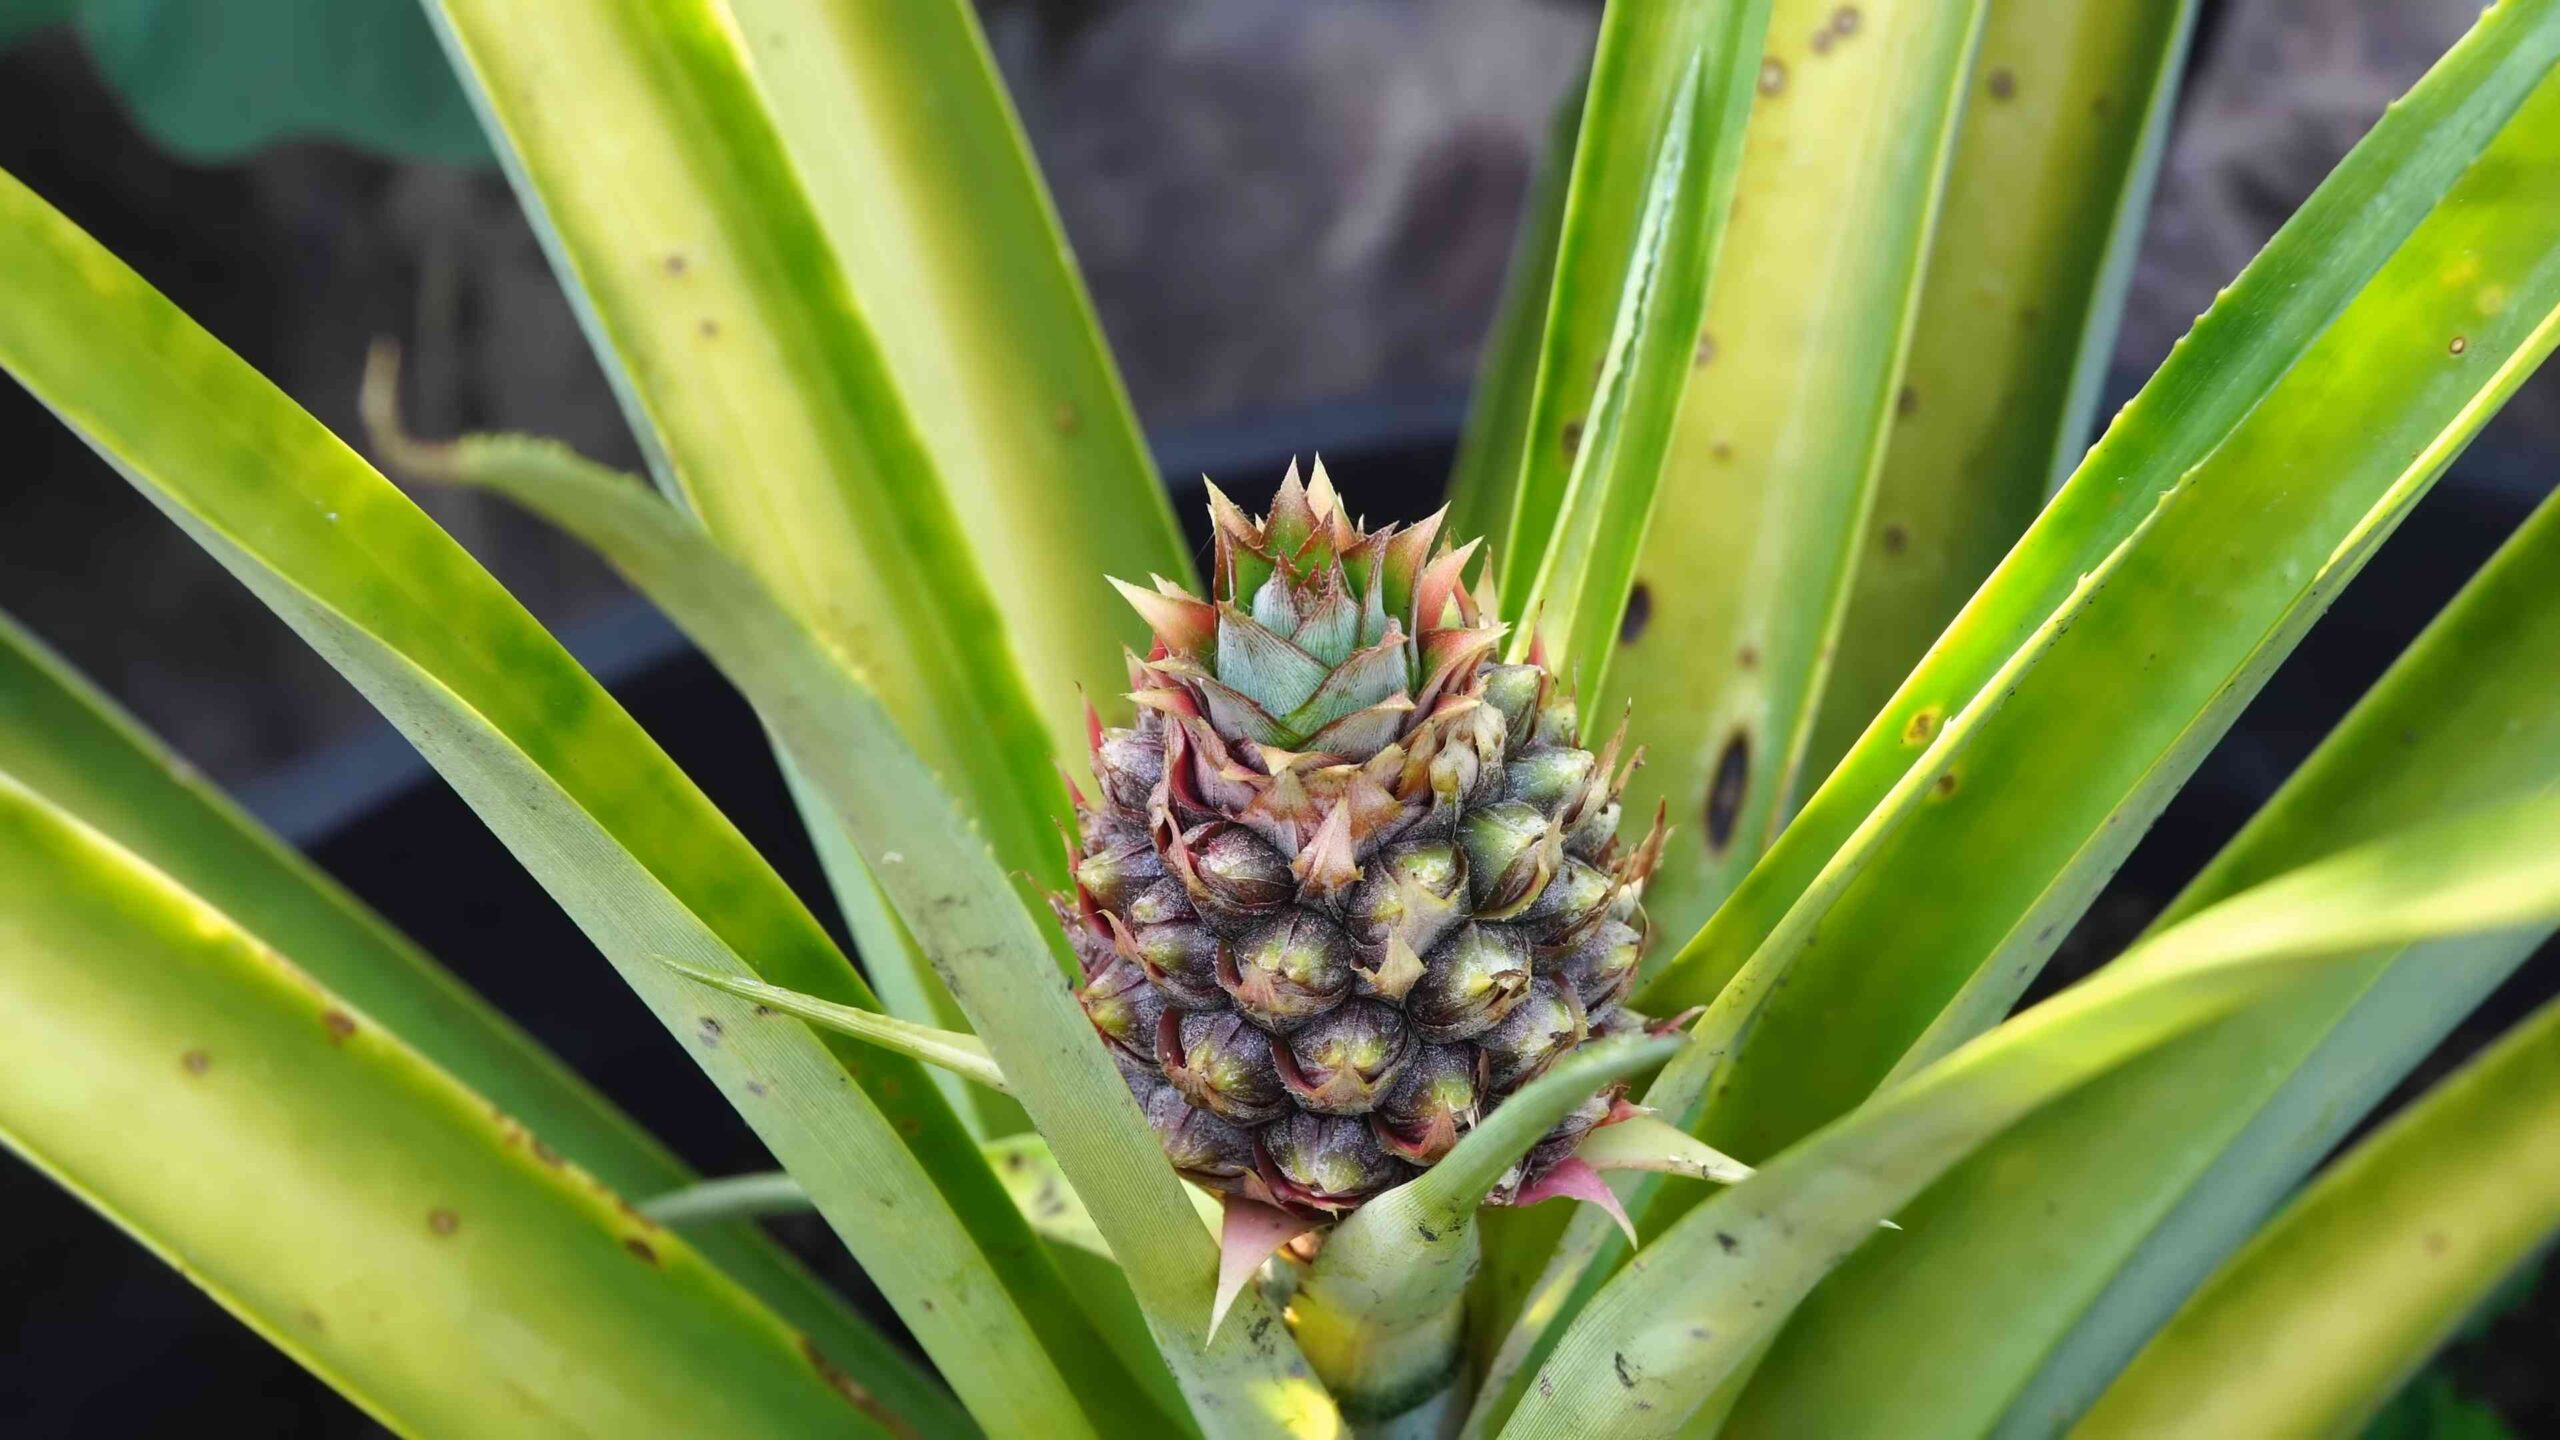
Encouraging Fruiting
Getting your pineapple plant to fruit can take some time and patience. It typically takes 2-3 years for a pineapple plant grown from a top to produce fruit. Here are some tips to encourage fruiting:
* Ethylene gas: Pineapples are stimulated to flower by ethylene gas. You can encourage flowering by placing an apple core or a banana peel near the base of the plant. The decaying fruit will release ethylene gas, which can trigger flowering.
* Magnesium sulfate (Epsom salts): Some gardeners recommend applying magnesium sulfate (Epsom salts) to the soil to encourage flowering. Dissolve 1 tablespoon of Epsom salts in 1 gallon of water and apply it to the soil every few months.
* Patience: The most important thing is to be patient. It can take a while for your pineapple plant to mature and produce fruit. Just keep providing it with the care it needs, and eventually, you’ll be rewarded with a delicious homegrown pineapple.
Harvesting Your Pineapple
Once your pineapple fruit has developed, it’s time to harvest it.
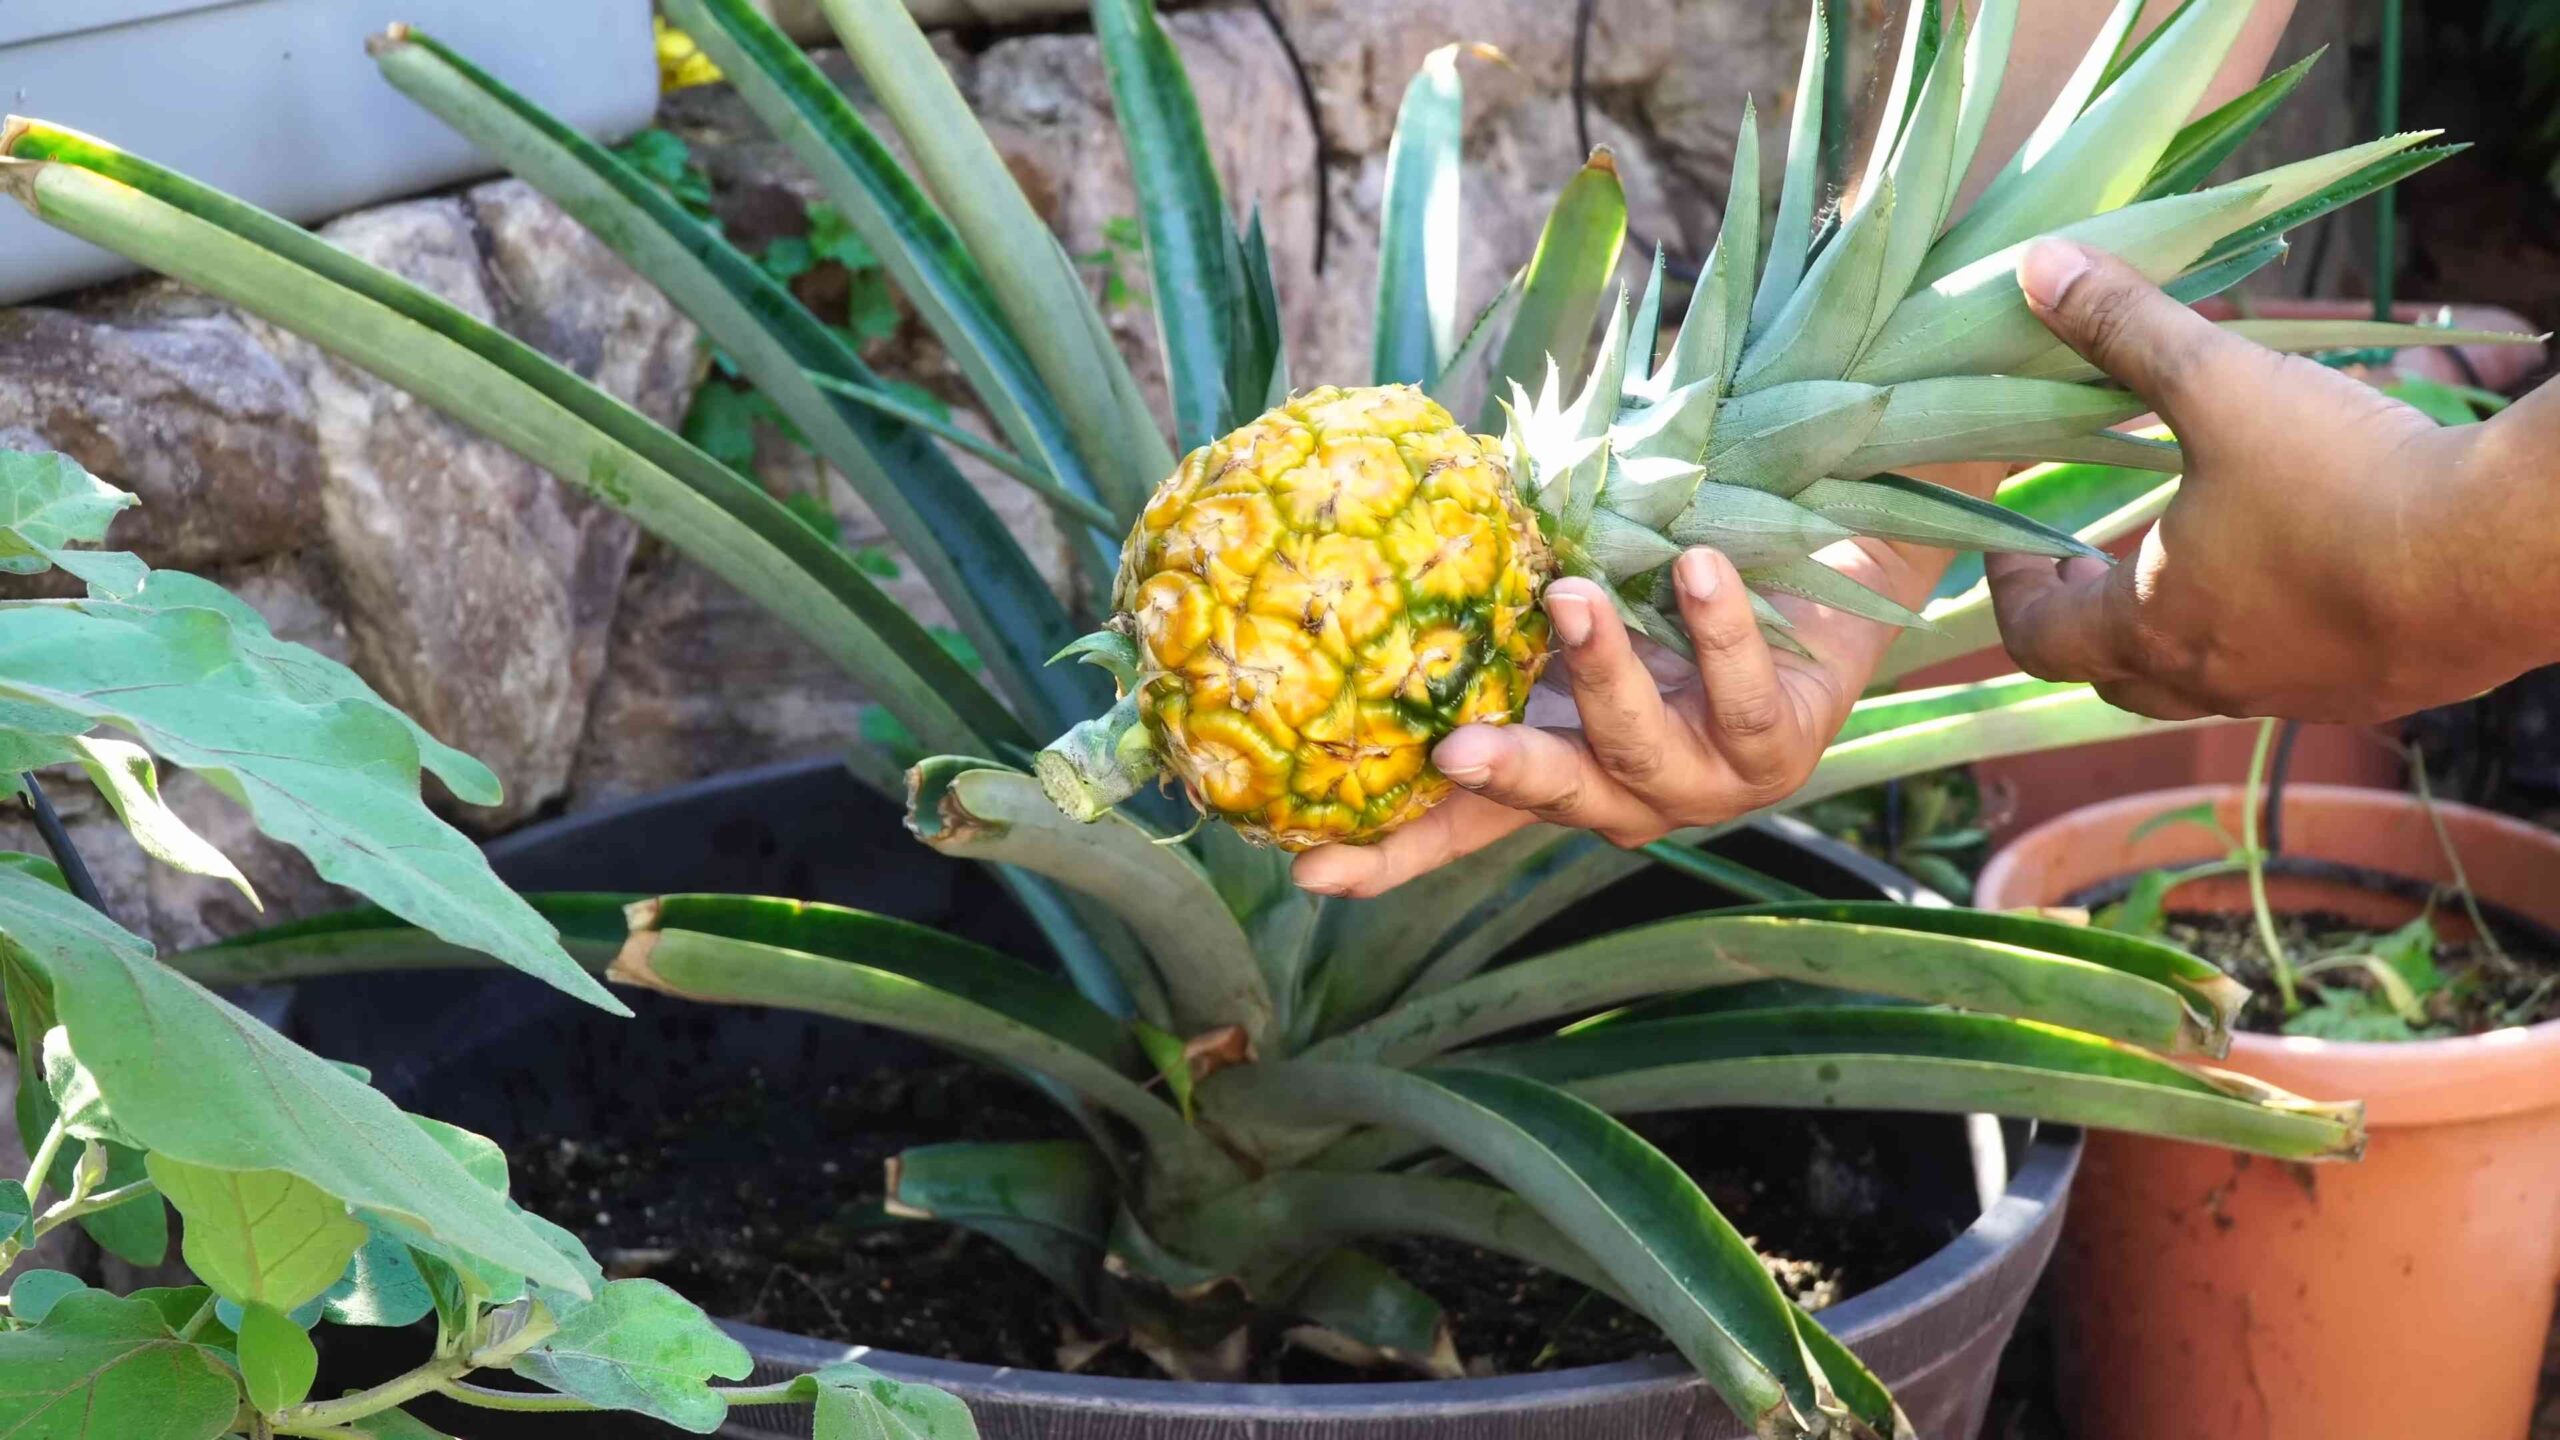
* Signs of ripeness: A ripe pineapple will have a fragrant aroma and a slightly soft feel. The skin will also change color from green to yellow or golden.
* Harvesting: Use a sharp knife to cut the pineapple from the plant. Leave a few inches of stem attached to the fruit.
* Enjoying your pineapple: Your homegrown pineapple is now ready to enjoy! Cut it up and eat it fresh, or use it in your favorite recipes.
Troubleshooting
Even with the best care, you may encounter some problems while growing pineapples in containers. Here are some common issues and how to address them:
* Yellowing leaves: Yellowing leaves can be caused by a variety of factors, including overwatering, underwatering, nutrient deficiencies, or pest infestations. Check the soil moisture and adjust your watering accordingly. Fertilize your plant regularly to provide it with the nutrients it needs. Inspect the leaves for signs of pests and treat accordingly.
* Brown leaf tips: Brown leaf tips are often caused by dry air or salt buildup in the soil. Increase humidity by misting the leaves regularly or placing the pot on a tray filled with pebbles and water. Flush the soil with water to remove excess salt.
* No fruit: If your pineapple plant is not fruiting, it may not be mature enough, or it may not be getting enough sunlight or nutrients. Be patient and continue providing it with the care it needs. You can also try using the ethylene gas method to encourage flowering.
* Rotting: Rotting can be caused by overwatering or fungal infections. Ensure good drainage and avoid overwatering. Treat fungal infections with a fungicide.
Final Thoughts
Growing pineapples in containers is a fun and rewarding project that anyone can do. With a little patience and care, you can enjoy the sweet taste of homegrown pineapple right in your own home. So, go ahead and give it a try! I promise, you won’t regret it. Happy growing!
Conclusion
So, there you have it! Growing pineapples in containers isn’t just a quirky gardening project; it’s a rewarding journey that brings a touch of the tropics right to your doorstep. We’ve walked through the simple steps, from selecting the perfect pineapple top to nurturing your plant to its fruiting glory. But why is this DIY trick a must-try?
Firstly, it’s incredibly satisfying. There’s something truly special about cultivating your own food, especially something as exotic as a pineapple. Watching that spiky top transform into a lush, vibrant plant, and then finally produce a delicious, homegrown pineapple, is an experience that connects you to nature in a profound way.
Secondly, it’s surprisingly easy. While it requires patience, the actual hands-on work is minimal. This makes it an ideal project for beginner gardeners or anyone looking for a low-maintenance way to add some greenery and fresh produce to their life. Plus, growing pineapples in containers allows you to control the environment, protecting your plant from harsh weather and pests.
Thirdly, it’s a conversation starter! Imagine the look on your friends’ faces when you tell them you grew your own pineapple. It’s a unique and impressive feat that’s sure to spark curiosity and admiration.
Now, let’s talk about variations. While we’ve focused on growing from a pineapple top, you can also experiment with different pineapple varieties. Some gardeners have had success with smaller, ornamental pineapples, which are perfect for smaller spaces. You can also play around with different soil mixes to find what works best for your climate and growing conditions. Consider adding some slow-release fertilizer specifically formulated for tropical plants to give your pineapple an extra boost. Another fun variation is to try growing multiple pineapple plants in a larger container for a more dramatic display.
Remember, the key to success is patience and observation. Pay attention to your plant’s needs, adjust your watering and fertilizing accordingly, and don’t be discouraged if it takes a while to fruit. The wait will be well worth it!
We wholeheartedly encourage you to try this DIY trick. Growing pineapples in containers is a fun, educational, and ultimately delicious experience. It’s a chance to connect with nature, learn about plant life, and enjoy the fruits (literally!) of your labor.
Don’t forget to share your experience with us! We’d love to see your pineapple-growing journey, from the initial planting to the final harvest. Share your photos, tips, and stories in the comments below. Let’s create a community of pineapple enthusiasts and inspire others to bring a little bit of the tropics into their homes. Happy growing! And remember, with a little patience and care, you too can enjoy the sweet taste of a homegrown pineapple. This method of growing **pineapples in containers** is a great way to get started.
Frequently Asked Questions (FAQ)
How long does it take to grow a pineapple in a container?
Patience is key! It typically takes anywhere from 1 to 3 years for a pineapple plant grown from a top to produce fruit. The exact timeframe depends on factors like climate, sunlight, soil quality, and the specific pineapple variety. Don’t be discouraged if it takes longer than expected; the wait will be worth it!
What kind of container is best for growing pineapples?
Choose a container that is at least 10-12 inches in diameter and depth. This will provide ample space for the roots to grow. The container should also have good drainage holes to prevent waterlogging, which can lead to root rot. Terra cotta pots are a good option as they allow for good air circulation. Plastic pots are also suitable, but be sure to monitor the soil moisture carefully.
What kind of soil should I use for growing pineapples?
Pineapples prefer well-draining, slightly acidic soil. A good mix would be equal parts potting soil, perlite, and peat moss. You can also add some compost to provide extra nutrients. Avoid using heavy clay soil, as it can retain too much water and suffocate the roots.
How much sunlight do pineapples need?
Pineapples thrive in full sun, meaning at least 6-8 hours of direct sunlight per day. If you live in a climate with hot summers, you may need to provide some afternoon shade to prevent the leaves from scorching. If you’re growing your pineapple indoors, place it near a sunny window or supplement with grow lights.
How often should I water my pineapple plant?
Water your pineapple plant when the top inch of soil feels dry to the touch. Avoid overwatering, as this can lead to root rot. During the growing season (spring and summer), you may need to water more frequently than in the dormant season (fall and winter). When watering, water thoroughly until water drains out of the drainage holes.
What kind of fertilizer should I use for pineapples?
Use a balanced fertilizer with a ratio of 10-10-10 or 14-14-14. Fertilize your pineapple plant every 2-3 months during the growing season. Follow the instructions on the fertilizer package carefully. You can also use a liquid fertilizer diluted to half strength.
How do I know when my pineapple is ripe?
A ripe pineapple will have a fragrant aroma and a slightly golden color. The “eyes” of the pineapple should be relatively flat. You can also gently tug on one of the leaves; if it comes out easily, the pineapple is likely ripe. The bottom of the pineapple will also be slightly softer than the top.
Can I grow pineapples indoors?
Yes, you can grow pineapples indoors, but you’ll need to provide them with plenty of sunlight or supplement with grow lights. Indoor-grown pineapples may take longer to fruit than those grown outdoors. Ensure good air circulation and monitor the soil moisture carefully.
What are some common pests and diseases that affect pineapples?
Common pests that can affect pineapples include mealybugs, scale, and spider mites. These pests can be controlled with insecticidal soap or neem oil. Root rot is a common disease that can occur if the soil is too wet. To prevent root rot, ensure good drainage and avoid overwatering.
How do I induce flowering in my pineapple plant?
If your pineapple plant is mature but not flowering, you can try inducing flowering by placing an apple core or a banana peel near the base of the plant. The ethylene gas released by the fruit can stimulate flowering. You can also try covering the plant with a clear plastic bag for a few days to trap the ethylene gas. Another method is to pour a small amount (about 1/4 cup) of calcium carbide solution (1 teaspoon of calcium carbide dissolved in 1 gallon of water) into the center of the plant. Be careful when handling calcium carbide, as it can be irritating to the skin and eyes.
My pineapple plant has pups (small offshoots). What should I do?
Pineapple plants often produce pups, which are small offshoots that grow from the base of the plant. You can leave the pups on the plant to create a fuller appearance, or you can remove them and plant them in separate containers to propagate new pineapple plants. To remove a pup, carefully cut it off from the mother plant with a sharp knife. Allow the cut end to callous over for a few days before planting it in well-draining soil.
Can I eat the pineapple skin?
While the skin of a pineapple is technically edible, it is very tough and fibrous and not typically consumed. However, you can use the pineapple skin to make tea or to infuse water. The skin contains bromelain, an enzyme that has anti-inflammatory properties.
What are the benefits of growing my own pineapples?
Growing your own pineapples is a rewarding experience that offers several benefits. You get to enjoy fresh, homegrown fruit that tastes better than store-bought pineapples. You also have control over the growing process, ensuring that your pineapples are grown without harmful pesticides or chemicals. Plus, growing pineapples is a fun and educational activity that connects you to nature.
Leave a Comment