

Grow Pointed Cabbage at Home: Ever dreamed of strolling into your backyard and harvesting the freshest, most flavorful pointed cabbage for your dinner? I know I have! Forget those bland, store-bought cabbages – imagine the vibrant taste of homegrown goodness, bursting with nutrients and ready to elevate your culinary creations. This isn’t just about growing vegetables; it’s about connecting with nature, embracing sustainability, and enjoying the unparalleled satisfaction of nurturing your own food.
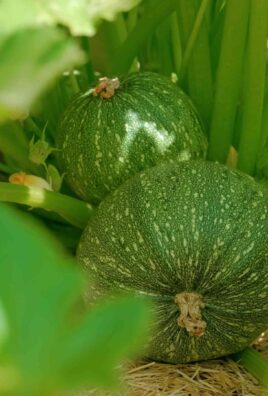
Cabbage, in general, has a rich history, dating back thousands of years. From ancient Rome, where it was prized for its medicinal properties, to medieval Europe, where it sustained communities through harsh winters, cabbage has always been a staple. Pointed cabbage, with its unique conical shape, offers a delightful twist on this classic vegetable. It’s often sweeter and more tender than its round counterparts, making it a fantastic addition to salads, slaws, stir-fries, and more.
But why should you learn to grow pointed cabbage at home? Well, besides the superior taste and freshness, it’s incredibly rewarding! Plus, with a few simple DIY tricks and hacks, even beginner gardeners can enjoy a bountiful harvest. I’m here to guide you through the process, sharing my tried-and-true methods for cultivating healthy, delicious pointed cabbages right in your own backyard. Say goodbye to expensive grocery store produce and hello to a thriving, homegrown garden!

Grow Your Own Pointed Cabbage: A Beginner’s Guide
Hey there, fellow gardening enthusiasts! Ever thought about growing your own pointed cabbage? It’s surprisingly easy, rewarding, and nothing beats the taste of fresh, homegrown veggies. I’m going to walk you through the whole process, from seed to harvest, so you can enjoy delicious pointed cabbage straight from your garden. Let’s get started!
Choosing the Right Variety and Timing
First things first, let’s talk about variety and timing. Pointed cabbage comes in different varieties, some maturing earlier than others.
* Early Varieties: These are great if you want a quicker harvest. Look for varieties like ‘Hispi’ or ‘Caraflex’. They typically mature in around 60-70 days.
* Late Varieties: These take a bit longer, around 80-90 days, but they often store better.
Timing is crucial for successful cabbage growing.
* Spring Planting: Start seeds indoors about 6-8 weeks before the last expected frost. This gives them a head start.
* Summer Planting: You can also plant in late summer for a fall harvest. This avoids the hottest part of the year, which cabbage doesn’t love.
Preparing Your Soil
Cabbage needs nutrient-rich soil to thrive. Here’s how to get your soil ready:
* Soil Type: Cabbage prefers well-drained soil that’s rich in organic matter. Loamy soil is ideal.
* pH Level: Aim for a soil pH between 6.0 and 7.0. You can test your soil with a kit from your local garden center.
* Amendments: Add plenty of compost or well-rotted manure to your soil. This will improve drainage, add nutrients, and help retain moisture. I usually add a generous layer, about 2-3 inches thick, and mix it in well.
* Fertilizer: Incorporate a balanced fertilizer, like a 10-10-10, into the soil before planting. Follow the instructions on the fertilizer package for the correct amount.
Starting Seeds Indoors
If you’re starting seeds indoors, here’s what you’ll need:
* Seed starting trays or small pots
* Seed starting mix
* Pointed cabbage seeds
* Watering can or spray bottle
* Grow lights (optional, but highly recommended)
Now, let’s get those seeds started!
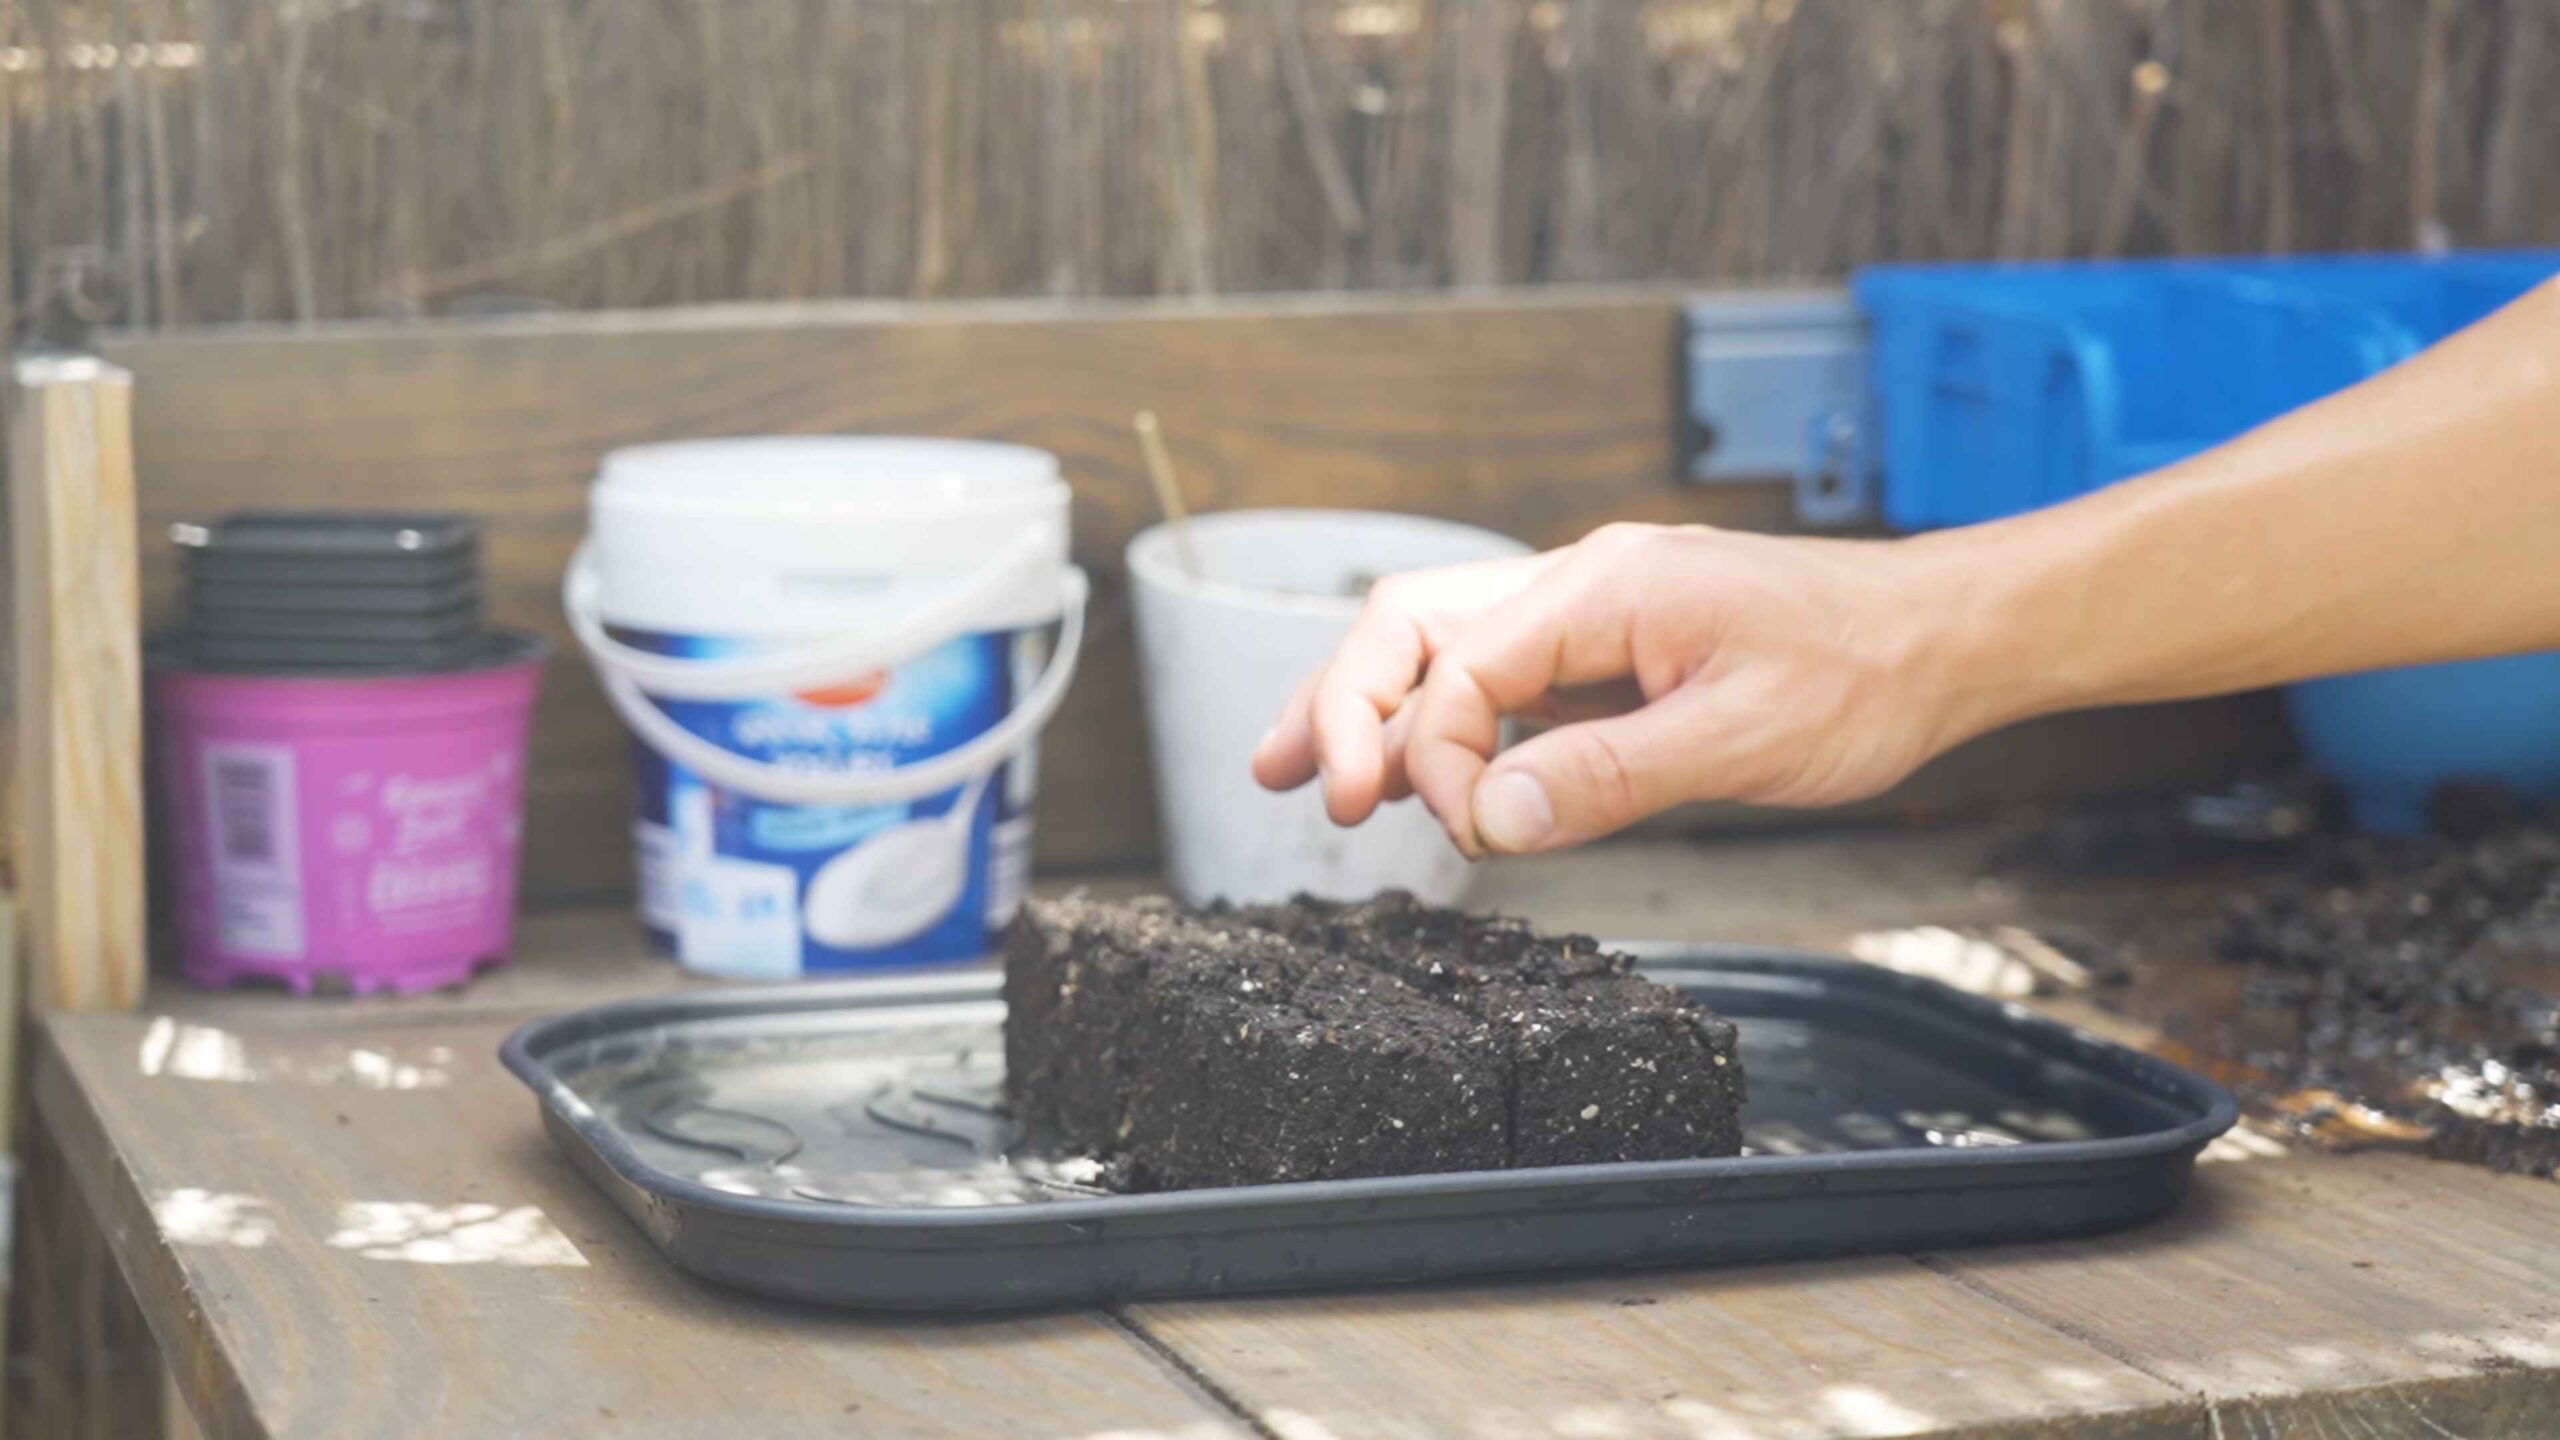
1. Fill the Trays: Fill your seed starting trays or pots with seed starting mix. Gently tap the trays to settle the soil.
2. Sow the Seeds: Make a small indentation in the soil, about ¼ inch deep. Place one or two seeds in each indentation.
3. Cover the Seeds: Gently cover the seeds with soil and lightly water them.
4. Provide Light: Place the trays under grow lights or in a sunny window. If using a window, rotate the trays regularly to prevent the seedlings from leaning towards the light.
5. Keep Moist: Keep the soil consistently moist, but not soggy. Water gently with a spray bottle or watering can.
6. Thin Seedlings: Once the seedlings have their first true leaves (the second set of leaves), thin them out, leaving only the strongest seedling in each cell or pot.
Transplanting Seedlings Outdoors
Once your seedlings are about 4-6 inches tall and the danger of frost has passed, it’s time to transplant them outdoors.
1. Harden Off Seedlings: Before transplanting, you need to “harden off” your seedlings. This means gradually exposing them to outdoor conditions. Start by placing them outside for an hour or two each day, gradually increasing the time over a week or two. This helps them adjust to the sun, wind, and temperature changes.
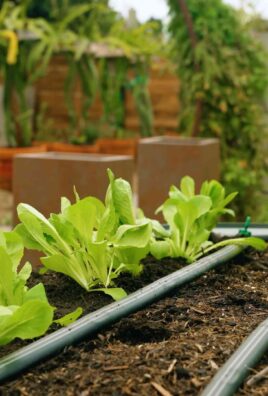
2. Prepare the Planting Area: Choose a sunny spot in your garden with well-drained soil. Amend the soil with compost or well-rotted manure, as described earlier.
3. Space the Seedlings: Space the seedlings about 12-18 inches apart. This gives them enough room to grow and prevents overcrowding.
4. Plant the Seedlings: Dig a hole slightly larger than the root ball of the seedling. Gently remove the seedling from its tray or pot and place it in the hole. Make sure the top of the root ball is level with the surrounding soil.
5. Backfill and Water: Backfill the hole with soil and gently firm it around the seedling. Water thoroughly.
6. Mulch: Apply a layer of mulch around the plants to help retain moisture, suppress weeds, and regulate soil temperature. Straw, wood chips, or shredded leaves work well.
Caring for Your Cabbage Plants
Once your cabbage plants are in the ground, here’s how to keep them happy and healthy:
* Watering: Cabbage needs consistent moisture, especially during hot, dry weather. Water deeply and regularly, aiming for about 1-1.5 inches of water per week.
* Fertilizing: Side-dress your cabbage plants with a nitrogen-rich fertilizer about 3-4 weeks after transplanting. This will give them a boost of growth. You can use a fertilizer like ammonium nitrate or urea, following the instructions on the package.
* Weeding: Keep the area around your cabbage plants free of weeds. Weeds compete with the cabbage for nutrients and water.
* Pest Control: Cabbage can be susceptible to several pests, including cabbage worms, aphids, and flea beetles.
* Cabbage Worms: These are green caterpillars that can devour your cabbage leaves. Handpicking them off the plants is an effective method, especially for small infestations. You can also use Bacillus thuringiensis (Bt), a natural insecticide that’s safe for humans and pets.
* Aphids: These tiny insects suck the sap from cabbage leaves, causing them to curl and distort. Spraying the plants with a strong stream of water can dislodge aphids. You can also use insecticidal soap or neem oil.
* Flea Beetles: These small, jumping beetles can create tiny holes in cabbage leaves. Covering the plants with row covers can prevent flea beetles from reaching them. You can also use insecticidal soap or diatomaceous earth.
* Disease Prevention: Cabbage can also be affected by diseases, such as black rot and clubroot.
* Black Rot: This bacterial disease causes yellowing and browning of the leaves. To prevent black rot, plant disease-resistant varieties and avoid overhead watering.
* Clubroot: This fungal disease causes swollen, distorted roots. To prevent clubroot, improve soil drainage and add lime to raise the soil pH.
Harvesting Your Pointed Cabbage
The moment you’ve been waiting for! Harvesting your homegrown pointed cabbage.
1. Check for Firmness: Your cabbage is ready to harvest when the head is firm and compact. Gently squeeze the head to check for firmness.
2. Cut the Head: Use a sharp knife to cut the head from the stem, leaving a few outer leaves attached.
3. Harvest Time: Depending on the variety, pointed cabbage is usually ready to harvest 60-90 days after planting.
4. Succession Planting: For a continuous harvest, plant new cabbage seedlings every few weeks.
Storing Your Harvest
If you’re not planning to eat your cabbage right away, here’s how to store it:
* Refrigeration: Store unwashed cabbage heads in the refrigerator for up to 2 weeks. Wrap them loosely in plastic wrap or place them in a plastic bag.
* Freezing: You can also freeze cabbage, but it’s best to blanch it first. Cut the cabbage into wedges and blanch them in boiling water for 2-3 minutes. Then, plunge them into ice water to stop the cooking process. Drain well and freeze in freezer bags or containers.
* Root Cellar: If you have a root cellar, you can store cabbage heads in a cool, humid environment for several months.
Troubleshooting Common Problems
Even with the best care, you might encounter some problems while growing pointed cabbage. Here are a few common issues and how to address them:
* Heads Not Forming: If your cabbage plants are not forming heads, it could be due to several factors, including lack of nutrients, insufficient water, or hot weather. Make sure you’re providing adequate water and fertilizer, and consider providing shade during the hottest part of the day.
* Splitting Heads: Cabbage heads can split if they receive too much water after a dry spell. To prevent this, water consistently and avoid overwatering.
* Pest Infestations: As mentioned earlier, cabbage is susceptible to several pests. Regularly inspect your plants for signs of pests and take action promptly.
Enjoying Your Homegrown Cabbage
Now that you’ve harvested your delicious pointed cabbage, it’s time to enjoy it
Conclusion
So, there you have it! Growing your own pointed cabbage at home isn’t just a whimsical gardening project; it’s a genuinely rewarding experience that delivers fresh, flavorful, and often more affordable produce right to your kitchen. We’ve walked you through the process, from selecting the right seeds to nurturing your seedlings and finally, harvesting your own perfectly formed pointed cabbages.
Why is this DIY trick a must-try? Firstly, the taste. Homegrown vegetables, especially pointed cabbage, boast a superior flavor profile compared to store-bought varieties. You’ll notice a sweeter, more delicate taste that elevates your salads, stir-fries, and slaws to a whole new level. Secondly, you have complete control over the growing process. No harsh chemicals, no questionable pesticides – just pure, natural goodness. This is especially important if you are health-conscious and want to ensure the quality of your food. Thirdly, it’s incredibly satisfying. There’s a unique sense of accomplishment that comes from nurturing a plant from seed to harvest, knowing you played an active role in providing food for yourself and your family.
But the benefits don’t stop there. Growing your own pointed cabbage is also a fantastic way to connect with nature, reduce your carbon footprint, and even save money in the long run. Plus, it’s a great activity to share with children, teaching them about the importance of healthy eating and sustainable living.
Looking for variations? Consider companion planting. Marigolds, for example, can help deter pests, while dill can attract beneficial insects. Experiment with different soil types to see what works best in your region. You can also try growing different varieties of pointed cabbage, such as ‘Hispi’ or ‘Caraflex’, to discover your personal favorite. If space is limited, try growing your pointed cabbage in containers. Just make sure to choose a large enough pot and provide adequate drainage.
Don’t be intimidated by the process. Even if you’re a beginner gardener, you can successfully grow pointed cabbage at home. Start small, follow our guide, and don’t be afraid to experiment. The key is to be patient, observant, and willing to learn from your mistakes.
We wholeheartedly encourage you to give this DIY trick a try. Imagine the satisfaction of serving a salad made with your own homegrown pointed cabbage, knowing that you nurtured it from seed to table. It’s a truly rewarding experience that will transform the way you think about food.
Once you’ve harvested your first pointed cabbage, we’d love to hear about your experience! Share your photos, tips, and challenges in the comments below. Let’s create a community of home gardeners who are passionate about growing their own fresh, delicious produce. Your insights could inspire others to embark on their own pointed cabbage growing journey. So, grab your seeds, get your hands dirty, and get ready to enjoy the delicious rewards of growing your own pointed cabbage at home! Let us know how your **pointed cabbage** growing goes!
Frequently Asked Questions (FAQ)
What is the best time of year to plant pointed cabbage?
The best time to plant pointed cabbage depends on your climate. In general, pointed cabbage is a cool-season crop, so it thrives in spring and fall. For a spring harvest, start seeds indoors 6-8 weeks before the last expected frost. Transplant seedlings outdoors after the danger of frost has passed. For a fall harvest, sow seeds directly into the garden in mid-summer. Check your local climate data for specific planting dates. In warmer climates, you may be able to grow pointed cabbage throughout the winter.
How much sunlight does pointed cabbage need?
Pointed cabbage needs at least 6 hours of sunlight per day to thrive. Choose a planting location that receives full sun for optimal growth and head development. If you live in a particularly hot climate, some afternoon shade may be beneficial to prevent the leaves from scorching.
What kind of soil is best for growing pointed cabbage?
Pointed cabbage prefers well-drained, fertile soil with a pH between 6.0 and 7.0. Amend the soil with compost or other organic matter before planting to improve drainage and fertility. A slightly acidic soil is ideal. You can test your soil pH with a home testing kit or by sending a sample to your local agricultural extension office.
How often should I water pointed cabbage?
Pointed cabbage needs consistent moisture to grow properly. Water deeply and regularly, especially during dry periods. Aim to keep the soil consistently moist but not waterlogged. Mulching around the plants can help retain moisture and suppress weeds. Check the soil moisture regularly by sticking your finger into the soil about an inch deep. If it feels dry, it’s time to water.
What are some common pests and diseases that affect pointed cabbage?
Pointed cabbage can be susceptible to several pests and diseases, including cabbage worms, aphids, flea beetles, clubroot, and black rot. Regularly inspect your plants for signs of infestation or disease. Use organic pest control methods, such as insecticidal soap or neem oil, to control pests. Practice crop rotation and choose disease-resistant varieties to prevent diseases. Remove any infected plants promptly to prevent the spread of disease.
How do I harvest pointed cabbage?
Pointed cabbage is typically ready to harvest when the head is firm and compact. The exact time will depend on the variety and growing conditions, but it’s usually around 60-80 days after transplanting. To harvest, use a sharp knife to cut the head from the stem, leaving a few outer leaves intact.
Can I grow pointed cabbage in containers?
Yes, you can grow pointed cabbage in containers, but you’ll need to choose a large enough pot (at least 12 inches in diameter) to accommodate the plant’s root system. Use a well-draining potting mix and provide regular watering and fertilization. Container-grown pointed cabbage may need more frequent watering than plants grown in the ground.
How do I store pointed cabbage after harvesting?
Pointed cabbage can be stored in the refrigerator for several weeks. Wrap the head in plastic wrap or place it in a plastic bag to prevent it from drying out. You can also freeze pointed cabbage, but it’s best to blanch it first to preserve its quality.
What are some ways to use pointed cabbage in cooking?
Pointed cabbage is a versatile vegetable that can be used in a variety of dishes. It can be eaten raw in salads and slaws, or cooked in stir-fries, soups, and stews. It’s also delicious steamed, roasted, or grilled. Try using pointed cabbage in place of regular cabbage in your favorite recipes.
Can I save seeds from my pointed cabbage plants?
Saving seeds from pointed cabbage can be challenging because it’s a biennial plant, meaning it takes two years to produce seeds. Also, pointed cabbage readily cross-pollinates with other members of the Brassica family, so you’ll need to isolate your plants to ensure true-to-type seeds. If you’re interested in seed saving, research the process thoroughly and be prepared for a multi-year commitment. It is generally easier for home gardeners to purchase new seeds each year.

Leave a Comment