

Grow Pumpkins at Home, even if you think you don’t have the space! Have you ever dreamed of carving a pumpkin you nurtured from a tiny seed, or baking a pie with a pumpkin you grew yourself? It’s more achievable than you might think, and this DIY guide is packed with tricks to help you succeed, no matter your garden size.
Pumpkins have a rich history, dating back thousands of years in North America, where they were a vital food source for indigenous peoples. They weren’t just for decoration; they were a staple! Today, pumpkins are synonymous with autumn and Halloween, but growing your own connects you to that deeper history and provides a rewarding experience.
Why should you try these DIY pumpkin-growing hacks? Well, store-bought pumpkins can be expensive, and sometimes, they just don’t have that special something. Plus, knowing you cultivated your own pumpkin from seed to harvest is incredibly satisfying. I’m going to share some simple, effective methods to grow pumpkins at home, even if you only have a balcony or a small backyard. These tricks will help you maximize your yield, protect your plants from pests, and ensure you have the perfect pumpkins ready for fall. Let’s get started!
Growing Pumpkins: A Beginner’s Guide to a Bountiful Harvest
Okay, so you want to grow pumpkins? Awesome! It’s a surprisingly rewarding experience, and nothing beats carving a pumpkin you grew yourself. Don’t be intimidated; even if you’re a gardening newbie, you can totally pull this off. I’m going to walk you through everything you need to know, from seed to spooky jack-o’-lantern.
Choosing Your Pumpkin Variety
First things first, let’s talk pumpkins! There are tons of different varieties, and the best one for you depends on what you want to do with it.
* **Jack-o’-Lantern Pumpkins:** These are your classic carving pumpkins. Think ‘Howden’, ‘Connecticut Field’, and ‘Jack O’Lantern’. They’re generally medium-sized and have a good shape for carving.
* **Pie Pumpkins (Sugar Pumpkins):** These are smaller, denser, and sweeter, making them perfect for pies and other culinary creations. ‘Baby Pam’ and ‘Sugar Pie’ are popular choices.
* **Giant Pumpkins:** If you’re feeling ambitious, go for a giant variety like ‘Atlantic Giant’. Be warned, these require a lot of space and dedication!
* **Ornamental Pumpkins:** These are grown for their unique shapes, colors, and textures. Think ‘Gourds’ and ‘Mini Pumpkins’.
I usually go for a mix of Jack-o’-Lantern and Sugar Pie pumpkins. That way, I have some for carving and some for baking!
Preparing Your Pumpkin Patch
Pumpkins are hungry plants, so soil preparation is key. They need plenty of sunlight and well-drained soil that’s rich in organic matter.
* **Sunlight:** Pumpkins need at least 6 hours of direct sunlight per day. The more, the better!
* **Soil:** The ideal soil is loamy, well-draining, and slightly acidic (pH 6.0-7.0).
* **Space:** Pumpkin vines can spread out quite a bit, so give them plenty of room. Allow at least 4-6 feet between plants, and even more for giant varieties.
* **Amendments:** Before planting, amend your soil with plenty of compost or well-rotted manure. This will provide essential nutrients and improve drainage.
Step-by-Step Soil Preparation:
1. **Choose your location:** Pick a spot that gets plenty of sun and has enough space for your pumpkin vines to spread.
2. **Clear the area:** Remove any weeds, rocks, or debris from the planting area.
3. **Dig:** Dig a hole about 12 inches deep and wide for each pumpkin plant.
4. **Amend the soil:** Mix the soil you removed with plenty of compost or well-rotted manure. A good rule of thumb is to use about one-third compost to two-thirds soil.
5. **Fill the hole:** Fill the hole back in with the amended soil, creating a slightly raised mound. This will help with drainage.
Planting Your Pumpkin Seeds
You can either start your pumpkin seeds indoors or direct sow them in the garden. Starting them indoors gives you a head start, especially in cooler climates.
* **Starting Seeds Indoors:** Start seeds indoors about 2-3 weeks before the last expected frost.
* **Direct Sowing:** Direct sow seeds in the garden after the last frost, when the soil has warmed up to at least 60°F (15°C).
Starting Seeds Indoors:
1. **Gather your supplies:** You’ll need seed starting trays or small pots, seed starting mix, pumpkin seeds, and a watering can.
2. **Fill the trays/pots:** Fill the trays or pots with seed starting mix.
3. **Plant the seeds:** Plant 2-3 seeds per cell or pot, about 1 inch deep.
4. **Water gently:** Water the soil gently until it’s moist but not soggy.
5. **Provide warmth:** Place the trays or pots in a warm location, such as on top of a refrigerator or on a heat mat.
6. **Provide light:** Once the seeds germinate (sprout), move them to a sunny location or under grow lights.
7. **Thin the seedlings:** Once the seedlings have their first true leaves (the second set of leaves), thin them to one plant per cell or pot. Choose the strongest seedling and snip off the others at the soil line.
8. **Harden off the seedlings:** Before transplanting the seedlings outdoors, you’ll need to harden them off. This means gradually exposing them to outdoor conditions over a period of about a week. Start by placing them in a sheltered location for a few hours each day, gradually increasing the amount of time they spend outdoors.
Direct Sowing Seeds:
1. **Prepare the soil:** Make sure the soil is warm and well-drained.
2. **Plant the seeds:** Plant 2-3 seeds per hill, about 1 inch deep. Space the hills according to the variety you’re growing.
3. **Water gently:** Water the soil gently until it’s moist but not soggy.
4. **Thin the seedlings:** Once the seedlings have their first true leaves, thin them to one plant per hill. Choose the strongest seedling and snip off the others at the soil line.
Caring for Your Pumpkin Plants
Once your pumpkin plants are established, it’s important to provide them with the care they need to thrive.
* **Watering:** Pumpkins need consistent watering, especially during hot, dry weather. Water deeply at the base of the plant, avoiding getting the leaves wet.
* **Fertilizing:** Pumpkins are heavy feeders, so fertilize them regularly with a balanced fertilizer. Follow the instructions on the fertilizer label.
* **Weeding:** Keep the area around your pumpkin plants free of weeds. Weeds compete with pumpkins for nutrients and water.
* **Pest Control:** Keep an eye out for pests like squash bugs, squash vine borers, and cucumber beetles. Handpick pests or use insecticidal soap or neem oil.
* **Pollination:** Pumpkins have separate male and female flowers. Bees are essential for pollination. If you’re not seeing many bees, you can hand-pollinate the flowers yourself.
Hand-Pollinating Pumpkins:
1. **Identify male and female flowers:** Male flowers have a long, thin stem, while female flowers have a small, immature pumpkin at the base.
2. **Collect pollen:** In the morning, use a small paintbrush to collect pollen from the male flower.
3. **Transfer pollen:** Gently brush the pollen onto the stigma (the center part) of the female flower.
4. **Repeat:** Repeat this process for several female flowers.
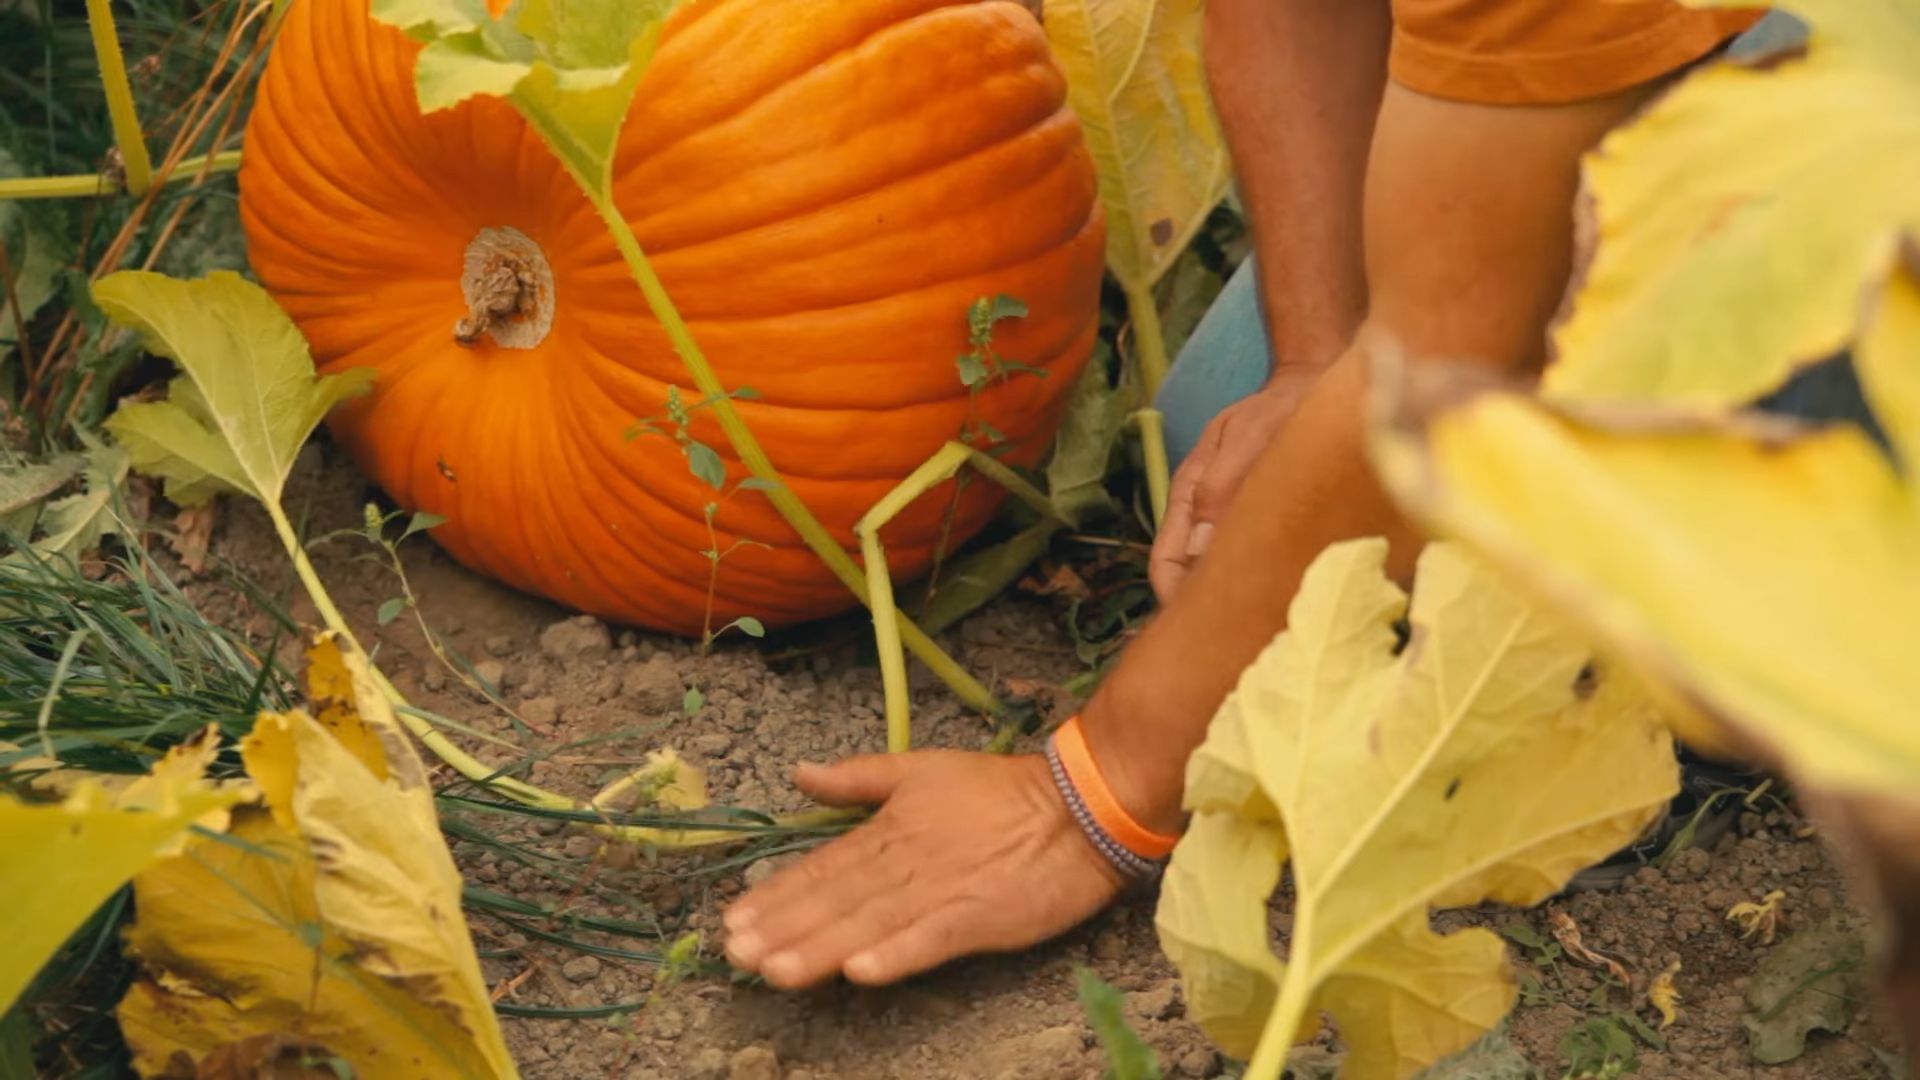
Protecting Your Pumpkins
As your pumpkins grow, you’ll want to protect them from pests, diseases, and the elements.
* **Elevate the pumpkins:** Place a piece of cardboard or wood under each pumpkin to prevent it from rotting on the ground.
* **Protect from pests:** Use row covers or netting to protect your pumpkins from pests.
* **Protect from frost:** If frost is predicted, cover your pumpkins with blankets or tarps.
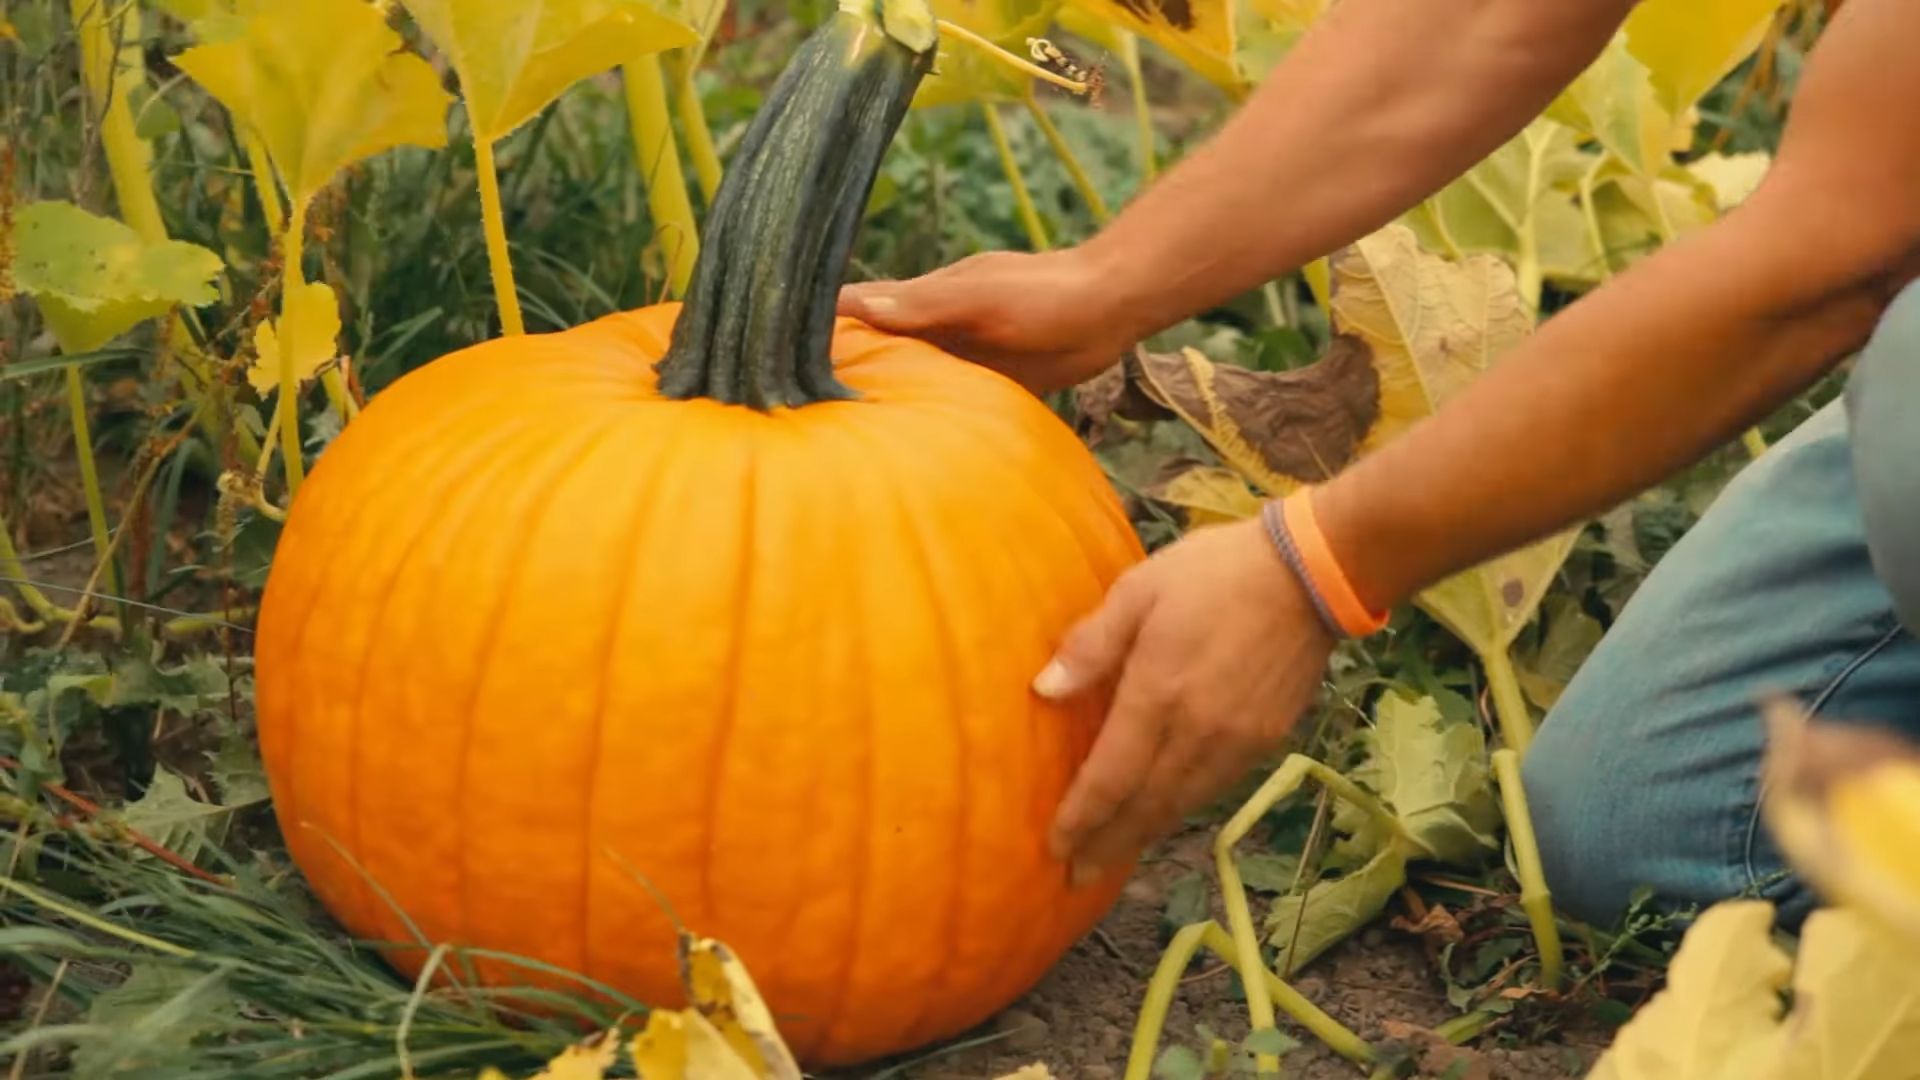
Harvesting Your Pumpkins
The moment you’ve been waiting for! Knowing when to harvest is crucial.
* **Color:** The pumpkin should be a deep, solid color.
* **Stem:** The stem should be dry and hard.
* **Rind:** The rind should be hard and resistant to scratching.
* **Sound:** When you tap the pumpkin, it should sound hollow.
Harvesting Steps:
1. **Cut the stem:** Use a sharp knife or pruning shears to cut the stem, leaving about 3-4 inches of stem attached to the pumpkin.
2. **Handle with care:** Be careful not to drop or bruise the pumpkin.
3. **Cure the pumpkins:** Cure the pumpkins in a warm, dry place for about 1-2 weeks. This will help them last longer.
Storing Your Pumpkins
Proper storage is key to keeping your pumpkins fresh for as long as possible.
* **Clean the pumpkins:** Wipe the pumpkins clean with a damp cloth.
* **Store in a cool, dry place:** Store the pumpkins in a cool, dry place with good ventilation. A basement or garage is ideal.
* **Avoid stacking:** Avoid stacking the pumpkins on top of each other, as this can cause them to rot.
Troubleshooting Common Pumpkin Problems
Even with the best care, you might encounter some problems along the way. Here are a few common issues and how to deal with them:
* **Powdery Mildew:** This fungal disease causes a white, powdery coating on the leaves. Treat with a fungicide or a homemade solution of baking soda and water.
* **Squash Bugs:** These pests suck the sap from the leaves and can kill your plants. Handpick them or use insecticidal soap.
* **Squash Vine Borers:** These pests bore into the stems of the plants and can cause them to wilt and die.
Conclusion
So, there you have it! Growing pumpkins at home is not only achievable, but it’s also incredibly rewarding. Forget the crowded pumpkin patches and overpriced gourds – imagine strolling through your own backyard, selecting the perfect pumpkin you nurtured from a tiny seed. This DIY adventure offers a unique connection to nature, a fun activity for the whole family, and a guaranteed conversation starter come autumn.
But why is this DIY pumpkin growing trick a must-try? It’s about more than just saving money. It’s about the satisfaction of creating something beautiful and delicious with your own hands. It’s about understanding the life cycle of a plant and appreciating the bounty of the earth. And, let’s be honest, it’s about bragging rights when you present a perfectly formed, homegrown pumpkin to your friends and neighbors.
Beyond the basic steps outlined, there’s plenty of room for experimentation and personalization. Consider these variations to elevate your pumpkin-growing game:
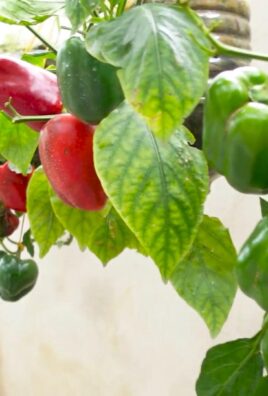
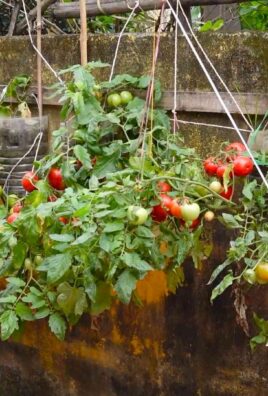
* Vertical Gardening: If space is limited, try growing smaller pumpkin varieties on a sturdy trellis. This not only saves space but also adds a unique visual element to your garden.
* Companion Planting: Plant beneficial herbs and flowers like marigolds, nasturtiums, or basil near your pumpkins to deter pests and attract pollinators.
* Heirloom Varieties: Explore the world of heirloom pumpkins! From the vibrant orange ‘Rouge Vif d’Etampes’ to the ghostly white ‘Lumina,’ there’s a pumpkin variety to suit every taste and aesthetic.
* Pumpkin Patch Party: Turn your pumpkin patch into a festive event! Invite friends and family to help with planting, weeding, or harvesting.
Don’t be intimidated if you’re a beginner gardener. Growing pumpkins at home is surprisingly straightforward, and the rewards far outweigh the effort. The key is to start with good soil, provide plenty of sunlight and water, and be patient. Remember to choose the right variety of pumpkin for your climate and space.
We wholeheartedly encourage you to give this DIY trick a try. Imagine the joy of carving your own homegrown pumpkin, baking a delicious pumpkin pie with ingredients straight from your garden, or simply admiring the beauty of your pumpkin patch as it flourishes.
Once you’ve embarked on your pumpkin-growing journey, we’d love to hear about your experience! Share your photos, tips, and challenges in the comments below. Let’s create a community of pumpkin enthusiasts and inspire others to discover the magic of growing their own food. Happy pumpkin growing!
Frequently Asked Questions (FAQ)
What is the best time to plant pumpkin seeds?
The ideal time to plant pumpkin seeds depends on your climate and the specific variety of pumpkin you’re growing. Generally, you should aim to plant after the last frost, when the soil has warmed to at least 60°F (15°C). Pumpkins require a long growing season, typically 90-120 days, so plan accordingly. In cooler climates, you may need to start seeds indoors 2-3 weeks before the last frost to give them a head start. Check your local frost dates and the seed packet instructions for the most accurate timing.
How much space do pumpkins need to grow?
Pumpkins are sprawling plants that require a significant amount of space. As a general rule, allow at least 4-6 feet between plants for smaller varieties and 8-10 feet for larger varieties. If you’re growing pumpkins in rows, space the rows 10-12 feet apart. Consider the mature size of the pumpkin variety you’re growing when determining spacing. If space is limited, consider growing smaller varieties on a trellis.
What kind of soil is best for growing pumpkins?
Pumpkins thrive in well-drained, fertile soil that is rich in organic matter. Before planting, amend the soil with compost, aged manure, or other organic materials to improve its structure and nutrient content. The ideal soil pH for pumpkins is between 6.0 and 7.0. Conduct a soil test to determine the pH and nutrient levels of your soil and amend accordingly.
How often should I water my pumpkin plants?
Pumpkins require consistent moisture, especially during fruit development. Water deeply and regularly, aiming to keep the soil consistently moist but not waterlogged. Water at the base of the plants to avoid wetting the foliage, which can increase the risk of fungal diseases. During hot, dry weather, you may need to water daily. Mulching around the plants can help retain moisture and suppress weeds.
What are some common pests and diseases that affect pumpkins?
Pumpkins are susceptible to several pests and diseases, including squash bugs, squash vine borers, powdery mildew, and downy mildew. Regularly inspect your plants for signs of pests or diseases and take action promptly. Use organic pest control methods such as handpicking pests, using insecticidal soap, or applying neem oil. To prevent fungal diseases, ensure good air circulation, avoid overhead watering, and apply a fungicide if necessary.
How do I know when my pumpkins are ripe?
Pumpkins are typically ripe when they have reached their mature color, the rind is hard and resistant to scratching, and the stem is dry and brown. Gently tap the pumpkin; a ripe pumpkin will sound hollow. Leave about 3-4 inches of stem attached when harvesting to prevent rot.
Can I eat the pumpkin flowers?
Yes, pumpkin flowers are edible and can be used in a variety of culinary dishes. They can be battered and fried, stuffed with cheese, or added to soups and salads. Harvest the male flowers, which do not produce fruit, to avoid reducing the number of pumpkins your plants produce.
How can I grow giant pumpkins?
Growing giant pumpkins requires a lot of dedication, time, and effort. Choose a variety specifically bred for giant pumpkin growing, such as ‘Atlantic Giant.’ Start seeds indoors early and transplant them into a well-prepared bed of fertile soil. Provide ample water and nutrients, and carefully prune the plants to focus their energy on developing a single fruit. Protect the developing pumpkin from pests and diseases, and provide shade during hot weather.
What can I do with my pumpkins after Halloween?
Don’t let your pumpkins go to waste after Halloween! You can compost them, use them to make pumpkin puree for cooking and baking, or donate them to local farms or animal shelters. Pumpkin seeds can be roasted and eaten as a healthy snack.
How do I save pumpkin seeds for next year?
To save pumpkin seeds for next year, scoop them out of a ripe pumpkin and rinse them thoroughly to remove any pulp. Spread the seeds out on a paper towel to dry completely, which may take several days. Once the seeds are dry, store them in an airtight container in a cool, dark, and dry place.
Leave a Comment