

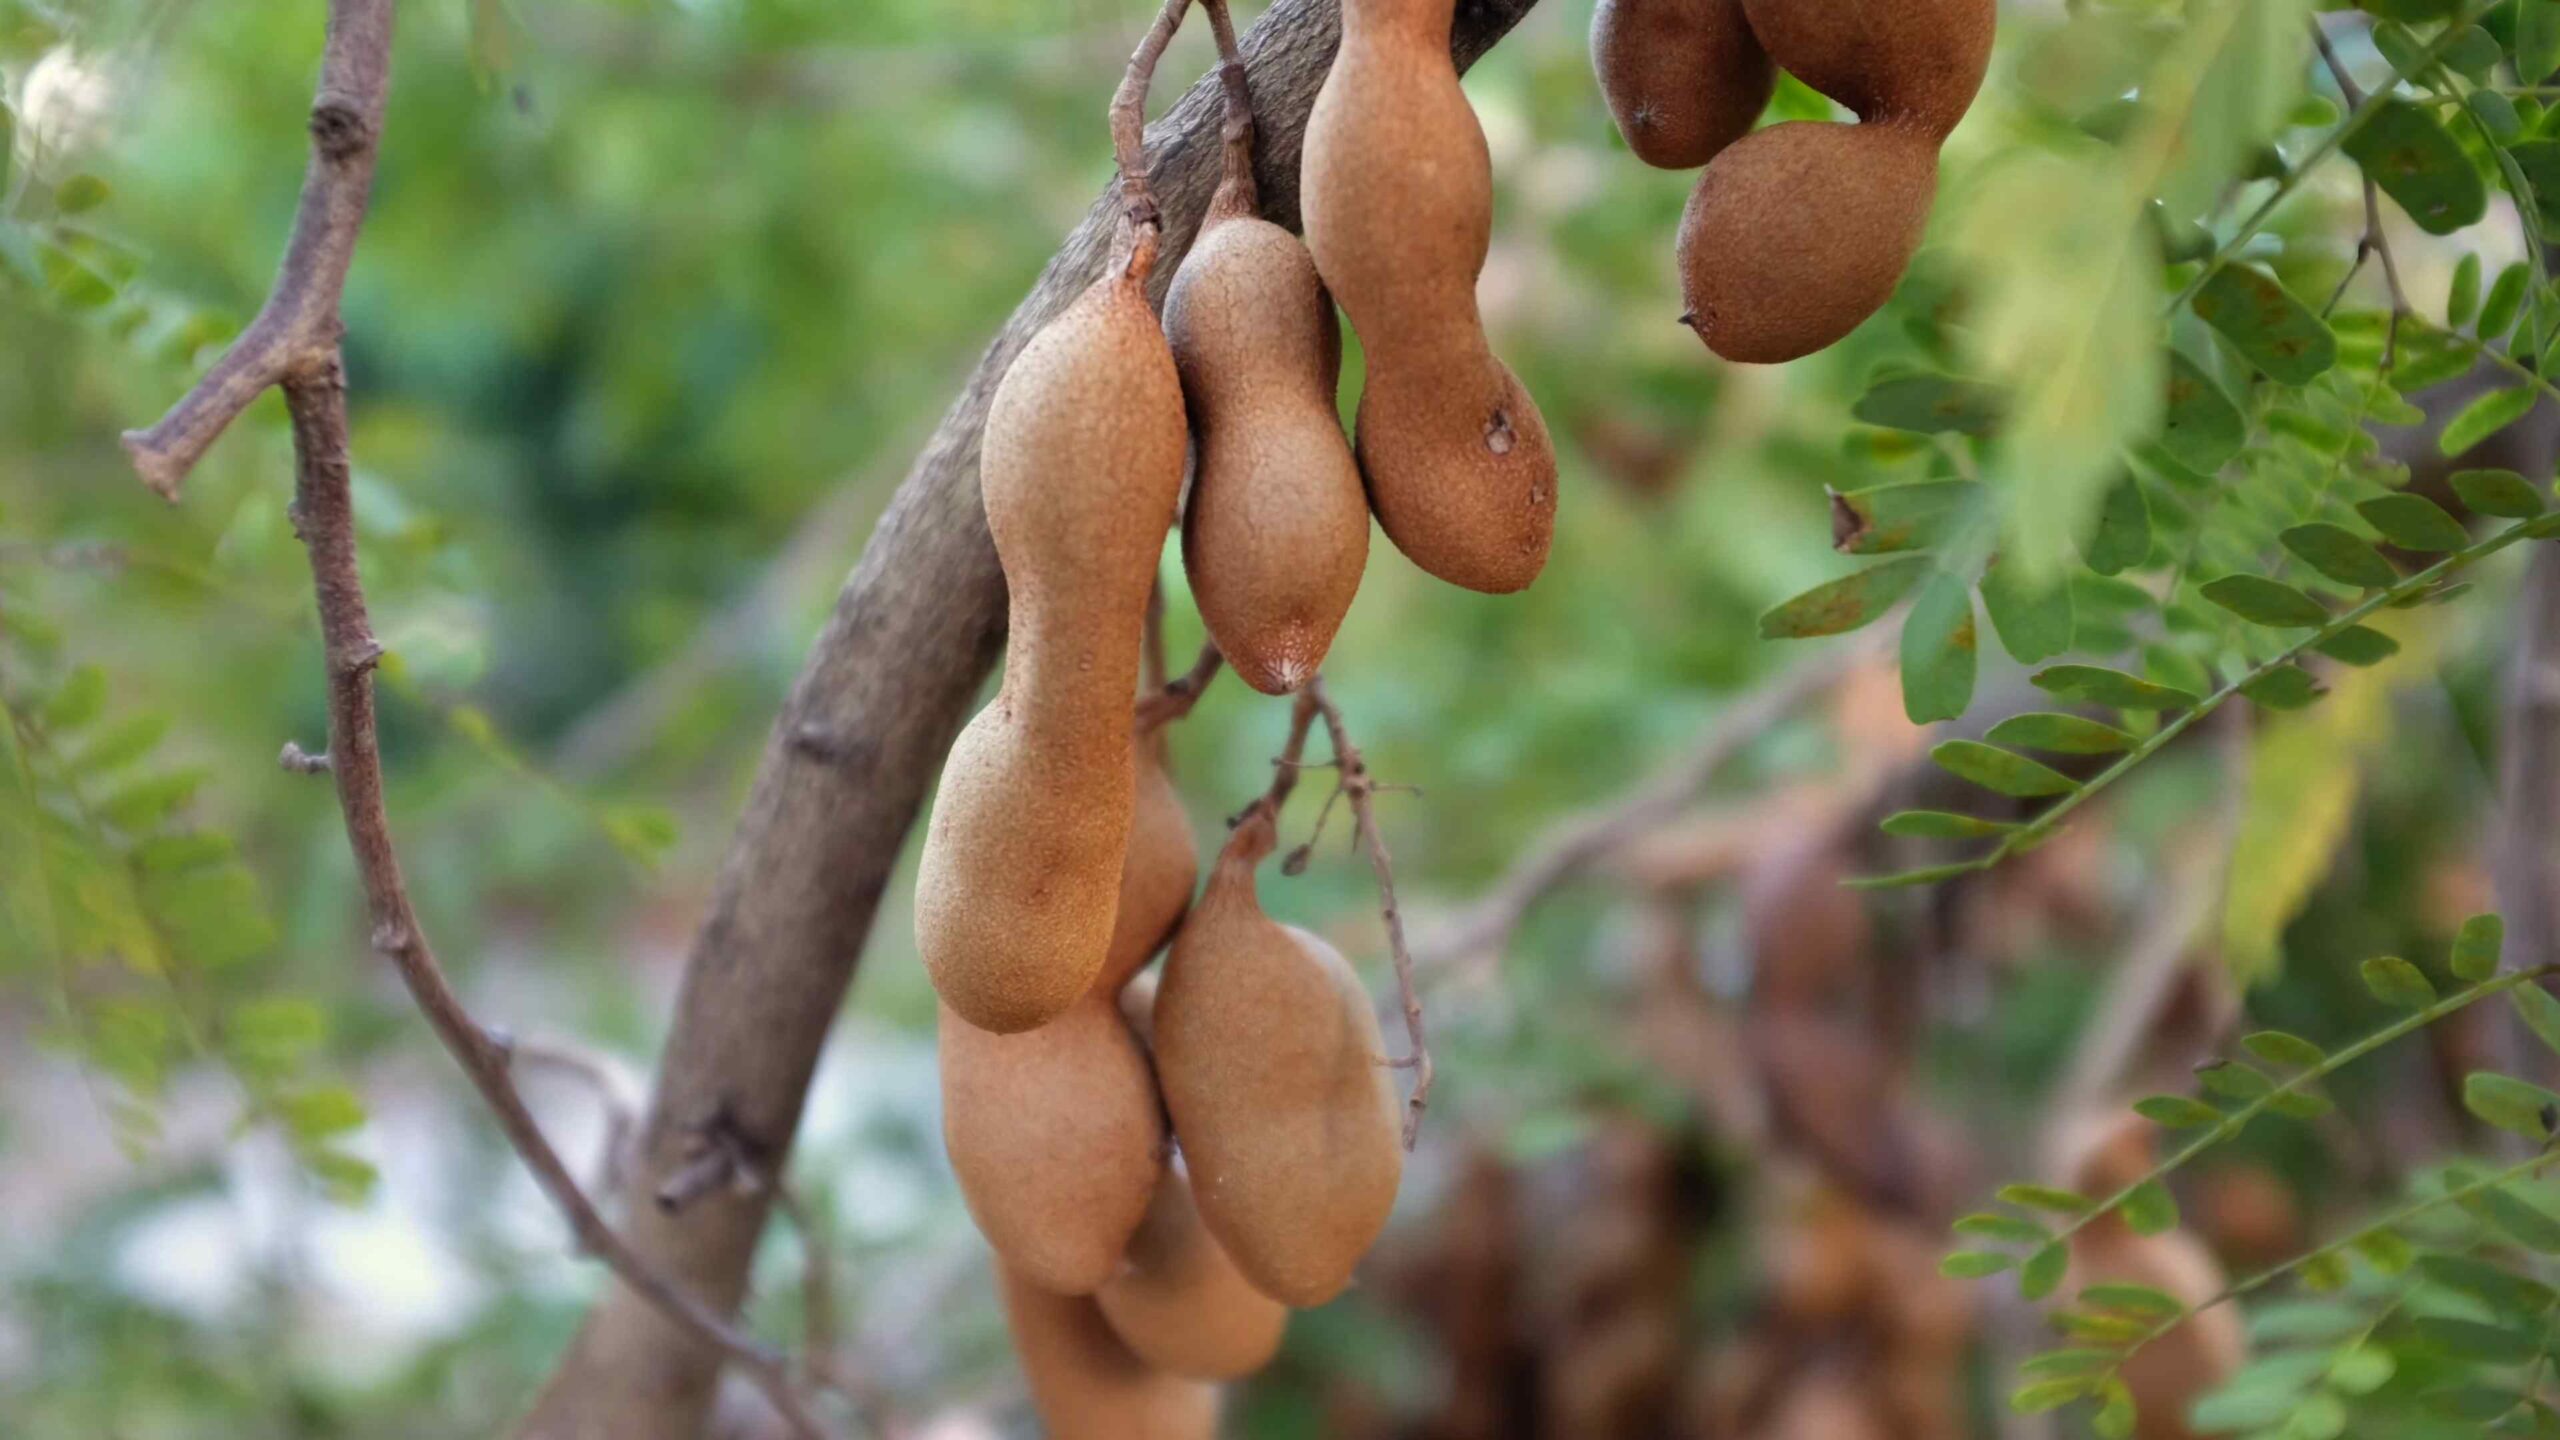
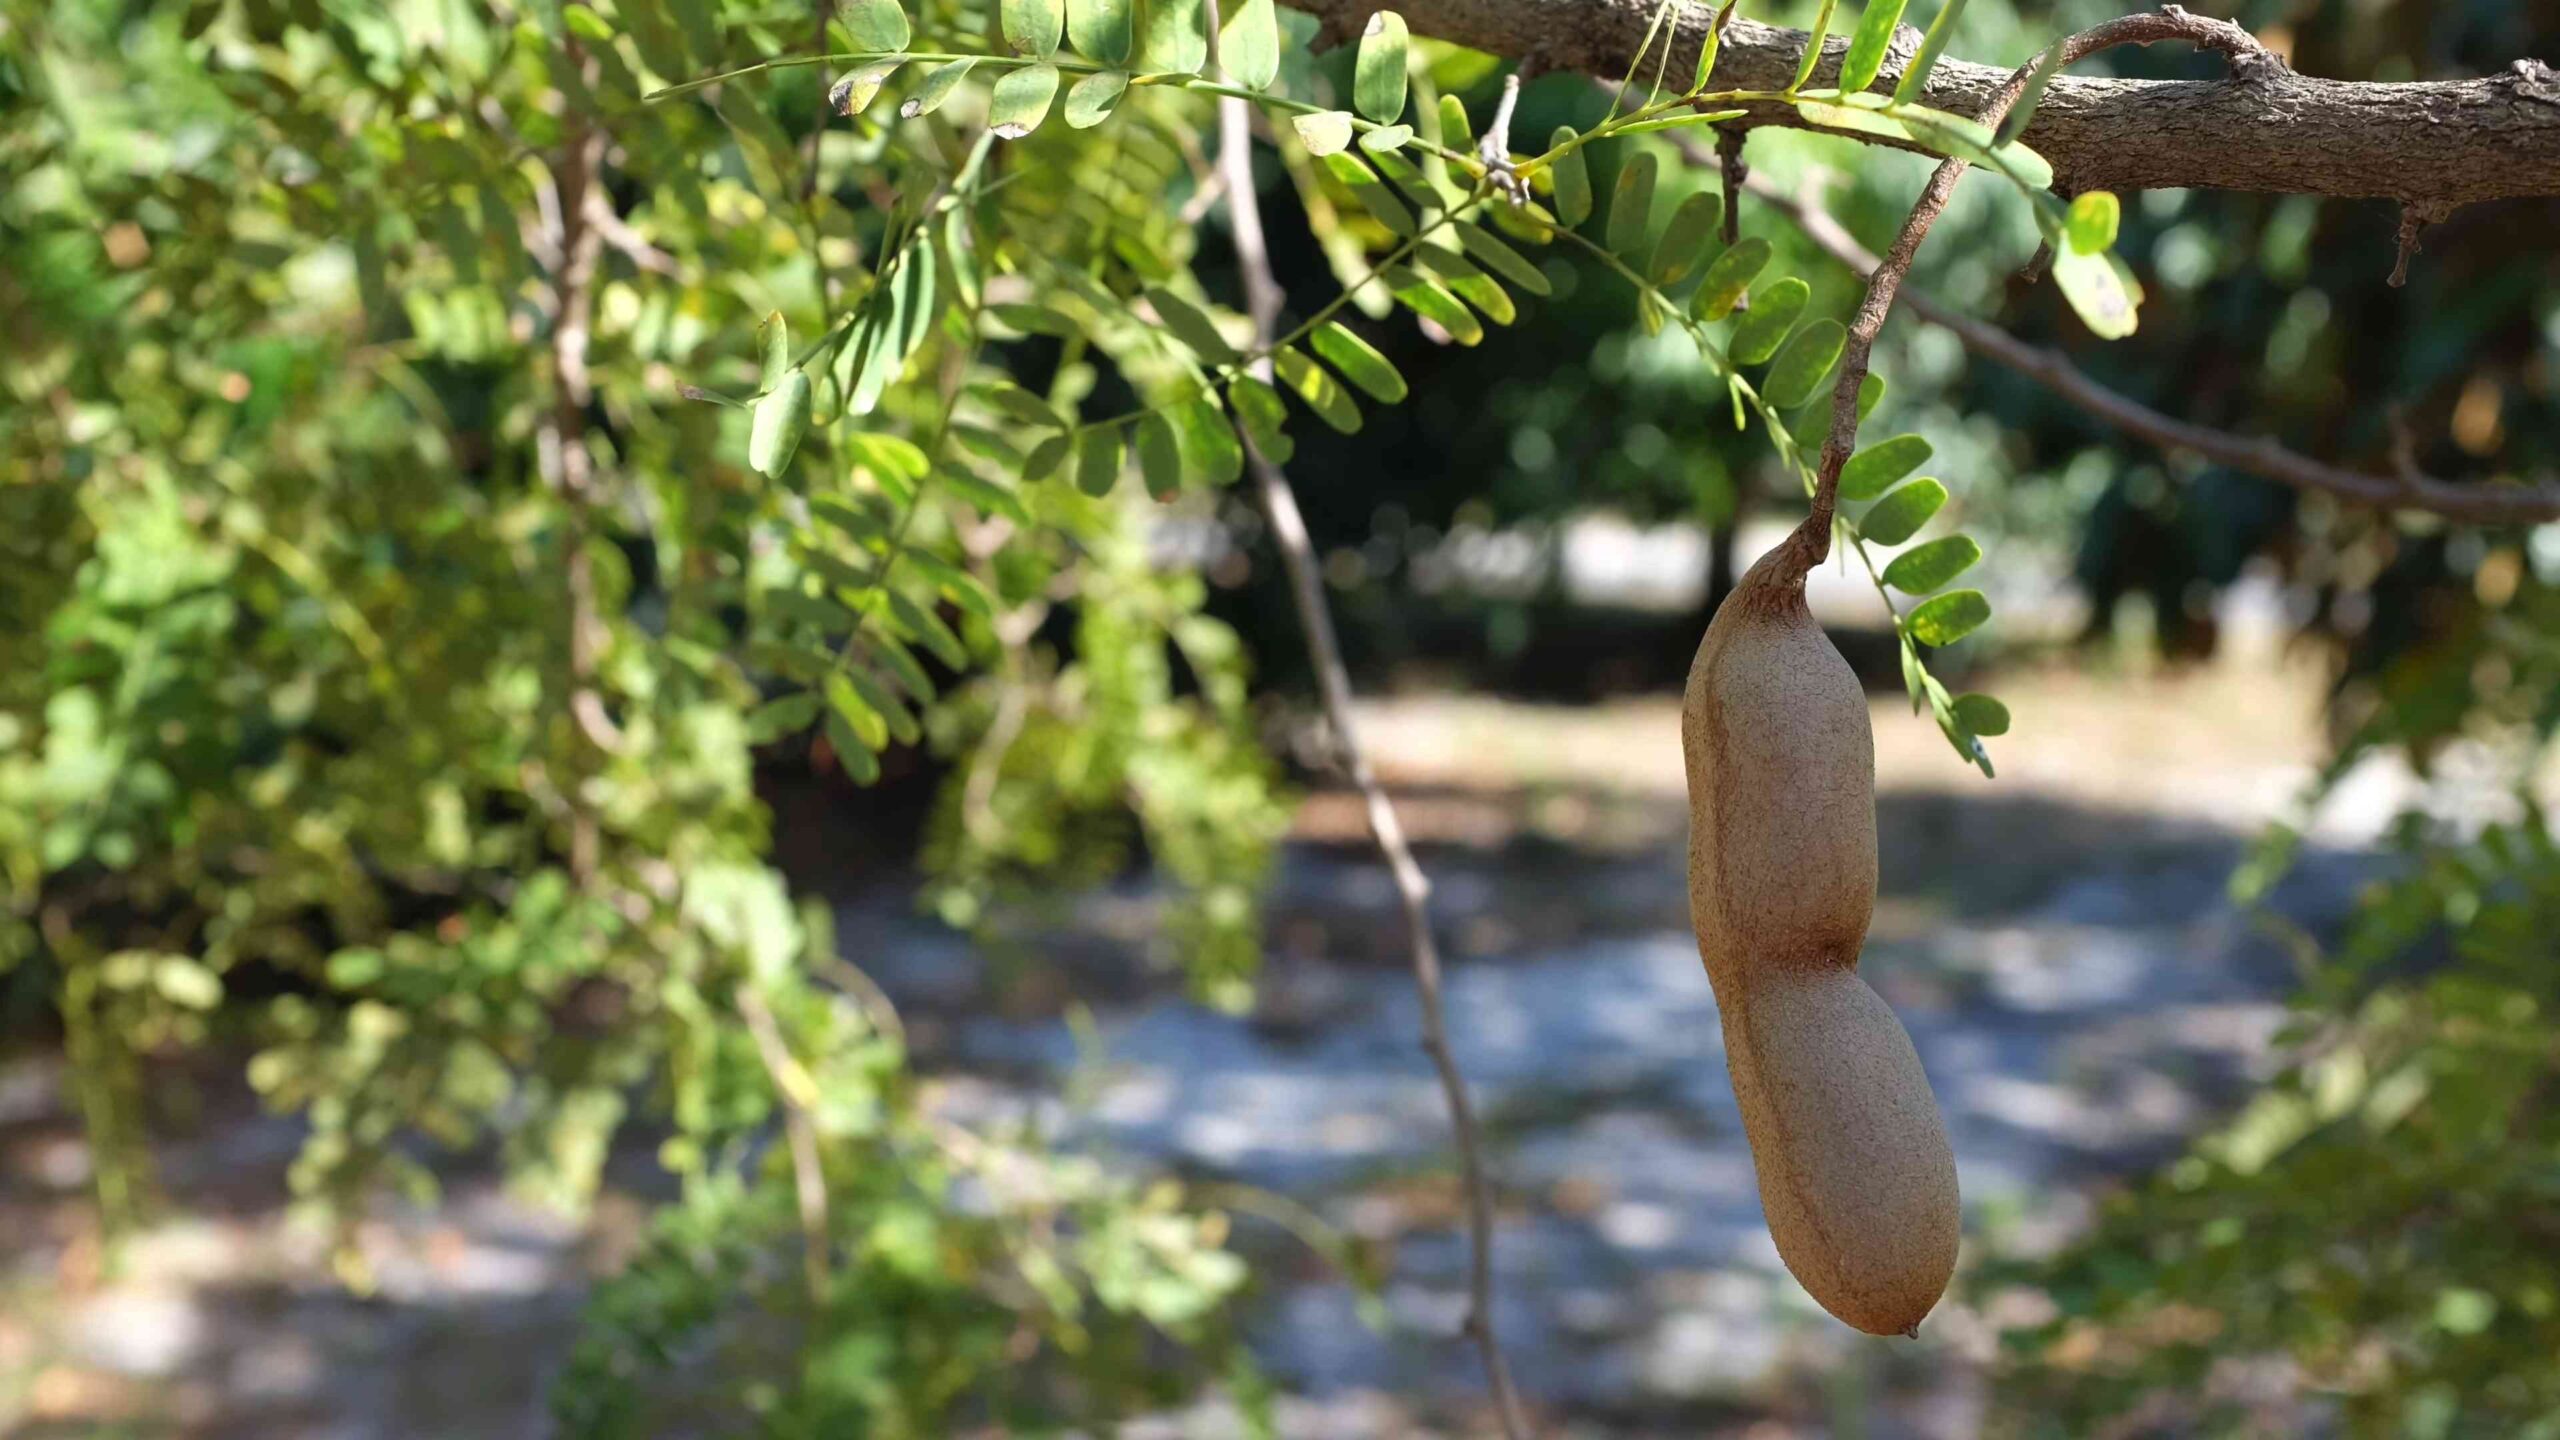
Grow Tamarind Tree at Home: Ever dreamt of having your own exotic fruit tree, right in your backyard? Imagine plucking fresh, tangy tamarind pods straight from the branch, ready to add a unique zing to your favorite dishes! It sounds like a tropical fantasy, but I’m here to tell you it’s totally achievable, even if you don’t live in a tropical paradise.
Tamarind has a rich history, deeply intertwined with cultures across the globe. Originating in Africa, it journeyed to India centuries ago, becoming a staple in Ayurvedic medicine and culinary traditions. From there, it spread its delicious influence worldwide. For generations, families have cherished the tamarind tree not only for its fruit but also for its shade and ornamental beauty.
But why should you bother to grow tamarind tree at home? Well, beyond the sheer joy of nurturing a living thing, having your own tamarind tree offers a sustainable source of this versatile fruit. Store-bought tamarind paste often contains preservatives and additives. Growing your own guarantees fresh, natural goodness. Plus, it’s a fantastic conversation starter and a beautiful addition to any garden. This DIY guide will walk you through every step, from choosing the right variety to providing the perfect care, ensuring you can enjoy the sweet and sour rewards of your very own tamarind tree for years to come. Let’s get started!
Growing Your Own Tamarind Tree: A DIY Guide
Hey there, fellow plant enthusiasts! Ever dreamt of having your own tamarind tree, laden with those tangy, sweet pods? Well, you’re in the right place! I’m going to walk you through the process of growing a tamarind tree right in your own backyard (or even in a large container!). It might seem daunting, but trust me, with a little patience and the right steps, you can absolutely make it happen.
Choosing Your Tamarind Tree Method: Seed vs. Grafted Sapling
Before we dive into the nitty-gritty, let’s talk about the two main ways to get your tamarind tree started: from seed or from a grafted sapling.
* **Growing from Seed:** This is the more adventurous route! It’s cheaper and super rewarding to watch your tree sprout from a tiny seed. However, it takes longer (usually 5-7 years) for a seed-grown tree to produce fruit, and the fruit quality might not be exactly like the parent tree.
* **Growing from a Grafted Sapling:** This is the faster, more predictable option. Grafted saplings are essentially branches from a mature, fruit-bearing tree that have been attached to the rootstock of another tree. This means they’ll produce fruit much sooner (usually 3-4 years) and the fruit will be true to type (meaning it will taste like the tree it was grafted from).
For this guide, I’ll focus on growing from seed, as it’s a fun and educational project. But if you’re impatient for fruit, definitely consider a grafted sapling!
Section 1: Germinating Tamarind Seeds
Okay, let’s get those seeds sprouting!
1. **Sourcing Your Seeds:** You can find tamarind seeds inside the pods you buy at the grocery store. Choose pods that look plump and healthy. Once you’ve got your pods, crack them open and extract the seeds. Look for seeds that are firm and brown. Avoid any that are shriveled or discolored.
2. **Preparing the Seeds:** Tamarind seeds have a hard outer shell, which can make it difficult for them to germinate. To help them along, we’re going to scarify them. This basically means gently scratching the surface of the seed to allow water to penetrate. There are a few ways to do this:
* **Sandpaper Method:** Gently rub the seeds with a piece of fine-grit sandpaper. Be careful not to remove too much of the outer layer, just enough to roughen it up.
* **Nail Clipper Method:** Carefully clip a tiny piece off the end of each seed with nail clippers. Again, be very gentle!
* **Hot Water Soak:** This is a gentler method. Pour hot (but not boiling!) water over the seeds and let them soak for 24-48 hours. This will help soften the seed coat.
I personally prefer the sandpaper method, but feel free to experiment and see what works best for you.
3. **Soaking the Seeds:** After scarifying, soak the seeds in lukewarm water for 24-48 hours. This will further soften the seed coat and encourage germination. You’ll notice the seeds will swell up a bit.
4. **Planting the Seeds:** Now it’s time to plant! You’ll need a well-draining potting mix. I like to use a mix of equal parts potting soil, perlite, and vermiculite. This ensures good drainage and aeration.
* Fill small pots (about 3-4 inches in diameter) with the potting mix.
* Make a small hole (about 1/2 inch deep) in the center of each pot.
* Place one seed in each hole and cover it with soil.
* Gently water the soil until it’s moist but not soggy.
5. **Creating a Humid Environment:** Tamarind seeds germinate best in a warm, humid environment. You can create this by:
* **Using a Seed Tray with a Dome:** This is the easiest option. Just place the pots in the seed tray and cover it with the dome.
* **Using Plastic Wrap:** Cover each pot with plastic wrap, securing it with a rubber band. Make sure to poke a few holes in the plastic wrap for ventilation.
* **Placing the Pots in a Plastic Bag:** Place the pots in a large plastic bag and seal it. Again, make sure to poke a few holes for ventilation.
6. **Finding the Right Location:** Place the pots in a warm location with indirect sunlight. A temperature of around 75-85°F (24-29°C) is ideal. Avoid direct sunlight, as this can overheat the seeds.
7. **Patience is Key:** Germination can take anywhere from 1 to 4 weeks, so be patient! Keep the soil consistently moist, but not waterlogged. Check the pots regularly and mist the soil if it starts to dry out.
Section 2: Caring for Your Tamarind Seedlings
Yay! You’ve got seedlings! Now comes the fun part: nurturing them into healthy little trees.
1. **Providing Adequate Light:** Once the seedlings emerge, they’ll need plenty of light. Place them in a location that receives at least 6 hours of direct sunlight per day. If you don’t have enough natural light, you can supplement with grow lights.
2. **Watering:** Water the seedlings regularly, but avoid overwatering. The soil should be moist but not soggy. Allow the top inch of soil to dry out between waterings.
3. **Fertilizing:** Feed your seedlings with a balanced liquid fertilizer every 2-4 weeks. Follow the instructions on the fertilizer label. I like to use a fertilizer that’s specifically formulated for tropical plants.
4. **Repotting:** As the seedlings grow, they’ll need to be repotted into larger containers. When the roots start to outgrow the current pot, it’s time to move them to a bigger one. Choose a pot that’s at least 2 inches larger in diameter than the current pot.
* Gently remove the seedling from its current pot.
* Loosen the roots slightly.
* Place the seedling in the new pot and fill it with fresh potting mix.
* Water the soil thoroughly.
5. **Pruning:** Pruning isn’t necessary at this stage, but you can trim off any dead or damaged leaves.
Section 3: Growing Your Tamarind Tree Outdoors (or in a Large Container)
Okay, your seedlings are thriving! Now it’s time to think about their long-term home.
1. **Choosing the Right Location:** Tamarind trees need plenty of sunlight and well-draining soil. Choose a location that receives at least 6 hours of direct sunlight per day. The soil should be slightly acidic to neutral (pH 6.0-7.0).
2. **Preparing the Soil:** If you’re planting your tamarind tree in the ground, amend the soil with compost or other organic matter to improve drainage and fertility.
3. **Planting:**
* Dig a hole that’s twice as wide and as deep as the root ball of the tree.
* Gently remove the tree from its container.
* Loosen the roots slightly.
* Place the tree in the hole and fill it with soil.
* Water the soil thoroughly.
4. **Container Growing:** If you live in a colder climate, you can grow your tamarind tree in a large container (at least 20 gallons). This will allow you to move the tree indoors during the winter months. Use a well-draining potting mix and make sure the container has drainage holes.
5. **Watering:** Water your tamarind tree regularly, especially during dry periods. The soil should be moist but not soggy.
6. **Fertilizing:** Fertilize your tamarind tree with a balanced fertilizer every 2-3 months during the growing season (spring and summer).
7. **Pruning:** Prune your tamarind tree regularly to maintain its shape and size. Remove any dead, damaged, or crossing branches. You can also prune to encourage fruit production.
8. **Protecting from Frost:** Tamarind trees are sensitive to frost. If you live in an area with cold winters, you’ll need to protect your tree from frost. You can do this by:
* **Wrapping the trunk with burlap.**
* **Covering the tree with a frost blanket.**
* **Moving the tree indoors (if it’s in a container).**
Section 4: Dealing with Pests and Diseases
Like any plant, tamarind trees can be susceptible to pests and diseases. Here are a few common problems and how to deal with them:
* **Aphids:** These tiny insects suck the sap from plants. You can control them with insecticidal soap or neem oil.
* **Scale:** These insects look like small bumps on the leaves and stems. You can control them with horticultural oil or by scraping them off manually.
Conclusion
So, there you have it! Growing a tamarind tree at home might seem like a tropical dream, but with a little patience and the right approach, it’s entirely achievable. This DIY trick, focusing on seed preparation and early nurturing, significantly increases your chances of success. Forget expensive saplings and the uncertainty of their origin; nurturing your own tamarind tree from seed offers a unique connection to the plant and a rewarding sense of accomplishment.
Why is this a must-try? Because it’s more than just growing a tree; it’s about cultivating a piece of your own tropical paradise. Imagine harvesting your own tamarind pods, bursting with that sweet and tangy flavor, ready to be used in your favorite dishes or shared with friends and family. This DIY method allows you to control every aspect of the growing process, ensuring your tree is healthy and thriving from the very beginning. Plus, it’s a fantastic learning experience, connecting you with nature and deepening your understanding of plant life cycles.
Consider these variations to personalize your tamarind growing journey. Experiment with different soil mixtures to find what works best for your local climate. Some growers swear by adding a bit of bone meal to the soil to promote strong root development. You could also try grafting a branch from a mature, high-yielding tamarind tree onto your seedling once it’s established, potentially accelerating fruit production. Another interesting variation is to explore different tamarind varieties. While the common sweet tamarind is widely available, there are also sour varieties and even some with pink pulp, each offering a unique flavor profile.
Don’t be intimidated by the process. Remember, even experienced gardeners face challenges. The key is to be observant, patient, and willing to learn from your mistakes. Keep a journal to track your progress, noting any changes in the tree’s growth, watering schedule, and fertilization routine. This will help you identify what works best for your specific environment and refine your technique over time.
We wholeheartedly encourage you to try this DIY trick for growing a tamarind tree at home. It’s an investment in the future, a connection to nature, and a source of delicious, homegrown tamarind for years to come. Embrace the challenge, enjoy the process, and watch your little seed transform into a magnificent tree.
And most importantly, we want to hear about your experience! Share your successes, your challenges, and any tips or tricks you discover along the way. Post photos of your tamarind seedlings, ask questions, and connect with other growers in the comments section below. Let’s build a community of tamarind enthusiasts and learn from each other’s journeys. Your insights could be invaluable to someone just starting out, and together, we can make the dream of growing a tamarind tree at home a reality for everyone. So, grab some tamarind seeds, get your hands dirty, and let the adventure begin!
Frequently Asked Questions (FAQ)
Q: How long does it take to grow a tamarind tree from seed?
A: Growing a tamarind tree from seed is a long-term project, requiring patience and dedication. Generally, it takes anywhere from 7 to 12 years for a tamarind tree grown from seed to begin producing fruit. However, this timeframe can vary depending on several factors, including the specific variety of tamarind, the climate, soil conditions, and the overall care the tree receives. Grafting can significantly reduce this time, potentially yielding fruit in 3-5 years. Remember that even if your tree doesn’t produce fruit immediately, it will still be a beautiful and valuable addition to your landscape.
Q: What are the ideal growing conditions for a tamarind tree?
A: Tamarind trees thrive in warm, sunny climates. They prefer well-drained soil with a slightly acidic to neutral pH (6.0-7.0). They are relatively drought-tolerant once established, but regular watering is essential during the first few years, especially during dry periods. Protect young trees from frost, as they are susceptible to cold damage. Mature trees can tolerate brief periods of cooler temperatures. Ensure the tree receives at least 6-8 hours of direct sunlight per day for optimal growth and fruit production.
Q: How often should I water my tamarind tree?
A: The watering frequency depends on the age of the tree, the climate, and the soil type. Young tamarind trees need more frequent watering than established trees. Water deeply whenever the top inch of soil feels dry to the touch. During the rainy season, you may not need to water at all. In hot, dry weather, you may need to water every few days. Avoid overwatering, as this can lead to root rot. A good rule of thumb is to water thoroughly but infrequently, allowing the soil to dry out slightly between waterings.
Q: What kind of fertilizer should I use for my tamarind tree?
A: Tamarind trees benefit from regular fertilization, especially during the growing season (spring and summer). Use a balanced fertilizer with an NPK ratio of 10-10-10 or 14-14-14. Apply the fertilizer according to the manufacturer’s instructions. You can also supplement with organic fertilizers such as compost, manure, or bone meal. Avoid over-fertilizing, as this can damage the tree. A soil test can help you determine the specific nutrient needs of your tree.
Q: How do I protect my tamarind tree from pests and diseases?
A: Tamarind trees are generally resistant to pests and diseases, but they can occasionally be affected by certain problems. Common pests include aphids, scale insects, and mealybugs. These can be controlled with insecticidal soap or neem oil. Diseases such as leaf spot and root rot can occur in humid conditions or poorly drained soil. Ensure good air circulation around the tree and avoid overwatering to prevent these problems. Regularly inspect your tree for any signs of pests or diseases and take action promptly to prevent them from spreading.
Q: Can I grow a tamarind tree in a pot?
A: Yes, you can grow a tamarind tree in a pot, especially during its early years. Choose a large pot with drainage holes and use a well-draining potting mix. Keep in mind that a potted tamarind tree will likely remain smaller than one planted in the ground. You’ll also need to water and fertilize it more frequently. As the tree grows, you may need to repot it into a larger container. Eventually, you may want to transplant it into the ground if your climate allows.
Q: How do I prune my tamarind tree?
A: Pruning is essential for maintaining the shape and health of your tamarind tree. Prune during the dormant season (late winter or early spring) before new growth begins. Remove any dead, damaged, or crossing branches. Prune to create an open canopy that allows sunlight to penetrate the interior of the tree. You can also prune to control the size and shape of the tree. Avoid over-pruning, as this can stress the tree.
Q: My tamarind tree is not fruiting. What could be the reason?
A: There are several reasons why your tamarind tree might not be fruiting. As mentioned earlier, trees grown from seed take a long time to mature and produce fruit. Ensure your tree is receiving enough sunlight, water, and fertilizer. Lack of pollination can also be a factor. Tamarind trees are typically pollinated by insects, so avoid using pesticides that could harm pollinators. If your tree is old enough and healthy but still not fruiting, you might consider grafting a branch from a known fruiting tree onto your tree.
Q: Where can I find tamarind seeds to start growing my own tree?
A: You can find tamarind seeds in several places. The easiest way is to purchase tamarind pods from your local grocery store or Asian market. Extract the seeds from the pods. You can also order tamarind seeds online from reputable seed suppliers. Make sure the seeds are fresh and viable for the best chance of germination.
Leave a Comment