

Grow Violets at Home and unlock a world of vibrant color and delicate fragrance right in your own living space! Have you ever dreamt of transforming a dull windowsill into a miniature paradise bursting with life? Well, dream no more! This DIY guide is your key to cultivating these charming blooms, even if you think you have a “brown thumb.”
Violets, with their rich history and cultural significance, have been cherished for centuries. From ancient Greeks using them in medicinal remedies to Victorians associating them with modesty and faithfulness, these little flowers have always held a special place in our hearts. But beyond their symbolic value, they’re simply beautiful and surprisingly easy to care for with the right know-how.
In today’s busy world, finding moments of peace and connection with nature is more important than ever. That’s why I’m so excited to share these simple yet effective home gardening tricks. You don’t need a sprawling garden to enjoy the beauty of nature; you can grow violets at home in pots, hanging baskets, or even repurposed containers. This article will provide you with the essential tips and tricks to successfully cultivate these delightful plants, bringing a touch of elegance and tranquility to your home. Let’s get started and watch your violets flourish!

Growing Violets Indoors: A Beginner’s Guide
Hey there, fellow plant enthusiasts! I’m so excited to share my experience with growing violets indoors. These little beauties are surprisingly easy to care for, and their vibrant blooms can brighten up any space. I’ve learned a few tricks along the way, and I’m happy to guide you through the process. Let’s get started!
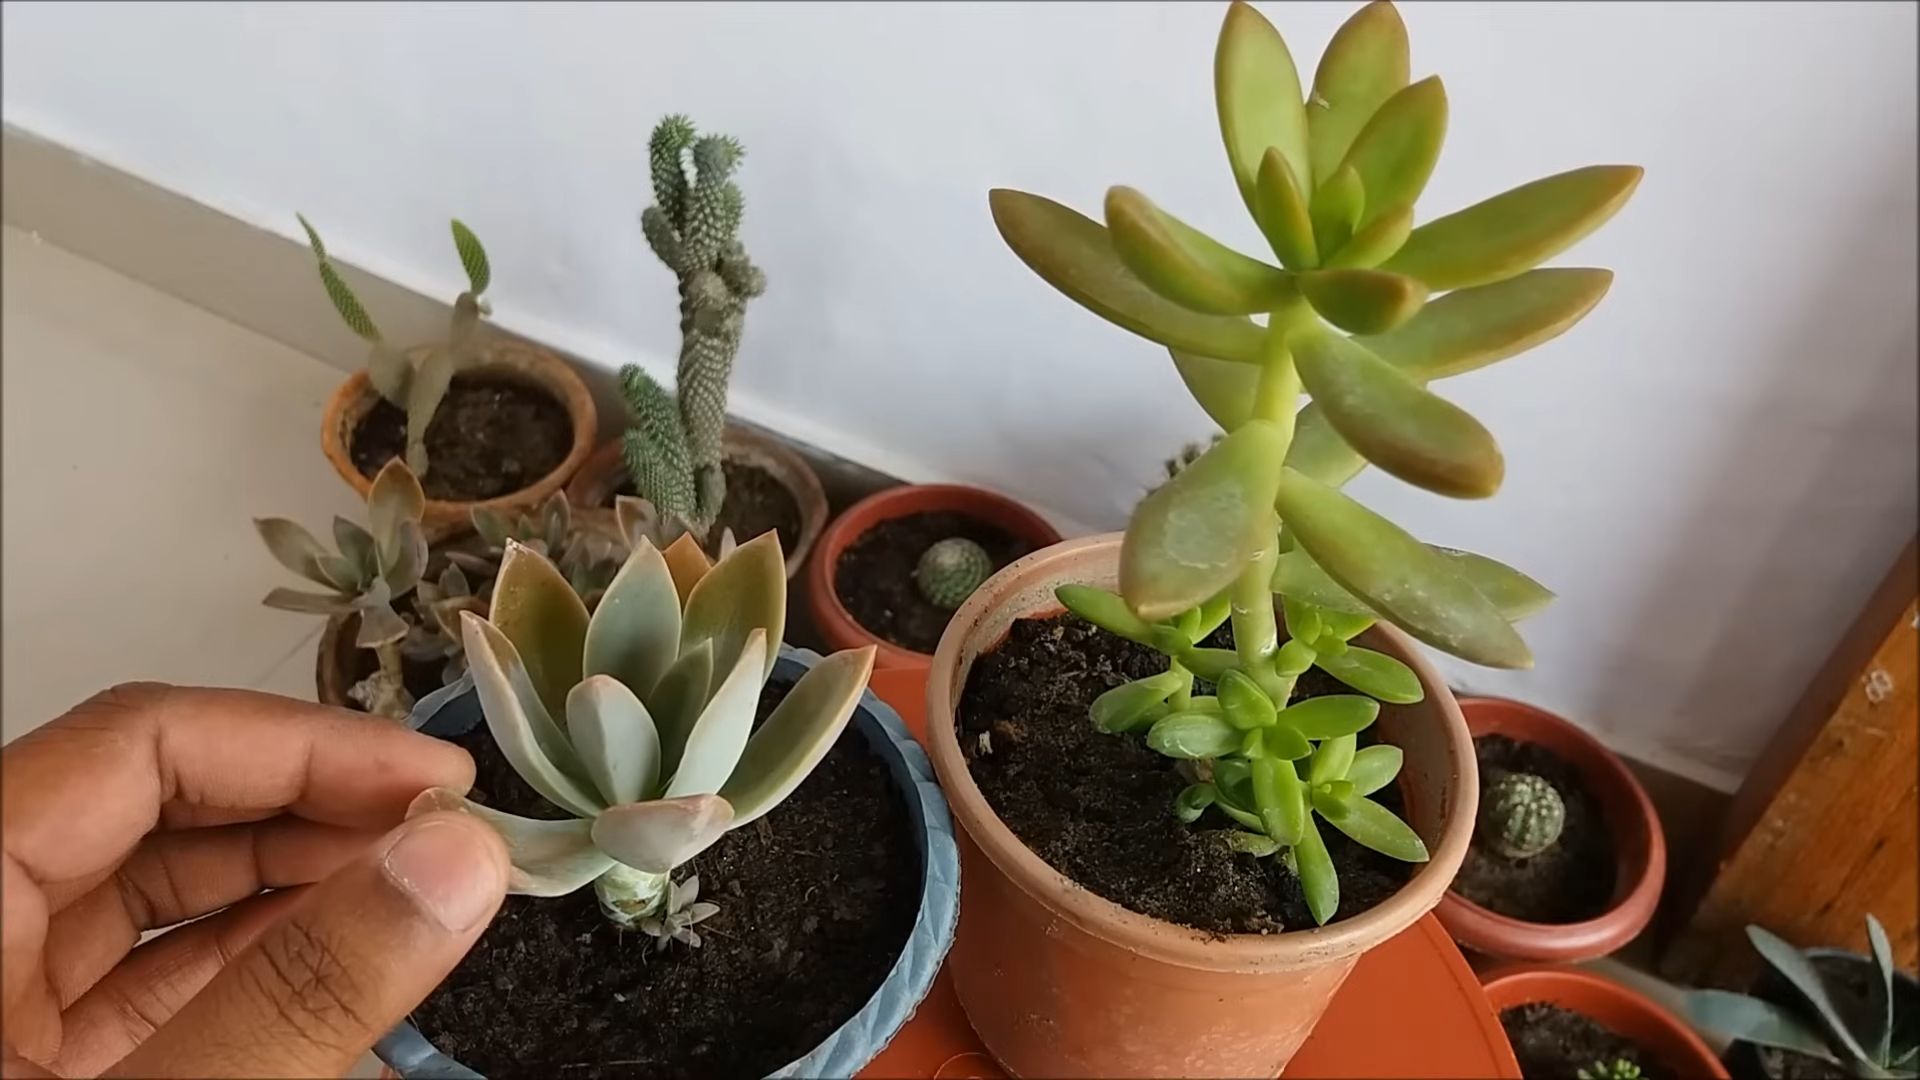
Choosing Your African Violet
Before we dive into the nitty-gritty, let’s talk about selecting the right African violet. There are tons of varieties, each with unique flower colors, leaf shapes, and sizes.
* Flower Color: From classic purple to pink, white, and even bi-colored varieties, the options are endless. Pick a color that speaks to you and complements your home decor.
* Leaf Type: Leaves can be plain, ruffled, scalloped, or even variegated. I personally love the ruffled leaves, but it’s all about personal preference.
* Size: African violets come in standard, miniature, and semi-miniature sizes. Consider the space you have available when making your choice.
When you’re at the store or nursery, look for plants with healthy, vibrant green leaves and plenty of buds. Avoid plants with yellowing or brown leaves, or those that look wilted.
Materials You’ll Need
Here’s a list of everything you’ll need to successfully grow African violets indoors:
* African Violet Potting Mix: This is crucial! Regular potting soil is too heavy and doesn’t drain well enough. Look for a mix specifically formulated for African violets. I like to make my own (recipe below!).
* Pot with Drainage Holes: African violets need good drainage to prevent root rot. A self-watering pot can also be a great option.
* Filtered Water: Tap water can contain chemicals that are harmful to African violets. I use filtered water or rainwater.
* African Violet Fertilizer: A balanced fertilizer formulated for African violets will help promote healthy growth and abundant blooms.
* Grow Lights (Optional): If you don’t have a bright, sunny window, grow lights can provide the necessary light for your violets to thrive.
* Spray Bottle: For misting (more on that later).
* Small Brush: For removing dust from leaves.
* Wick (Optional): If you’re using a self-watering pot or wick watering system.
Making Your Own African Violet Potting Mix
I’ve found that making my own potting mix gives me the best results. It’s also more cost-effective! Here’s my go-to recipe:
* 1 part peat moss
* 1 part perlite
* 1 part vermiculite
Mix these ingredients thoroughly in a large container. The peat moss provides moisture retention, while the perlite and vermiculite ensure good drainage and aeration.
Step-by-Step Planting Guide
Now for the fun part – planting your African violet!
1. Prepare the Pot: If you’re using a new pot, make sure it’s clean. If you’re reusing a pot, wash it thoroughly with soap and water to remove any lingering bacteria or fungi.
2. Add Potting Mix: Fill the pot about two-thirds full with your African violet potting mix.
3. Remove the Violet from its Container: Gently squeeze the sides of the container to loosen the plant. Carefully lift the violet out, being careful not to damage the roots.
4. Loosen the Roots: Gently loosen the roots with your fingers. This will encourage them to spread out and establish themselves in the new pot.
5. Position the Violet: Place the violet in the center of the pot, making sure the top of the root ball is level with the top of the potting mix.
6. Fill with Potting Mix: Add more potting mix around the sides of the root ball, gently pressing down to secure the plant.
7. Water Thoroughly: Water the violet thoroughly until water drains out of the drainage holes. This will help settle the potting mix and hydrate the roots.
8. Let it Drain: Allow the pot to drain completely before placing it on a saucer or back in its designated spot.
Light Requirements
African violets need bright, indirect light to thrive. Direct sunlight can scorch their leaves, so avoid placing them in a south-facing window without any protection. An east- or west-facing window is ideal.
If you don’t have a suitable window, you can use grow lights. Place the lights about 12-18 inches above the plants and keep them on for 12-14 hours per day.
Watering Techniques
Watering is one of the most important aspects of African violet care. Overwatering can lead to root rot, while underwatering can cause the leaves to wilt.
* Water from the Bottom: The best way to water African violets is from the bottom. Place the pot in a saucer filled with water and let it sit for about 30 minutes. The plant will absorb the water through the drainage holes. Then, remove the pot from the saucer and let it drain completely.
* Water When the Soil is Dry to the Touch: Before watering, check the soil moisture by sticking your finger about an inch into the soil. If it feels dry, it’s time to water.
* Use Room Temperature Water: Cold water can shock the roots of African violets. Always use room temperature water.
* Avoid Getting Water on the Leaves: Water droplets on the leaves can cause spots, especially if the plant is exposed to sunlight. If you accidentally get water on the leaves, gently blot it off with a soft cloth.
Humidity
African violets prefer a humidity level of around 50-60%. If your home is dry, you can increase the humidity by:
* Using a Humidifier: Place a humidifier near your African violets.
* Grouping Plants Together: Grouping plants together creates a microclimate with higher humidity.
* Placing the Pot on a Pebble Tray: Fill a tray with pebbles and add water. Place the pot on top of the pebbles, making sure the bottom of the pot doesn’t touch the water. As the water evaporates, it will increase the humidity around the plant.
* Misting: Lightly mist your African violets with a spray bottle. Be careful not to over-mist, as this can lead to fungal problems.
Fertilizing
African violets need regular fertilization to produce abundant blooms. Use a balanced fertilizer specifically formulated for African violets.
* Follow the Instructions: Always follow the instructions on the fertilizer label. Over-fertilizing can damage the plant.
* Fertilize Regularly: Fertilize your African violets every 2-4 weeks during the growing season (spring and summer). Reduce or stop fertilizing during the dormant season (fall and winter).
* Use a Diluted Solution: I like to use a diluted fertilizer solution to avoid burning the roots.
Grooming and Maintenance
Regular grooming and maintenance will help keep your African violets healthy and beautiful.
* Remove Dead Leaves and Flowers: Remove any dead or yellowing leaves and spent flowers. This will encourage new growth and prevent the spread of disease.
* Dust the Leaves: Dust can accumulate on the leaves and block sunlight. Gently dust the leaves with a soft brush or cloth.
* Rotate the Plant: Rotate the plant regularly to ensure even growth. This will prevent it from leaning towards the light.
* Repotting: Repot your African violet every 1-2 years. This will provide fresh potting mix and allow the roots to expand.
Dealing with Common Problems
Even with the best care, African violets can sometimes encounter problems. Here are some common issues and how to address them:
* Root Rot: Root rot is caused by overwatering. If you suspect root rot, repot the plant in fresh potting mix and be careful not to overwater.
* Powdery Mildew: Powdery mildew is a fungal disease that appears as a white, powdery coating on the leaves. Improve air circulation and treat with a fungicide.
* Mealybugs: Mealybugs are small, white, cottony insects that suck sap from the plant. Remove them with a cotton swab dipped in rubbing alcohol or treat with an insecticide.
* Leaf Spots: Leaf spots can be caused by water droplets on the leaves or fungal diseases. Avoid getting water on the leaves and treat with a fungicide if necessary.
* Lack of Blooms: Lack of blooms can be caused by insufficient light, improper fertilization, or temperature fluctuations. Make sure your plant is getting enough light, fertilize regularly, and keep it in a stable environment.
Propagating African Violets
One of the coolest things about African violets is that they’re super easy to propagate! You can grow new plants from leaf cuttings. Here’s how:
1.
Conclusion
So, there you have it! Growing violets at home doesn’t have to be a daunting task reserved for seasoned gardeners. With a little patience and these simple DIY tricks, you can transform your living space into a vibrant haven of these charming blooms. The beauty of this method lies in its accessibility and affordability. You don’t need expensive equipment or specialized knowledge to cultivate these delightful plants. It’s a project that anyone, regardless of their gardening experience, can successfully undertake.
Why is this DIY trick a must-try? Because it empowers you to control the growing environment, ensuring your violets receive the optimal conditions they need to thrive. You can tailor the soil composition, light exposure, and humidity levels to perfectly suit their preferences. This level of customization is often difficult to achieve with store-bought violets, which may have been grown in less-than-ideal conditions. Furthermore, propagating your own violets from leaf cuttings or offsets is incredibly rewarding, allowing you to expand your collection and share the joy of these beautiful plants with friends and family.
Looking for variations? Consider experimenting with different types of containers. While plastic pots are perfectly suitable, terracotta pots can add a touch of rustic charm. Just be mindful that terracotta pots tend to dry out more quickly, so you may need to water your violets more frequently. You can also explore different soil mixes. While the recommended mix of peat moss, perlite, and vermiculite works well, you can adjust the proportions to suit your specific growing conditions. For example, if you live in a particularly humid climate, you might want to increase the amount of perlite to improve drainage. Another fun variation is to try growing violets in self-watering pots. These pots help to maintain consistent moisture levels, which can be especially beneficial for beginners.
Beyond the basic care, think about the aesthetic presentation. Grouping several violets together in a decorative tray or basket can create a stunning visual display. You can also use violets to add a pop of color to your windowsill or bookshelf. Don’t be afraid to get creative and experiment with different arrangements to find what works best for you. You can even try growing different varieties of violets together to create a diverse and colorful collection.
Ultimately, the key to successfully growing violets at home is to be patient and observant. Pay attention to your plants’ needs and adjust your care routine accordingly. If you notice any signs of distress, such as yellowing leaves or wilting blooms, don’t hesitate to troubleshoot and make necessary adjustments. Remember, gardening is a learning process, and even experienced gardeners encounter challenges from time to time.
We wholeheartedly encourage you to try this DIY trick and experience the joy of growing your own violets. It’s a simple, affordable, and incredibly rewarding project that will bring beauty and tranquility to your home. Once you’ve given it a try, we’d love to hear about your experience! Share your photos, tips, and questions in the comments below. Let’s create a community of violet enthusiasts and learn from each other’s successes and challenges. Happy growing! Remember, mastering the art of how to grow violets at home is within your reach!
Frequently Asked Questions (FAQ)
What kind of light do violets need?
Violets thrive in bright, indirect light. Avoid placing them in direct sunlight, as this can scorch their leaves. An east-facing window is often ideal, providing gentle morning sun. If you don’t have access to a suitable window, you can supplement with artificial light, such as a fluorescent grow light. Position the light about 12-18 inches above the plants and keep it on for 12-14 hours per day. Watch for signs of too much or too little light. If the leaves are pale or stretched, the plant needs more light. If the leaves are scorched or bleached, the plant is getting too much light.
How often should I water my violets?
Water violets when the top inch of soil feels dry to the touch. Avoid overwatering, as this can lead to root rot. When watering, be careful not to get water on the leaves, as this can cause spotting. The best way to water violets is from the bottom. Place the pot in a saucer of water and allow the plant to absorb the water through the drainage holes. After about 30 minutes, remove the pot from the saucer and discard any excess water. This method helps to keep the leaves dry and prevents water from accumulating in the crown of the plant, which can lead to rot.
What kind of soil is best for violets?
Violets prefer a well-draining soil mix that is rich in organic matter. A good mix consists of equal parts peat moss, perlite, and vermiculite. You can also purchase pre-made violet potting mix from most garden centers. Avoid using garden soil, as it is often too heavy and does not drain well. The ideal pH for violet soil is between 6.0 and 7.0.
How do I fertilize my violets?
Violets benefit from regular fertilization, especially during the growing season (spring and summer). Use a balanced liquid fertilizer diluted to half strength. Fertilize every 2-4 weeks, following the instructions on the fertilizer label. Avoid over-fertilizing, as this can burn the roots. Look for a fertilizer specifically formulated for African violets, as these typically contain the right balance of nutrients.
How do I propagate violets?
Violets can be easily propagated from leaf cuttings. Select a healthy leaf from the middle of the plant and cut it off with a clean, sharp knife. Insert the cut end of the leaf into a small pot filled with moist potting mix. You can also dip the cut end in rooting hormone to encourage root development. Cover the pot with a plastic bag or dome to create a humid environment. Place the pot in a warm, bright location, but avoid direct sunlight. After a few weeks, roots will begin to form. Once the new plantlets have developed several leaves, you can transplant them into individual pots.
Why are my violet leaves turning yellow?
Yellowing leaves can be caused by a variety of factors, including overwatering, underwatering, nutrient deficiencies, and pests. Check the soil moisture and adjust your watering accordingly. If the soil is consistently wet, allow it to dry out slightly before watering again. If the soil is dry, water thoroughly. Fertilize your violets regularly to ensure they are receiving adequate nutrients. Inspect your plants for pests, such as mealybugs or spider mites. If you find any pests, treat them with an appropriate insecticide.
Why aren’t my violets blooming?
Lack of blooms can be due to insufficient light, improper fertilization, or temperature fluctuations. Ensure your violets are receiving adequate bright, indirect light. Fertilize regularly with a fertilizer that is high in phosphorus, which promotes blooming. Maintain a consistent temperature between 65 and 75 degrees Fahrenheit. Avoid placing your violets near drafts or heat sources. Also, make sure the plant is mature enough to bloom; young plants may take some time to flower.
How do I deal with pests on my violets?
Common pests that affect violets include mealybugs, spider mites, and aphids. Mealybugs are small, white, cottony insects that can be found on the leaves and stems. Spider mites are tiny, spider-like creatures that create webs on the undersides of leaves. Aphids are small, soft-bodied insects that suck sap from the plants. To control pests, you can try wiping the leaves with a damp cloth or spraying the plants with insecticidal soap. For severe infestations, you may need to use a stronger insecticide. Always follow the instructions on the insecticide label carefully.
Can I grow violets outdoors?
While violets are primarily grown indoors, they can be grown outdoors in mild climates. Choose a location that provides partial shade and well-draining soil. Protect the plants from frost and extreme temperatures. Container gardening is often the best option for growing violets outdoors, as it allows you to easily move the plants indoors when the weather turns unfavorable.
How do I keep my violets healthy and thriving?
Consistent care is key to keeping your violets healthy and thriving. Provide them with bright, indirect light, water them properly, fertilize them regularly, and protect them from pests and diseases. Repot your violets every year or two to refresh the soil and provide them with more room to grow. Remove any dead or yellowing leaves to prevent the spread of disease. By following these simple tips, you can enjoy the beauty of violets in your home for years to come.


Leave a Comment