

Grow Yellow Habanero Peppers, and unlock a world of fiery flavor right in your own backyard! Have you ever dreamed of adding a vibrant, spicy kick to your dishes with peppers you’ve nurtured from seed to fruit? This isn’t just about gardening; it’s about connecting with nature, saving money, and experiencing the unparalleled satisfaction of harvesting your own delicious ingredients.
For centuries, habanero peppers, originating from the Amazon basin, have been cherished for their intense heat and unique fruity notes. They’ve played a significant role in various cuisines, adding depth and complexity to dishes around the globe. But you don’t need to travel the world to enjoy their vibrant flavor.
Many people shy away from growing their own peppers, thinking it’s too complicated or time-consuming. But I’m here to tell you it doesn’t have to be! This DIY guide is packed with simple, effective tricks and hacks that will empower you to successfully grow Yellow Habanero Peppers, even if you’re a complete beginner. Imagine the pride of serving up a homemade salsa with peppers you grew yourself, or the satisfaction of knowing exactly where your food comes from. Let’s ditch the expensive store-bought peppers and embark on this exciting gardening adventure together!
Growing Yellow Habanero Peppers: From Seed to Spicy Harvest
Hey there, fellow chili enthusiasts! I’m so excited to share my experience growing yellow habanero peppers. These little fireballs pack a serious punch, and the vibrant yellow color just screams “summer!” Growing them yourself is surprisingly rewarding, and I promise, even if you’re a beginner, you can totally do this. Let’s dive in!
Starting Your Habanero Journey: Seeds and Seedlings
The first step is getting your hands on some yellow habanero pepper seeds. You can find them online, at your local garden center, or even from a friend who already grows them. I always recommend starting seeds indoors, especially if you live in a region with a shorter growing season. This gives your plants a head start and ensures you’ll have plenty of time to harvest those spicy peppers.
What you’ll need:
* Yellow habanero pepper seeds
* Seed starting trays or small pots
* Seed starting mix (a light, well-draining soil)
* Spray bottle with water
* Heat mat (optional, but highly recommended)
* Grow light (optional, but beneficial)
* Clear plastic dome or plastic wrap
Step-by-step instructions:
1. Prepare your seed starting trays: Fill your seed starting trays or small pots with seed starting mix. Gently tap the trays to settle the soil.
2. Sow the seeds: Make a small indentation (about 1/4 inch deep) in the center of each cell or pot. Place one or two seeds in each indentation.
3. Cover the seeds: Gently cover the seeds with seed starting mix.
4. Water the seeds: Use a spray bottle to lightly mist the soil. You want to moisten the soil without overwatering it.
5. Create a humid environment: Cover the seed starting trays with a clear plastic dome or plastic wrap. This will help retain moisture and create a humid environment that’s ideal for germination.
6. Provide warmth: Place the seed starting trays on a heat mat. Habanero peppers prefer warm temperatures (around 80-85°F) for germination. If you don’t have a heat mat, you can place the trays in a warm location, such as near a radiator or on top of your refrigerator.
7. Provide light: Place the seed starting trays under a grow light. If you don’t have a grow light, you can place the trays near a sunny window. However, be sure to rotate the trays regularly to ensure that the seedlings receive even light.
8. Monitor and water: Check the soil moisture daily. Keep the soil consistently moist, but not soggy. Mist the soil with a spray bottle as needed.
9. Remove the dome: Once the seeds have germinated (usually within 7-21 days), remove the plastic dome or plastic wrap.
10. Continue growing: Continue to grow the seedlings under the grow light or near a sunny window. Water them regularly and fertilize them with a diluted liquid fertilizer every two weeks.
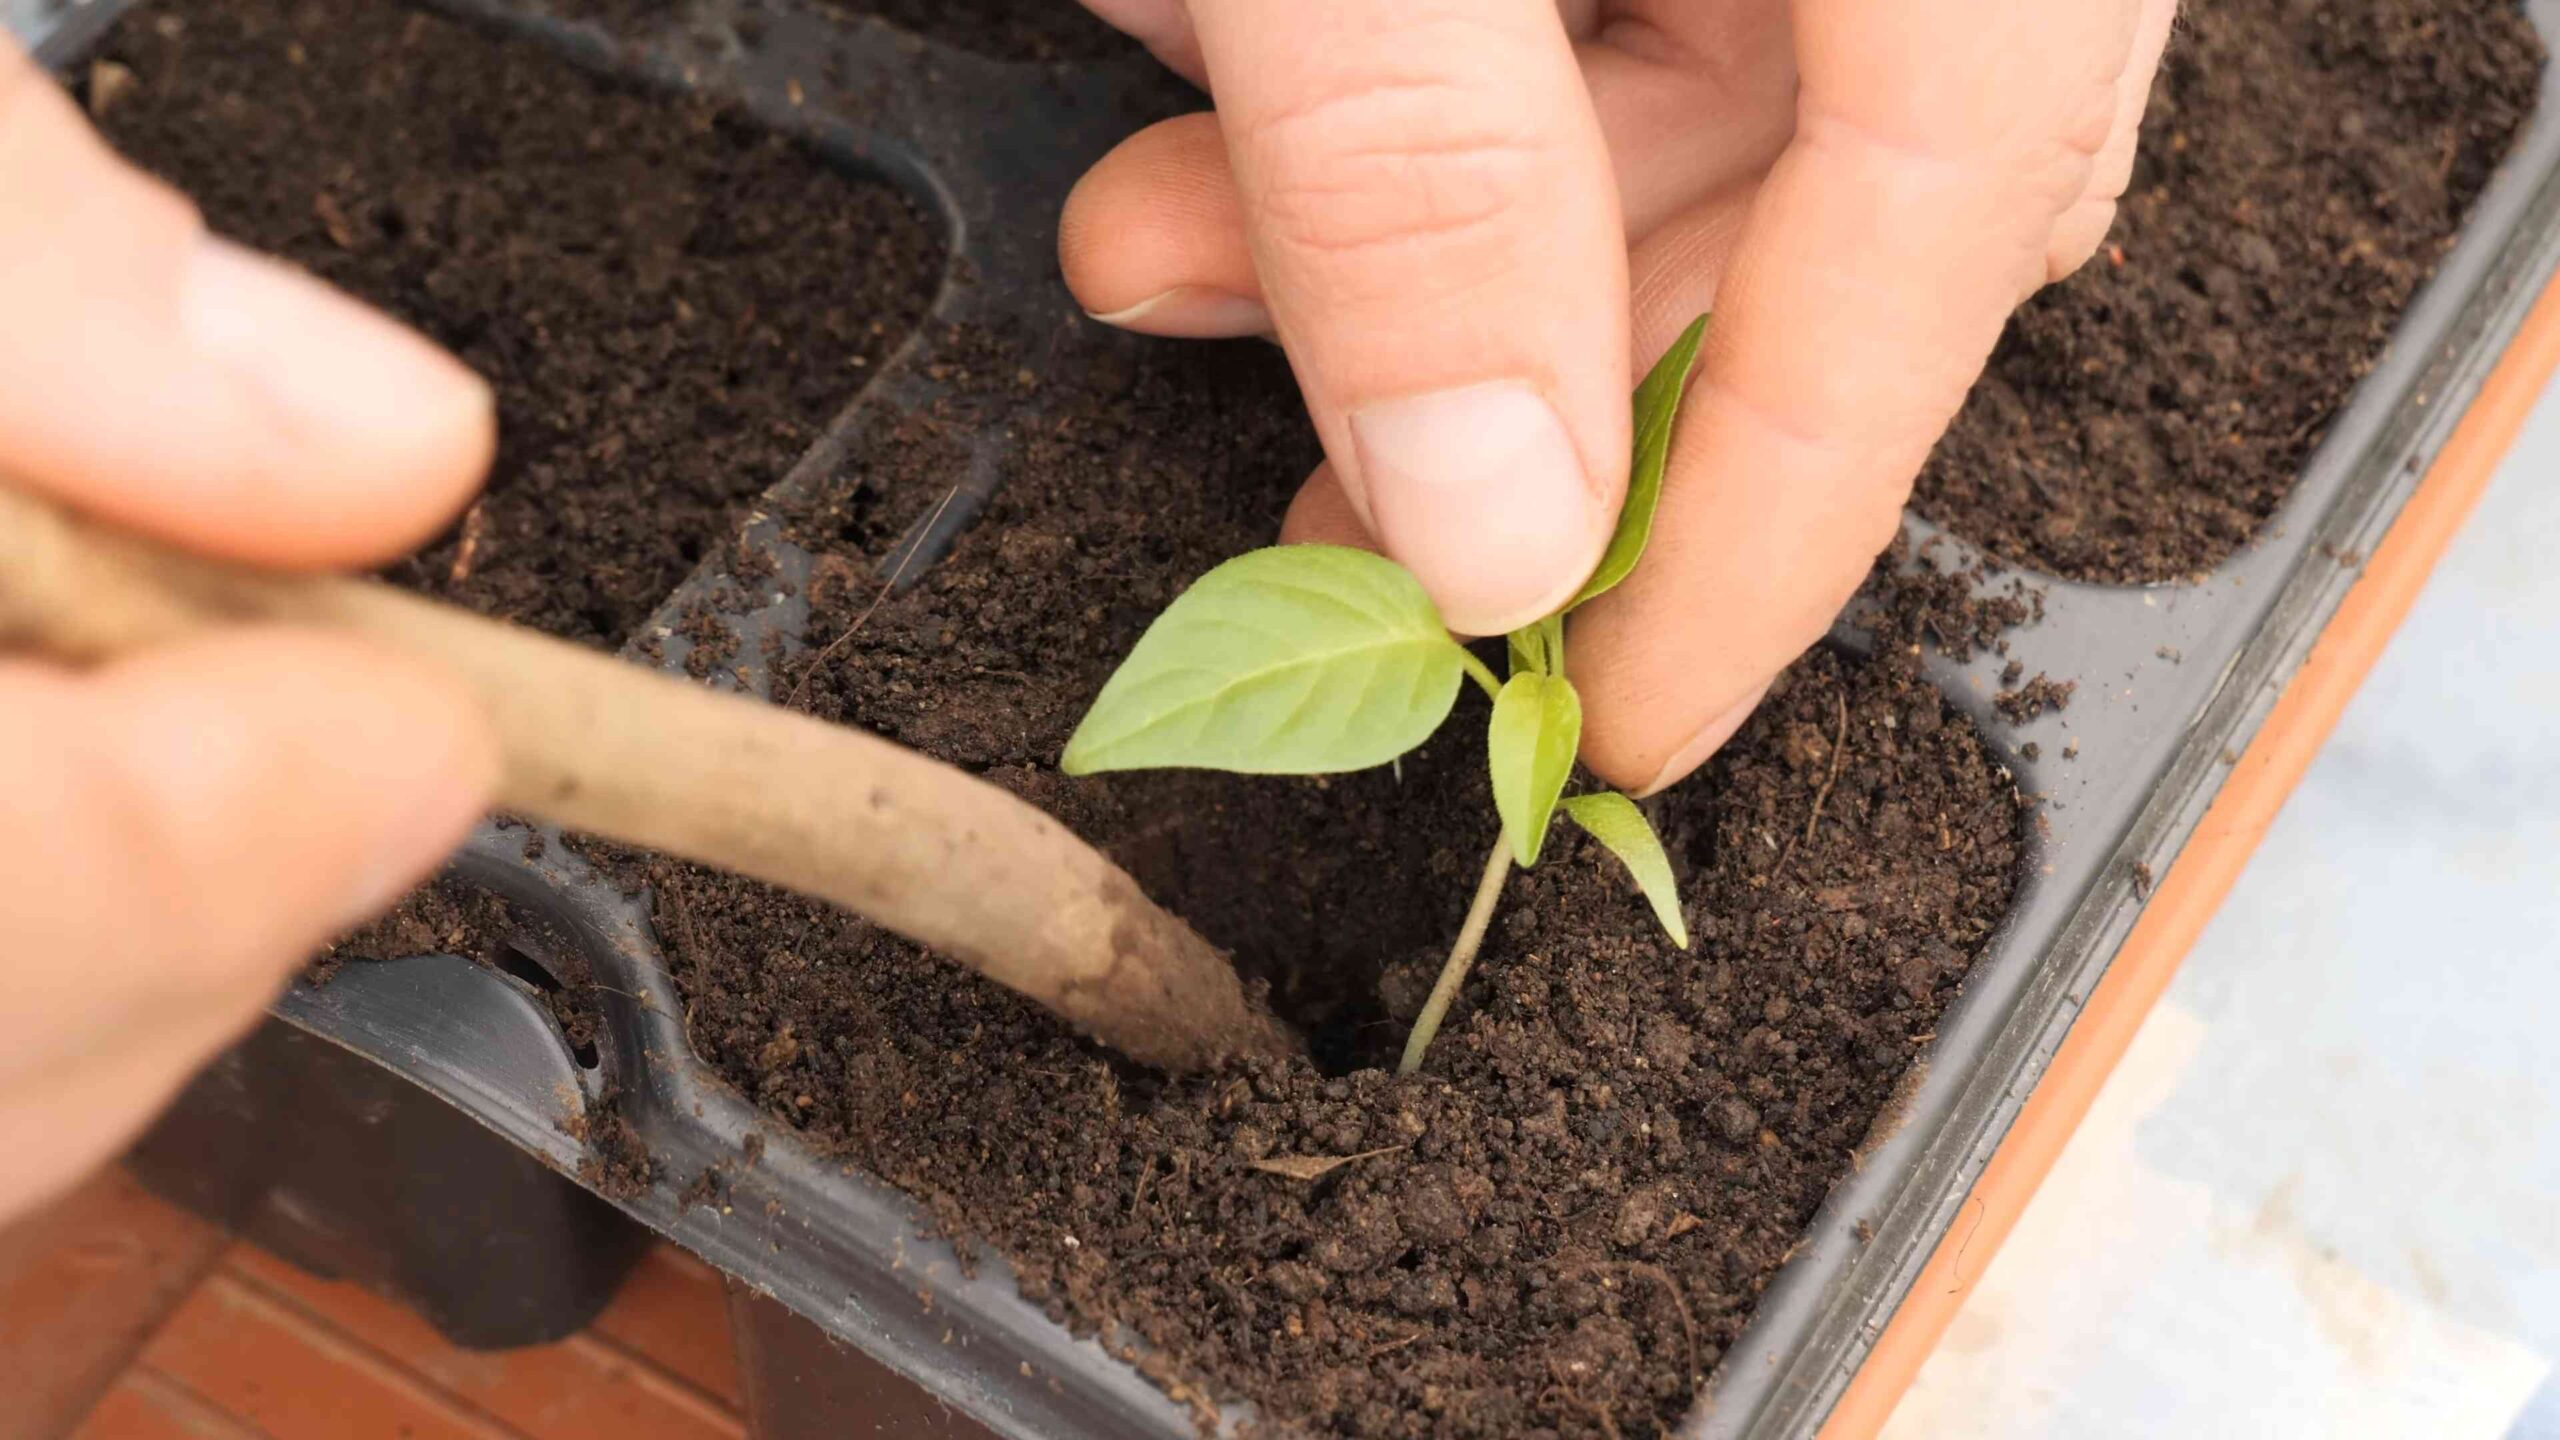
Transplanting Your Seedlings: Giving Them Room to Grow
Once your seedlings have developed a few sets of true leaves (the leaves that look like miniature versions of the adult leaves), it’s time to transplant them into larger pots. This will give them more room to grow and develop a strong root system.
What you’ll need:
* Larger pots (at least 4 inches in diameter)
* Potting mix (a well-draining soil that’s suitable for growing vegetables)
* Trowel or small shovel
* Watering can or hose
Step-by-step instructions:
1. Prepare the pots: Fill the larger pots with potting mix.
2. Carefully remove the seedlings: Gently loosen the soil around the seedlings in the seed starting trays. Carefully lift the seedlings out of the trays, being careful not to damage the roots.
3. Transplant the seedlings: Make a small hole in the center of each pot. Place the seedling in the hole and gently backfill with potting mix.
4. Water the seedlings: Water the seedlings thoroughly after transplanting.
5. Provide light and warmth: Place the transplanted seedlings under a grow light or near a sunny window. Continue to water them regularly and fertilize them with a diluted liquid fertilizer every two weeks.
Moving Outdoors: Hardening Off and Planting
Before you can plant your habanero peppers outdoors, you need to “harden them off.” This process gradually acclimates the plants to the outdoor environment, preventing them from being shocked by the sun, wind, and temperature changes.
What you’ll need:
* Your transplanted habanero pepper seedlings
* A sheltered outdoor location (e.g., a porch, patio, or balcony)
Step-by-step instructions:
1. Start slowly: On the first day, place the seedlings outdoors in a sheltered location for just one hour.
2. Gradually increase the time: Each day, increase the amount of time that the seedlings spend outdoors by one hour.
3. Monitor the plants: Keep a close eye on the plants for any signs of stress, such as wilting or sunburn. If you notice any stress, bring the plants back indoors and reduce the amount of time they spend outdoors the next day.
4. After a week or two: After a week or two of hardening off, the seedlings should be ready to be planted outdoors.
Now for the exciting part – planting your habaneros in their final home! Choose a sunny spot in your garden with well-draining soil. Habaneros love sunshine and warmth!
What you’ll need:
* Your hardened-off habanero pepper seedlings
* Garden trowel or shovel
* Compost or other organic matter
* Watering can or hose
* Mulch (optional)
* Stakes or cages (optional, but recommended for support)
Step-by-step instructions:
1. Prepare the soil: Dig a hole that’s slightly larger than the root ball of the seedling. Mix some compost or other organic matter into the soil.
2. Plant the seedling: Carefully remove the seedling from its pot. Gently loosen the roots and place the seedling in the hole.
3. Backfill the hole: Backfill the hole with soil, gently firming it around the base of the plant.
4. Water the plant: Water the plant thoroughly after planting.
5. Mulch (optional): Apply a layer of mulch around the base of the plant to help retain moisture and suppress weeds.
6. Provide support (optional): If you’re growing tall or bushy varieties of habanero peppers, you may want to provide support with stakes or cages.
Caring for Your Habanero Plants: Watering, Fertilizing, and Pest Control
Once your habanero plants are in the ground, it’s important to provide them with proper care to ensure a bountiful harvest.
Watering:
* Water your habanero plants regularly, especially during hot, dry weather.
* Water deeply, allowing the water to soak into the soil.
* Avoid overwatering, as this can lead to root rot.
* The best time to water is in the morning, so the leaves have time to dry before nightfall.
Fertilizing:
* Fertilize your habanero plants every two to three weeks with a balanced fertilizer.
* Follow the instructions on the fertilizer label.
* Avoid over-fertilizing, as this can burn the plants.
* I like to use a fertilizer that’s specifically formulated for peppers and tomatoes.
Pest Control:
* Habanero peppers are relatively pest-resistant, but they can be susceptible to aphids, spider mites, and other common garden pests.
* Inspect your plants regularly for signs of pests.
* If you find pests, you can treat them with insecticidal soap or neem oil.
* You can also attract beneficial insects to your garden, such as ladybugs and lacewings, which will help control pests.
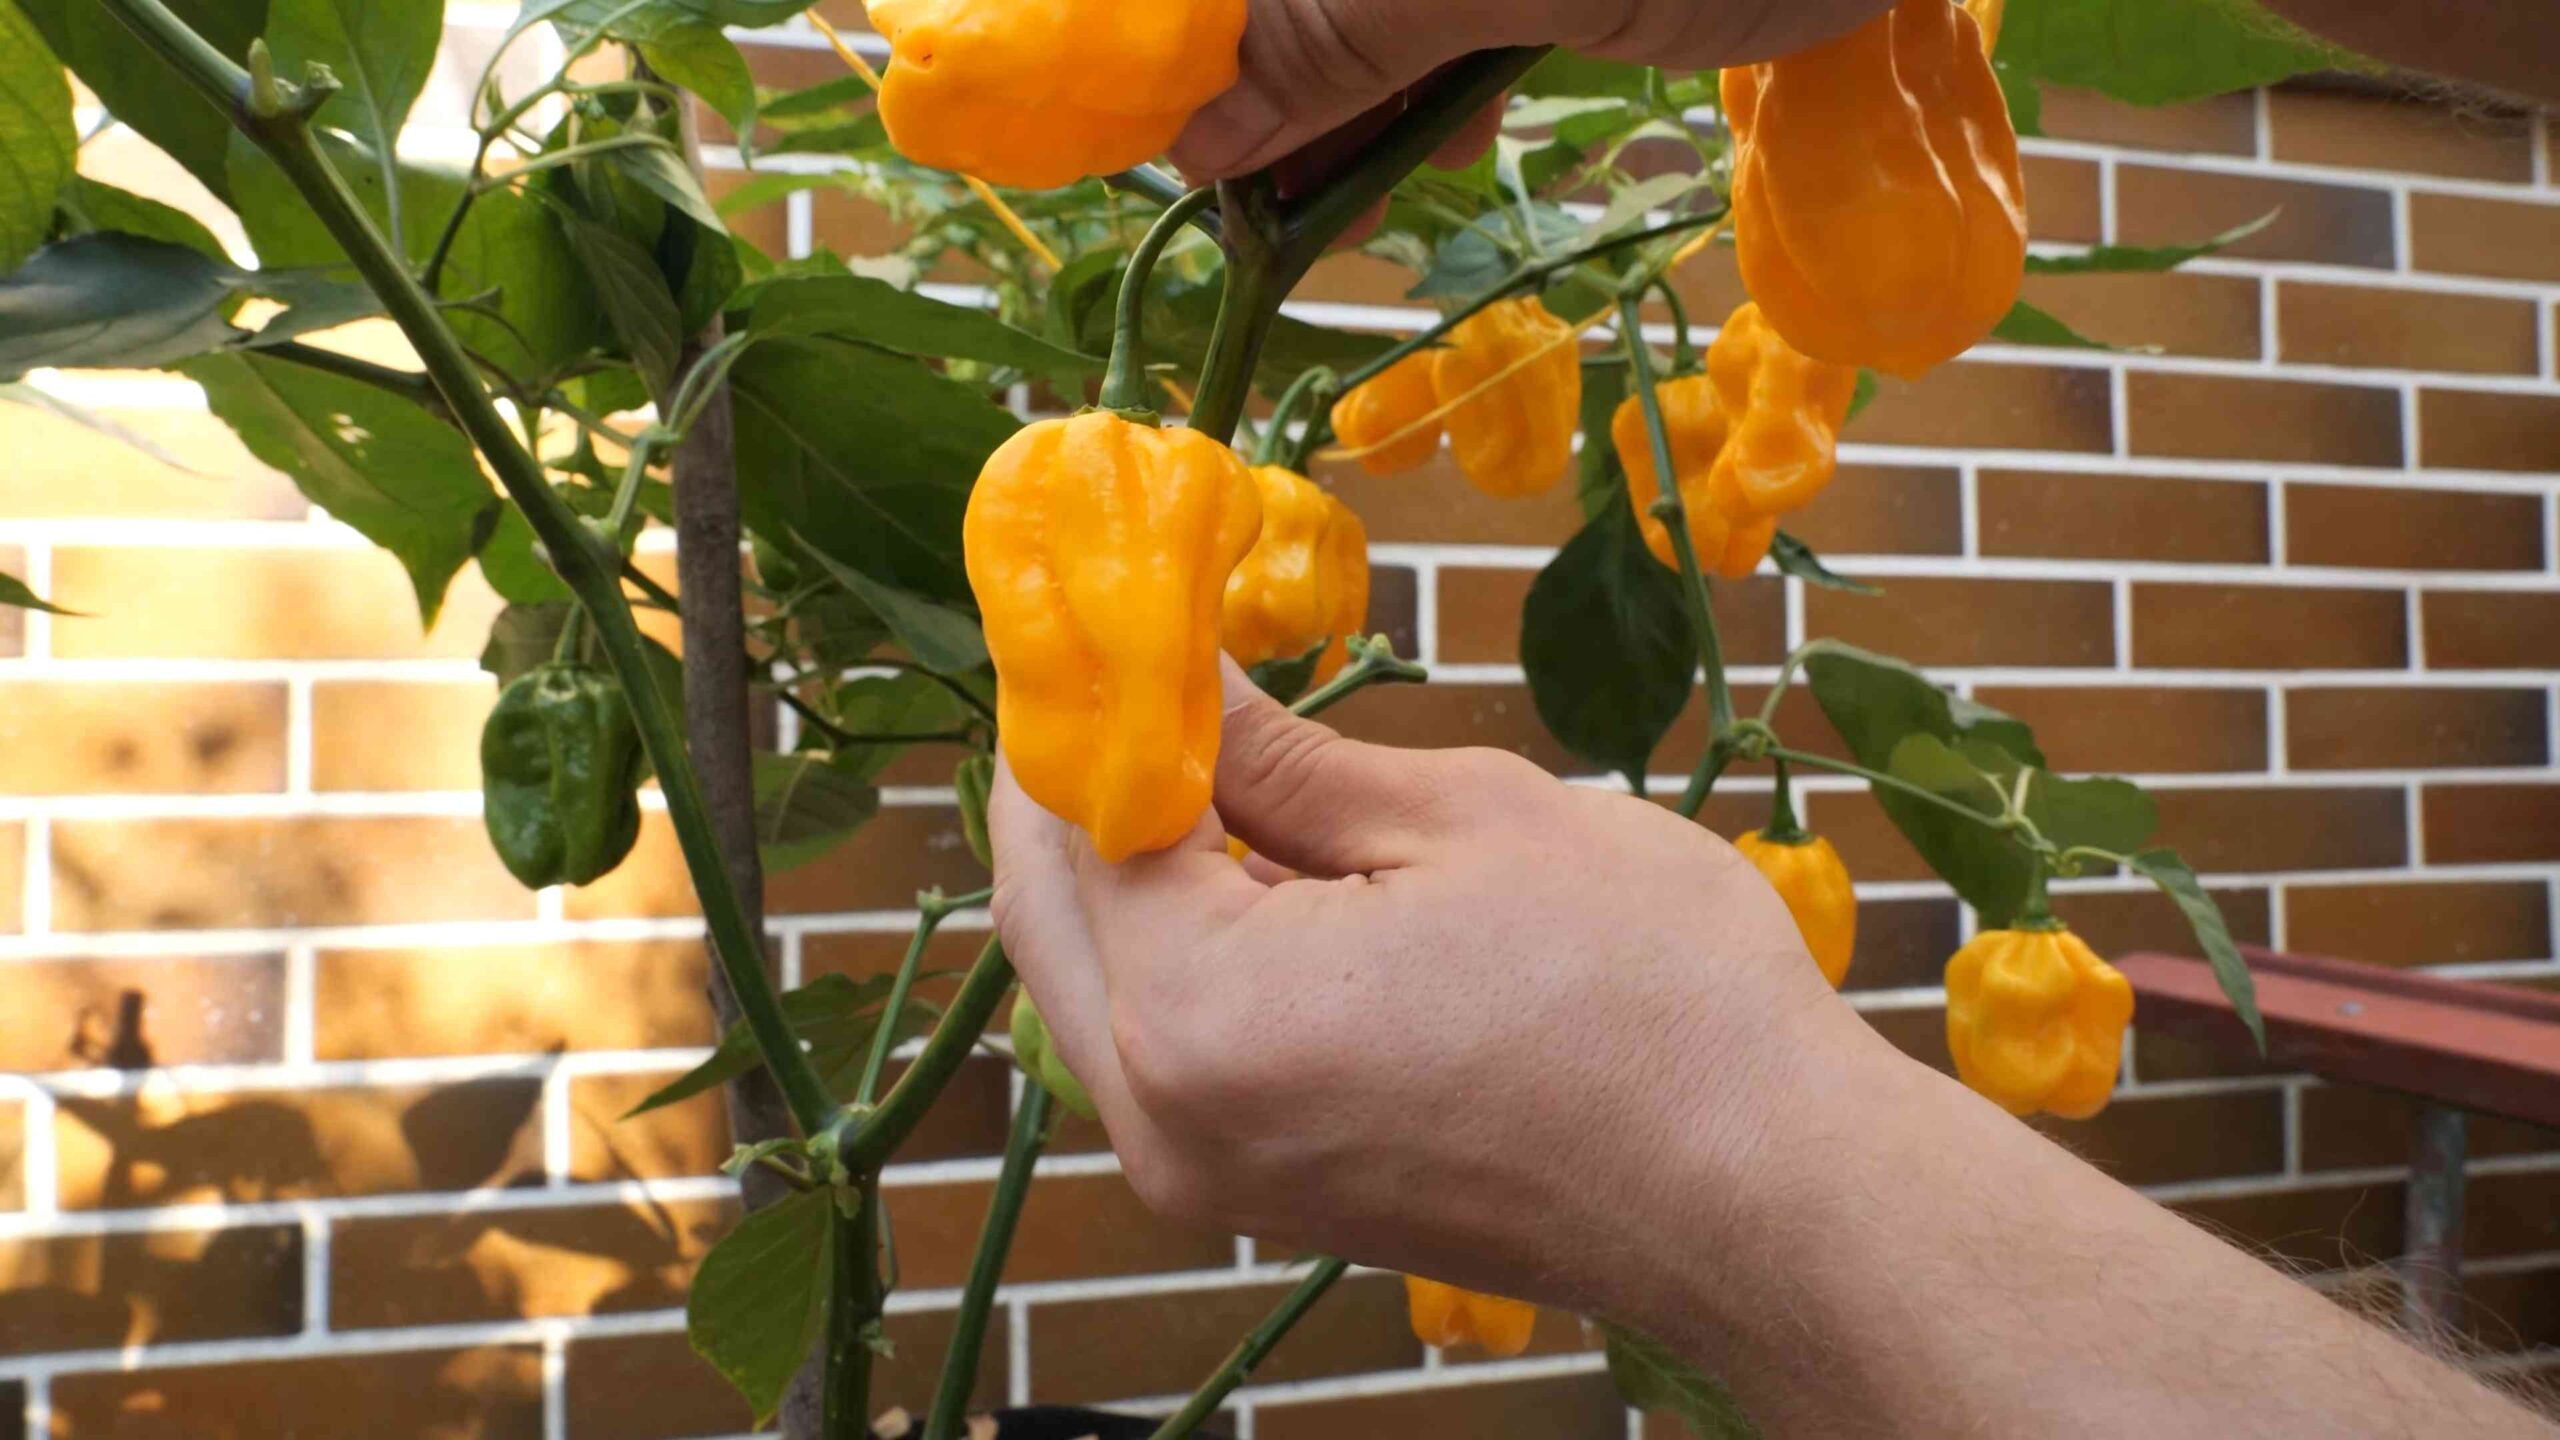
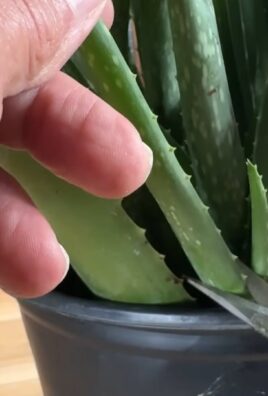
Harvesting Your Yellow Habaneros: The Spicy Reward
The moment you’ve been waiting for! Yellow habaneros are typically ready to harvest about 80-100 days after transplanting. The peppers will turn a vibrant yellow color and will be slightly soft to the touch.
What you’ll need:
* Gloves (highly recommended, as habaneros are very spicy!)
* Scissors or pruning shears
Step-by-step instructions:
1. Wear gloves: Trust me on this one! Habaneros are incredibly spicy, and the oils can irritate your skin.
2. Cut the peppers: Use scissors or pruning shears to cut the peppers from the plant.
3. Handle with care: Be careful not to touch your eyes or
Conclusion
So, there you have it! Growing your own yellow habanero peppers isn’t just a gardening project; it’s an adventure in flavor, a testament to your green thumb, and a guaranteed way to elevate your culinary creations. We’ve walked through the essential steps, from selecting the perfect seeds to nurturing your plants to a bountiful harvest. But why is this DIY trick a must-try?
Firstly, the flavor. Store-bought habaneros, while convenient, often lack the vibrant, complex heat and fruity undertones that homegrown peppers possess. When you cultivate your own, you control the growing conditions, ensuring optimal flavor development. Imagine the satisfaction of adding a dash of your own fiery yellow habanero to your favorite salsa, knowing you nurtured that heat from seed to table.
Secondly, the cost savings. While the initial investment in seeds, soil, and perhaps a grow light might seem daunting, consider the long-term benefits. A single healthy habanero plant can produce dozens of peppers, far exceeding the cost of purchasing them individually at the grocery store. Plus, you’ll have a steady supply of fresh peppers whenever you need them.
Thirdly, the sheer joy of gardening. There’s something incredibly rewarding about watching a tiny seed sprout and transform into a thriving plant. The process of nurturing your yellow habanero peppers, from watering and fertilizing to warding off pests, is a therapeutic and fulfilling experience. It connects you to nature and provides a sense of accomplishment that’s hard to replicate.
But the fun doesn’t stop there! Feel free to experiment with different growing techniques. Try hydroponics for faster growth, or explore different soil amendments to enhance the flavor of your peppers. Consider companion planting with herbs like basil or oregano to deter pests and attract beneficial insects. You can also try different methods of preserving your harvest, such as pickling, drying, or making hot sauce.
And speaking of hot sauce, imagine the possibilities! You can create your own signature blend, combining your homegrown yellow habaneros with other peppers, fruits, and spices to create a truly unique and unforgettable condiment. Or, you can simply enjoy the peppers fresh, adding them to your favorite dishes for a burst of heat and flavor.
We wholeheartedly encourage you to embark on this exciting journey of growing your own yellow habanero peppers. Don’t be afraid to experiment, learn from your mistakes, and most importantly, have fun! Once you’ve harvested your first batch of fiery peppers, we’d love to hear about your experience. Share your tips, tricks, and favorite recipes in the comments below. Let’s build a community of passionate pepper growers and celebrate the joys of homegrown heat! Remember, the best yellow habanero peppers are the ones you grow yourself.
Frequently Asked Questions (FAQ)
1. How long does it take to grow yellow habanero peppers from seed?
Growing yellow habanero peppers from seed can take anywhere from 80 to 120 days, depending on the variety and growing conditions. The germination process itself can take 1-3 weeks. Starting your seeds indoors 6-8 weeks before the last expected frost can significantly shorten the overall time to harvest. Be patient, as habaneros are known to be slow growers compared to some other pepper varieties. Consistent warmth and adequate light are crucial for optimal growth.
2. What are the ideal growing conditions for yellow habanero peppers?
Yellow habanero peppers thrive in warm, sunny conditions. They require at least 6-8 hours of direct sunlight per day. The ideal temperature range is between 70°F and 85°F (21°C and 29°C). The soil should be well-draining and rich in organic matter. A slightly acidic pH of around 6.0 to 6.8 is optimal. Consistent watering is essential, but avoid overwatering, which can lead to root rot. Consider using a balanced fertilizer to provide the necessary nutrients for healthy growth and pepper production.
3. How do I protect my yellow habanero pepper plants from pests and diseases?
Several pests and diseases can affect yellow habanero pepper plants. Common pests include aphids, spider mites, and whiteflies. These can be controlled with insecticidal soap or neem oil. Diseases such as blossom end rot and fungal infections can be prevented by ensuring proper watering, good air circulation, and avoiding overhead watering. Regularly inspect your plants for any signs of pests or diseases and take action promptly. Companion planting with herbs like basil or marigolds can also help deter pests.
4. When is the best time to harvest yellow habanero peppers?
Yellow habanero peppers are typically ready to harvest when they turn a vibrant yellow or orange color. The peppers should feel firm and slightly waxy to the touch. Use pruning shears or scissors to cut the peppers from the plant, leaving a small stem attached. Avoid pulling the peppers, as this can damage the plant. The best time to harvest is in the morning, after the dew has dried.
5. How hot are yellow habanero peppers?
Yellow habanero peppers are known for their intense heat. They typically range from 100,000 to 350,000 Scoville heat units (SHU) on the Scoville scale. This makes them significantly hotter than jalapeño peppers, which typically range from 2,500 to 8,000 SHU. When handling yellow habanero peppers, it’s essential to wear gloves to protect your skin from the capsaicin, the compound that gives peppers their heat. Avoid touching your eyes or face after handling the peppers.
6. Can I grow yellow habanero peppers indoors?
Yes, you can grow yellow habanero peppers indoors, especially if you live in a climate with short growing seasons. To grow them indoors, you’ll need to provide adequate light, either through a sunny window or with grow lights. Use a well-draining potting mix and ensure proper ventilation. Water regularly and fertilize as needed. Indoor-grown peppers may require hand-pollination to ensure fruit set.
7. What are some creative ways to use yellow habanero peppers?
Yellow habanero peppers are incredibly versatile and can be used in a variety of culinary applications. They can be added to salsas, sauces, soups, stews, and chili for a burst of heat and flavor. They can also be pickled, dried, or made into hot sauce. Consider using them to infuse oils or vinegars for a spicy kick. When using yellow habanero peppers, start with a small amount and adjust to your desired level of heat. Remember to remove the seeds and membranes for a milder flavor.
8. How do I store yellow habanero peppers?
Fresh yellow habanero peppers can be stored in the refrigerator for up to a week. For longer storage, you can freeze them whole or chopped. Alternatively, you can dry them using a dehydrator or by hanging them in a well-ventilated area. Dried peppers can be stored in an airtight container for several months. You can also pickle them in vinegar or brine for a longer shelf life.
9. What if my yellow habanero pepper plant isn’t producing peppers?
Several factors can contribute to a lack of pepper production. Ensure your plant is receiving enough sunlight (at least 6-8 hours per day). Check the soil pH and nutrient levels. Overwatering or underwatering can also affect pepper production. Hand-pollination may be necessary, especially for indoor-grown plants. Temperature fluctuations can also impact fruit set. If you’ve addressed these factors and your plant is still not producing peppers, consider using a blossom set spray to encourage fruit development.
10. Are there different varieties of yellow habanero peppers?
Yes, there are several varieties of yellow habanero peppers, each with slightly different characteristics. Some popular varieties include the Yellow Scotch Bonnet, which is closely related to the habanero and has a similar flavor profile, and the Peruvian White Habanero, which is a milder variety with a fruity flavor. Experimenting with different varieties can add diversity to your pepper garden and culinary creations.
Leave a Comment