Growing Broccoli at Home can seem daunting, but trust me, it’s more achievable (and rewarding!) than you might think. Have you ever imagined strolling into your backyard, snipping off a perfectly formed head of broccoli, and knowing exactly where it came from and what went into it? That’s the magic of home gardening, and today, I’m going to share some simple DIY tricks and hacks to make growing broccoli at home a breeze, even if you’re a complete beginner.
Broccoli, a member of the brassica family, has a rich history dating back to ancient Rome, where it was prized for its nutritional value and unique flavor. Over centuries, it has spread across the globe, becoming a staple in countless cuisines. But in our modern world of mass-produced produce, the joy of cultivating your own food, especially something as wholesome as broccoli, has been somewhat lost.
That’s where these DIY tricks come in! In today’s world, we are all looking for ways to save money and eat healthier. Growing Broccoli at Home allows you to control the quality of your food, avoid harmful pesticides, and enjoy the freshest, most flavorful broccoli imaginable. Plus, it’s a fantastic way to connect with nature, reduce your carbon footprint, and experience the satisfaction of nurturing something from seed to table. So, let’s dive in and unlock the secrets to a bountiful broccoli harvest right in your own backyard!

Growing Broccoli at Home: A DIY Guide for Budding Gardeners
Hey there, fellow garden enthusiasts! I’m so excited to share my experiences and tips on growing broccoli right in your own backyard. It’s easier than you might think, and the taste of homegrown broccoli is simply unbeatable. Get ready to ditch the grocery store florets and enjoy fresh, crisp broccoli straight from your garden!
Choosing the Right Broccoli Variety
Before we dive into the nitty-gritty, let’s talk about broccoli varieties. Picking the right one for your climate and growing season is crucial for success. Here are a few of my favorites:
- ‘Waltham 29’: This is a classic, reliable variety that’s known for its good flavor and cold hardiness. It’s a great choice for beginners.
- ‘DiCicco’: This variety matures quickly, producing a main head followed by numerous side shoots. It’s perfect if you want a continuous harvest.
- ‘Green Magic’: As the name suggests, this variety produces beautiful, dark green heads. It’s heat-tolerant, making it a good option for warmer climates.
- ‘Calabrese’: Another popular choice, ‘Calabrese’ is known for its large, central head. It’s relatively easy to grow and offers a good yield.
Consider your local climate and the length of your growing season when making your selection. Seed packets and online resources often provide valuable information about each variety’s specific needs.
Starting Broccoli Seeds Indoors (Recommended)
While you can direct sow broccoli seeds, I highly recommend starting them indoors, especially if you live in an area with a short growing season. This gives your plants a head start and protects them from early-season pests.
What You’ll Need:
- Broccoli seeds
- Seed starting trays or small pots
- Seed starting mix (a light, well-draining mix is essential)
- Watering can or spray bottle
- Grow lights (optional, but highly recommended)
- Heat mat (optional, but helpful for germination)
Step-by-Step Instructions:
- Prepare Your Seed Starting Trays: Fill your seed starting trays or pots with seed starting mix. Gently tap the trays to settle the mix.
- Sow the Seeds: Make a small indentation (about ¼ inch deep) in each cell or pot. Place 2-3 broccoli seeds in each indentation. This increases the chances of at least one seed germinating.
- Cover the Seeds: Gently cover the seeds with a thin layer of seed starting mix.
- Water Thoroughly: Use a watering can or spray bottle to thoroughly moisten the soil. Be careful not to overwater, as this can lead to damping off (a fungal disease that kills seedlings).
- Provide Warmth and Light: Place the trays on a heat mat (if using) and under grow lights. Broccoli seeds germinate best at temperatures between 65-75°F (18-24°C). If you don’t have grow lights, place the trays in a sunny window, but be aware that the seedlings may become leggy (tall and spindly) if they don’t receive enough light.
- Keep the Soil Moist: Check the soil moisture daily and water as needed to keep it consistently moist, but not soggy.
- Thin the Seedlings: Once the seedlings have emerged and have their first true leaves (the second set of leaves), thin them to one plant per cell or pot. Choose the strongest, healthiest-looking seedling and snip off the others at the soil line. Don’t pull them out, as this can disturb the roots of the remaining seedling.
- Harden Off the Seedlings: About a week before you plan to transplant the seedlings outdoors, you’ll need to harden them off. This process gradually acclimates the plants to outdoor conditions. Start by placing the trays outdoors in a sheltered location for a few hours each day, gradually increasing the amount of time they spend outside. Protect them from strong winds and direct sunlight during the first few days.
Preparing the Garden Bed
Broccoli needs a sunny spot and well-drained soil to thrive. Here’s how to prepare your garden bed:
What You’ll Need:
- Garden fork or tiller
- Compost or well-rotted manure
- Balanced fertilizer (e.g., 10-10-10)
- pH testing kit (optional, but recommended)
Step-by-Step Instructions:
- Choose a Sunny Location: Broccoli needs at least 6 hours of direct sunlight per day.
- Prepare the Soil: Use a garden fork or tiller to loosen the soil to a depth of at least 12 inches. Remove any rocks, weeds, or debris.
- Amend the Soil: Broccoli prefers soil that is rich in organic matter. Amend the soil with plenty of compost or well-rotted manure. This will improve drainage, aeration, and nutrient content.
- Fertilize the Soil: Incorporate a balanced fertilizer into the soil according to the package directions.
- Test the Soil pH (Optional): Broccoli grows best in soil with a pH between 6.0 and 7.0. Use a pH testing kit to check the soil pH and amend it as needed. If the soil is too acidic, add lime. If it’s too alkaline, add sulfur.
Transplanting Broccoli Seedlings
Once your seedlings are hardened off and the danger of frost has passed, it’s time to transplant them into the garden.
What You’ll Need:
- Hardened-off broccoli seedlings
- Trowel or shovel
- Watering can or hose
- Mulch (optional, but recommended)
Step-by-Step Instructions:
- Choose a Cloudy Day: Transplanting on a cloudy day will help reduce stress on the seedlings.
- Dig Holes: Dig holes that are slightly larger than the root balls of the seedlings. Space the holes about 18-24 inches apart.
- Remove Seedlings from Trays: Gently remove the seedlings from their trays or pots. Be careful not to damage the roots.
- Plant the Seedlings: Place the seedlings in the holes and backfill with soil. Make sure the top of the root ball is level with the surrounding soil.
- Water Thoroughly: Water the seedlings thoroughly after planting.
- Mulch (Optional): Apply a layer of mulch around the plants to help retain moisture, suppress weeds, and regulate soil temperature. Straw, wood chips, or shredded leaves are all good options.
Caring for Your Broccoli Plants
Proper care is essential for healthy broccoli plants and a bountiful harvest.
Watering:
Broccoli needs consistent moisture, especially during head formation. Water deeply and regularly, especially during dry spells. Aim for about 1-1.5 inches of water per week. Avoid overhead watering, as this can promote fungal diseases. Soaker hoses or drip irrigation are ideal.
Fertilizing:
Broccoli is a heavy feeder, so it needs regular fertilization. Side-dress the plants with a nitrogen-rich fertilizer every 2-3 weeks. Fish emulsion or compost tea are excellent organic options.
Weeding:
Keep the garden bed free of weeds, as they can compete with the broccoli plants for nutrients and water. Hand-pull weeds regularly or use a hoe to cultivate the soil.
Pest and Disease Control:
Broccoli is susceptible to several pests and diseases. Here are some common problems and how to deal with them:
- Cabbage Worms: These green caterpillars can devour broccoli leaves. Handpick them off the plants or use Bacillus thuringiensis (Bt), a biological insecticide.
- Cabbage Loopers: Similar to cabbage worms, cabbage loopers can also cause significant damage. Use Bt or insecticidal soap.
- Aphids: These small, sap-sucking insects can weaken plants. Spray them off with a strong stream of water or use insecticidal soap.
- Clubroot: This fungal disease causes swollen, distorted roots. Prevent clubroot by ensuring good soil drainage and maintaining a soil pH between 6.0 and 7.0. Rotate crops to avoid planting broccoli in the same location year after year.
- Downy Mildew: This fungal disease causes yellow spots on the upper surface of the leaves and a white, downy growth on the underside. Improve air circulation and avoid overhead watering to prevent downy mildew.
Regularly inspect your plants for signs of pests or diseases and take action promptly.
Harvesting Your Broccoli
The moment you

Conclusion
So, there you have it! Growing broccoli at home isn’t just a gardening project; it’s an investment in your health, your taste buds, and your connection to the natural world. We’ve walked through the steps, from selecting the right seeds to battling common pests, and hopefully, you’re feeling empowered to embark on this rewarding journey.
Why is this DIY trick a must-try? Because store-bought broccoli simply can’t compare to the vibrant flavor and nutritional punch of homegrown. You control the entire process, ensuring your broccoli is free from unwanted chemicals and harvested at its peak of freshness. Plus, there’s an undeniable satisfaction in nurturing a plant from seed to table. Imagine the pride you’ll feel serving a broccoli dish made entirely from your own garden!
But the benefits extend beyond just taste and health. Growing your own food is a sustainable practice that reduces your carbon footprint and connects you to the rhythms of nature. It’s a therapeutic activity that can relieve stress and boost your mood. And it’s a fantastic way to teach children about where their food comes from.
Now, let’s talk about variations. While we’ve focused on traditional green broccoli, don’t be afraid to experiment! Consider trying purple sprouting broccoli for a beautiful and slightly sweeter alternative. Or, explore different varieties like Romanesco broccoli, with its stunning fractal florets, for a truly unique addition to your garden and your plate. You can also adjust the planting schedule to extend your harvest season, ensuring a continuous supply of fresh broccoli throughout the year. Think about succession planting, sowing new seeds every few weeks to stagger your harvests.
Furthermore, consider companion planting to enhance your broccoli’s growth and deter pests. Marigolds, for example, are known to repel nematodes and other harmful insects. Planting herbs like rosemary and thyme nearby can also help to keep pests away.
We’ve covered a lot, but the best way to learn is by doing. Don’t be intimidated by the potential challenges. Every gardener, even the most experienced, faces setbacks. The key is to learn from your mistakes and keep experimenting. Remember to monitor your plants regularly, provide them with the necessary care, and adjust your approach as needed.
We wholeheartedly encourage you to give **growing broccoli at home** a try. It’s a rewarding experience that will enrich your life in countless ways. And we’d love to hear about your journey! Share your successes, your challenges, and your tips with us in the comments below. Let’s build a community of home broccoli growers and inspire others to embrace the joys of gardening. What variety did you choose? What challenges did you face, and how did you overcome them? Your experiences can help others succeed.
So, grab your seeds, prepare your soil, and get ready to enjoy the delicious and nutritious rewards of homegrown broccoli. Happy gardening!
Frequently Asked Questions (FAQ)
Q: How much space do I need to grow broccoli?
A: Broccoli plants typically need about 18-24 inches of space between them to allow for proper growth and air circulation. If you’re planting in rows, space the rows about 3 feet apart. However, you can also grow broccoli in containers, which is a great option if you have limited space. A container that is at least 12 inches in diameter and 12 inches deep should be sufficient for one broccoli plant. Remember to choose a container with drainage holes to prevent waterlogging.
Q: What kind of soil is best for growing broccoli?
A: Broccoli thrives in well-drained, fertile soil that is rich in organic matter. The ideal soil pH is between 6.0 and 7.0. Before planting, amend your soil with compost or well-rotted manure to improve its fertility and drainage. If your soil is heavy clay, consider adding sand or other amendments to improve drainage. You can also perform a soil test to determine the pH and nutrient levels of your soil and adjust accordingly.
Q: How often should I water my broccoli plants?
A: Broccoli plants need consistent moisture, especially during hot weather. Water deeply and regularly, aiming to keep the soil consistently moist but not waterlogged. A good rule of thumb is to water when the top inch of soil feels dry to the touch. Mulching around your plants can help to retain moisture and suppress weeds. Avoid overhead watering, as this can increase the risk of fungal diseases. Instead, water at the base of the plants.
Q: What are some common pests that affect broccoli, and how can I control them?
A: Broccoli is susceptible to several pests, including cabbage worms, aphids, flea beetles, and cabbage root maggots. To control these pests, you can use a variety of methods, including:
* **Handpicking:** Regularly inspect your plants and remove any pests you find by hand.
* **Row covers:** Cover your plants with row covers to prevent pests from reaching them.
* **Insecticidal soap:** Spray your plants with insecticidal soap to kill aphids and other soft-bodied insects.
* **Bacillus thuringiensis (Bt):** Apply Bt to control cabbage worms. Bt is a naturally occurring bacterium that is toxic to caterpillars.
* **Diatomaceous earth:** Sprinkle diatomaceous earth around your plants to deter flea beetles and other crawling insects.
* **Companion planting:** Plant herbs like rosemary and thyme nearby to repel pests.
Q: When is the best time to harvest broccoli?
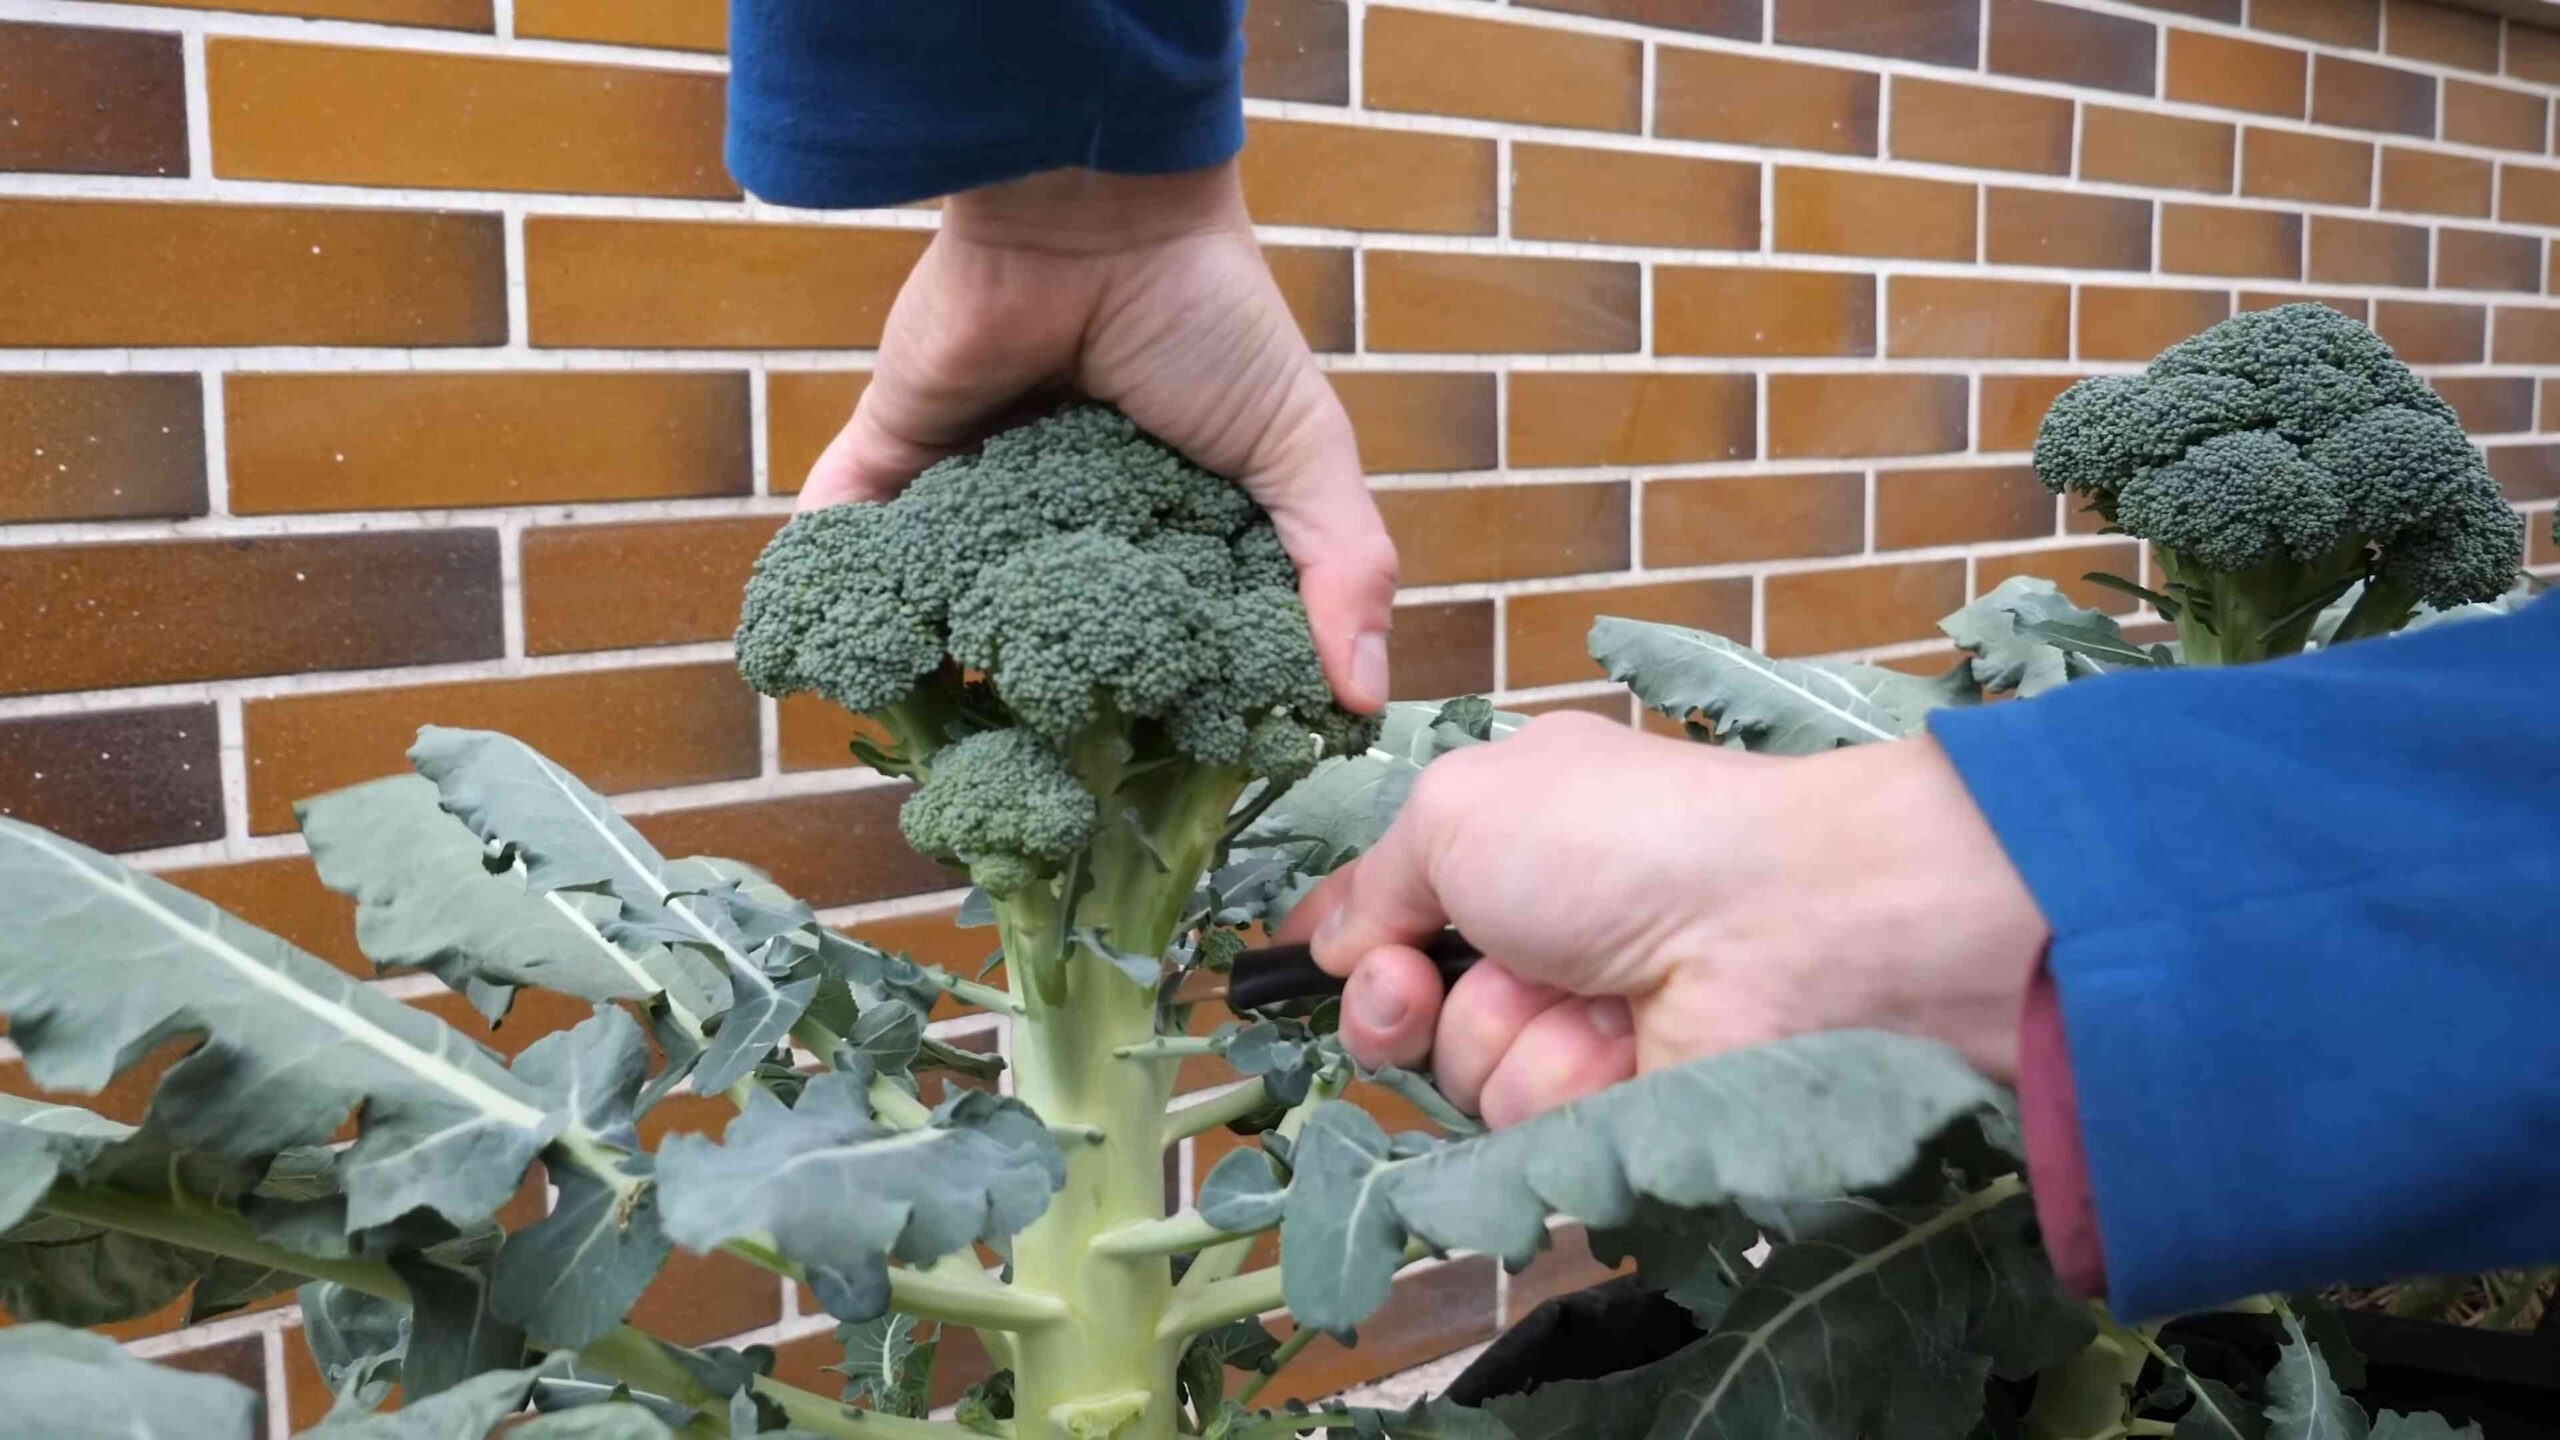
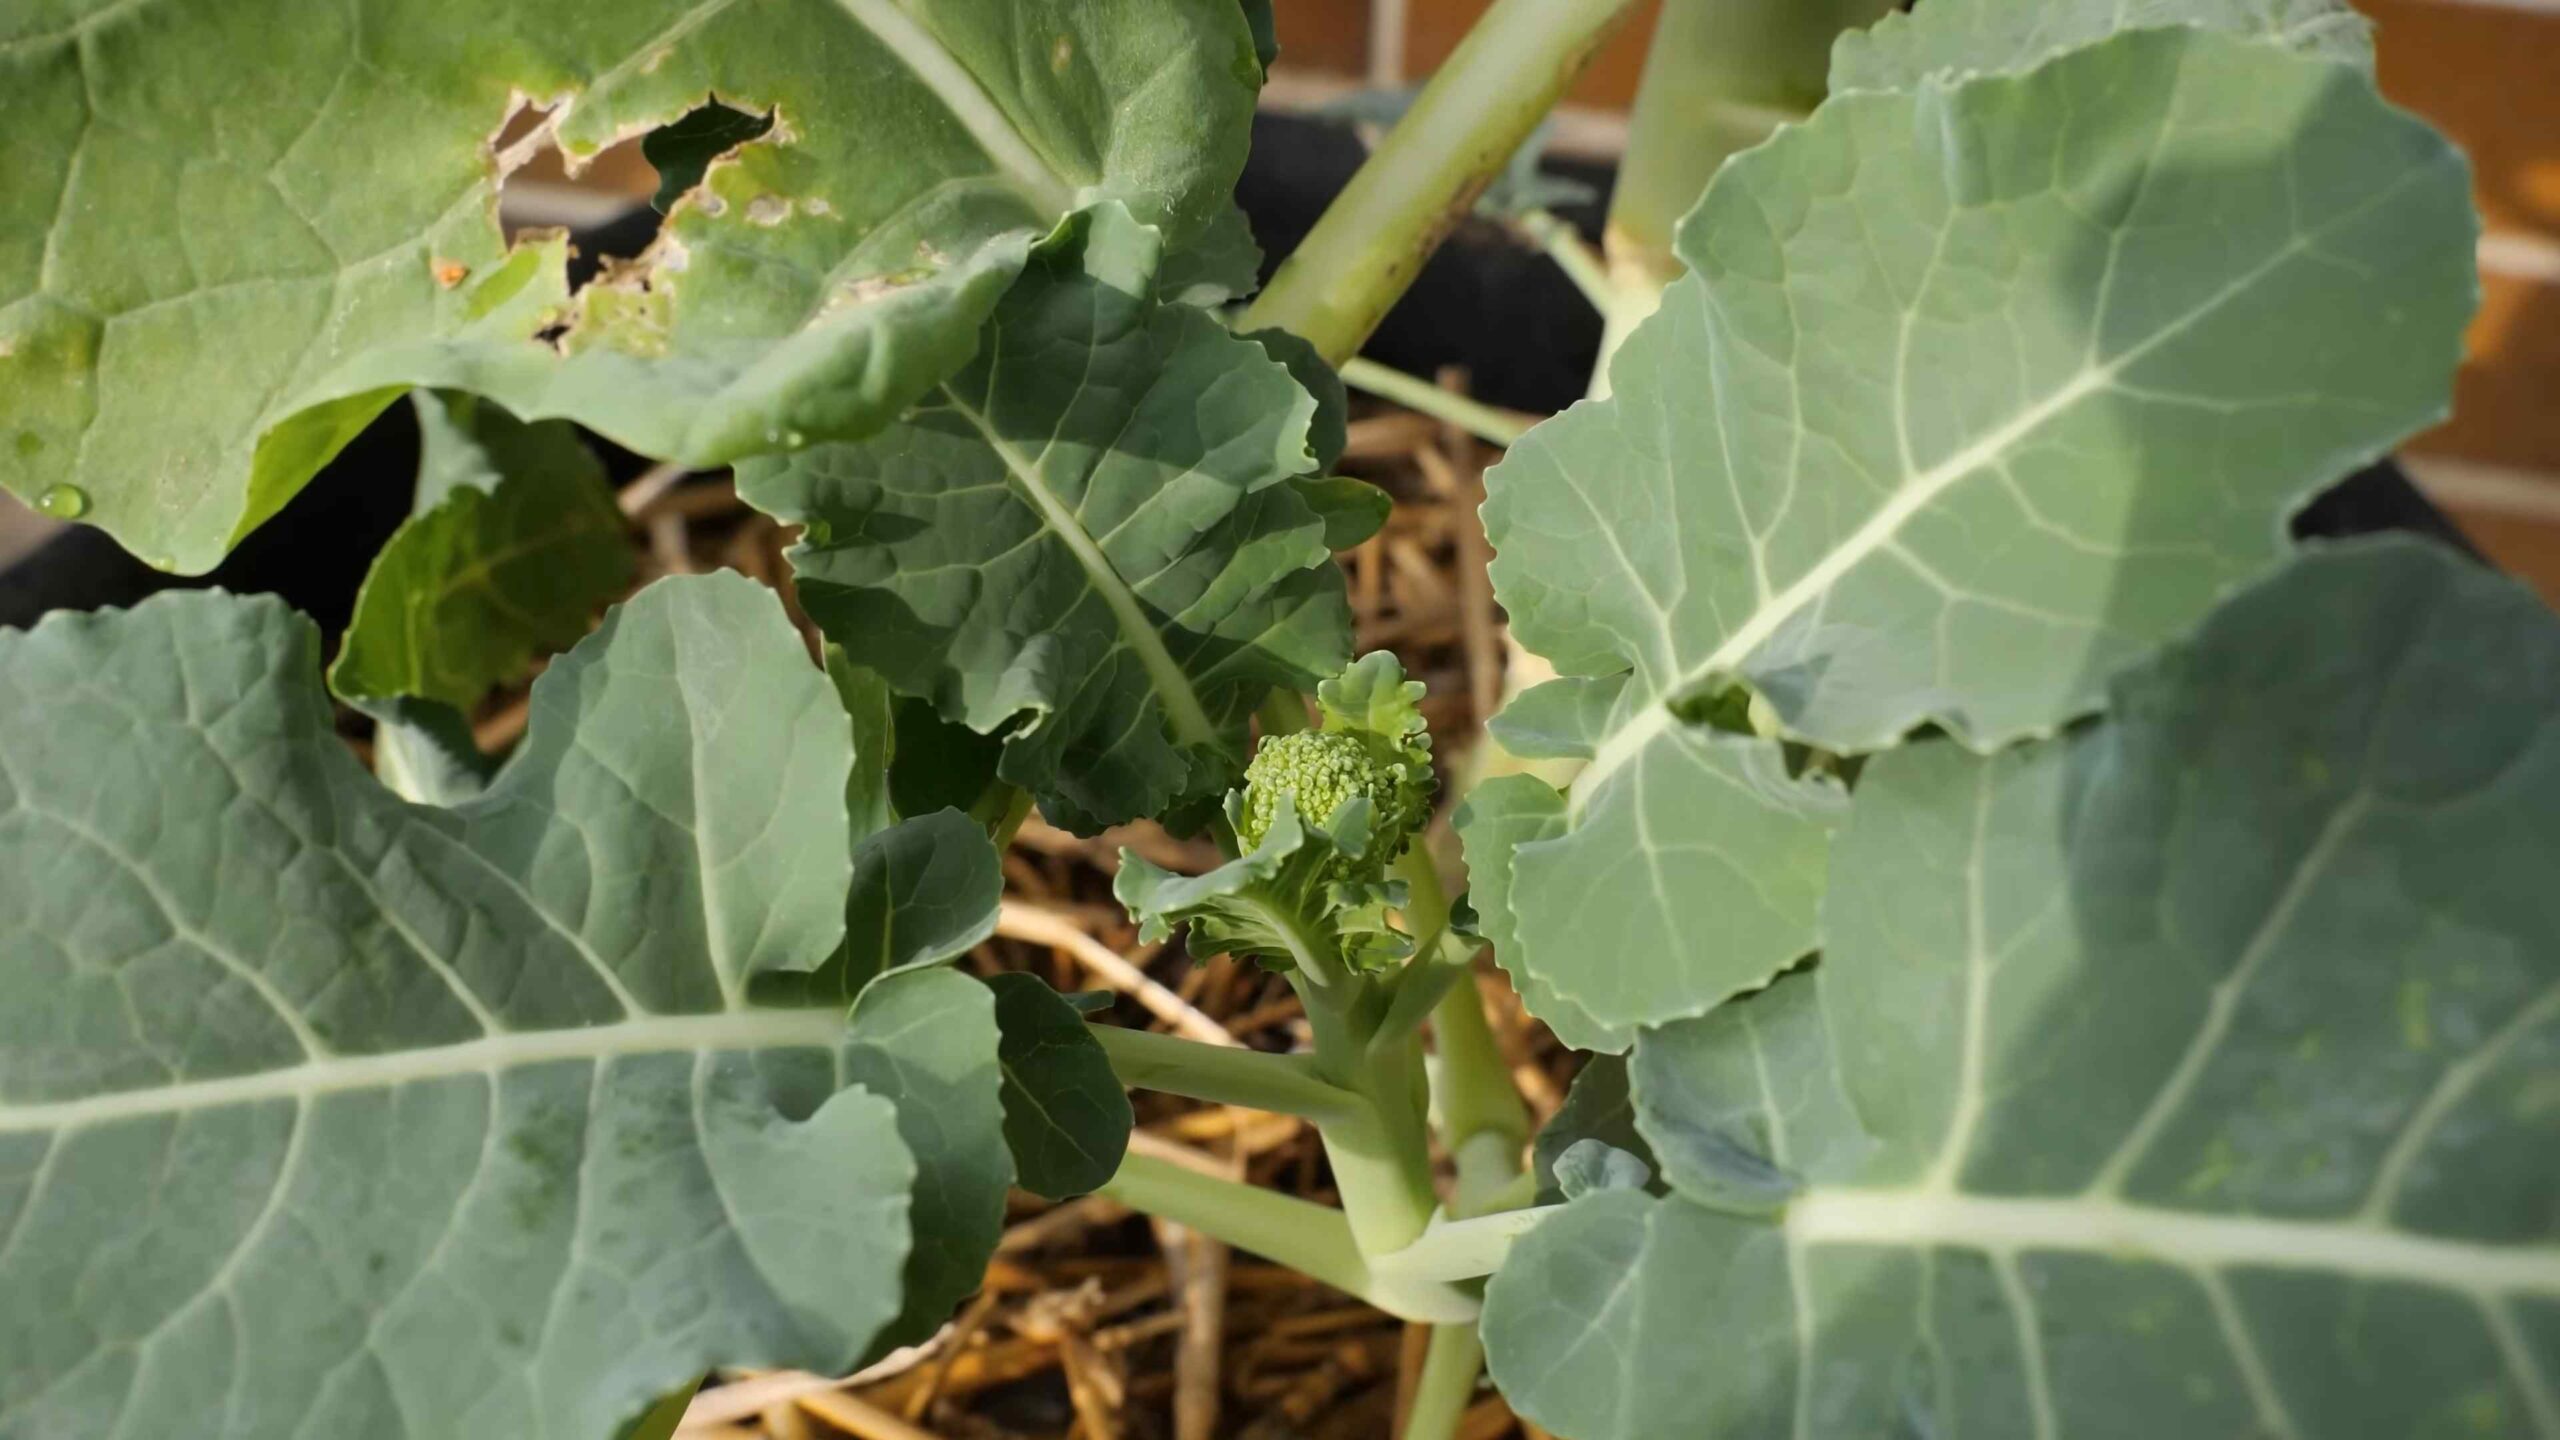
A: Broccoli is ready to harvest when the flower heads are firm and tight, and the individual florets are still green. The central head should be about 6-8 inches in diameter. If the florets start to open and turn yellow, it’s a sign that the broccoli is past its prime. To harvest, cut the central head off the plant with a sharp knife, leaving a few inches of stem. Side shoots will often develop after the central head is harvested, providing you with additional broccoli over a longer period.
Q: Can I grow broccoli in containers?
A: Yes, you can absolutely grow broccoli in containers! Choose a container that is at least 12 inches in diameter and 12 inches deep. Use a high-quality potting mix and ensure that the container has drainage holes. Water regularly and fertilize every few weeks with a balanced fertilizer. Place the container in a sunny location that receives at least 6 hours of sunlight per day. Container-grown broccoli may require more frequent watering and fertilization than broccoli grown in the ground.
Q: My broccoli plants are bolting (going to seed). What can I do?
A: Bolting occurs when broccoli plants are stressed by heat or lack of water. Once a plant bolts, the flower heads will become loose and bitter. Unfortunately, there’s not much you can do to reverse bolting. The best way to prevent bolting is to plant broccoli at the right time of year, provide consistent moisture, and protect your plants from extreme heat. If your plants do bolt, you can still harvest the leaves and use them in salads or stir-fries.
Q: How can I extend my broccoli harvest season?
A: To extend your broccoli harvest season, consider succession planting. Sow new seeds every few weeks to stagger your harvests. You can also choose different varieties of broccoli that mature at different times. For example, some varieties are better suited for spring planting, while others are better suited for fall planting. Additionally, you can protect your plants from frost with row covers or cold frames to extend the season into the fall.


Leave a Comment