

Growing Melons From Seed might seem daunting, conjuring images of sprawling farms and professional greenhouses. But fear not, fellow garden enthusiasts! I’m here to tell you that cultivating juicy, sweet melons from the comfort of your own backyard is not only achievable but incredibly rewarding. Imagine biting into a sun-ripened watermelon, knowing you nurtured it from a tiny seed – that’s the magic we’re unlocking today!
Melons have a rich history, dating back to ancient civilizations in Africa and Asia. They were prized for their refreshing taste and nutritional value, often depicted in art and literature. For centuries, growing melons was a symbol of prosperity and agricultural skill. Now, you can tap into that legacy and bring a touch of that history to your own garden.
Why should you embark on this melon-growing adventure? Well, store-bought melons often lack the intense flavor and sweetness of homegrown varieties. Plus, you have complete control over the growing process, ensuring your melons are free from harmful chemicals. More importantly, growing melons from seed allows you to choose from a wider variety of heirloom and unique melon types that you simply won’t find at your local grocery store. This DIY guide will equip you with the essential tricks and hacks to successfully germinate your seeds, nurture your seedlings, and ultimately harvest a bountiful crop of delicious melons. Let’s get started!
Growing Melons From Seed: A Sweet DIY Project
Okay, melon lovers, let’s dive into the juicy world of growing melons from seed! I know, it might seem intimidating, but trust me, with a little patience and these simple steps, you’ll be enjoying homegrown melons before you know it. We’re going to cover everything from choosing the right seeds to transplanting your little seedlings. Get ready to get your hands dirty!
Choosing Your Melon Variety
First things first, you need to decide what kind of melon you want to grow. There are so many delicious options! Here’s a quick rundown of some popular choices:
* Watermelon: The classic summer treat! Look for varieties like ‘Sugar Baby’ (small and early), ‘Crimson Sweet’ (large and flavorful), or ‘Yellow Doll’ (yellow flesh, super sweet).
* Cantaloupe: Sweet and aromatic, cantaloupes are a garden staple. ‘Hales Best Jumbo’ and ‘Athena’ are reliable choices.
* Honeydew: Known for its smooth, pale green flesh, honeydew is a refreshing option. ‘Honeycrisp’ is a popular variety.
* Galia Melon: A cross between cantaloupe and honeydew, Galia melons have a unique flavor and a netted rind.
* Specialty Melons: Don’t be afraid to experiment! There are tons of unique melon varieties out there, like Charentais, Casaba, and Korean melons.
When choosing your variety, consider your climate and growing space. Some melons require a longer growing season than others, so make sure you pick one that will thrive in your area. Also, think about how much space you have. Watermelons, in particular, can take up a lot of room!
Gathering Your Supplies
Before we start sowing seeds, let’s make sure we have everything we need. Here’s a checklist:
* Melon Seeds: Obviously! Purchase high-quality seeds from a reputable source.
* Seed Starting Trays or Pots: I prefer seed starting trays with individual cells, but small pots work just as well.
* Seed Starting Mix: This is a light, sterile mix that’s perfect for germinating seeds. Don’t use regular garden soil!
* Watering Can or Spray Bottle: For gentle watering.
* Heat Mat (Optional): Melons love warmth, so a heat mat can help speed up germination.
* Grow Lights (Optional): If you’re starting seeds indoors, grow lights will provide the necessary light for healthy growth.
* Labels and a Permanent Marker: To keep track of what you’re planting.
* Small Trowel or Spoon: For handling the seed starting mix.
Starting Your Melon Seeds Indoors
Starting your melon seeds indoors gives them a head start on the growing season, especially if you live in a cooler climate. Here’s how I do it:
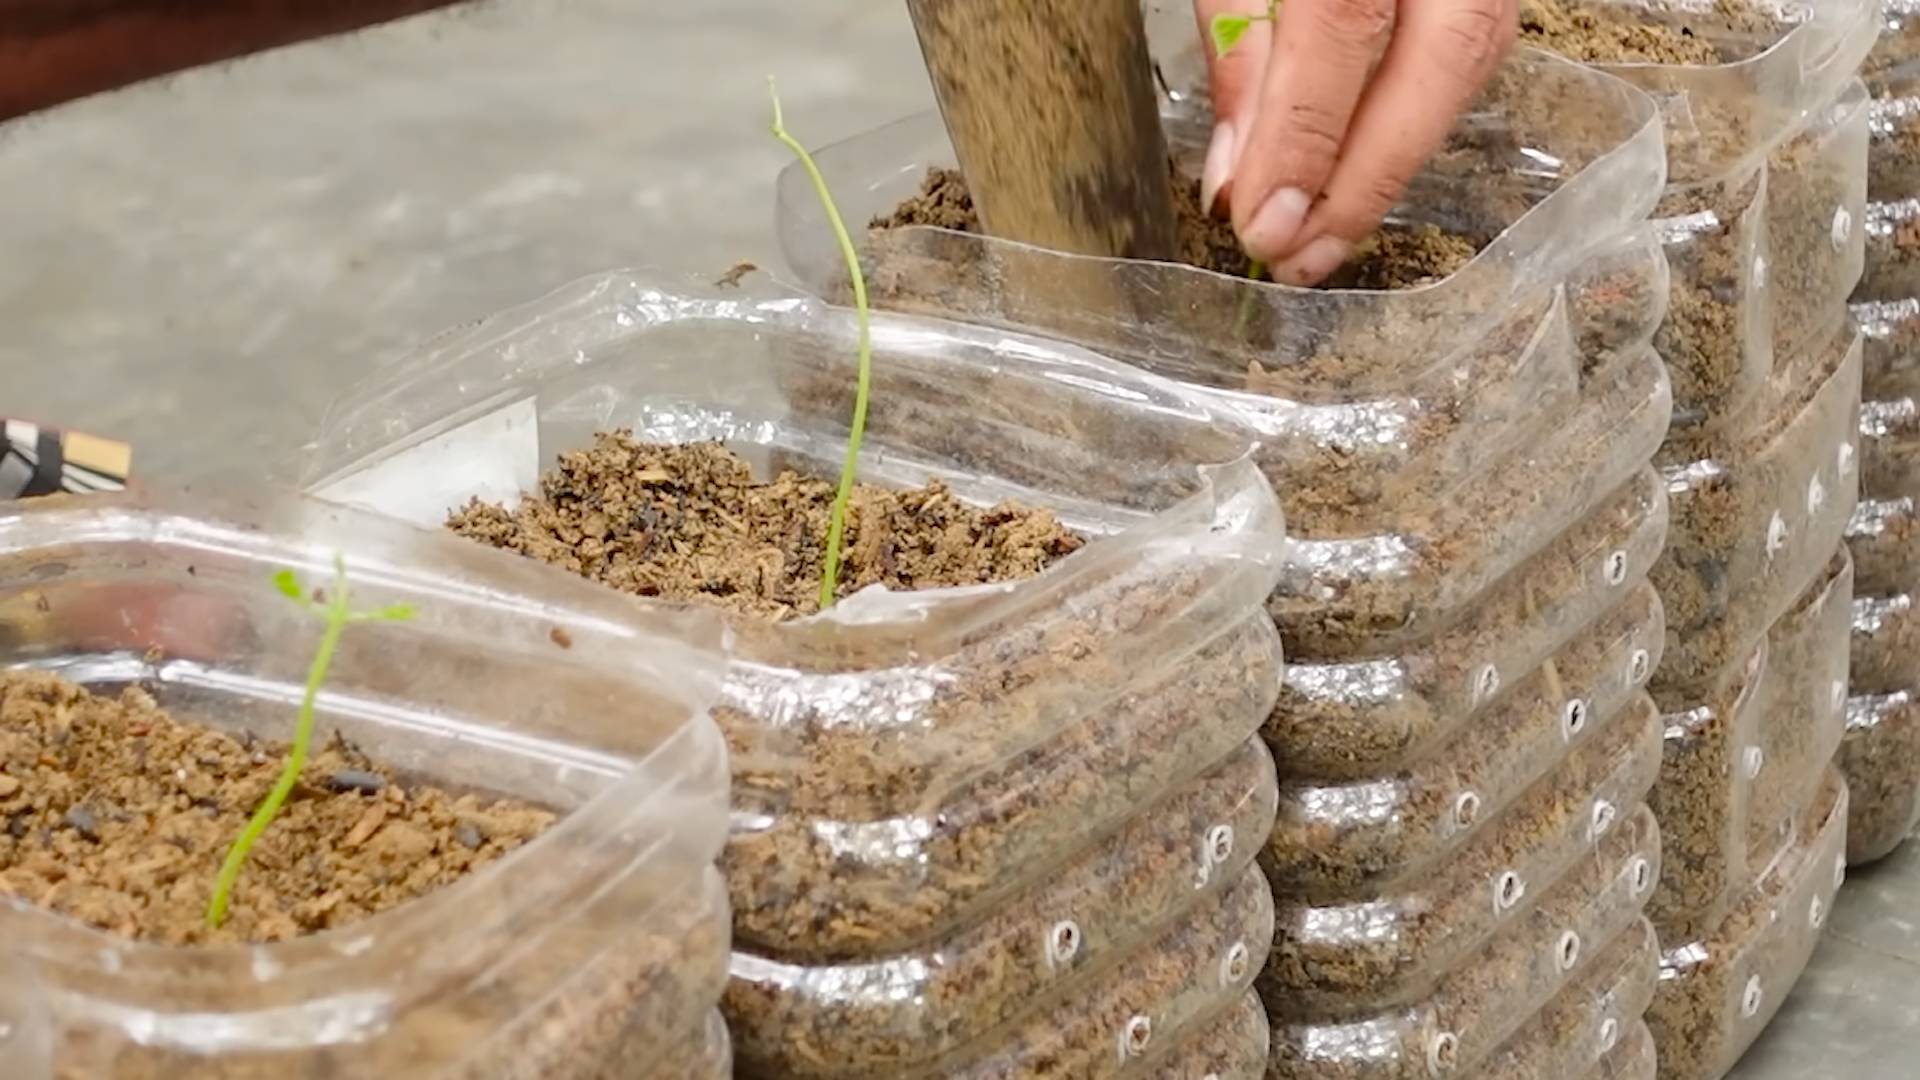
1. Prepare Your Seed Starting Trays: Fill your seed starting trays or pots with seed starting mix. Gently press down on the mix to remove any air pockets.
2. Sow Your Seeds: Make a small indentation (about 1/2 inch deep) in the center of each cell or pot. Place 2-3 melon seeds in each indentation. This increases the chances of at least one seed germinating.
3. Cover the Seeds: Gently cover the seeds with seed starting mix.
4. Water Thoroughly: Water the trays or pots gently with a watering can or spray bottle. Make sure the mix is evenly moist, but not soggy.
5. Provide Warmth: Place the trays or pots on a heat mat, if using. Melons germinate best at temperatures between 70-85°F (21-29°C).
6. Provide Light: If you’re using grow lights, position them a few inches above the trays or pots. If you’re not using grow lights, place the trays or pots in a sunny window.
7. Keep the Mix Moist: Check the mix daily and water as needed to keep it consistently moist. Don’t let it dry out!
8. Wait for Germination: Melon seeds typically germinate in 5-10 days. Once the seedlings emerge, remove the heat mat (if using) and continue to provide light.
9. Thin the Seedlings: Once the seedlings have their first true leaves (the second set of leaves), thin them to one seedling per cell or pot. Choose the strongest, healthiest seedling and snip off the others at the soil line. Don’t pull them out, as this can disturb the roots of the remaining seedling.
Hardening Off Your Seedlings
Before you transplant your melon seedlings outdoors, you need to “harden them off.” This process gradually acclimates them to the outdoor environment, preventing shock.
1. Start Slowly: Begin by placing your seedlings outdoors in a sheltered location (like a porch or patio) for just a few hours each day.
2. Increase Exposure: Gradually increase the amount of time the seedlings spend outdoors each day, over the course of a week or two.
3. Protect from Harsh Conditions: Protect the seedlings from strong winds, direct sunlight, and extreme temperatures.
4. Monitor for Stress: Watch for signs of stress, such as wilting or leaf burn. If you see these signs, bring the seedlings back indoors and reduce their outdoor exposure.
Preparing Your Garden Bed
Melons need a sunny spot with well-drained soil. Here’s how to prepare your garden bed:
1. Choose a Sunny Location: Melons need at least 6-8 hours of direct sunlight per day.
2. Improve the Soil: Amend the soil with compost or other organic matter to improve drainage and fertility. Melons are heavy feeders!
3. Check the Soil pH: Melons prefer a soil pH between 6.0 and 6.8. You can test your soil pH with a soil testing kit.
4. Create Mounds or Rows: Melons grow best on slightly raised mounds or rows. This helps with drainage and warms the soil.
5. Consider Using Black Plastic Mulch: Black plastic mulch can help warm the soil, suppress weeds, and conserve moisture.
Transplanting Your Melon Seedlings
Once your seedlings are hardened off and your garden bed is prepared, it’s time to transplant!
1. Choose a Cloudy Day: Transplanting on a cloudy day will help reduce stress on the seedlings.
2. Dig Holes: Dig holes that are slightly larger than the root balls of your seedlings. Space the holes according to the recommended spacing for your chosen melon variety. Watermelons typically need more space than cantaloupes or honeydews.
3. Gently Remove Seedlings: Gently remove the seedlings from their trays or pots. Be careful not to damage the roots.
4. Place Seedlings in Holes: Place the seedlings in the holes and backfill with soil. Gently firm the soil around the base of the plants.
5. Water Thoroughly: Water the seedlings thoroughly after transplanting.
6. Mulch Around Plants: Apply a layer of mulch around the plants to help retain moisture and suppress weeds.
Caring for Your Melon Plants
Now that your melon plants are in the ground, it’s time to provide them with the care they need to thrive.
* Watering: Water your melon plants regularly, especially during dry periods. Water deeply and infrequently, rather than shallowly and frequently. Aim to keep the soil consistently moist, but not waterlogged.
* Fertilizing: Feed your melon plants with a balanced fertilizer every few weeks. You can also side-dress them with compost or aged manure.
* Weeding: Keep the garden bed free of weeds, which can compete with your melon plants for nutrients and water.
* Pest and Disease Control: Monitor your melon plants for pests and diseases. Common melon pests include aphids, squash bugs, and cucumber beetles. Common melon diseases include powdery mildew and fusarium wilt. Take action to control pests and diseases as soon as you notice them.
* Pollination: Melons need to be pollinated in order to produce fruit. If you’re not seeing any fruit set, you may need to hand-pollinate your melon flowers. To hand-pollinate, use a small paintbrush to transfer pollen from the male flowers to the female flowers. Female flowers have a small fruit swelling at the base of the flower.
* Pruning (Optional): Some gardeners prune their melon plants to encourage fruit production. You can prune off any non-fruiting vines or suckers (small shoots that grow from the base of the plant).
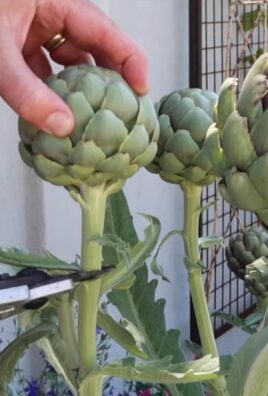
Harvesting Your Melons
The moment you’ve been waiting for! Knowing when to harvest your melons can be tricky, but here are some general guidelines:
* Watermelons: Look for a dull, rather than
Conclusion
So, there you have it! Growing melons from seed might seem daunting at first, but with a little patience and the right approach, you can enjoy the unparalleled satisfaction of harvesting your own juicy, homegrown melons. This DIY trick, starting your melon seeds indoors, gives you a significant head start, especially in regions with shorter growing seasons. It’s a must-try for anyone serious about maximizing their melon yield and ensuring a successful harvest.
Why is this method so crucial? Because melons thrive in warm conditions. By starting them indoors, you bypass the unpredictable early spring weather and give your seedlings a strong foundation before transplanting them into the garden. This translates to healthier plants, earlier fruiting, and ultimately, more delicious melons for you to enjoy.
But don’t stop there! Experiment with different melon varieties. Watermelons, cantaloupes, honeydews – each offers a unique flavor profile and growing experience. You can also try different soil mixes for starting your seeds. Some gardeners swear by a mix of peat moss, perlite, and vermiculite, while others prefer a seed-starting mix specifically formulated for vegetables. The key is to find what works best for your environment and growing style.
Consider also the method of hardening off your seedlings. Gradual acclimation to outdoor conditions is essential to prevent transplant shock. Start by placing your seedlings in a sheltered location for a few hours each day, gradually increasing the exposure to sunlight and wind over a week or two. This process strengthens the plants and prepares them for the rigors of the garden.
Furthermore, explore different trellising methods for your melon plants. While not all melons require trellising, it can be beneficial for smaller varieties, especially in limited spaces. Trellising improves air circulation, reduces the risk of fungal diseases, and makes harvesting easier.
Don’t be afraid to get your hands dirty and experiment! Gardening is a journey of learning and discovery. Every season brings new challenges and opportunities. The most important thing is to have fun and enjoy the process.
We’re confident that this DIY trick will revolutionize your melon-growing experience. Now it’s your turn! Give it a try and share your results with us. We’d love to hear about your successes, challenges, and any variations you discover along the way. Post pictures of your seedlings, your thriving plants, and, of course, your bountiful harvest. Let’s create a community of melon enthusiasts and learn from each other’s experiences.
So, grab your seeds, prepare your soil, and get ready to embark on a rewarding journey of growing melons from seed. You won’t regret it! Happy gardening!
Frequently Asked Questions (FAQ)
Q: What is the best time to start melon seeds indoors?
A: The ideal time to start melon seeds indoors is typically 4-6 weeks before the last expected frost in your area. This allows the seedlings to develop a strong root system and several sets of true leaves before being transplanted into the garden. Check your local weather forecasts and planting guides to determine the appropriate timing for your region. Starting too early can result in leggy, weak seedlings, while starting too late may not give them enough time to mature before the end of the growing season.
Q: What type of containers should I use for starting melon seeds?
A: You can use a variety of containers for starting melon seeds, including seed trays, peat pots, or even recycled yogurt cups. The key is to choose containers that are clean, have drainage holes, and are large enough to accommodate the growing seedlings. Peat pots are a popular choice because they can be directly planted into the garden, minimizing root disturbance. However, make sure to thoroughly moisten the peat pot before planting to prevent it from wicking moisture away from the roots. Seed trays with individual cells are also a good option, as they allow you to easily separate and transplant the seedlings.
Q: What kind of soil should I use for starting melon seeds?
A: Use a seed-starting mix specifically formulated for vegetables. These mixes are typically lightweight, well-draining, and sterile, which helps to prevent fungal diseases. Avoid using garden soil, as it can be too heavy and may contain pathogens that can harm the seedlings. You can also make your own seed-starting mix by combining equal parts peat moss, perlite, and vermiculite. Ensure the mix is thoroughly moistened before sowing the seeds.
Q: How deep should I plant melon seeds?
A: Plant melon seeds about ½ inch deep in the seed-starting mix. Gently cover the seeds with soil and lightly water the surface. Avoid overwatering, as this can lead to damping-off, a fungal disease that can kill young seedlings.
Q: How often should I water melon seedlings?
A: Water melon seedlings regularly, keeping the soil consistently moist but not waterlogged. Check the soil moisture level daily and water when the top inch feels dry to the touch. Use a gentle watering can or spray bottle to avoid disturbing the seedlings. Overwatering can lead to root rot, while underwatering can stunt their growth.
Q: How much light do melon seedlings need?
A: Melon seedlings need plenty of light to grow strong and healthy. Place them under grow lights or in a sunny window that receives at least 6-8 hours of direct sunlight per day. If using grow lights, position them a few inches above the seedlings and adjust the height as they grow. Insufficient light can result in leggy, weak seedlings.
Q: What is hardening off and why is it important?
A: Hardening off is the process of gradually acclimating seedlings to outdoor conditions before transplanting them into the garden. This is crucial to prevent transplant shock, which can stunt their growth or even kill them. Start by placing the seedlings in a sheltered location for a few hours each day, gradually increasing the exposure to sunlight, wind, and temperature fluctuations over a week or two. This process strengthens the plants and prepares them for the rigors of the garden.
Q: When is the best time to transplant melon seedlings into the garden?
A: Transplant melon seedlings into the garden after the last expected frost and when the soil has warmed up to at least 60°F (15°C). Choose a sunny location with well-drained soil. Space the plants according to the specific variety, typically 2-3 feet apart. Water the seedlings thoroughly after transplanting and provide them with some shade for the first few days to help them adjust.
Q: What are some common problems when growing melons from seed?
A: Some common problems when growing melons from seed include damping-off, transplant shock, pests, and diseases. Damping-off can be prevented by using a sterile seed-starting mix and avoiding overwatering. Transplant shock can be minimized by hardening off the seedlings properly. Pests such as aphids and squash bugs can be controlled with insecticidal soap or neem oil. Diseases such as powdery mildew and fusarium wilt can be prevented by providing good air circulation and avoiding overhead watering.
Q: Can I grow melons in containers?
A: Yes, you can grow melons in containers, but you’ll need to choose a large container (at least 20 gallons) and select a compact or bush variety. Ensure the container has good drainage and use a high-quality potting mix. Water and fertilize regularly, as container-grown plants tend to dry out and deplete nutrients more quickly. Trellising can also be helpful for supporting the vines.
Leave a Comment