

Growing table olives backyard might seem like a dream reserved for Mediterranean villas, but I’m here to tell you it’s totally achievable, even if you’re just working with a small space! Forget those bland, store-bought olives – imagine plucking plump, flavorful olives straight from your own tree, cured to your exact liking.
Olives have a rich history, dating back thousands of years. They were a staple food and a symbol of peace and prosperity in ancient Greece and Rome. Today, the tradition of olive cultivation continues, and you can be a part of it!
Why should you try growing table olives backyard? Well, for starters, it’s incredibly rewarding. There’s nothing quite like nurturing a plant and harvesting its delicious fruit. Plus, you’ll have complete control over the curing process, ensuring your olives are exactly how you like them – salty, briny, or even spicy! And let’s be honest, who wouldn’t want to impress their friends and family with homemade olives? This DIY guide will provide you with simple, effective tricks and hacks to successfully grow and cure your own table olives, no matter your gardening experience. Let’s get started!
Growing Table Olives in Your Backyard: A DIY Guide
Okay, so you’re thinking about growing your own table olives? Awesome! It’s a rewarding project, and nothing beats the taste of homegrown olives, especially when you’ve cured them yourself. It’s not exactly a walk in the park, but with a little patience and know-how, you can absolutely do it. I’m going to walk you through everything you need to know, from choosing the right variety to harvesting and curing your olives. Let’s get started!
Choosing the Right Olive Variety
First things first, you need to pick the right olive variety. Not all olives are created equal, especially when it comes to table olives. Some are better suited for oil production, while others are perfect for curing and eating. Here’s what to consider:
* Size: Table olives are generally larger than oil olives. Look for varieties known for producing plump, fleshy fruit.
* Taste: Some varieties have a naturally milder flavor, which makes the curing process easier. Others are more bitter and require more extensive curing.
* Climate: This is crucial! Olives thrive in warm, sunny climates with mild winters. Make sure the variety you choose is suitable for your region’s climate.
* Disease Resistance: Opt for varieties that are known to be resistant to common olive diseases, such as olive knot and peacock spot.
Here are a few popular table olive varieties to consider:
* Manzanilla: A classic Spanish variety known for its large size, mild flavor, and firm texture. It’s a great all-around choice.
* Sevillano: Another Spanish variety, similar to Manzanilla but slightly larger. It’s also a good choice for stuffing.
* Ascolano: An Italian variety with a very large size and mild flavor. It’s often used for green olives.
* Kalamata: A Greek variety known for its distinctive almond shape and rich, fruity flavor. It’s typically cured black.
Once you’ve decided on a variety, you can usually find olive trees at your local nursery or online. Look for healthy, well-established trees that are at least a few years old.
Planting Your Olive Tree
Okay, you’ve got your olive tree! Now it’s time to get it in the ground. Here’s how:
1. Choose the Right Location: Olives need plenty of sunlight – at least 6-8 hours per day. They also need well-drained soil. Avoid planting in areas where water tends to pool.
2. Prepare the Soil: Dig a hole that’s twice as wide as the root ball and just as deep. Amend the soil with compost or other organic matter to improve drainage and fertility.
3. Plant the Tree: Gently remove the tree from its container and loosen any circling roots. Place the tree in the hole, making sure the top of the root ball is level with the ground.
4. Backfill the Hole: Fill the hole with the amended soil, gently tamping it down as you go.
5. Water Thoroughly: Water the tree deeply after planting to help settle the soil and encourage root growth.
6. Mulch: Apply a layer of mulch around the base of the tree to help retain moisture and suppress weeds. Keep the mulch a few inches away from the trunk to prevent rot.
7. Stake (Optional): If your tree is young and spindly, you may want to stake it for the first year or two to provide support.
Caring for Your Olive Tree
Once your olive tree is planted, it’s important to provide it with proper care to ensure it thrives. Here’s what you need to do:
* Watering: Water your olive tree regularly, especially during dry periods. Young trees need more frequent watering than established trees. However, avoid overwatering, as this can lead to root rot.
* Fertilizing: Fertilize your olive tree in the spring with a balanced fertilizer. Follow the instructions on the fertilizer package.
* Pruning: Prune your olive tree annually to remove dead, damaged, or crossing branches. Pruning also helps to improve air circulation and sunlight penetration. The best time to prune is in late winter or early spring, before new growth begins.
* Pest and Disease Control: Keep an eye out for pests and diseases. Common olive pests include olive fruit fly, scale, and aphids. Common diseases include olive knot and peacock spot. Treat any problems promptly with appropriate pesticides or fungicides. Organic options are available and often preferred.
* Weed Control: Keep the area around your olive tree free of weeds. Weeds compete with the tree for water and nutrients.
Harvesting Your Olives
Harvest time! This is where all your hard work pays off. The timing of your harvest will depend on the variety of olive you’re growing and whether you want green or black olives.
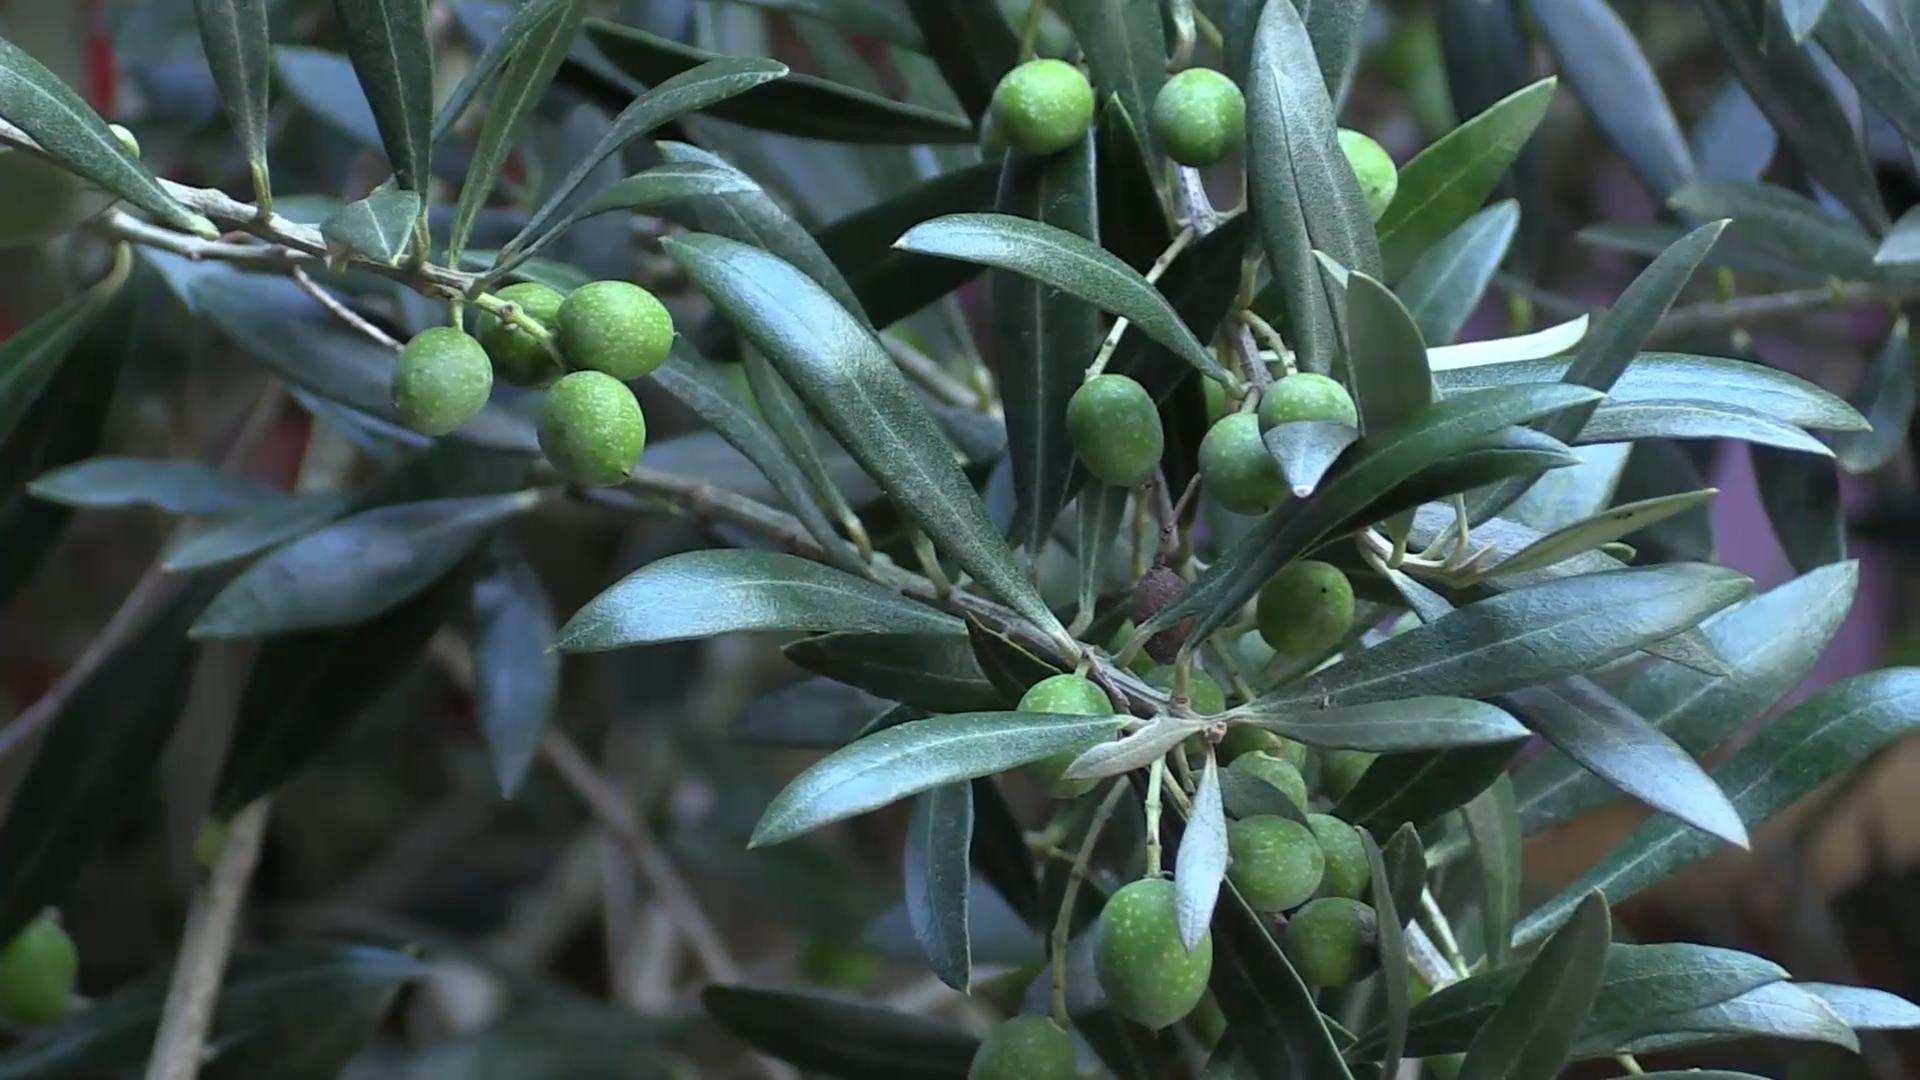
* Green Olives: Harvest green olives when they’re fully sized but still green. They should be firm to the touch.
* Black Olives: Harvest black olives when they’re fully ripe and have turned a deep black color. They should be slightly softer than green olives.
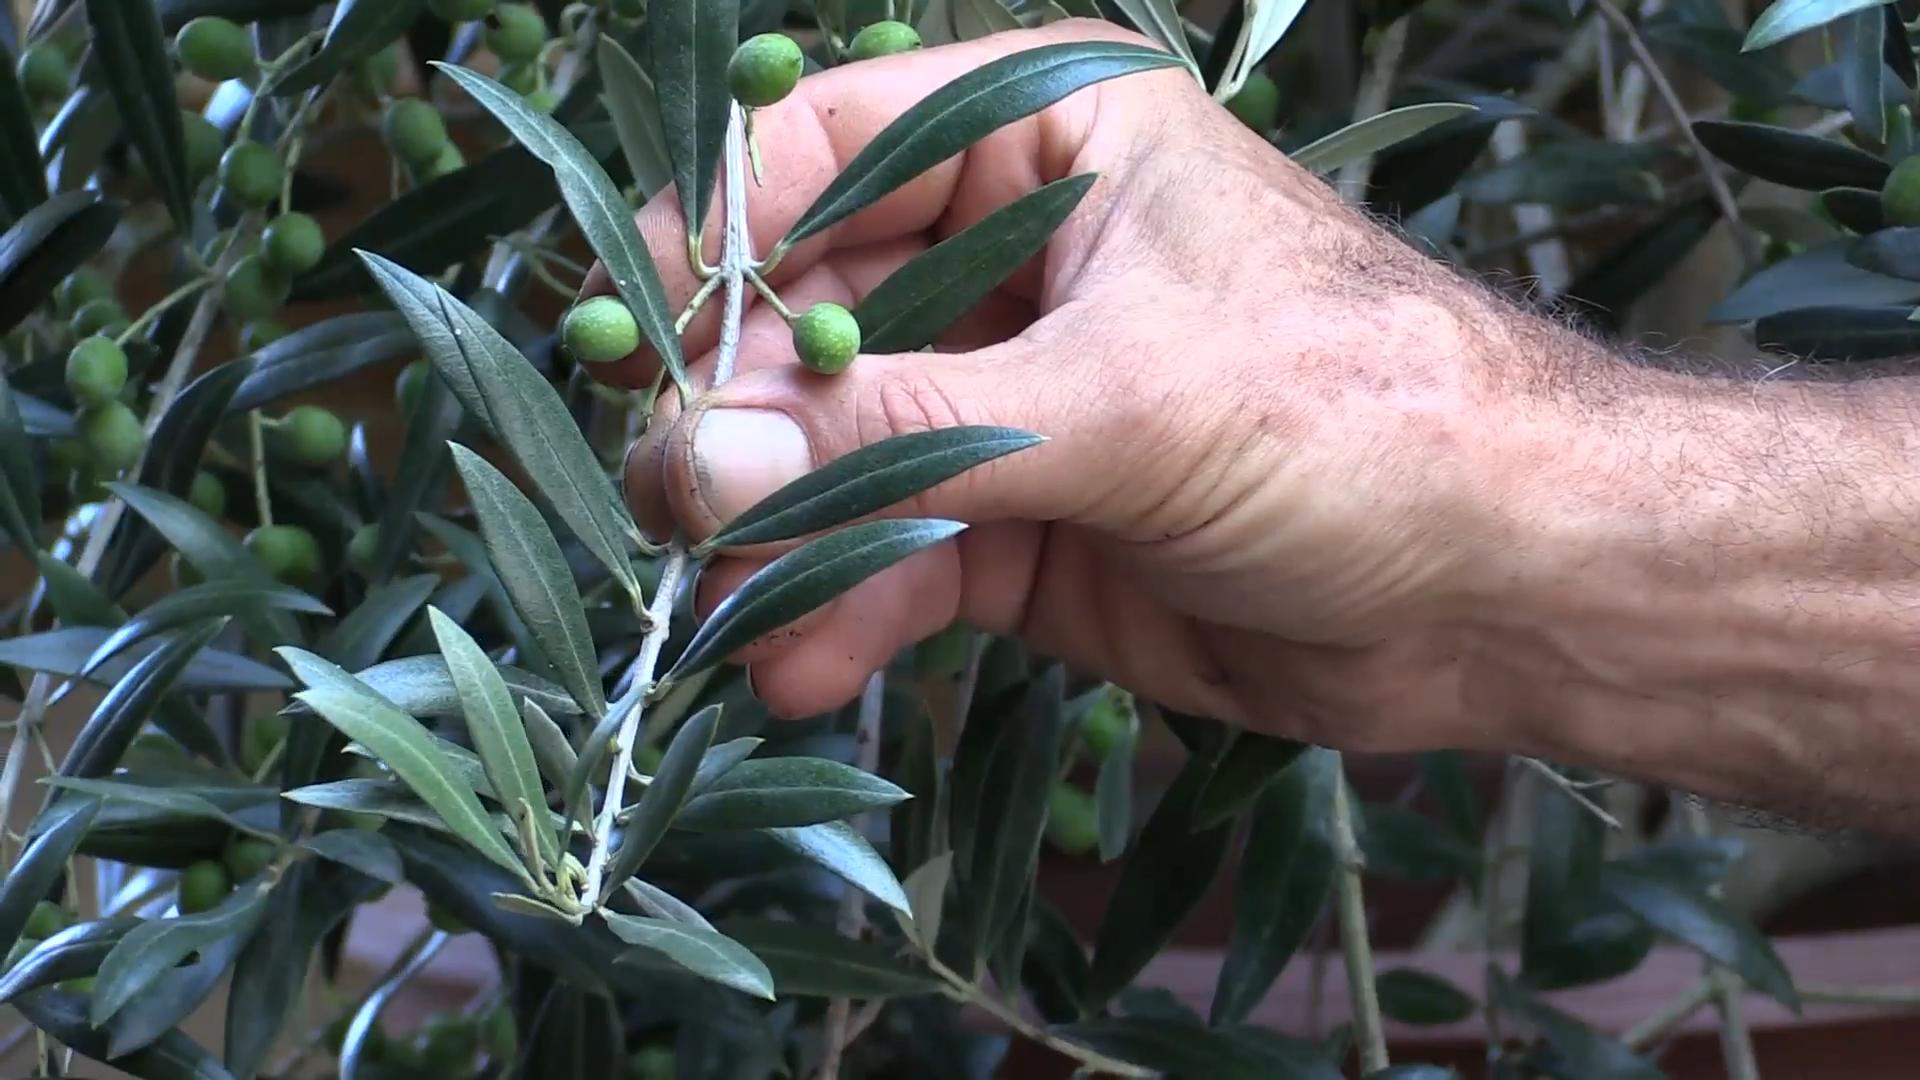
Here’s how to harvest your olives:
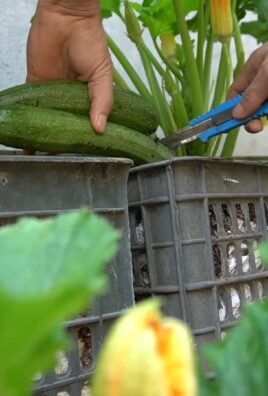
1. Hand-Picking: The best way to harvest olives is by hand-picking them. This is the most gentle method and avoids bruising the fruit.
2. Using a Rake: You can also use a small rake or comb to gently pull the olives from the branches. Be careful not to damage the tree.
3. Dropping: Some people spread a tarp under the tree and shake the branches to dislodge the olives. This method is faster but can bruise the fruit.
Once you’ve harvested your olives, it’s important to process them as soon as possible. Olives are very bitter in their natural state and need to be cured before they can be eaten.
Curing Your Olives
Okay, this is the most important part! Curing olives takes time and patience, but it’s totally worth it. There are several different methods you can use to cure olives. I’m going to walk you through a few of the most popular:
Lye Curing
This is the fastest method, but it requires using lye (sodium hydroxide), which can be dangerous if not handled properly. Always wear gloves and eye protection when working with lye.
1. Prepare the Lye Solution: Dissolve lye in water according to the instructions on the lye package. The concentration will vary depending on the variety of olive and the desired curing time. A typical solution is around 2-3% lye.
2. Soak the Olives: Place the olives in a non-reactive container (like glass or food-grade plastic) and cover them with the lye solution.
3. Check the Penetration: Check the olives daily to see how far the lye has penetrated. You can do this by cutting one open and looking for a dark ring around the pit. The lye should penetrate about two-thirds of the way through the olive.
4. Rinse Thoroughly: Once the lye has penetrated sufficiently, drain the olives and rinse them thoroughly with cold water. Rinse them several times a day for several days until all traces of lye are gone. You can test the water with pH strips to make sure it’s neutral.
5. Brine: After rinsing, place the olives in a brine solution (salt water) to finish curing. The brine concentration should be around 8-10%.
6. Flavoring (Optional): You can add herbs, spices, or citrus peels to the brine to add flavor to your olives.
7. Store: Store the olives in the brine in a cool, dark place. They’ll be ready to eat in a few weeks.
Water Curing
This is a slower but safer method. It involves soaking the olives in water and changing the water regularly.
1. Soak the Olives: Place the olives in a non-reactive container and cover them with fresh water.
2. Change the Water: Change the water every day for several weeks. This will gradually leach out the bitterness.
3. Taste Test: After a few weeks, start tasting the olives to see if they’re ready. They should be significantly less bitter.
4. Brine: Once the olives are no longer bitter, place them in a brine solution (salt water) to finish curing. The brine concentration should be around 8-10%.
5. Flavoring (Optional): You can add herbs, spices, or citrus peels to the brine to add flavor to your olives.
6. Store: Store the olives in the brine in a cool, dark place. They’ll be ready to eat in a few weeks.
Brine Curing
This method involves soaking the olives directly in a strong brine solution. It’s a relatively simple method, but it
Conclusion
So, there you have it! Growing table olives in your backyard might seem like a daunting task at first, but with a little patience and the right know-how, you can enjoy the fruits (or rather, olives!) of your labor. This DIY trick, focusing on proper curing techniques, is a game-changer for anyone looking to transform bitter, inedible olives into delicious, brined treasures. It’s not just about saving money; it’s about connecting with your food, understanding the process, and experiencing the satisfaction of creating something truly special from your own garden.
Why is this a must-try? Because store-bought olives, while convenient, often lack the depth of flavor and character that home-cured olives possess. You have complete control over the ingredients, the brine, and the overall taste profile. Plus, imagine the bragging rights when you serve your homemade olives to friends and family!
But don’t stop there! Experiment with different variations to find your perfect olive flavor. Try adding herbs like rosemary, thyme, or oregano to the brine. Infuse it with garlic, chili flakes, or lemon zest for an extra kick. Consider different brining solutions – some prefer a simple salt brine, while others opt for a lye solution (handle with extreme care!) or even a water-curing method. The possibilities are endless, and the journey of discovery is part of the fun.
This DIY olive curing method is more than just a recipe; it’s an invitation to explore the world of flavors and connect with the natural bounty of your backyard. It’s a chance to learn a new skill, impress your guests, and enjoy the unique taste of homemade olives.
We wholeheartedly encourage you to give this DIY trick a try. Don’t be afraid to experiment, adapt, and make it your own. And most importantly, share your experience with us! Let us know what worked, what didn’t, and what unique twists you added to the process. Your insights will help other aspiring olive growers and contribute to a vibrant community of DIY food enthusiasts. So, grab your olives, gather your ingredients, and get ready to embark on a delicious adventure! Your taste buds will thank you.
Frequently Asked Questions (FAQs)
Q: What type of olives are best for growing table olives in my backyard?
A: While many olive varieties can be grown for table olives, some are better suited than others. Consider varieties like Manzanilla, Sevillano, Mission, or Kalamata. These are known for their larger size, fleshy texture, and suitability for curing. Research which varieties thrive in your specific climate and soil conditions for the best results. Local nurseries or agricultural extension offices can provide valuable guidance. Remember that some olive trees are self-pollinating, while others require a pollinator tree nearby to produce fruit.
Q: How long does it take to cure olives using this DIY trick?
A: The curing time varies depending on the method you choose and the type of olive. Water curing can take several weeks, while lye curing is much faster (but requires extreme caution). Brine curing typically takes several weeks to months. The key is to taste the olives periodically until they reach your desired level of bitterness. A good starting point is to taste them every week after the first two weeks of curing. The olives are ready when they no longer have a strong bitter taste.
Q: Is lye curing safe for growing table olives?
A: Lye curing is an effective method, but it requires extreme caution. Lye (sodium hydroxide) is a caustic substance that can cause severe burns if it comes into contact with skin or eyes. Always wear gloves, eye protection, and long sleeves when working with lye. Work in a well-ventilated area and follow the instructions carefully. If you are uncomfortable working with lye, consider using a brine or water-curing method instead. Safety should always be your top priority.
Q: Can I use sea salt instead of regular salt for the brine?
A: Yes, you can definitely use sea salt for the brine. In fact, many people prefer sea salt because it contains trace minerals that can enhance the flavor of the olives. Just make sure to use pure sea salt without any additives like iodine or anti-caking agents. The amount of salt needed will depend on the specific recipe you are following, so be sure to measure carefully.
Q: How do I store cured olives?
A: Cured olives should be stored in an airtight container in the refrigerator. Make sure the olives are completely submerged in the brine to prevent spoilage. Properly stored olives can last for several months in the refrigerator. You can also preserve them in olive oil, which adds another layer of flavor and helps to protect them from oxidation.
Q: My olives are still bitter after several weeks of curing. What should I do?
A: If your olives are still bitter after several weeks of curing, continue the curing process. Change the water or brine regularly, and taste the olives periodically. The bitterness will gradually decrease over time. You can also try scoring the olives with a knife to help the curing solution penetrate more effectively. In some cases, particularly with very bitter varieties, it may take several months to completely remove the bitterness.
Q: Can I add herbs and spices to the brine?
A: Absolutely! Adding herbs and spices to the brine is a great way to customize the flavor of your olives. Some popular additions include rosemary, thyme, oregano, garlic, chili flakes, lemon zest, and bay leaves. Experiment with different combinations to find your favorite flavor profile. Add the herbs and spices to the brine during the curing process, allowing them to infuse the olives with their flavor.
Q: What if my olives become moldy during the curing process?
A: If you notice mold growing on your olives during the curing process, discard them immediately. Mold indicates that the curing process has gone wrong, and the olives are no longer safe to eat. To prevent mold growth, make sure the olives are completely submerged in the curing solution and that the container is properly sealed. Also, use clean utensils and containers to avoid introducing contaminants.
Q: Can I use this method for green and black olives?
A: Yes, this method can be used for both green and black olives. However, the curing time may vary depending on the ripeness of the olives. Green olives are typically more bitter than black olives and may require a longer curing time. Monitor the olives closely and taste them periodically to determine when they are ready.
Q: Is growing table olives in my backyard worth the effort?
A: Absolutely! While it requires some time and effort, growing and curing your own olives is a rewarding experience. You’ll have complete control over the ingredients and the flavor, and you’ll enjoy the satisfaction of creating something truly special from your own garden. Plus, homemade olives are a delicious and unique addition to any meal or gathering. The taste of homegrown, home-cured olives is simply unmatched.
Leave a Comment