

Growing Watermelon at Home might seem like a challenge reserved for seasoned farmers, but I’m here to tell you it’s totally achievable, even in your own backyard! Imagine biting into a juicy, sweet watermelon that you nurtured from seed to fruit – the satisfaction is unmatched. For centuries, watermelons have been a symbol of summer, abundance, and community, enjoyed in celebrations and family gatherings across cultures. From ancient Egypt, where they were depicted in hieroglyphics, to modern-day picnics, this refreshing fruit has a rich history.
But let’s be honest, buying watermelons from the store can be a gamble. Sometimes they’re bland, sometimes they’re mealy, and sometimes they just don’t live up to the summer dream. That’s where this DIY guide comes in! I’m going to share my favorite tricks and hacks for growing watermelon at home successfully, regardless of your gardening experience. We’ll cover everything from choosing the right variety for your climate to protecting your precious melons from pests and diseases. Get ready to impress your friends and family with your homegrown watermelons – let’s get started!
Growing Watermelon at Home: A Sweet Summer Project
Okay, watermelon lovers, let’s get real. Store-bought watermelons are fine, but nothing beats the taste of a homegrown, sun-ripened beauty. And guess what? You can totally do it! It might seem intimidating, but with a little planning and effort, you’ll be enjoying juicy slices in no time. I’m going to walk you through everything you need to know, from seed to harvest.
Choosing Your Watermelon Variety
First things first, you need to pick the right watermelon variety for your space and climate. Not all watermelons are created equal! Some are huge, some are small, some are early-maturing, and some are more disease-resistant. Here’s a quick rundown of some popular choices:
* Sugar Baby: This is a classic for a reason. It’s compact (perfect for smaller gardens), matures relatively quickly (around 75 days), and produces sweet, red-fleshed melons. A great choice for beginners!
* Crimson Sweet: A larger variety (can weigh up to 25 pounds!), known for its excellent flavor and disease resistance. It takes a bit longer to mature (around 85 days).
* Jubilee: Another large variety with a distinctive striped rind. It’s known for its high sugar content and crisp texture.
* Yellow Doll: If you’re looking for something different, try a yellow-fleshed watermelon! Yellow Doll is a smaller variety with a very sweet flavor.
* Bush Sugar Baby: If you are really limited on space, this is the watermelon for you. It grows on a bush, not a vine.
Consider your growing season length, the amount of space you have, and your personal taste preferences when making your decision. I personally love Sugar Baby for its reliability and manageable size.
Starting Your Watermelon Seeds
Watermelons need a long growing season, so in most climates, you’ll need to start your seeds indoors. This gives them a head start before the weather warms up.
When to Start: About 6-8 weeks before the last expected frost in your area.
What You’ll Need:
* Watermelon seeds
* Seed starting trays or small pots (peat pots are great because you can plant them directly into the ground, minimizing root disturbance)
* Seed starting mix (a light, well-draining mix is essential)
* A warm, sunny location or grow lights
* A spray bottle
Step-by-Step Instructions:
1. Prepare your seed starting trays or pots. Fill them with seed starting mix, leaving about half an inch of space at the top.
2. Moisten the soil. Gently water the soil until it’s evenly moist but not soggy.
3. Plant the seeds. Sow 2-3 seeds per cell or pot, about 1 inch deep.
4. Cover the seeds. Lightly cover the seeds with seed starting mix.
5. Water gently. Use a spray bottle to gently water the soil again.
6. Provide warmth. Watermelon seeds need warmth to germinate. Aim for a soil temperature of 70-85°F (21-29°C). You can use a heat mat to help maintain the temperature.
7. Provide light. Place the trays or pots in a warm, sunny location or under grow lights. If using grow lights, keep them about 2-4 inches above the seedlings.
8. Keep the soil moist. Check the soil daily and water as needed to keep it consistently moist. Don’t let it dry out completely.
9. Thin the seedlings. Once the seedlings have emerged and have a couple of true leaves (the second set of leaves), thin them to one seedling per cell or pot. Choose the strongest, healthiest-looking seedling and snip off the others at the soil line. Don’t pull them out, as this can disturb the roots of the remaining seedling.
Preparing Your Garden Bed
While your seedlings are growing indoors, it’s time to prepare your garden bed. Watermelons are heavy feeders, so they need rich, well-drained soil.
What You’ll Need:
* A sunny location (watermelons need at least 6-8 hours of direct sunlight per day)
* Compost or well-rotted manure
* A shovel or garden fork
* A soil test kit (optional, but recommended)
* Fertilizer (optional, but beneficial)
Step-by-Step Instructions:
1. Choose a sunny location. Watermelons need plenty of sunshine to thrive.
2. Test your soil. A soil test will tell you the pH level and nutrient content of your soil. Watermelons prefer a slightly acidic soil pH of 6.0-6.8. If your soil is too acidic or alkaline, you can amend it with lime or sulfur, respectively.
3. Amend the soil. Dig in plenty of compost or well-rotted manure to improve soil fertility and drainage. Watermelons need a lot of nutrients, so this is a crucial step. I usually add a few inches of compost to my watermelon bed.
4. Loosen the soil. Use a shovel or garden fork to loosen the soil to a depth of at least 12 inches. This will allow the watermelon roots to grow easily.
5. Create mounds or rows. Watermelons grow best on mounds or rows. This helps with drainage and warms the soil more quickly. Create mounds that are about 1-2 feet wide and 6-12 inches high, or rows that are about 3-4 feet apart.
6. Consider adding fertilizer. If your soil is particularly poor, you may want to add a fertilizer that is high in phosphorus and potassium. Follow the instructions on the fertilizer package.
Transplanting Your Watermelon Seedlings
Once the danger of frost has passed and the soil has warmed up to at least 60°F (16°C), it’s time to transplant your watermelon seedlings into the garden.
What You’ll Need:
* Your watermelon seedlings
* A trowel
* Water
* Mulch (optional, but recommended)
Step-by-Step Instructions:
1. Harden off the seedlings. Before transplanting, you need to harden off the seedlings. This means gradually exposing them to outdoor conditions over a period of 7-10 days. Start by placing them in a sheltered location outdoors for a few hours each day, gradually increasing the amount of time they spend outside. This will help them adjust to the sun, wind, and temperature changes.
2. Water the seedlings. Water the seedlings thoroughly before transplanting.
3. Dig holes. Dig holes in the mounds or rows that are large enough to accommodate the root balls of the seedlings. Space the holes about 2-3 feet apart.
4. Carefully remove the seedlings from their containers. If you used peat pots, you can plant them directly into the ground. Otherwise, gently loosen the root ball and carefully remove the seedling from the container.
5. Plant the seedlings. Place the seedlings in the holes and backfill with soil. Make sure the top of the root ball is level with the surrounding soil.
6. Water thoroughly. Water the seedlings thoroughly after transplanting.
7. Mulch (optional). Apply a layer of mulch around the seedlings to help retain moisture, suppress weeds, and regulate soil temperature. Straw, hay, or wood chips are good choices.
Caring for Your Watermelon Plants
Now that your watermelon plants are in the ground, it’s time to give them the care they need to thrive.
Watering: Watermelons need consistent moisture, especially during hot, dry weather. Water deeply and regularly, aiming for about 1-2 inches of water per week. Avoid overhead watering, as this can promote fungal diseases. Drip irrigation is a great option. I usually water my watermelons early in the morning.
Fertilizing: Watermelons are heavy feeders, so you’ll need to fertilize them regularly. Use a fertilizer that is high in nitrogen early in the season to promote leafy growth, and then switch to a fertilizer that is high in phosphorus and potassium once the plants start to flower. Follow the instructions on the fertilizer package.
Weeding: Keep the garden bed free of weeds, as they can compete with the watermelon plants for nutrients and water. Hand-pull weeds regularly or use a hoe.
Pruning: Pruning watermelons is optional, but it can help to improve fruit size and quality. Remove any suckers (small shoots that grow from the base of the plant) and any damaged or diseased leaves. You can also pinch off the ends of the vines to encourage branching.
Pollination: Watermelons need to be pollinated in order to produce fruit. Bees are the primary pollinators, so encourage them to visit your garden by
Conclusion
So, there you have it! Growing watermelon at home, while it might seem daunting at first, is entirely achievable with a little patience, the right techniques, and a whole lot of sunshine. We’ve walked you through the essential steps, from selecting the perfect variety to nurturing your seedlings and protecting your precious fruit. But why should you even bother?
Because the taste of a homegrown watermelon, bursting with sweetness and juiciness, is simply unparalleled. It’s a flavor you can’t find in any store-bought melon, a reward for your hard work and dedication. Plus, you have complete control over the growing process, ensuring your watermelon is free from harmful pesticides and chemicals. You know exactly what went into it – sunshine, water, and your loving care.
This DIY trick of growing watermelon at home isn’t just about saving money (although that’s a definite perk!). It’s about connecting with nature, learning new skills, and experiencing the satisfaction of harvesting your own food. It’s about sharing the bounty with friends and family, and knowing you created something truly special.
Ready to take your watermelon growing to the next level? Consider experimenting with different varieties. Try growing a yellow watermelon for a unique flavor and color. Or, if you’re short on space, explore bush varieties that are perfect for containers. You can also try companion planting, adding herbs like basil or marigolds around your watermelon vines to deter pests and attract pollinators. Another variation is to try vertical growing by training your watermelon vines up a trellis to save space and improve air circulation.
Don’t be afraid to get your hands dirty and experiment. Gardening is all about learning and adapting. And remember, even if your first attempt isn’t perfect, you’ll learn valuable lessons that will help you succeed next time.
We’re confident that with the information we’ve provided, you’ll be well on your way to enjoying delicious, homegrown watermelons. So, grab your seeds, prepare your garden, and get ready for a summer filled with sweet, juicy goodness.
We’d love to hear about your experiences! Share your watermelon growing journey with us in the comments below. Tell us about your successes, your challenges, and any tips you’ve learned along the way. Let’s create a community of watermelon enthusiasts and help each other grow the best watermelons possible! We are eager to see your pictures and hear your stories. Happy growing!
Frequently Asked Questions (FAQ)
What is the best time to start growing watermelon seeds?
The ideal time to start growing watermelon seeds depends on your climate. In general, you should start seeds indoors about 6-8 weeks before the last expected frost. If you live in a warmer climate with a longer growing season, you can direct sow seeds outdoors once the soil temperature reaches at least 70°F (21°C). Starting indoors gives your seedlings a head start, especially in regions with shorter summers. Check your local weather forecasts and planting guides for the most accurate timing for your area.
How much space do watermelon plants need?
Watermelon plants are sprawling vines that require a significant amount of space. Allow at least 4-6 feet between plants in rows that are 8-10 feet apart. This spacing ensures adequate sunlight and airflow, which are crucial for healthy growth and fruit development. If you’re growing bush varieties, you can reduce the spacing slightly, but still provide ample room for the plants to spread. Consider using trellises for vining types to save space and improve air circulation.
What kind of soil is best for growing watermelons?
Watermelons thrive in well-drained, sandy loam soil that is rich in organic matter. The soil should have a pH between 6.0 and 6.8. Before planting, amend the soil with compost or well-rotted manure to improve its fertility and drainage. Avoid heavy clay soils, as they can retain too much moisture and lead to root rot. If you have clay soil, consider growing watermelons in raised beds or containers filled with a suitable potting mix.
How often should I water my watermelon plants?
Watermelon plants need consistent moisture, especially during fruit development. Water deeply and regularly, aiming for about 1-2 inches of water per week. Water at the base of the plants to avoid wetting the foliage, which can increase the risk of fungal diseases. During hot, dry weather, you may need to water more frequently. Monitor the soil moisture and adjust your watering schedule accordingly. Reduce watering as the fruits ripen to prevent them from cracking.
What are some common pests and diseases that affect watermelons?
Watermelons can be susceptible to various pests and diseases, including aphids, squash bugs, vine borers, powdery mildew, and fusarium wilt. Regularly inspect your plants for signs of infestation or disease. Use organic pest control methods, such as insecticidal soap or neem oil, to manage pests. Ensure good air circulation and avoid overhead watering to prevent fungal diseases. Choose disease-resistant varieties whenever possible. Crop rotation can also help reduce the risk of soilborne diseases.
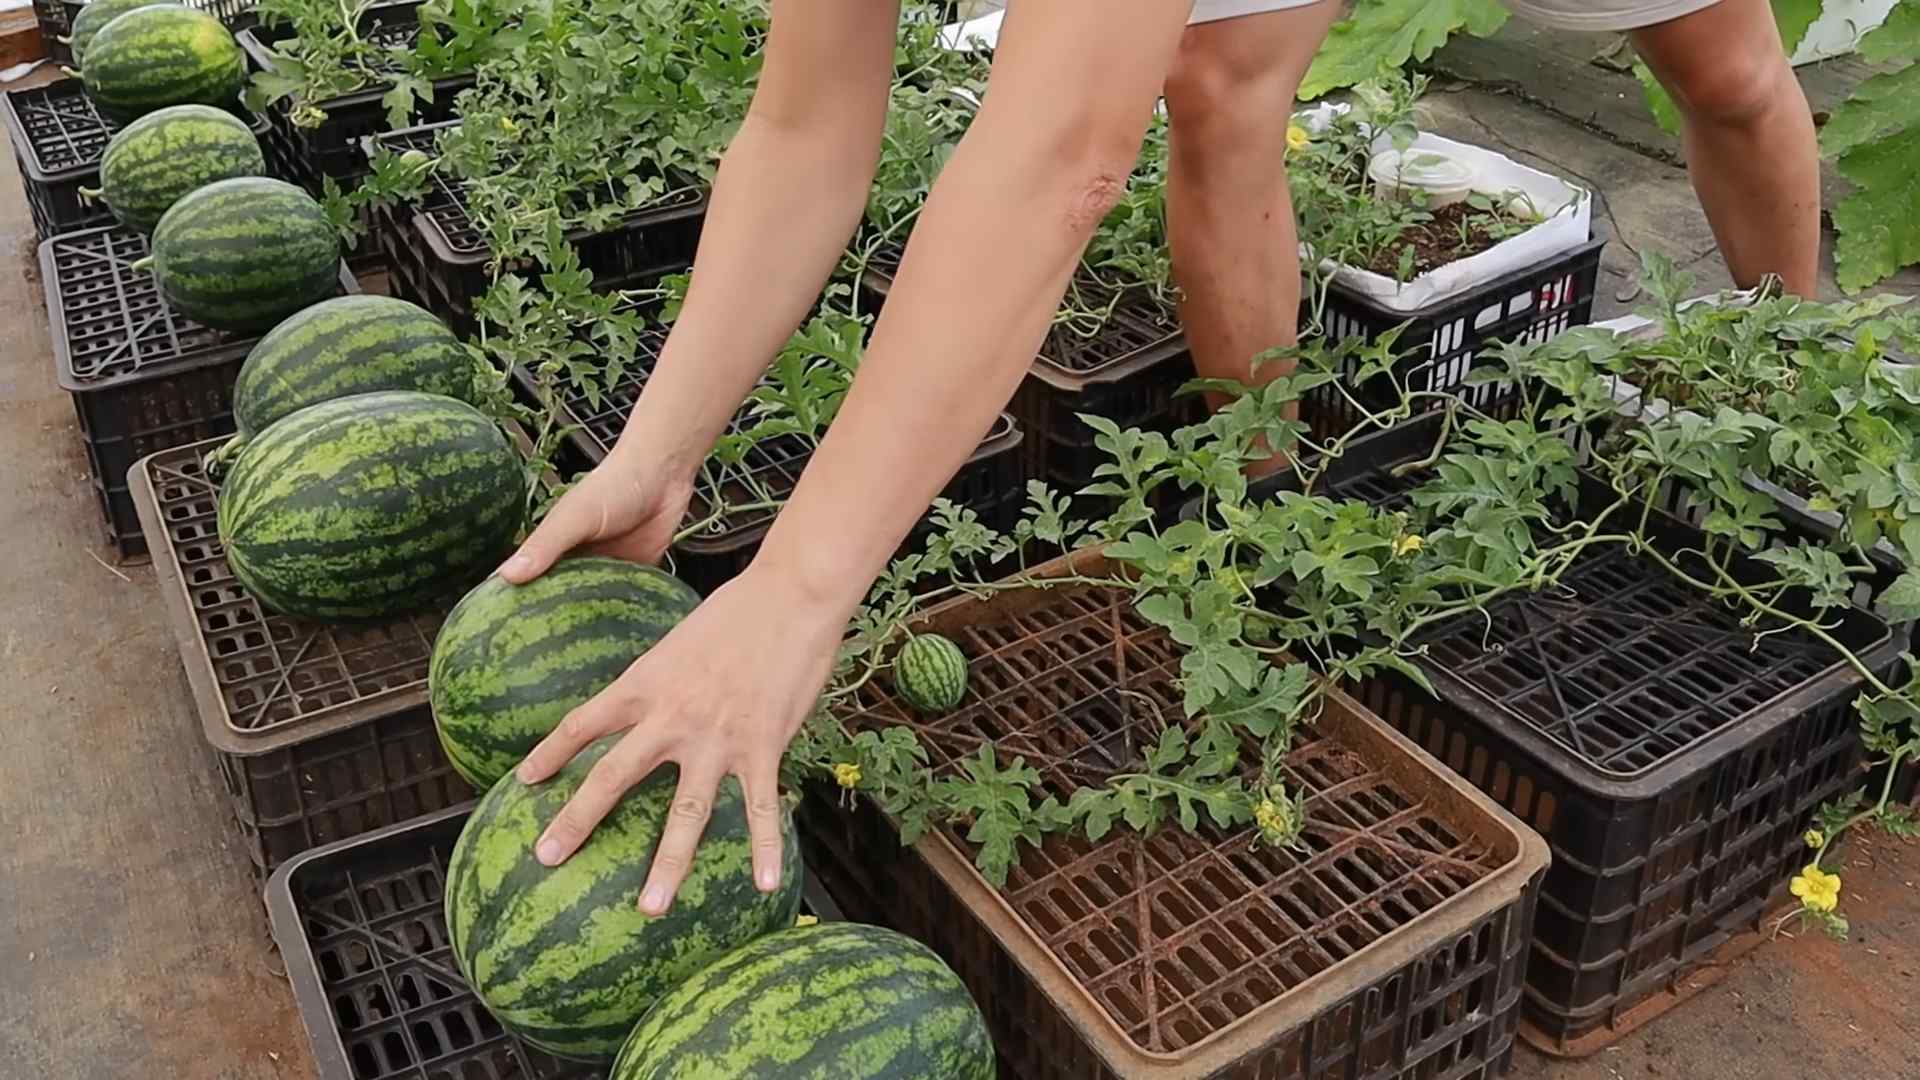
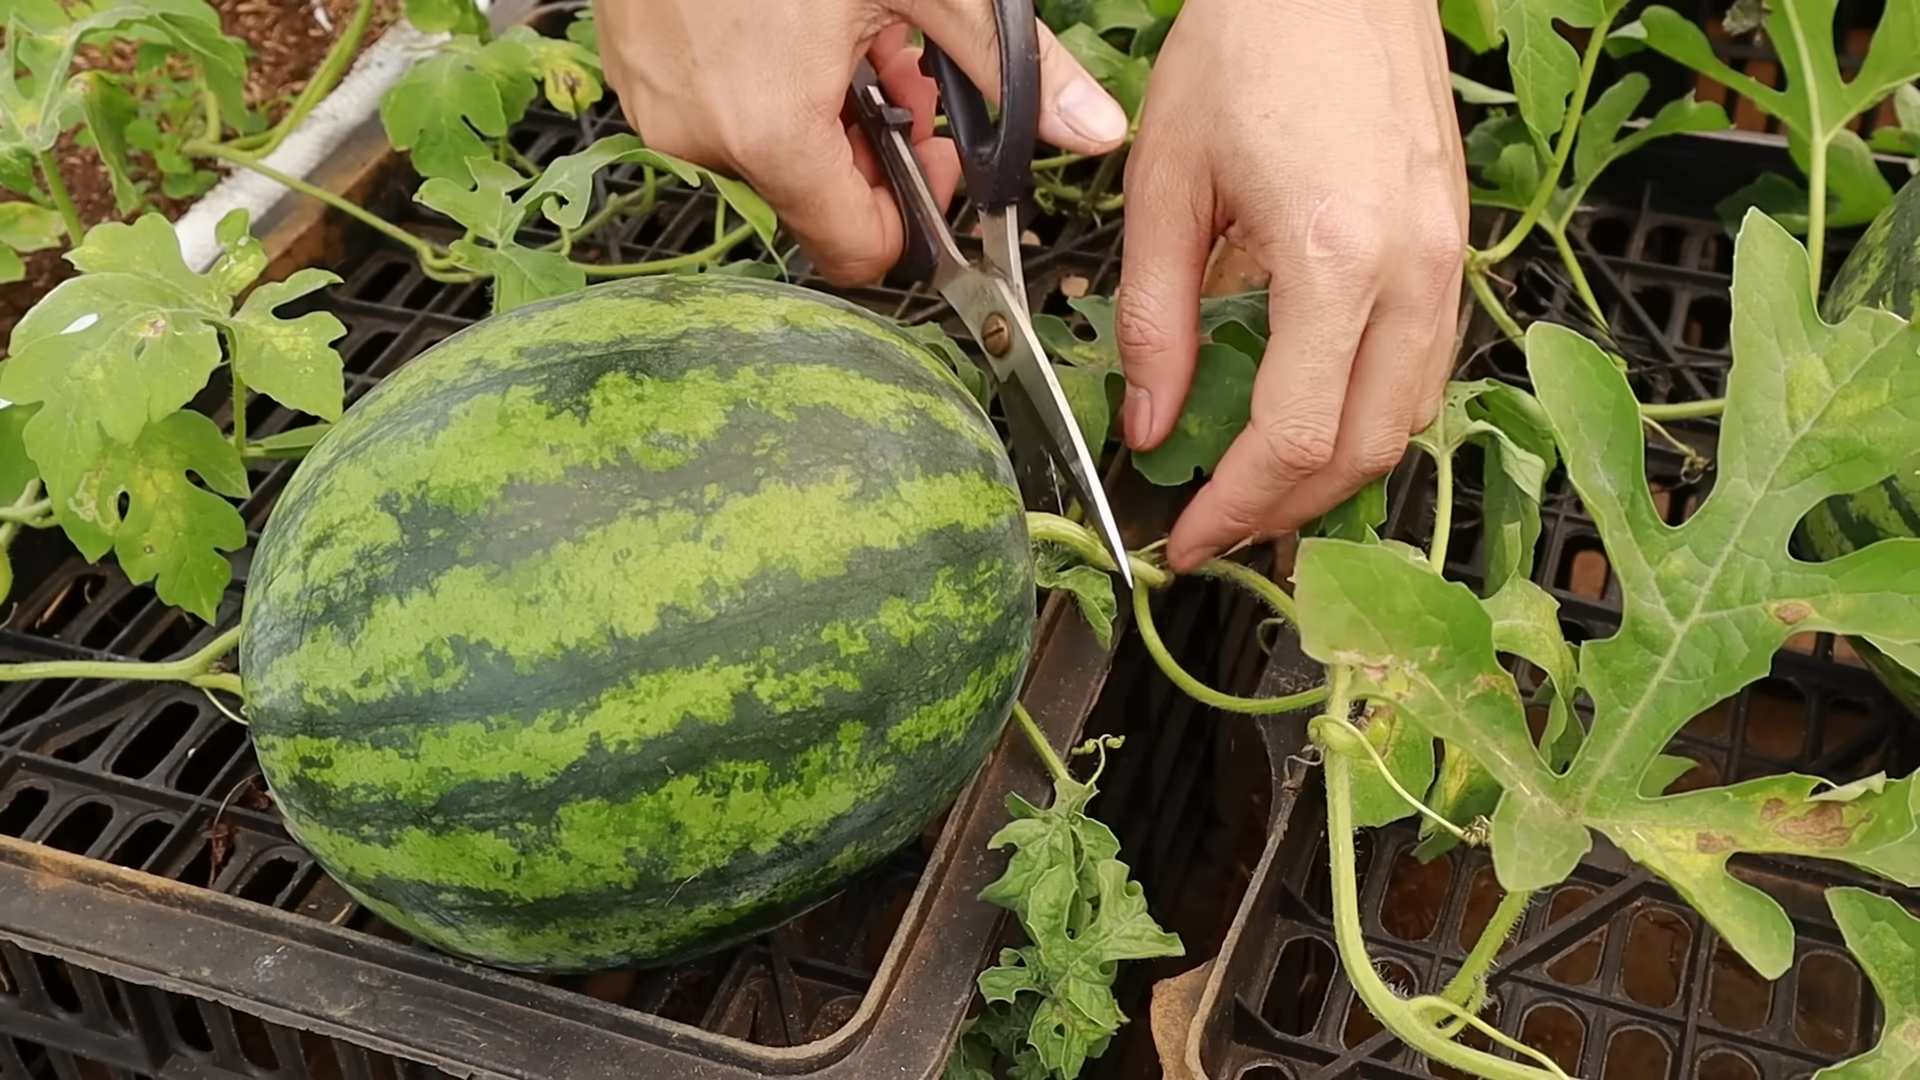
How do I know when my watermelon is ripe?
Determining when a watermelon is ripe can be tricky, but there are several indicators to look for. The tendril closest to the fruit should be brown and dry. The underside of the watermelon, where it rests on the ground (the “ground spot”), should be yellow or cream-colored. The watermelon should also sound hollow when you thump it. Avoid picking watermelons based solely on size or color, as these can be misleading. With practice, you’ll develop a feel for when your watermelons are perfectly ripe.
Can I grow watermelons in containers?
Yes, you can grow watermelons in containers, but you’ll need to choose a large container (at least 20 gallons) and select a bush or dwarf variety. Ensure the container has good drainage and use a high-quality potting mix. Water container-grown watermelons more frequently than those grown in the ground, as the soil in containers tends to dry out faster. Provide support for the vines with a trellis or stake. Fertilize regularly with a balanced fertilizer to ensure adequate nutrient supply.
How can I improve pollination of my watermelon plants?
Watermelons require pollination to set fruit. If you’re not seeing many bees or other pollinators in your garden, you may need to hand-pollinate the flowers. To hand-pollinate, use a small paintbrush to transfer pollen from the male flowers to the female flowers. Female flowers have a small, immature watermelon at the base, while male flowers do not. Pollinate in the morning, when the flowers are open and the pollen is fresh. You can also attract more pollinators to your garden by planting flowers that provide nectar and pollen, such as sunflowers, zinnias, and lavender.
What fertilizer should I use for watermelons?
Watermelons benefit from regular fertilization throughout the growing season. Use a balanced fertilizer (e.g., 10-10-10) at planting time, and then switch to a fertilizer higher in phosphorus and potassium as the plants begin to flower and set fruit. Avoid over-fertilizing with nitrogen, as this can promote excessive vine growth at the expense of fruit production. You can also supplement with organic fertilizers, such as compost tea or fish emulsion. Follow the instructions on the fertilizer label and adjust the application rate based on your soil test results.
How do I prevent my watermelons from cracking?
Watermelon cracking can be caused by inconsistent watering, especially after a period of drought. To prevent cracking, water regularly and deeply, especially during fruit development. Avoid letting the soil dry out completely, and then suddenly saturating it. Mulching around the plants can help retain moisture and prevent fluctuations in soil moisture levels. Also, protect the fruits from direct sunlight, as excessive heat can also contribute to cracking.

Leave a Comment