

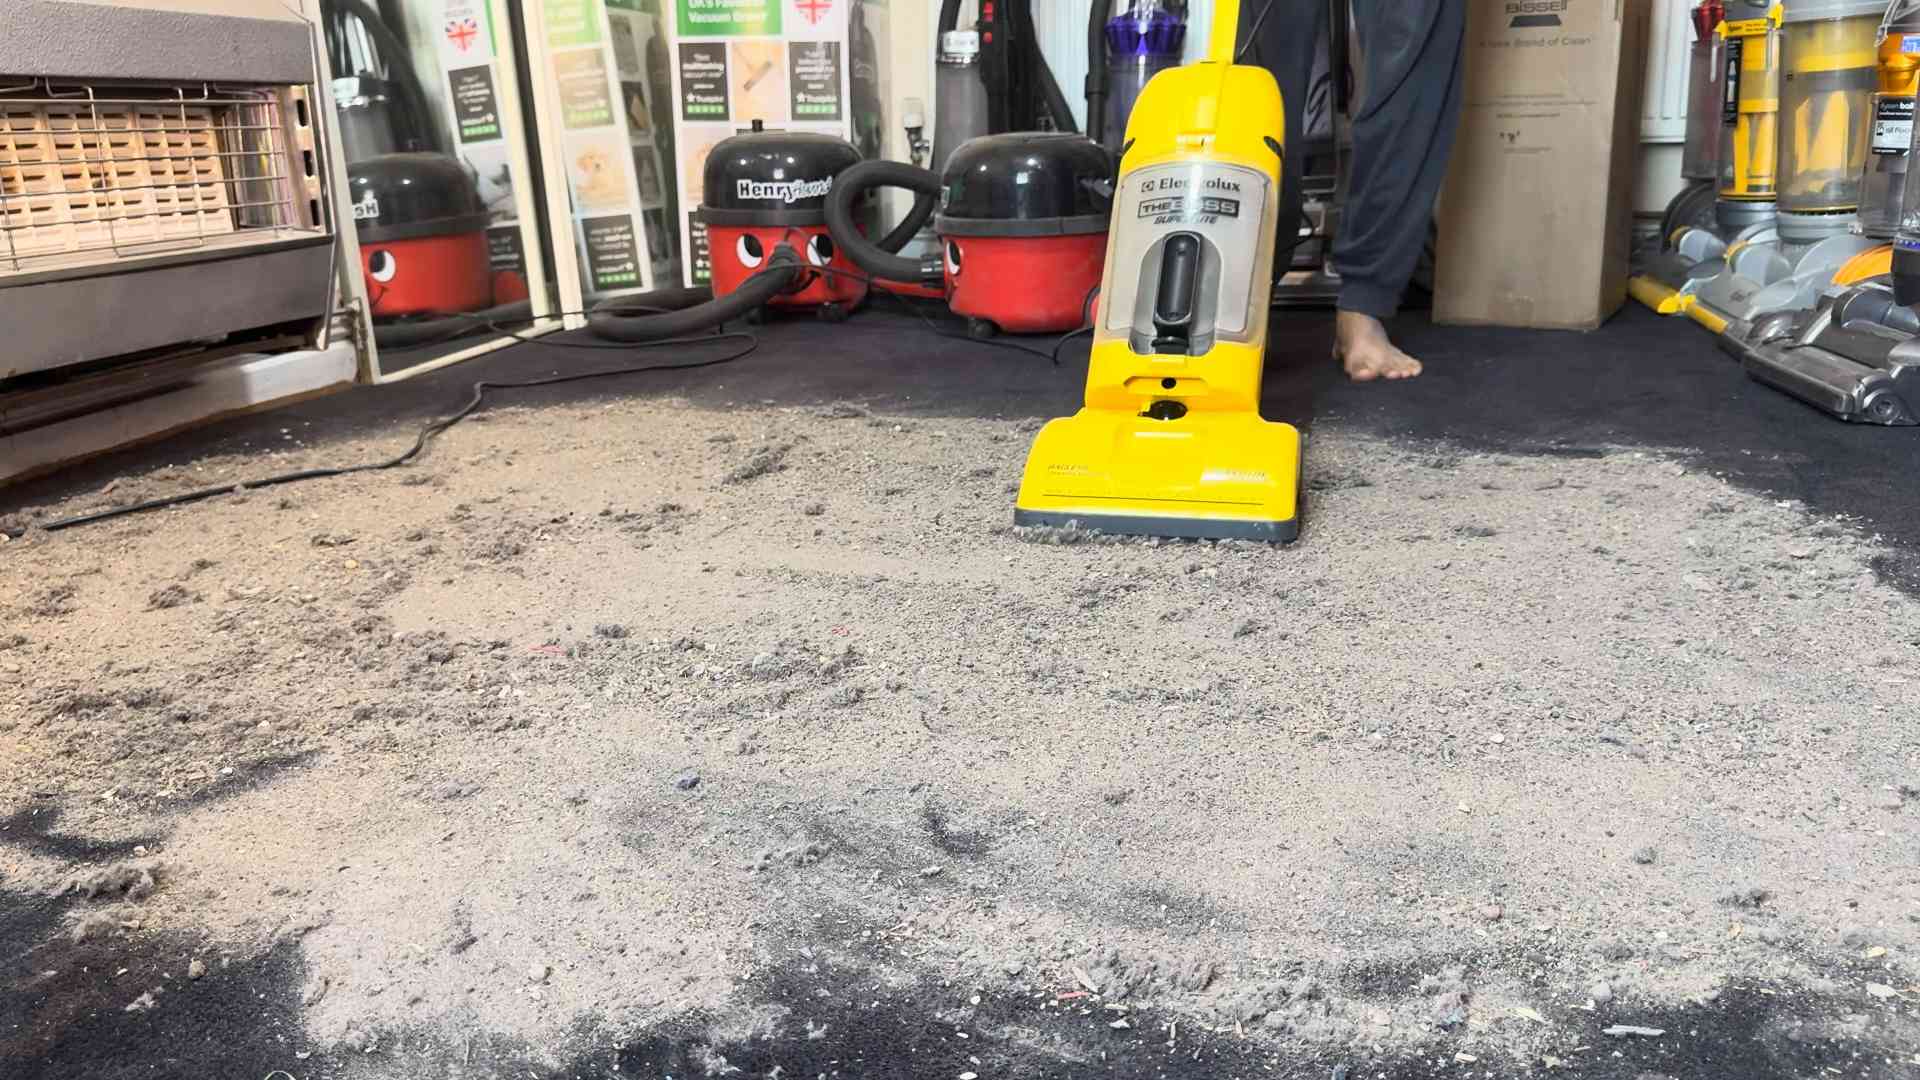
Home cleaning supplies checklist – that’s your golden ticket to a sparkling, stress-free home! Let’s face it, nobody *loves* cleaning, but having the right tools and products on hand can make the whole process faster, easier, and even…dare I say…enjoyable?
For centuries, humans have strived for clean and organized living spaces. From ancient civilizations using natural herbs and oils to disinfect their homes to the modern marvels of today’s cleaning solutions, the pursuit of cleanliness is deeply ingrained in our history. But navigating the overwhelming world of cleaning products can feel like a chore in itself! That’s where a well-crafted home cleaning supplies checklist comes to the rescue.
Think about it: how many times have you started a cleaning project only to realize you’re missing a crucial item? Or worse, you end up using harsh chemicals that damage your surfaces or irritate your skin? A comprehensive checklist eliminates those frustrations. I’m going to share my ultimate home cleaning supplies checklist, complete with DIY alternatives and eco-friendly options, so you can create a cleaning arsenal that’s both effective and safe for your family and the environment. Get ready to transform your cleaning routine from a dreaded task to a satisfying accomplishment!
DIY Natural All-Purpose Cleaner: Ditch the Chemicals!
Hey there, fellow DIY enthusiasts! I’m so excited to share one of my favorite and most used recipes: a natural all-purpose cleaner that’s not only effective but also super easy and cheap to make. Forget those harsh chemicals and overpowering scents – we’re going green and clean! This cleaner is perfect for countertops, sinks, floors (except unsealed wood), and even appliances. Let’s get started!
What You’ll Need: Your Supplies Checklist
Before we dive in, let’s make sure we have everything we need. This is a pretty simple recipe, so you probably already have most of these items on hand.
* White Vinegar: This is our main cleaning agent. Vinegar is a natural disinfectant and deodorizer.
* Water: Distilled water is best to prevent mineral buildup, but tap water works just fine too.
* Essential Oils (Optional): These add a pleasant scent and can also boost the cleaning power. I personally love lemon, lavender, tea tree, or eucalyptus.
* Spray Bottle: A clean, empty spray bottle is essential for dispensing our cleaner.
* Measuring Cup and Spoons: For accurate measurements.
* Funnel (Optional): Makes pouring liquids into the spray bottle much easier.
Step-by-Step Instructions: Mixing Your Magic Potion
Okay, now for the fun part! Follow these steps carefully to create your own amazing all-purpose cleaner.
1. Prepare Your Spray Bottle: Make sure your spray bottle is clean and dry. Any residue from previous cleaners could react with our ingredients.
2. Combine Vinegar and Water: In your measuring cup, combine equal parts white vinegar and water. I usually start with 1 cup of each, but you can adjust the amount depending on the size of your spray bottle. For example, if you have a large spray bottle (32 oz), you might want to use 1 1/2 cups of each.
3. Add Essential Oils (Optional): This is where you can customize your cleaner to your liking! Add 10-20 drops of your favorite essential oils. Remember, some essential oils have antibacterial and antiviral properties, so they can actually enhance the cleaning power of your solution. Here are a few of my favorite combinations:
* Lemon and Tea Tree: A classic combination that’s great for cutting through grease and grime.
* Lavender and Eucalyptus: A calming and refreshing scent that’s perfect for bathrooms.
* Orange and Clove: A warm and spicy scent that’s ideal for the kitchen.
4. Pour into Spray Bottle: Using your funnel (if you have one), carefully pour the mixture into your spray bottle.
5. Shake Well: Secure the spray nozzle and shake the bottle vigorously to ensure that all the ingredients are well combined.
6. Label Your Bottle: This is important! Label your spray bottle with the name of the cleaner and the date you made it. This will help you keep track of when you need to make a new batch.
Using Your All-Purpose Cleaner: Time to Shine!
Now that you’ve created your amazing all-purpose cleaner, it’s time to put it to work!
1. Spray the Surface: Spray the cleaner directly onto the surface you want to clean.
2. Let it Sit (Optional): For tougher messes, let the cleaner sit for a few minutes to allow the vinegar to break down the dirt and grime.
3. Wipe Clean: Use a clean cloth or sponge to wipe the surface clean.
4. Dry (Optional): If desired, dry the surface with a clean, dry cloth.
Troubleshooting and Tips: Making it Perfect
Even with a simple recipe, sometimes things don’t go exactly as planned. Here are a few tips and troubleshooting tips to help you get the best results.
* Vinegar Smell: Don’t worry about the vinegar smell! It will dissipate quickly. The essential oils will also help to mask the scent. If you’re still concerned, you can add a few drops of your favorite fragrance oil.
* Streaking: If you’re experiencing streaking, try diluting the cleaner with more water. You may also be using too much cleaner.
* Cloudy Solution: If your solution looks cloudy, it’s probably just the essential oils. This is perfectly normal and won’t affect the cleaning power of the solution.
* Not Cleaning Effectively: If your cleaner isn’t cleaning as effectively as you’d like, try increasing the amount of vinegar. You can also add a tablespoon of baking soda to the mixture for extra cleaning power. Be careful, though, as baking soda can react with vinegar and create a fizzing effect.
* Avoid on Certain Surfaces: While this cleaner is great for most surfaces, avoid using it on unsealed wood, granite, marble, or other natural stone surfaces. The vinegar can damage these materials.
Essential Oil Blends: My Favorite Recipes
Want to get a little more creative with your essential oil blends? Here are a few of my go-to recipes:
* The “Energizer”: 10 drops Lemon, 5 drops Rosemary, 5 drops Peppermint. This blend is uplifting and invigorating, perfect for cleaning in the morning.
* The “Relaxer”: 10 drops Lavender, 5 drops Chamomile, 5 drops Bergamot. This blend is calming and soothing, ideal for cleaning before bed.
* The “Germ Buster”: 10 drops Tea Tree, 5 drops Eucalyptus, 5 drops Rosemary. This blend is antibacterial and antiviral, perfect for cleaning bathrooms and kitchens.
* The “Citrus Burst”: 10 drops Orange, 5 drops Grapefruit, 5 drops Lemon. This blend is bright and cheerful, great for any room in the house.
Why I Love This Cleaner: My Personal Testimony
I’ve been using this DIY all-purpose cleaner for years, and I can honestly say that it’s one of the best decisions I’ve ever made. Not only is it effective and affordable, but it’s also much safer for my family and the environment. I no longer have to worry about harsh chemicals lingering in my home or harming my loved ones. Plus, I love the fact that I can customize the scent to my liking. It’s a win-win!
Cost Breakdown: Saving Money While Cleaning
Let’s talk about the cost savings! Store-bought all-purpose cleaners can be surprisingly expensive, especially if you’re buying the “natural” or “eco-friendly” brands. This DIY cleaner is incredibly cheap to make.
* White Vinegar: A gallon of white vinegar typically costs around $3-$5.
* Water: Essentially free!
* Essential Oils: A small bottle of essential oil can cost anywhere from $5-$20, but a little goes a long way. You’ll only be using a few drops per batch of cleaner.
* Spray Bottle: You can often find empty spray bottles for a dollar or two at the dollar store.
Overall, each batch of this DIY cleaner costs pennies to make! You’ll save a significant amount of money over time by switching to this natural alternative.
Storage Tips: Keeping it Fresh
To keep your all-purpose cleaner fresh and effective, store it in a cool, dark place. Avoid storing it in direct sunlight, as this can degrade the essential oils and reduce the cleaning power of the solution. The cleaner should last for several months, but it’s best to use it within a year for optimal results.
Safety Precautions: A Few Words of Caution
While this cleaner is much safer than conventional cleaners, it’s still important to take a few precautions:
* Keep out of reach of children and pets.
* Avoid contact with eyes. If contact occurs, rinse thoroughly with water.
* Do not ingest.
* Test on an inconspicuous area before using on delicate surfaces.
* Do not mix with bleach or other cleaning products.
Variations: Tailoring it to Your Needs
Want to tweak the recipe to better suit your needs? Here are a few variations you can try:
* For Extra Cleaning Power: Add 1 tablespoon of borax to the mixture. Borax is a natural mineral that can help to boost the cleaning power of the solution.
* For a Degreaser: Add 1 tablespoon of dish soap to the mixture. This will help to cut through grease and grime.
* For a Floor Cleaner: Double or triple the recipe and add it to a bucket of warm water. Use a mop to clean your floors. Remember to avoid using this cleaner on unsealed wood floors.
Final Thoughts: Embrace the DIY Life!
I hope you enjoyed this tutorial and that you’re inspired to make your own natural all-purpose cleaner. It’s a simple, affordable, and effective way to clean your home without harsh chemicals. So

Conclusion
So, there you have it! Transforming your approach to home cleaning doesn’t require a complete overhaul of your budget or a reliance on harsh chemicals. This simple, yet effective, DIY cleaning solution, born from a basic home cleaning supplies checklist, is a game-changer for anyone seeking a sparkling clean home without the hefty price tag or the environmental concerns.
We’ve shown you how to leverage readily available ingredients, likely already sitting in your pantry, to create a powerful cleaning agent that rivals store-bought alternatives. Think about the satisfaction of knowing exactly what’s going into your cleaning products, eliminating the worry of hidden toxins and allergens. This isn’t just about saving money; it’s about taking control of your home environment and prioritizing your family’s well-being.
This DIY cleaning solution is incredibly versatile. Use it on countertops, sinks, showers, and even floors (always test in an inconspicuous area first!). The possibilities are truly endless. And remember, you can easily customize the scent by adding a few drops of your favorite essential oils. Lavender for relaxation, lemon for a fresh burst of energy, or tea tree for its antibacterial properties – the choice is yours!
Beyond the cost savings and the eco-friendliness, this DIY cleaning solution offers a unique opportunity to connect with your home in a more meaningful way. It’s a chance to slow down, appreciate the simple act of creating something useful, and take pride in the cleanliness and health of your living space.
We wholeheartedly encourage you to give this DIY cleaning solution a try. Gather your ingredients, follow the simple steps, and experience the difference for yourself. You’ll be amazed at how effective and satisfying it is to create your own cleaning products.
Don’t just take our word for it! We’re eager to hear about your experiences. Share your results, variations, and tips in the comments below. Let’s build a community of DIY cleaning enthusiasts who are passionate about creating a cleaner, healthier, and more sustainable home. What essential oils did you add? What surfaces did you find it worked best on? Did you tweak the recipe to suit your specific needs? We want to know it all! Your feedback will not only help others but also inspire us to continue exploring and sharing innovative DIY solutions. Embrace the power of homemade cleaning and discover the joy of a truly clean and healthy home. This DIY cleaning solution, inspired by a simple home cleaning supplies checklist, is more than just a recipe; it’s a pathway to a more conscious and sustainable lifestyle.
Frequently Asked Questions
What exactly are the benefits of making my own cleaning solution compared to buying commercial products?
There are several compelling reasons to switch to DIY cleaning solutions. First and foremost, you have complete control over the ingredients. This means you can avoid harsh chemicals, artificial fragrances, and other potentially harmful substances that are often found in commercial cleaners. This is especially beneficial for individuals with allergies, sensitivities, or young children. Secondly, DIY cleaning solutions are significantly more cost-effective. The ingredients are typically inexpensive and readily available, saving you money in the long run. Thirdly, making your own cleaning solution is an environmentally friendly choice. You reduce your reliance on plastic packaging and minimize the release of harmful chemicals into the environment. Finally, it’s empowering to know exactly what you’re using to clean your home and to create a product that is tailored to your specific needs and preferences.
Can I use this DIY cleaning solution on all surfaces in my home?
While this DIY cleaning solution is generally safe and effective for a wide range of surfaces, it’s always best to test it in an inconspicuous area first, especially on delicate or sensitive materials. Avoid using it on unsealed granite or marble, as the acidity of the vinegar (if included) could potentially damage the surface. For wood surfaces, use a diluted solution and wipe dry immediately. Always consult the manufacturer’s instructions for specific cleaning recommendations for your surfaces. When in doubt, err on the side of caution and test before applying liberally.
How long does this DIY cleaning solution last?
The shelf life of your DIY cleaning solution will depend on the ingredients you use. Generally, a solution made with water, vinegar, and essential oils will last for several weeks to a few months when stored in a cool, dark place. However, if you add fresh ingredients like lemon peels or herbs, the shelf life will be shorter, typically around one to two weeks. It’s always a good idea to label your cleaning solution with the date you made it and to discard it if you notice any signs of spoilage, such as discoloration, foul odor, or mold growth.
What essential oils are best to use in this DIY cleaning solution?
The best essential oils to use in your DIY cleaning solution depend on your personal preferences and the desired benefits. Some popular choices include:
* **Lemon:** Known for its uplifting scent and degreasing properties.
* **Lavender:** Provides a calming aroma and has antibacterial properties.
* **Tea Tree:** A powerful antiseptic and antifungal agent.
* **Eucalyptus:** Offers a refreshing scent and helps to disinfect surfaces.
* **Peppermint:** Provides a cooling sensation and has insect-repelling properties.
* **Orange:** A cheerful scent with degreasing capabilities.
Experiment with different essential oils to find your favorite combinations. Remember to use pure, therapeutic-grade essential oils for the best results.
Can I use this DIY cleaning solution to clean my bathroom?
Yes, this DIY cleaning solution is excellent for cleaning bathrooms. It can be used on sinks, showers, toilets, and floors (test in an inconspicuous area first). The vinegar (if included) helps to dissolve soap scum and hard water stains, while the essential oils provide a fresh and clean scent. For stubborn stains, you can let the solution sit for a few minutes before scrubbing.
Is this DIY cleaning solution safe for pets and children?
While this DIY cleaning solution is generally safer than commercial cleaners, it’s still important to take precautions when using it around pets and children. Keep the solution out of reach of children and pets, and avoid spraying it directly on them. If your pet or child ingests the solution, contact your veterinarian or poison control center immediately. When cleaning surfaces that pets and children come into contact with, rinse thoroughly with water after cleaning.
Can I add other ingredients to this DIY cleaning solution?
Absolutely! Feel free to experiment with other ingredients to customize your DIY cleaning solution. Some popular additions include:
* **Baking Soda:** Adds extra scrubbing power for tough stains.
* **Borax:** A natural mineral that helps to boost cleaning power and disinfect surfaces. (Use with caution and research safety guidelines.)
* **Hydrogen Peroxide:** A natural disinfectant and bleaching agent. (Use with caution and avoid mixing with vinegar.)
* **Castile Soap:** A gentle and effective cleanser made from vegetable oils.
Always research the properties of any new ingredient before adding it to your cleaning solution and be mindful of potential interactions with other ingredients.
What is the best way to store this DIY cleaning solution?
Store your DIY cleaning solution in a clean, airtight spray bottle or container. Glass bottles are a great option as they are reusable and prevent chemicals from leaching into the solution. Label the bottle clearly with the name of the solution and the date it was made. Store the solution in a cool, dark place away from direct sunlight and heat.
What if I don’t have all the ingredients listed in the recipe?
Don’t worry if you don’t have all the ingredients on hand. You can often substitute ingredients or simplify the recipe. For example, if you don’t have vinegar, you can use lemon juice instead. If you don’t have essential oils, you can simply omit them or use a natural fragrance extract. The key is to experiment and find a combination of ingredients that works for you and your needs. The basic home cleaning supplies checklist is a starting point, feel free to adapt it!
Leave a Comment