

Howard Feed-N-Wax Furniture: Ever looked at your beloved wooden furniture and thought, “It’s lost its sparkle?” I know I have! That’s why I’m so excited to share some amazing DIY tricks and hacks using Howard Feed-N-Wax Furniture. This isn’t just about cleaning; it’s about reviving the soul of your cherished pieces.
For generations, wood furniture has been a cornerstone of homes, representing craftsmanship, warmth, and enduring style. From antique heirlooms passed down through families to modern statement pieces, wood adds character and elegance to any space. But let’s face it, life happens! Scratches, dryness, and dullness can creep in, making your furniture look tired and worn.
That’s where Howard Feed-N-Wax Furniture comes to the rescue! This incredible product isn’t just a polish; it’s a nourishing treatment that penetrates deep into the wood, replenishing its natural oils and bringing back its luster. In this article, I’m going to show you some simple yet effective DIY tricks and hacks that will transform your furniture from drab to fab. You’ll learn how to tackle everything from minor scratches to stubborn water rings, all while enhancing the natural beauty of the wood. Get ready to fall in love with your furniture all over again!
Revive Your Furniture with Howard Feed-N-Wax: A DIY Guide
Hey there, fellow DIY enthusiasts! Is your beloved furniture looking a little lackluster? Are those wooden surfaces losing their luster and starting to show signs of dryness? Don’t despair! I’m here to share a simple yet incredibly effective DIY trick that will breathe new life into your wooden furniture: using Howard Feed-N-Wax. This stuff is like a spa day for your wood, and I promise, you’ll be amazed at the results.
This guide will walk you through the entire process, step-by-step, ensuring your furniture gets the TLC it deserves. Let’s get started!
What is Howard Feed-N-Wax and Why Use It?
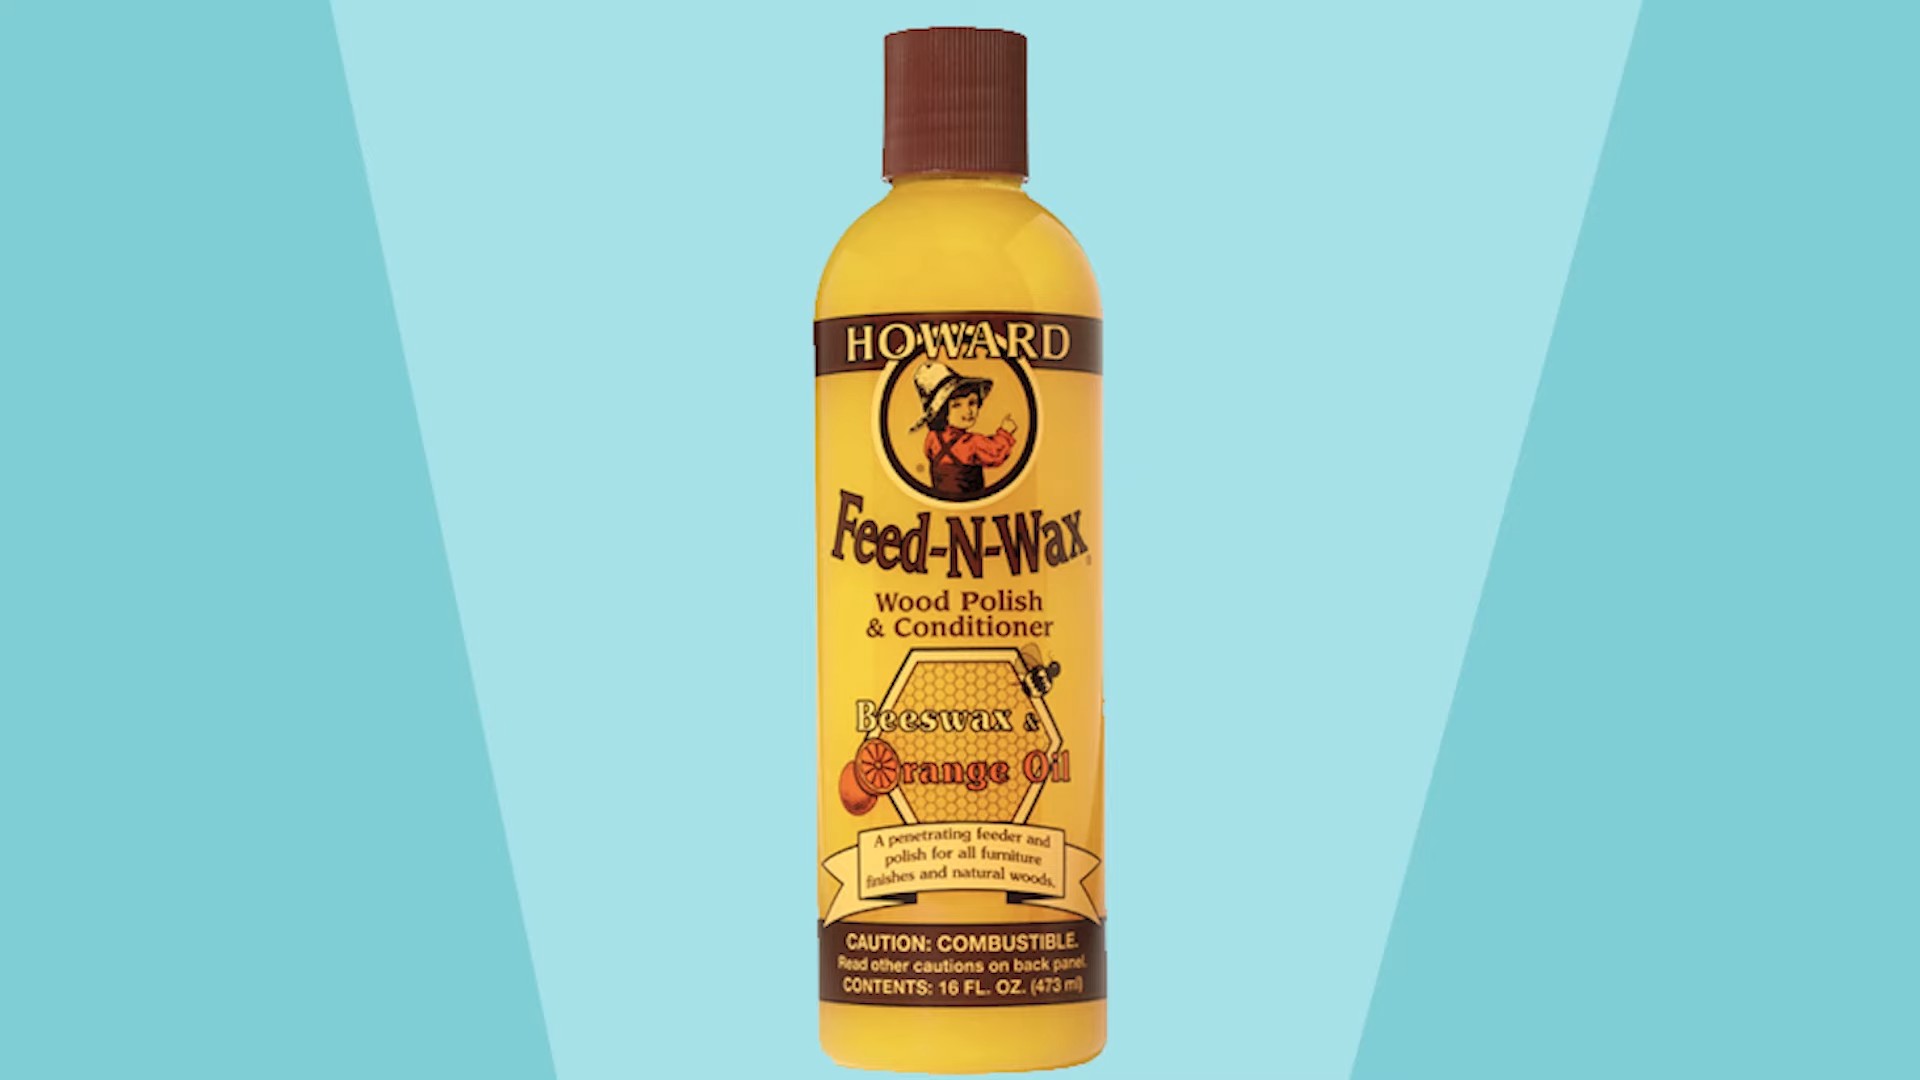
Howard Feed-N-Wax is a blend of beeswax, carnauba wax, and orange oil. It’s designed to enhance the natural beauty and depth of grain in both finished and unfinished wood. Unlike some furniture polishes that just sit on the surface, Feed-N-Wax penetrates the wood, nourishing it from within.
Here’s why I love it:
* It conditions the wood: The orange oil helps to dissolve old wax buildup and dirt, while the beeswax and carnauba wax moisturize and protect the wood from drying out and cracking.
* It enhances the finish: It brings out the natural color and grain of the wood, making it look richer and more vibrant.
* It protects the wood: The wax creates a protective barrier against moisture, scratches, and everyday wear and tear.
* It’s easy to use: Seriously, anyone can do this! No special skills or tools are required.
* It smells amazing: The orange oil gives it a pleasant, citrusy scent that will leave your furniture smelling fresh and clean.
Gathering Your Supplies
Before we dive in, let’s make sure you have everything you need. This is a pretty straightforward project, so the supply list is short and sweet:
* Howard Feed-N-Wax: You can find this at most hardware stores, home improvement centers, or online retailers. Make sure you get the right size for your project. A small bottle goes a long way!
* Clean, soft cloths: Microfiber cloths are ideal, but any soft, lint-free cloth will work. I usually grab a few, so I have a clean one for each step.
* Optional: A soft-bristled brush (like an old toothbrush) for getting into tight corners or intricate carvings.
* Optional: Furniture polish or cleaner (if your furniture is particularly dirty).
* Optional: Gloves (if you prefer not to get the product on your hands).
Preparing Your Furniture
This is a crucial step! You want to make sure your furniture is clean and free of any loose dirt or debris before applying the Feed-N-Wax.
1. Dusting: Start by giving your furniture a good dusting. Use a clean, dry cloth or a duster to remove any loose dust, dirt, or cobwebs. Pay attention to corners, crevices, and any intricate details.
2. Cleaning (if needed): If your furniture is particularly dirty or has a buildup of old polish, you may want to clean it before applying the Feed-N-Wax. Use a mild furniture cleaner or a solution of warm water and a few drops of dish soap. Apply the cleaner to a clean cloth and gently wipe down the surface of the furniture. Be sure to follow the manufacturer’s instructions for the cleaner you are using.
3. Drying: If you cleaned your furniture, allow it to dry completely before moving on to the next step. This is important because the Feed-N-Wax works best on dry surfaces.
Applying Howard Feed-N-Wax: The Main Event!
Okay, now for the fun part! This is where the magic happens.
1. Shake Well: Before you open the bottle, give the Howard Feed-N-Wax a good shake. This will ensure that the ingredients are properly mixed.
2. Apply a Small Amount: Pour a small amount of Feed-N-Wax onto a clean, soft cloth. You don’t need a lot! A little goes a long way. I usually start with about a tablespoon and add more as needed.
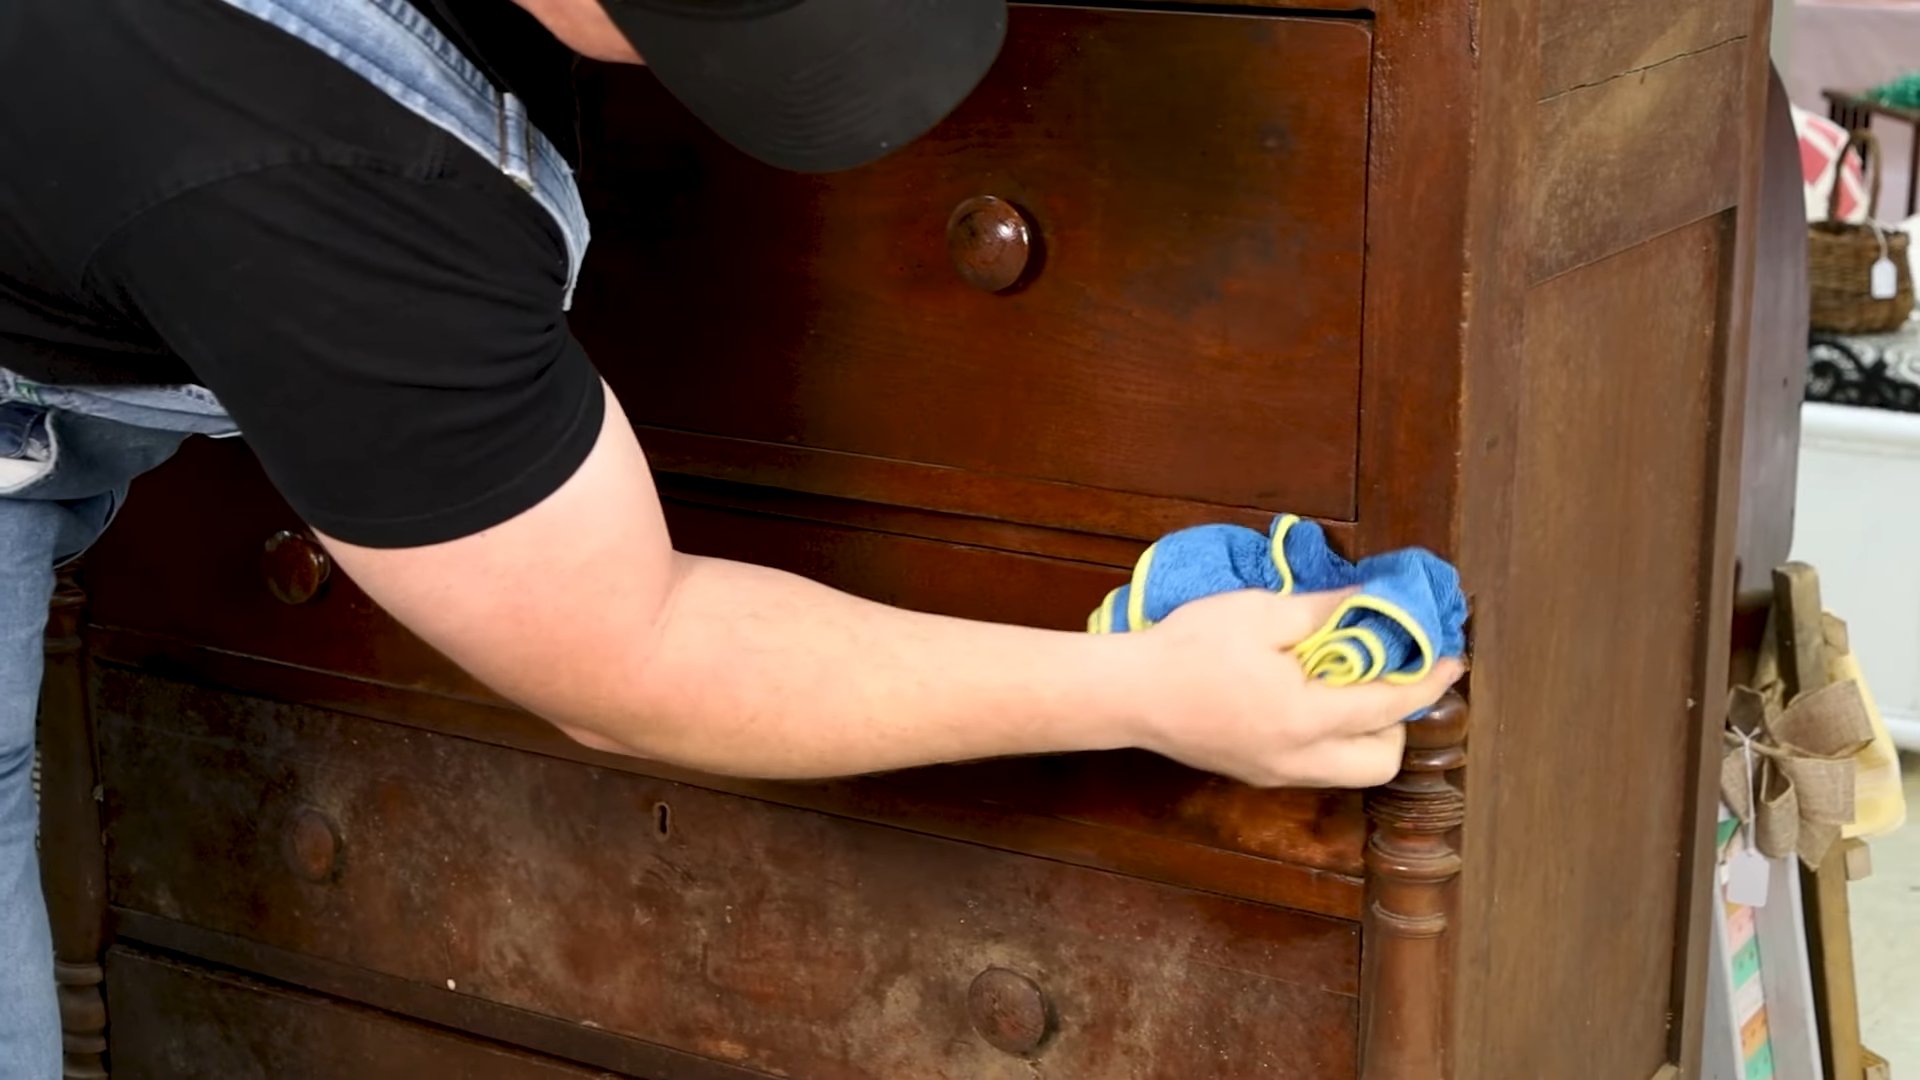
3. Work in Sections: Apply the Feed-N-Wax to the furniture in small sections, working with the grain of the wood. Use a circular motion to massage the product into the wood. Don’t be afraid to apply a little pressure, but avoid scrubbing too hard.
4. Get into the Details: If your furniture has intricate carvings or tight corners, use a soft-bristled brush to apply the Feed-N-Wax to those areas. This will ensure that the product gets into all the nooks and crannies.
5. Let it Sit: Allow the Feed-N-Wax to sit on the surface of the furniture for about 20 minutes. This will give the product time to penetrate the wood and work its magic. You’ll notice the wood starting to absorb the oil.
6. Buff it Out: After 20 minutes, use a clean, soft cloth to buff the surface of the furniture. Use a circular motion and apply a little pressure to remove any excess Feed-N-Wax. This will also help to bring out the shine and luster of the wood.
7. Repeat (if needed): If your furniture is particularly dry or damaged, you may want to apply a second coat of Feed-N-Wax. Follow the same steps as above, allowing the product to sit for 20 minutes before buffing it out.
Dealing with Specific Furniture Types
While Howard Feed-N-Wax is generally safe for most wood furniture, here are a few things to keep in mind for different types of finishes:
* Antique Furniture: Be extra cautious when using Feed-N-Wax on antique furniture. Test it in an inconspicuous area first to make sure it doesn’t damage the finish. Antique finishes can be delicate, so it’s always better to be safe than sorry.
* Painted Furniture: Feed-N-Wax is generally not recommended for painted furniture, as it can dull the paint or leave a greasy residue.
* Lacquered Furniture: Feed-N-Wax can be used on lacquered furniture, but be sure to test it in an inconspicuous area first. Some lacquers can be sensitive to oils.
* Oiled Furniture: Feed-N-Wax is perfect for oiled furniture! It will help to replenish the oil and protect the wood from drying out.
* Teak Furniture: Teak furniture benefits greatly from Feed-N-Wax, helping to maintain its natural oils and prevent weathering.
Tips and Tricks for Best Results
Here are a few extra tips and tricks that I’ve learned over the years:
* Test in an Inconspicuous Area: Before applying Feed-N-Wax to the entire piece of furniture, test it in a small, inconspicuous area first. This will allow you to see how the product affects the finish and ensure that you are happy with the results.
* Don’t Overdo It: A little Feed-N-Wax goes a long way. Applying too much can leave a greasy residue that is difficult to remove. Start with a small amount and add more as needed.
* Use Clean Cloths: Always use clean, soft cloths when applying and buffing Feed-N-Wax. Dirty cloths can scratch the finish of your furniture.
* Buff Thoroughly: Buffing is key to achieving a beautiful, lustrous finish. Take your time and buff the surface of the furniture thoroughly to remove any excess Feed-N-Wax and bring out the shine.
* Regular Maintenance: To keep your furniture looking its best, apply Feed-N-Wax every few months or as needed. Regular maintenance will help to protect the wood and prevent it from drying out and cracking.
* Ventilation: Work in a well-ventilated area, as the orange oil can have a strong scent.
* Storage: Store your Howard Feed-N-Wax in a cool, dry place away from direct sunlight.
Troubleshooting Common Issues
Sometimes, things don’t go exactly as planned. Here are a few common issues you might encounter and how to fix them:
* Greasy Residue: If you applied too much Feed-N-Wax and are left with a greasy residue, try buffing the surface of the furniture with a clean, dry cloth. You may need to buff it several times to remove the excess product. If that doesn’t work, you can try wiping the surface with a cloth dampened with mineral spirits, followed by buffing with a clean, dry cloth.
* Dull Finish: If your furniture looks dull after applying Feed-N-Wax, it may be because you didn’t buff it thoroughly enough. Try buffing the surface again with a clean, soft cloth, applying a little more pressure.
* Uneven Finish: If the finish looks uneven after applying Feed-N-Wax, it may
Conclusion
So, there you have it! This simple, yet incredibly effective DIY Howard Feed N Wax furniture alternative is a game-changer for anyone looking to revitalize their wooden furniture without breaking the bank. We’ve explored a method that not only saves you money but also allows you to control the ingredients, ensuring a natural and safe solution for your beloved pieces.
Why is this DIY trick a must-try? Because it breathes new life into tired, dry wood, restoring its natural luster and protecting it from future damage. Store-bought products often contain harsh chemicals and synthetic fragrances that can be detrimental to both your furniture and your health. This homemade version, on the other hand, utilizes readily available, natural ingredients that are gentle yet powerful. The combination of nourishing oils and beeswax creates a protective barrier that prevents moisture loss, minimizes scratches, and enhances the wood’s natural beauty.
But the benefits don’t stop there. This DIY approach offers unparalleled customization. Feel free to experiment with different essential oils to create a unique scent that complements your home’s décor. Lavender, cedarwood, and lemon are all excellent choices, each offering its own distinct aroma and therapeutic properties. For a deeper conditioning treatment, consider adding a small amount of vitamin E oil to the mixture. Vitamin E is a potent antioxidant that helps protect the wood from free radical damage and promotes a healthy, vibrant finish.
Variations and Suggestions:
* For Dark Wood: Consider adding a small amount of walnut oil to the mixture. Walnut oil can help enhance the richness and depth of dark wood tones.
* For Light Wood: Use a lighter-colored oil, such as grapeseed oil, to avoid darkening the wood.
* For a Matte Finish: Reduce the amount of beeswax in the recipe. This will result in a less glossy, more natural-looking finish.
* For a High-Gloss Finish: Increase the amount of beeswax and buff the furniture vigorously after application.
* Always test the mixture on an inconspicuous area of your furniture before applying it to the entire piece. This will ensure that the mixture does not discolor or damage the wood.
We are confident that you’ll be amazed by the results you achieve with this DIY Howard Feed N Wax furniture alternative. It’s a simple, cost-effective, and environmentally friendly way to care for your wooden furniture and keep it looking its best for years to come.
Don’t just take our word for it – give it a try! We encourage you to experiment with the recipe, find the perfect combination of ingredients for your needs, and share your experiences with us. We’d love to hear about your successes, your challenges, and any variations you discover along the way. Share your before-and-after photos and tips in the comments section below. Let’s build a community of DIY furniture care enthusiasts and help each other keep our homes looking beautiful! Your feedback is invaluable and will help us refine and improve this DIY trick for everyone. So, grab your ingredients, get creative, and let’s bring some life back into our furniture!
FAQ
What exactly is Howard Feed N Wax, and why would I want an alternative?
Howard Feed N Wax is a popular furniture polish and conditioner designed to enhance the natural beauty and protect wood surfaces. It’s a blend of beeswax, carnauba wax, and orange oil. While effective, it can be relatively expensive, and some people prefer to avoid commercially produced products with potentially undisclosed ingredients. A DIY alternative allows you to control the ingredients, potentially save money, and tailor the formula to your specific needs and preferences. Plus, you can ensure it’s free of harsh chemicals or synthetic fragrances.
What kind of oils can I use for this DIY furniture polish?
The best oils to use are those that are non-drying and penetrate the wood well. Good options include:
* Mineral Oil: A classic choice, mineral oil is inexpensive, readily available, and doesn’t go rancid.
* Linseed Oil (Boiled): Boiled linseed oil dries faster than raw linseed oil and provides a durable finish. However, it can yellow over time, so it’s best suited for darker woods.
* Coconut Oil (Fractionated): Fractionated coconut oil is liquid at room temperature and has a long shelf life. It’s a good option for those who prefer a natural oil.
* Olive Oil: While readily available, olive oil can sometimes leave a slightly sticky residue. Use sparingly and buff well.
* Jojoba Oil: Jojoba oil is technically a wax ester and is very similar to the skin’s natural sebum. It’s excellent for conditioning wood and preventing it from drying out.
* Walnut Oil: Great for dark woods, walnut oil enhances the richness of the color.
Always test the oil on an inconspicuous area first to ensure it doesn’t discolor the wood.
How much beeswax should I use in the recipe?
The amount of beeswax determines the hardness and shine of the polish. A higher beeswax content will result in a harder polish with a glossier finish, while a lower content will create a softer polish with a more matte finish. Start with a ratio of approximately 1 part beeswax to 4 parts oil. You can then adjust the ratio to your liking based on the desired consistency and shine.
Can I add essential oils to the DIY Howard Feed N Wax alternative?
Yes, absolutely! Essential oils can add a pleasant scent and even provide some therapeutic benefits. Some popular choices include:
* Lemon: Cleansing and refreshing.
* Orange: Uplifting and invigorating.
* Cedarwood: Earthy and grounding.
* Lavender: Calming and relaxing.
* Tea Tree: Antiseptic and antifungal.
Use essential oils sparingly, typically a few drops per batch. Be sure to research the safety of any essential oil before using it, especially if you have pets or allergies.
How do I apply the DIY furniture polish?
1. Clean the furniture: Remove any dust, dirt, or grime from the surface of the furniture.
2. Apply the polish: Use a soft cloth to apply a thin, even layer of the polish to the wood.
3. Let it sit: Allow the polish to sit for a few minutes to penetrate the wood.
4. Buff: Use a clean, dry cloth to buff the furniture until it shines.
How often should I apply the DIY furniture polish?
The frequency of application depends on the condition of the furniture and the environment it’s in. In general, you should apply the polish every few months or as needed to maintain the wood’s moisture and shine. Furniture in dry climates may require more frequent applications.
How long will the DIY furniture polish last?
The shelf life of the DIY furniture polish depends on the ingredients used. Oils like mineral oil and fractionated coconut oil have a long shelf life. To maximize the shelf life, store the polish in an airtight container in a cool, dark place. It’s generally a good idea to make smaller batches to ensure freshness. If the polish develops an off odor or changes in consistency, discard it.
Can I use this DIY polish on all types of wood furniture?
While this DIY polish is generally safe for most types of wood furniture, it’s always best to test it on an inconspicuous area first. Avoid using it on unfinished wood, as it may stain the wood. Also, be cautious when using it on antique furniture, as some finishes may be delicate. If you’re unsure, consult with a professional furniture restorer.
What if my furniture has a lot of build-up from previous polishes?
If your furniture has a lot of build-up, you may need to clean it more thoroughly before applying the DIY polish. You can use a mild soap and water solution or a commercial furniture cleaner to remove the build-up. Be sure to dry the furniture completely before applying the polish.
Is this DIY Howard Feed N Wax alternative safe for children and pets?
The safety of the DIY polish depends on the ingredients used. Natural oils and beeswax are generally considered safe, but some essential oils can be toxic to children and pets. If you have children or pets, be sure to research the safety of any essential oils you use and store the polish out of their reach. Always supervise children when they are helping with DIY projects.


Leave a Comment