

Indoor Fern Care Tips: Are your ferns looking a little… lackluster? Don’t worry, you’re not alone! I’ve been there, staring at crispy fronds and wondering what I did wrong. But trust me, bringing the lush beauty of ferns indoors doesn’t have to be a constant battle. In fact, with a few simple tricks and DIY hacks, you can transform your home into a verdant oasis.
Ferns have a rich history, gracing our planet for over 360 million years! They were even a popular motif in Victorian England, symbolizing humility and sincerity. Today, they bring a touch of nature and tranquility to our modern homes. But let’s face it, replicating their natural rainforest environment indoors can be tricky. That’s where these indoor fern care tips come in handy.
Why do you need these DIY tricks? Because healthy, thriving ferns not only look beautiful, but they also purify the air, reduce stress, and boost your overall well-being. Plus, mastering the art of fern care is incredibly rewarding! I’m going to share my favorite, easy-to-implement strategies for creating the perfect environment for your ferns to flourish. Get ready to say goodbye to brown tips and hello to vibrant, happy ferns!
Reviving Your Fern: A DIY Guide to Lush Indoor Fronds
Okay, fern fanatics, let’s talk about bringing those sad, crispy ferns back to life! I know, I know, ferns can be drama queens. But trust me, with a little TLC and this DIY guide, you can transform your brown, brittle fern into a vibrant, green beauty. We’re going to cover everything from assessing the damage to creating the perfect fern-friendly environment. Let’s get started!
Assessing the Damage and Identifying the Problem
Before we dive into the revival process, it’s crucial to understand *why* your fern is struggling. This will help us tailor our approach and prevent future problems.
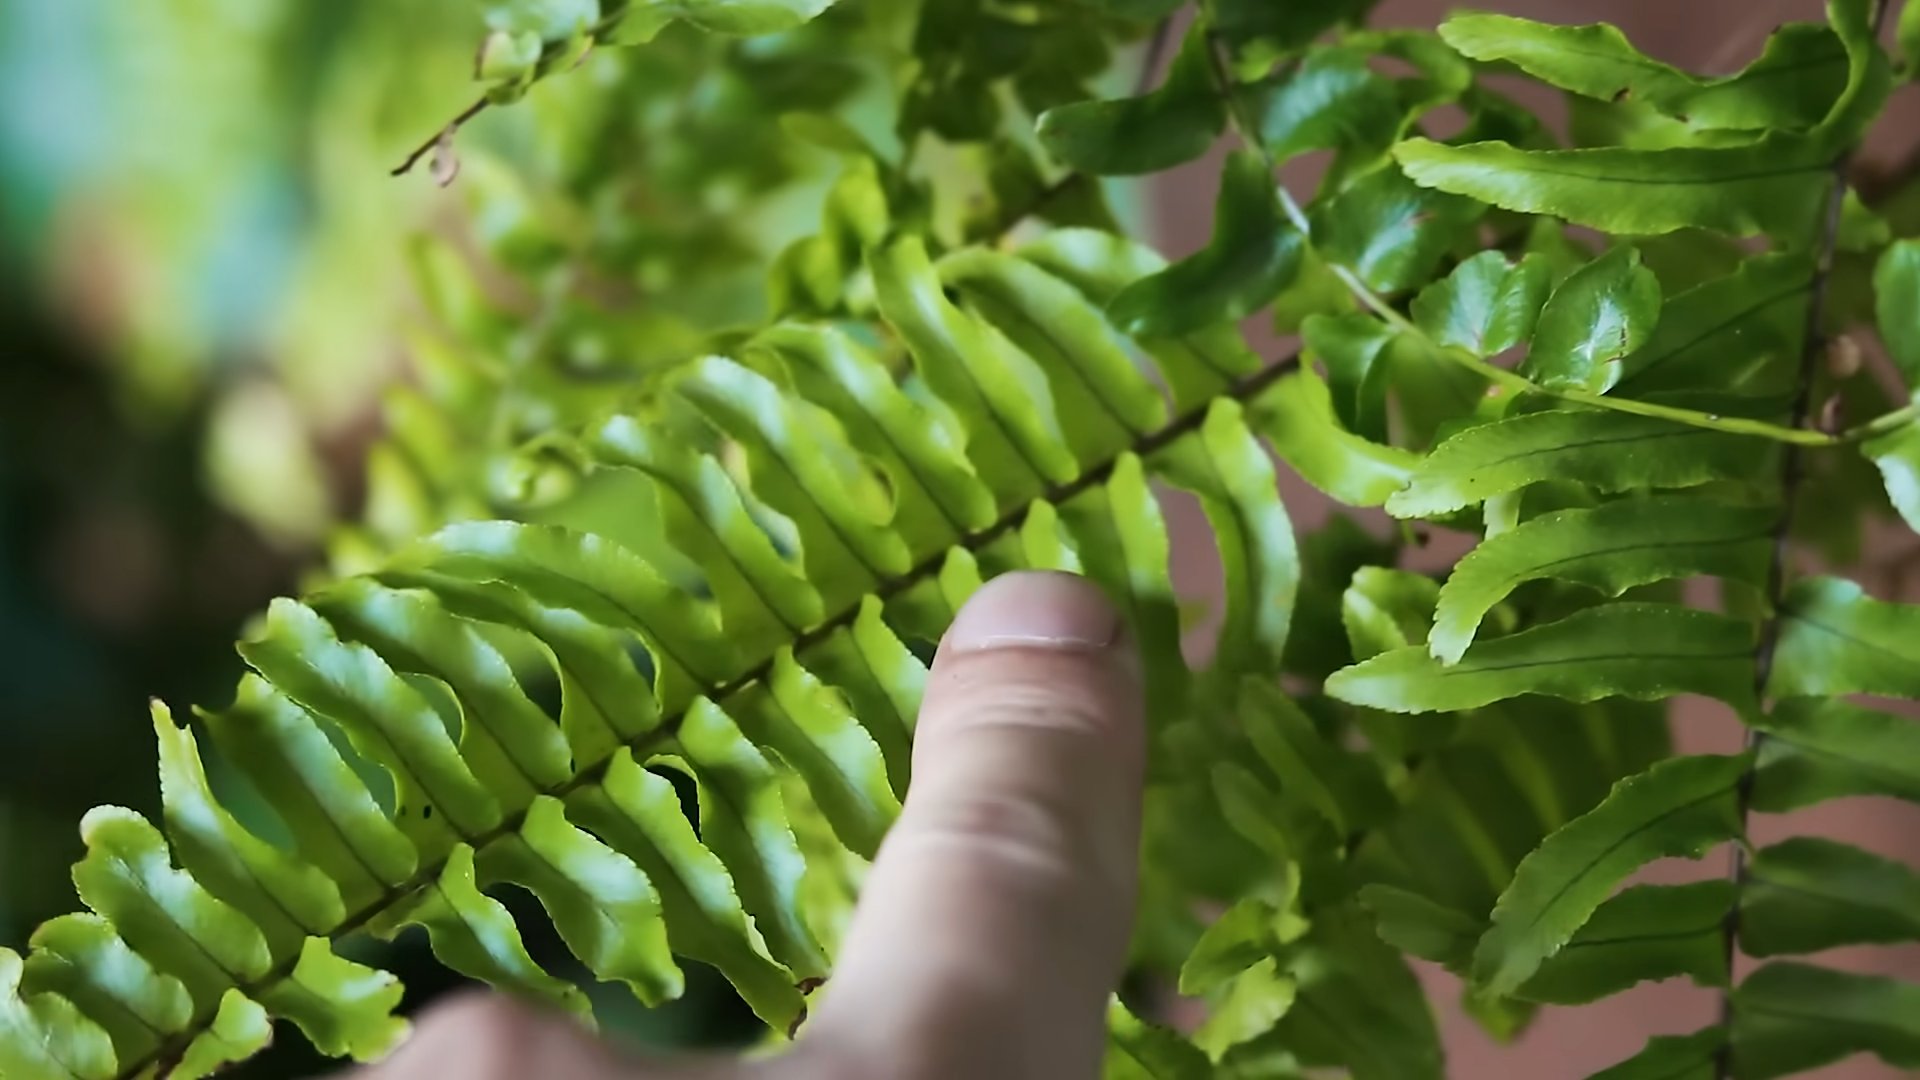
* **Check the Fronds:** Are they uniformly brown and crispy, or are there just patches of brown? Uniform browning often indicates underwatering or very low humidity. Patchy browning can be a sign of overwatering, fungal issues, or pests.
* **Examine the Soil:** Is it bone dry, constantly soggy, or somewhere in between? The soil’s moisture level is a huge clue.
* **Inspect for Pests:** Look closely at the undersides of the fronds and around the stems. Common fern pests include spider mites, mealybugs, and scale.
* **Consider the Location:** Is your fern getting too much direct sunlight? Is it near a drafty window or a heat vent?
* **Think About Watering Habits:** How often do you water? Do you let the soil dry out completely between waterings? What kind of water do you use?
Once you’ve answered these questions, you’ll have a better idea of what your fern needs.
Revival Steps: A Step-by-Step Guide
Now for the fun part – bringing your fern back to its former glory!
1. **Pruning the Dead Fronds:** This is essential for encouraging new growth and improving air circulation.
* Using clean, sharp scissors or pruning shears, carefully cut away all the completely brown and crispy fronds. Cut them as close to the base of the plant as possible without damaging the healthy fronds.
* If a frond is only partially brown, you can trim off the affected areas, but be sure to leave as much green foliage as possible.
* Don’t be afraid to be aggressive! Sometimes, a fern needs a major haircut to bounce back. It might look a little bare at first, but trust me, it will be worth it.
* Dispose of the pruned fronds properly to prevent the spread of any potential diseases or pests.
2. **Checking the Roots:** Healthy roots are the foundation of a healthy fern.
* Gently remove the fern from its pot. If the roots are tightly bound (root-bound), you’ll need to loosen them up.
* Use your fingers or a small tool to gently tease apart the roots. If the roots are circling the pot, make a few vertical cuts to encourage them to grow outwards.
* Inspect the roots for any signs of rot. Healthy roots are usually firm and white or light brown. Rotting roots are mushy and dark brown or black.
* If you find any rotting roots, carefully trim them away with clean scissors or pruning shears.
3. **Repotting (If Necessary):** Repotting can provide fresh soil and more room for the roots to grow.
* If the fern is root-bound or the soil is old and compacted, repotting is a good idea.
* Choose a pot that is only slightly larger than the original pot. Too much extra space can lead to overwatering.
* Make sure the pot has drainage holes! This is crucial for preventing root rot.
* Use a well-draining potting mix specifically formulated for ferns. A mix of peat moss, perlite, and vermiculite works well.
* Place a layer of fresh potting mix in the bottom of the pot.
* Carefully place the fern in the pot and fill in around the roots with more potting mix.
* Gently pat down the soil and water thoroughly.
4. **Watering Correctly:** Finding the right watering balance is key to fern success.
* Ferns prefer consistently moist soil, but they don’t like to be soggy.
* Water when the top inch of soil feels dry to the touch.
* Water thoroughly, until water drains out of the drainage holes.
* Empty the saucer underneath the pot to prevent the fern from sitting in water.
* Use room-temperature water. Cold water can shock the roots.
* Consider using filtered water or rainwater, as tap water can contain chemicals that can harm ferns.
* During the winter months, when the fern is not actively growing, you can reduce watering slightly.
5. **Increasing Humidity:** Ferns thrive in humid environments.
* The most common way to increase humidity is to use a humidifier. Place the humidifier near the fern and set it to a humidity level of 50-60%.
* You can also create a humidity tray by filling a shallow tray with pebbles and water. Place the fern pot on top of the pebbles, making sure the bottom of the pot is not sitting directly in the water. As the water evaporates, it will increase the humidity around the fern.
* Grouping ferns together can also help to increase humidity, as the plants will transpire and create a more humid microclimate.
* Misting the fern regularly can also help to increase humidity, but be sure to mist in the morning so the foliage has time to dry before nightfall.
6. **Providing the Right Light:** Ferns need bright, indirect light.
* Avoid placing your fern in direct sunlight, as this can scorch the fronds.
* A north-facing window is often a good choice, as it provides bright, indirect light.
* If you don’t have a north-facing window, you can place the fern near an east- or west-facing window, but be sure to filter the sunlight with a sheer curtain.
* If the fern is not getting enough light, the fronds may become pale and leggy.
7. **Fertilizing Sparingly:** Ferns are not heavy feeders.
* Fertilize your fern sparingly, only during the growing season (spring and summer).
* Use a balanced liquid fertilizer diluted to half strength.
* Fertilize every 2-4 weeks.
* Avoid fertilizing during the winter months, when the fern is not actively growing.
Dealing with Pests
Unfortunately, ferns can be susceptible to pests. Here’s how to deal with some common culprits:
* **Spider Mites:** These tiny pests suck the sap from the fronds, causing them to become stippled and yellow. You may also see fine webbing. To get rid of spider mites, wash the fern thoroughly with a strong stream of water. You can also use insecticidal soap or neem oil.
* **Mealybugs:** These white, cottony pests are often found in the crevices of the fronds and stems. To get rid of mealybugs, dab them with a cotton swab dipped in rubbing alcohol. You can also use insecticidal soap or neem oil.
* **Scale:** These small, brown, shell-like pests attach themselves to the fronds and stems. To get rid of scale, scrape them off with your fingernail or a small tool. You can also use insecticidal soap or neem oil.
Long-Term Care Tips
Once you’ve revived your fern, it’s important to provide ongoing care to keep it healthy and happy.
* **Regularly inspect your fern for pests and diseases.** The sooner you catch a problem, the easier it will be to treat.
* **Wipe the fronds with a damp cloth to remove dust.** This will help the fern to absorb light and breathe.
* **Rotate the fern regularly to ensure even growth.**
* **Consider using a humidifier or humidity tray to maintain adequate humidity levels.**
* **Repot the fern every 1-2 years, or when it becomes root-bound.**
* **Don’t be afraid to prune your fern to maintain its shape and encourage new growth.**
Troubleshooting Common Fern Problems
Even with the best care, you may encounter some common fern problems. Here’s how to troubleshoot them:
* **Brown, Crispy Fronds:** This is usually a sign of underwatering or low humidity. Increase watering frequency and humidity levels.
* **Yellowing Fronds:** This can be caused by overwatering, underwatering, or nutrient deficiencies. Check the soil moisture and adjust watering accordingly. Fertilize sparingly during the growing season.
* **Dropping Fronds:** This can be caused by a variety of factors, including temperature stress, drafts, or pests. Move the fern to a more stable location and inspect for pests.
* **Leggy Growth:** This is usually a sign of insufficient light. Move the fern to a brighter location.
Specific Fern Types and Their Needs
While the above guide is generally applicable, different fern types have slightly different needs

Conclusion
So, there you have it! Mastering indoor fern care doesn’t require a green thumb blessed by the plant gods. It simply requires understanding their needs and implementing a few clever DIY tricks. This method, focusing on humidity and proper watering techniques, is a game-changer for anyone struggling to keep their ferns thriving indoors. Forget expensive humidifiers or complicated watering schedules; this simple approach is both cost-effective and incredibly effective.
Why is this DIY trick a must-try? Because it addresses the two biggest challenges fern owners face: maintaining adequate humidity and preventing overwatering. The pebble tray provides a constant source of moisture without direct contact with the roots, preventing root rot. The watering method ensures the soil is evenly moist but never soggy, mimicking the fern’s natural environment. The results speak for themselves: lush, vibrant fronds, reduced browning, and a happier, healthier fern overall.
But don’t stop there! Feel free to experiment with variations to suit your specific fern and environment. For example, if you live in a particularly dry climate, consider grouping your ferns together to create a microclimate of higher humidity. You can also add a layer of sphagnum moss to the top of the soil to help retain moisture. Another variation is to use rainwater or distilled water instead of tap water, as ferns are sensitive to the chemicals found in tap water. You can also try different types of pebbles in your tray, such as decorative glass pebbles or river rocks, to add a touch of style to your indoor garden. Remember to monitor your fern closely and adjust your care routine as needed. Every fern is unique, and what works for one may not work for another.
We are confident that this DIY trick will transform your indoor fern care routine. It’s a simple, effective, and affordable way to provide your ferns with the optimal environment they need to flourish. Don’t let the reputation of ferns as finicky plants deter you. With this method, you can enjoy the beauty and tranquility of these lush plants in your home without the stress and frustration.
We encourage you to try this DIY trick and see the difference it makes for your indoor ferns. Share your experiences with us! We’d love to hear about your successes, challenges, and any variations you’ve tried. Post pictures of your thriving ferns on social media and tag us so we can celebrate your green thumb achievements. Let’s create a community of fern lovers who are passionate about sharing tips and tricks for successful indoor fern care. Your insights could help other fern owners overcome their challenges and enjoy the beauty of these amazing plants. So, go ahead, give it a try, and watch your ferns thrive!
Frequently Asked Questions (FAQ)
What type of ferns does this DIY trick work best for?
This DIY trick is beneficial for most common indoor fern varieties, including Boston ferns (Nephrolepis exaltata), maidenhair ferns (Adiantum), bird’s nest ferns (Asplenium nidus), and staghorn ferns (Platycerium). However, it’s always a good idea to research the specific needs of your particular fern variety to ensure you’re providing the best possible care. Some ferns may require slightly different levels of humidity or watering frequency. Observe your fern closely and adjust your care routine accordingly.
How often should I water my fern using this method?
The frequency of watering will depend on several factors, including the size of your pot, the type of potting mix, the humidity level in your home, and the time of year. A good rule of thumb is to check the soil moisture every few days. Stick your finger about an inch into the soil. If it feels dry to the touch, it’s time to water. When you water, do so thoroughly, allowing the excess water to drain out of the drainage holes. Avoid letting your fern sit in standing water, as this can lead to root rot. During the winter months, when the air is drier and the fern’s growth slows down, you may need to water less frequently.
What kind of pebbles should I use for the pebble tray?
You can use a variety of pebbles for your pebble tray, including river rocks, decorative glass pebbles, or even gravel. The most important thing is to choose pebbles that are clean and free of any harmful chemicals or contaminants. Avoid using pebbles that are painted or coated with anything that could leach into the water and harm your fern. Before using the pebbles, rinse them thoroughly with water to remove any dirt or debris.
How do I know if my fern is getting too much or not enough water?
Signs of overwatering include yellowing or browning leaves, wilting, and a musty smell coming from the soil. If you suspect your fern is being overwatered, allow the soil to dry out completely before watering again. You may also need to repot your fern into fresh, well-draining potting mix. Signs of underwatering include dry, crispy leaves, stunted growth, and soil that pulls away from the sides of the pot. If you suspect your fern is being underwatered, water it thoroughly and consider increasing the humidity around the plant.
My fern is still turning brown even with the pebble tray. What else could be the problem?
If your fern is still turning brown despite using the pebble tray, there could be several other factors at play. Consider the following:
* **Light:** Ferns prefer bright, indirect light. Avoid placing them in direct sunlight, which can scorch their leaves.
* **Temperature:** Ferns thrive in temperatures between 65°F and 75°F (18°C and 24°C). Avoid placing them near drafts or heat sources.
* **Fertilizer:** Ferns are light feeders and don’t require a lot of fertilizer. Over-fertilizing can actually harm them. Use a diluted, balanced fertilizer sparingly, only during the growing season (spring and summer).
* **Pests:** Check your fern regularly for pests, such as spider mites or mealybugs. If you find any pests, treat them promptly with an appropriate insecticide.
* **Water Quality:** As mentioned earlier, ferns are sensitive to the chemicals found in tap water. Use rainwater, distilled water, or filtered water whenever possible.
Can I use this DIY trick for other humidity-loving plants?
Yes, this DIY trick can be beneficial for other humidity-loving plants, such as orchids, calatheas, and peace lilies. These plants also thrive in environments with high humidity and can benefit from the increased moisture provided by the pebble tray. However, it’s important to research the specific needs of each plant to ensure you’re providing the best possible care. Some plants may require different levels of humidity or watering frequency.
How often should I clean the pebble tray?
It’s a good idea to clean the pebble tray every few weeks to prevent the buildup of algae or bacteria. Simply remove the pebbles, rinse them thoroughly with water, and clean the tray with soap and water. Allow the tray to dry completely before replacing the pebbles and adding water. This will help keep your fern healthy and prevent any unpleasant odors.
What type of potting mix is best for indoor ferns?
Ferns prefer a well-draining potting mix that retains moisture. A good option is a mix of peat moss, perlite, and vermiculite. You can also add some compost to the mix to provide additional nutrients. Avoid using heavy, clay-based potting mixes, as these can retain too much water and lead to root rot.
Is this DIY trick suitable for all types of indoor environments?
This DIY trick is generally suitable for most indoor environments, but it’s particularly beneficial in dry climates or during the winter months when the air is drier. If you live in a humid climate, you may not need to use a pebble tray, as the ambient humidity may be sufficient for your fern. However, it’s still a good idea to monitor your fern closely and adjust your care routine as needed.

Leave a Comment