

Indoor Vegetable Tower: Imagine fresh, vibrant vegetables gracing your kitchen, even if you don’t have a sprawling backyard! That’s the magic of an indoor vegetable tower, and I’m here to guide you through creating your very own. For centuries, humans have cultivated food close to home, from ancient rooftop gardens in Babylon to the kitchen gardens of medieval Europe. This connection to our food source is deeply ingrained, and now, with space often at a premium, the indoor vegetable tower offers a modern solution to this age-old desire.
But why should you embark on this DIY adventure? Well, think about it: no more questionable supermarket produce, no more battling unpredictable weather, and a significant reduction in your carbon footprint. Plus, it’s incredibly rewarding to nurture your own food from seed to table! This DIY project isn’t just about growing vegetables; it’s about reclaiming control over your diet, adding a touch of green to your living space, and embracing a sustainable lifestyle. An indoor vegetable tower is a fantastic way to maximize space and enjoy fresh produce year-round. So, let’s dive in and discover how to build your own vertical garden oasis!
Build Your Own Amazing Indoor Vegetable Tower!
Hey there, fellow gardening enthusiasts! Are you dreaming of fresh, homegrown veggies but short on space? Well, I’ve got the perfect solution for you: an indoor vegetable tower! This DIY project is not only fun and rewarding, but it also allows you to grow a surprising amount of produce in a small footprint. I’m going to walk you through every step of the process, so you can enjoy delicious, homegrown goodness all year round.
Materials You’ll Need
Before we dive in, let’s gather all the necessary materials. Trust me, having everything ready beforehand will make the whole process much smoother.
* PVC Pipes:
* One large diameter PVC pipe (e.g., 6-inch diameter, 5-6 feet long) – This will be the main structure of your tower.
* Smaller diameter PVC pipes (e.g., 2-inch diameter, about 6-8 inches long each) – These will serve as planting pockets. The number you need depends on how many planting pockets you want. I recommend starting with 10-15.
* End Cap: One end cap to fit the large diameter PVC pipe. This will close off the bottom of the tower.
* Drill: With various sized drill bits, including a hole saw bit that matches the diameter of your smaller PVC pipes.
* Measuring Tape: For accurate measurements and spacing.
* Marker: To mark cutting and drilling locations.
* Safety Glasses: Always protect your eyes!
* Gloves: To protect your hands.
* PVC Primer and Cement: To securely attach the end cap.
* Potting Mix: A high-quality, well-draining potting mix is crucial for healthy plant growth.
* Gravel or Pebbles: For drainage at the bottom of the tower.
* Seedlings or Seeds: Choose your favorite vegetables or herbs! Leafy greens like lettuce, spinach, and herbs like basil and mint work exceptionally well. Strawberries are also a great option.
* Watering Can or Hose: For watering your plants.
* Optional:
* PVC pipe cutter (makes cutting easier, but a saw will also work).
* Sandpaper: To smooth any rough edges after cutting.
* Fertilizer: A slow-release fertilizer can provide essential nutrients.
* Grow Lights: If you don’t have a sunny spot, grow lights are essential.
Planning and Preparation
Okay, now that we have our materials, let’s do some planning. This step is crucial for ensuring your tower is functional and aesthetically pleasing.
* Decide on the Height: Consider the space where you’ll be placing your tower. A 5-6 foot tower is a good starting point, but you can adjust the height to fit your needs.
* Determine the Number of Planting Pockets: Think about the types of plants you want to grow and how much space each plant will need. This will help you determine the number of planting pockets.
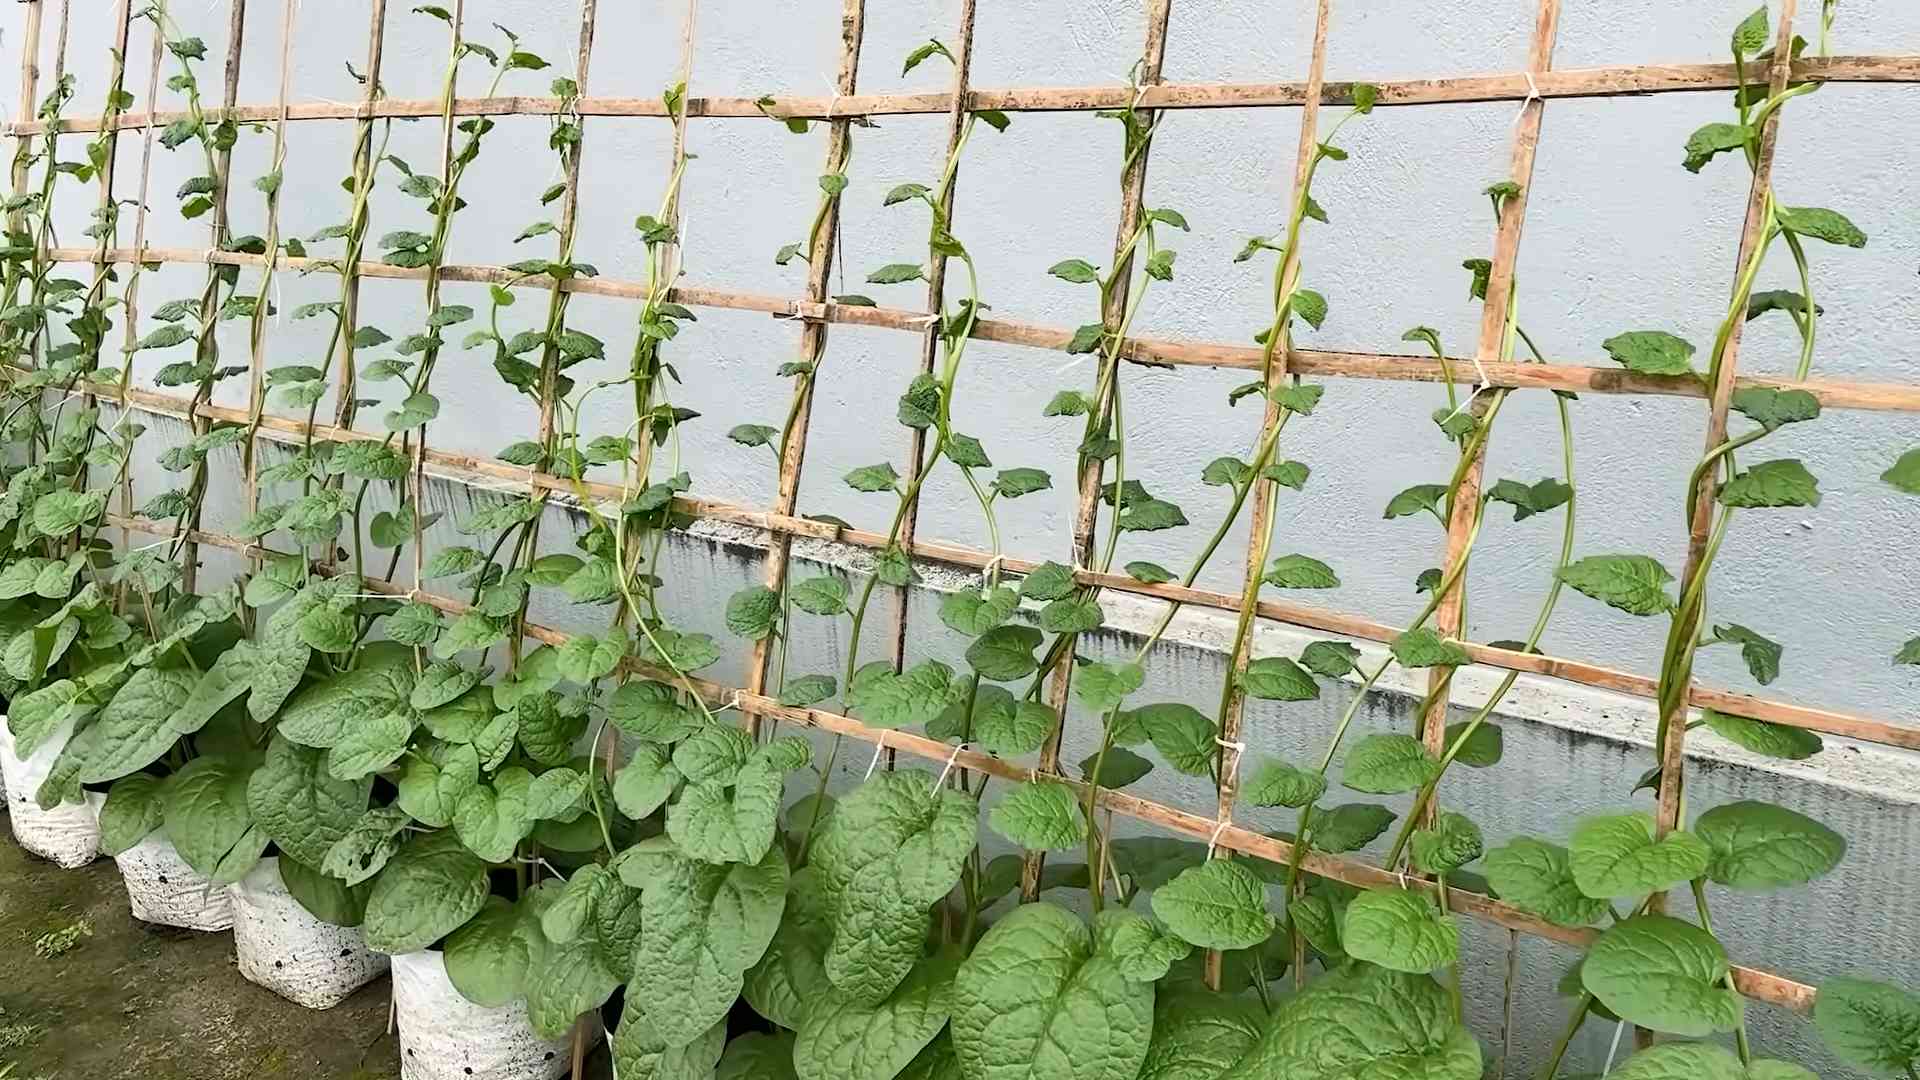
* Plan the Spacing: Space the planting pockets evenly around the large PVC pipe. I recommend leaving at least 6-8 inches between each pocket to allow for adequate sunlight and airflow.
* Choose a Location: Select a spot that receives at least 6 hours of sunlight per day. If you don’t have enough natural light, consider using grow lights.
Building the Vegetable Tower: Step-by-Step
Alright, let’s get our hands dirty and start building!
1. Prepare the Large PVC Pipe
1. Measure and Cut (if needed): If your large PVC pipe is longer than you want your tower to be, measure and cut it to the desired length using a PVC pipe cutter or a saw. Remember to wear your safety glasses!
2. Smooth the Edges: Use sandpaper to smooth any rough edges after cutting. This will prevent injuries and make the tower look more polished.
3. Clean the Pipe: Wipe down the PVC pipe with a clean cloth to remove any dirt or debris.
2. Attach the End Cap
1. Apply Primer: Apply PVC primer to both the inside of the end cap and the outside of the bottom of the large PVC pipe. This will prepare the surfaces for bonding.
2. Apply Cement: Apply PVC cement to both surfaces. Work quickly, as the cement dries fast.
3. Join the Pieces: Immediately insert the PVC pipe into the end cap and twist slightly to ensure a secure bond.
4. Hold in Place: Hold the pieces together for about 30 seconds until the cement sets.
5. Let it Cure: Allow the cement to cure completely according to the manufacturer’s instructions (usually a few hours).
3. Drill the Planting Pocket Holes
1. Mark the Hole Locations: Using your measuring tape and marker, mark the locations for the planting pocket holes on the large PVC pipe. Remember to space them evenly and consider the sunlight exposure. I like to stagger them in a spiral pattern for better light distribution.
2. Drill the Holes: Using the hole saw bit that matches the diameter of your smaller PVC pipes, carefully drill the holes at the marked locations. Go slowly and apply even pressure to avoid cracking the PVC pipe.
3. Clean Up: Remove any burrs or rough edges around the holes with sandpaper or a utility knife.
4. Prepare the Planting Pockets
1. Cut the Smaller PVC Pipes (if needed): If your smaller PVC pipes are too long, cut them to the desired length (around 6-8 inches).
2. Angle the Ends (Optional): You can angle one end of each smaller PVC pipe to make it easier to plant and water. Use a saw or PVC pipe cutter to create the angle.
3. Drill Drainage Holes: Drill a few small drainage holes in the bottom of each smaller PVC pipe. This will prevent waterlogging.
5. Attach the Planting Pockets
1. Insert the Pockets: Insert the smaller PVC pipes into the holes you drilled in the large PVC pipe. They should fit snugly.
2. Secure (Optional): If you want to ensure the planting pockets are extra secure, you can use PVC cement to glue them in place. However, this will make it difficult to remove or reposition them later. I usually find they stay in place just fine without glue.
6. Add Drainage and Soil
1. Add Gravel: Pour a layer of gravel or pebbles into the bottom of the large PVC pipe. This will improve drainage and prevent the potting mix from becoming waterlogged. About 6-8 inches should be enough.
2. Fill with Potting Mix: Fill the large PVC pipe with high-quality potting mix, leaving a few inches of space at the top.
3. Fill the Planting Pockets: Fill each of the smaller PVC pipes (planting pockets) with potting mix as well.
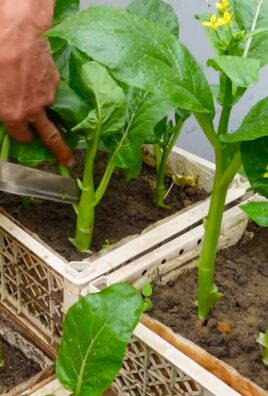
7. Planting Time!
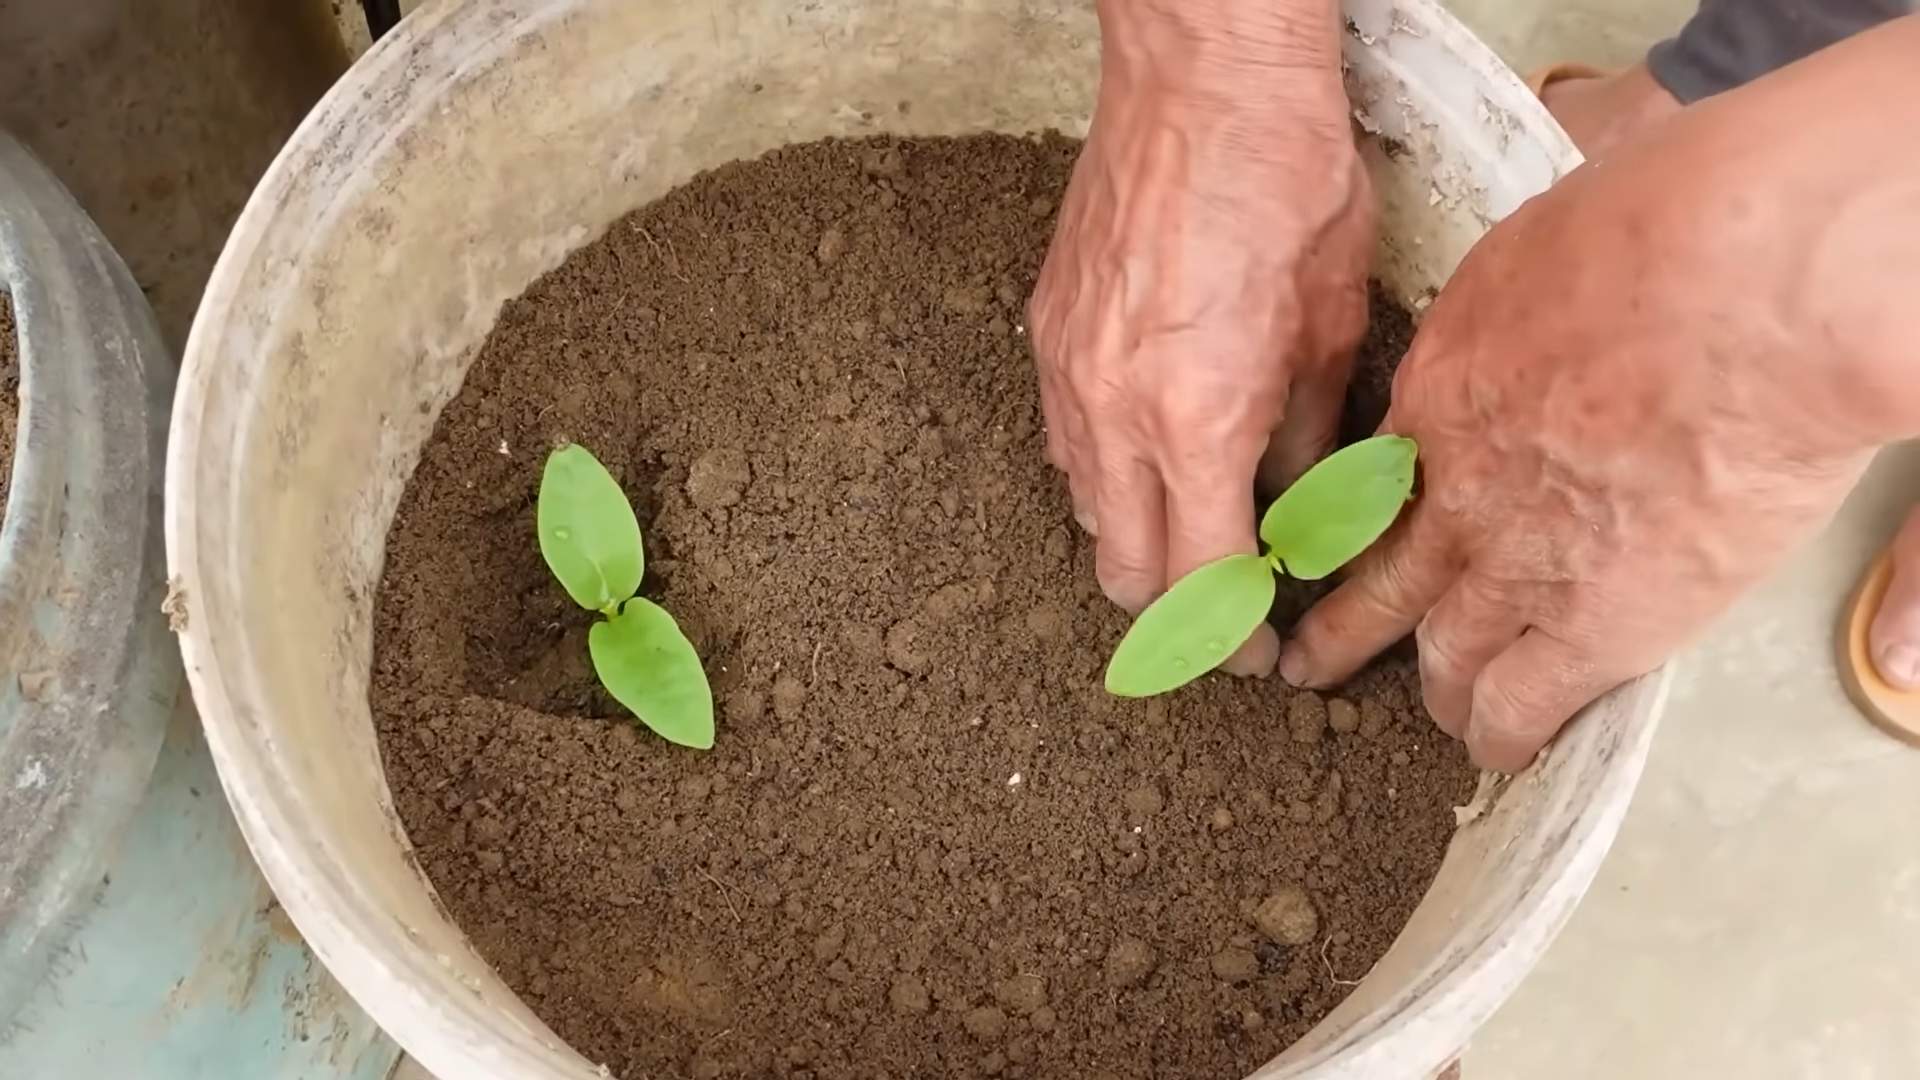
1. Choose Your Plants: Select seedlings or seeds that are suitable for container gardening and the amount of sunlight your tower will receive. Leafy greens, herbs, and strawberries are excellent choices.
2. Plant Carefully: Gently remove the seedlings from their containers and plant them in the planting pockets. If you’re using seeds, follow the instructions on the seed packet.
3. Water Thoroughly: Water the plants thoroughly after planting. Make sure the water drains out of the bottom of the tower.
8. Placement and Maintenance
1. Find the Perfect Spot: Place your vegetable tower in a location that receives at least 6 hours of sunlight per day. If you don’t have enough natural light, use grow lights.
2. Water Regularly: Water your plants regularly, especially during hot weather. Check the soil moisture by sticking your finger into the soil. If it feels dry, it’s time to water.
3. Fertilize: Fertilize your plants regularly with a balanced fertilizer. Follow the instructions on the fertilizer package.
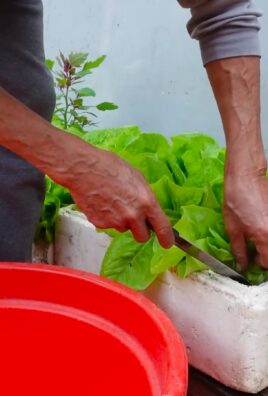
4. Prune and Harvest: Prune your plants regularly to encourage growth and harvest your vegetables as they ripen.
5. Rotate Plants (Optional): To prevent soil depletion, consider rotating your plants every few months.
Troubleshooting Tips
Even with careful planning, you might encounter a few challenges along the way. Here are some troubleshooting tips to help you out:
* Yellowing Leaves: This could be a sign of overwatering, underwatering, or nutrient deficiency. Adjust your watering schedule and fertilize your plants if necessary.
* Pests: Keep an eye out for pests like aphids, spider mites, and whiteflies. Treat infestations with insecticidal soap or neem oil.
* Slow Growth: This could be due to insufficient sunlight, poor soil, or lack of nutrients. Make sure your tower is getting enough sunlight, use high-quality potting mix, and fertilize your plants regularly
Conclusion
So, there you have it! Building your own indoor vegetable tower isn’t just a fun project; it’s a gateway to fresh, homegrown produce right in your home, regardless of the season or your outdoor space limitations. We’ve walked you through the process, highlighting the simplicity and affordability of creating a thriving vertical garden. But why is this DIY trick a must-try?
Firstly, consider the sheer convenience. Imagine stepping into your kitchen and snipping fresh herbs or plucking ripe cherry tomatoes for your salad, all without a trip to the grocery store. The taste and nutritional value of homegrown vegetables are simply unmatched, and you’ll know exactly what went into growing them – no pesticides, no hidden chemicals, just pure, natural goodness.
Secondly, an indoor vegetable tower is a fantastic space saver. Whether you live in a small apartment or simply want to maximize your gardening efforts, vertical gardening is the answer. It allows you to grow a surprising amount of produce in a compact footprint, making it ideal for urban dwellers and anyone with limited outdoor space.
Thirdly, it’s an incredibly rewarding experience. Watching your seeds sprout, your plants grow, and your vegetables ripen is a deeply satisfying process. It connects you to nature, provides a sense of accomplishment, and can even be a therapeutic activity. Plus, it’s a great way to get kids involved in gardening and teach them about where their food comes from.
But the beauty of this DIY project lies in its adaptability. Feel free to experiment with different materials, sizes, and plant combinations.
Here are a few suggestions and variations to inspire you:
* Material Variations: While we focused on using readily available PVC pipes, you could also repurpose old pallets, plastic bottles, or even create a tower from stacked terracotta pots. Get creative and use what you have on hand!
* Lighting Upgrades: If you don’t have a naturally sunny spot, consider investing in grow lights. LED grow lights are energy-efficient and provide the perfect spectrum of light for optimal plant growth.
* Hydroponic System: For a more advanced setup, you could incorporate a hydroponic system into your vegetable tower. This involves circulating nutrient-rich water to the plant roots, eliminating the need for soil.
* Plant Combinations: Think about companion planting when choosing your vegetables. For example, basil repels pests that can harm tomatoes, and carrots and onions can deter each other’s pests.
* Herb Heaven: Dedicate a tower solely to herbs! Imagine having fresh basil, mint, rosemary, and thyme at your fingertips whenever you need them.
Ultimately, the goal is to create an indoor vegetable tower that suits your needs and preferences. Don’t be afraid to experiment, learn from your mistakes, and most importantly, have fun!
We strongly encourage you to give this DIY trick a try. It’s a simple, affordable, and rewarding way to bring fresh, homegrown vegetables into your home. And once you’ve built your own indoor vegetable tower, we’d love to hear about your experience! Share your photos, tips, and challenges in the comments below. Let’s create a community of indoor gardeners and inspire each other to grow our own food. Happy gardening!
Frequently Asked Questions (FAQ)
What vegetables are best suited for an indoor vegetable tower?
The best vegetables for an indoor vegetable tower are generally smaller varieties that don’t require extensive root systems. Leafy greens like lettuce, spinach, kale, and arugula thrive in vertical gardens. Herbs such as basil, mint, parsley, and chives are also excellent choices. Cherry tomatoes, strawberries, and peppers can also be grown successfully, but may require more support and attention. Avoid large, sprawling plants like pumpkins or watermelons, as they are not suitable for this type of setup. Consider the amount of sunlight each plant needs when choosing your vegetables.
How much sunlight does my indoor vegetable tower need?
Most vegetables require at least 6-8 hours of sunlight per day to thrive. If you don’t have a naturally sunny spot, you’ll need to supplement with grow lights. LED grow lights are a great option because they are energy-efficient and provide the full spectrum of light that plants need. Place your vegetable tower near a south-facing window for maximum sunlight exposure. Rotate the tower regularly to ensure that all sides receive adequate light.
What type of soil should I use in my indoor vegetable tower?
Use a well-draining potting mix specifically formulated for containers. Avoid using garden soil, as it can become compacted and doesn’t drain well in containers. A good potting mix will retain moisture while still allowing for proper aeration of the roots. You can also add perlite or vermiculite to improve drainage. Consider using a soil mix that is specifically designed for the type of vegetables you are growing.
How often should I water my indoor vegetable tower?
The frequency of watering will depend on several factors, including the type of plants, the size of the containers, the temperature, and the humidity. Generally, you should water your vegetable tower when the top inch of soil feels dry to the touch. Avoid overwatering, as this can lead to root rot. Ensure that the containers have drainage holes to allow excess water to escape. Check the soil moisture regularly and adjust your watering schedule accordingly.
How do I fertilize my indoor vegetable tower?
Vegetables grown in containers need regular fertilization to provide them with the nutrients they need to grow. Use a balanced liquid fertilizer diluted to half strength. Fertilize every 2-4 weeks, depending on the type of plants and the fertilizer you are using. Follow the instructions on the fertilizer label carefully. You can also use organic fertilizers, such as compost tea or fish emulsion. Avoid over-fertilizing, as this can damage the plants.
How do I prevent pests and diseases in my indoor vegetable tower?
Prevention is key when it comes to pests and diseases. Start with healthy plants and use a good quality potting mix. Inspect your plants regularly for signs of pests or diseases. If you find any pests, you can try removing them by hand or using insecticidal soap or neem oil. Ensure good air circulation around the plants to prevent fungal diseases. Avoid overwatering, as this can create a favorable environment for diseases. You can also use companion planting to deter pests.
Can I move my indoor vegetable tower outdoors during the summer?
Yes, you can move your indoor vegetable tower outdoors during the summer, but you need to acclimate the plants gradually to avoid shocking them. Start by placing the tower in a shady spot for a few hours each day, gradually increasing the amount of sunlight over a week or two. Ensure that the tower is protected from strong winds. Monitor the plants closely for signs of stress, such as wilting or sunburn. Bring the tower back indoors before the first frost.
How long will my indoor vegetable tower last?
The lifespan of your indoor vegetable tower will depend on the materials you use and how well you maintain it. PVC pipes are durable and can last for many years. However, the soil will need to be replaced periodically, as it will become depleted of nutrients. You may also need to replace the plants as they reach the end of their life cycle. With proper care, your indoor vegetable tower can provide you with fresh vegetables for many years to come.
Leave a Comment