

Kitchen cleaning tips are essential for maintaining a healthy and happy home! Let’s face it, the kitchen is the heart of the house, but it can quickly become a breeding ground for germs and grime. Are you tired of spending hours scrubbing away at stubborn stains and lingering odors? I know I am! That’s why I’ve compiled a treasure trove of DIY kitchen cleaning hacks that will transform your cleaning routine from a chore into a breeze.
Throughout history, a clean kitchen has been a symbol of prosperity and well-being. In many cultures, the kitchen is considered a sacred space, and maintaining its cleanliness is a way of honoring the home and family. But beyond the symbolism, a clean kitchen is simply vital for preventing the spread of bacteria and ensuring food safety.
In today’s busy world, who has time for endless scrubbing? That’s where these kitchen cleaning tips come in! I’m going to share simple, effective, and often surprising DIY solutions using ingredients you probably already have in your pantry. From banishing grease with vinegar to revitalizing your sink with baking soda, these tricks will save you time, money, and a whole lot of elbow grease. Get ready to unlock the secrets to a sparkling clean kitchen and reclaim your precious free time!
DIY Kitchen Cleaning Hacks: Sparkling Clean on a Budget!
Okay, let’s face it, the kitchen is the heart of the home, but it’s also a magnet for mess. From splattered sauces to greasy countertops, keeping it clean can feel like a never-ending battle. But don’t despair! I’m here to share some of my favorite DIY kitchen cleaning hacks that are not only effective but also budget-friendly and use ingredients you probably already have in your pantry. Get ready to say goodbye to stubborn stains and hello to a sparkling clean kitchen!
Tackling the Greasy Oven
A dirty oven is a common kitchen woe. Store-bought oven cleaners can be harsh and full of chemicals. Here’s how I clean mine with just baking soda and vinegar:
What you’ll need:
* Baking soda
* White vinegar
* Water
* Spray bottle
* Spatula or scraper
* Sponge or cloth
* Rubber gloves (optional, but recommended)
Step-by-step instructions:
1. Empty the oven: Remove racks, baking stones, and anything else stored inside.
2. Make a baking soda paste: In a bowl, mix ½ cup of baking soda with enough water to form a spreadable paste. I usually start with a few tablespoons of water and add more gradually until I get the right consistency.
3. Coat the oven: Using your hands (with gloves on!) or a spatula, spread the baking soda paste all over the interior surfaces of the oven, avoiding the heating elements. Be generous, especially on stubborn stains.
4. Let it sit overnight: This is the key! The baking soda needs time to work its magic and loosen the grime. I usually leave it for at least 12 hours, or even overnight.
5. Scrub and scrape: The next day, use a spatula or scraper to remove as much of the dried baking soda paste as possible. It should come off fairly easily, taking the grease and grime with it.
6. Vinegar time: Fill a spray bottle with white vinegar. Spray the inside of the oven with vinegar. The vinegar will react with any remaining baking soda, creating a foamy mixture.
7. Wipe clean: Use a sponge or cloth to wipe away the foamy mixture and any remaining residue. You may need to rinse the sponge frequently with clean water.
8. Rinse and repeat (if necessary): If there are still stubborn spots, repeat steps 6 and 7.
9. Clean the oven racks: While the oven is drying, clean the racks. I usually soak them in a bathtub filled with hot, soapy water for a few hours, then scrub them with a brush. You can also use the baking soda paste on the racks.
10. Dry and reassemble: Once everything is clean and dry, replace the oven racks and you’re good to go!
Degreasing the Stovetop
The stovetop is another area that can quickly accumulate grease and grime. Here’s my go-to method for a sparkling clean stovetop:
What you’ll need:
* Baking soda
* Dish soap
* White vinegar (optional, for extra cleaning power)
* Water
* Spray bottle
* Sponge or cloth
* Scrub brush (for stubborn stains)
Step-by-step instructions:
1. Remove grates and burners: Take off the stovetop grates and burners.
2. Make a baking soda paste: Mix baking soda with a small amount of water to form a paste. You can also add a squirt of dish soap for extra cleaning power.
3. Apply the paste: Spread the baking soda paste over the entire stovetop surface, focusing on greasy areas.
4. Let it sit: Allow the paste to sit for about 15-20 minutes to loosen the grease.
5. Scrub: Use a sponge or scrub brush to scrub the stovetop. For stubborn stains, you may need to apply a little extra pressure.
6. Rinse: Rinse the stovetop thoroughly with clean water.
7. Vinegar boost (optional): For extra cleaning power, spray the stovetop with white vinegar after rinsing. The vinegar will help to cut through any remaining grease and leave the stovetop sparkling.
8. Clean grates and burners: Wash the grates and burners with hot, soapy water. For stubborn stains, you can soak them in a solution of baking soda and water.
9. Dry and reassemble: Dry all the components thoroughly before reassembling the stovetop.
Shining Stainless Steel Appliances
Stainless steel appliances look great, but they can be a pain to keep clean. Fingerprints, smudges, and water spots seem to appear out of nowhere. Here’s my secret weapon for shining stainless steel:
What you’ll need:
* White vinegar
* Olive oil
* Two clean microfiber cloths
* Spray bottle
Step-by-step instructions:
1. Clean with vinegar: Fill a spray bottle with white vinegar. Spray the stainless steel appliance with vinegar and wipe it down with a clean microfiber cloth. This will remove fingerprints, smudges, and water spots. Always wipe in the direction of the grain of the stainless steel.
2. Polish with olive oil: Pour a small amount of olive oil onto a clean microfiber cloth. Buff the stainless steel appliance with the olive oil, again wiping in the direction of the grain. The olive oil will help to protect the stainless steel and give it a beautiful shine.
3. Buff to a shine: Use a clean, dry microfiber cloth to buff the stainless steel appliance to a shine. This will remove any excess olive oil and leave the surface looking polished and gleaming.
Freshening Up the Dishwasher
Your dishwasher works hard to clean your dishes, but it can also accumulate food particles and odors over time. Here’s how I keep my dishwasher fresh and clean:
What you’ll need:
* White vinegar
* Baking soda
* Dish soap
* Toothpick or small brush
Step-by-step instructions:
1. Remove debris: Check the dishwasher drain for any food particles or debris. Remove any visible debris with your hands or a toothpick.
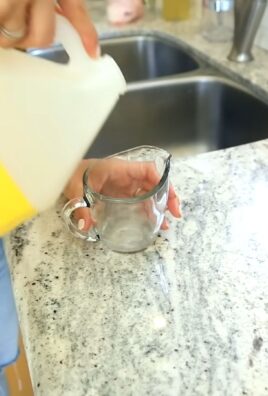
2. Vinegar rinse: Place a dishwasher-safe cup filled with white vinegar on the top rack of the dishwasher.
3. Run a hot cycle: Run the dishwasher on a hot cycle without any dishes. The vinegar will help to dissolve grease and grime and freshen up the dishwasher.
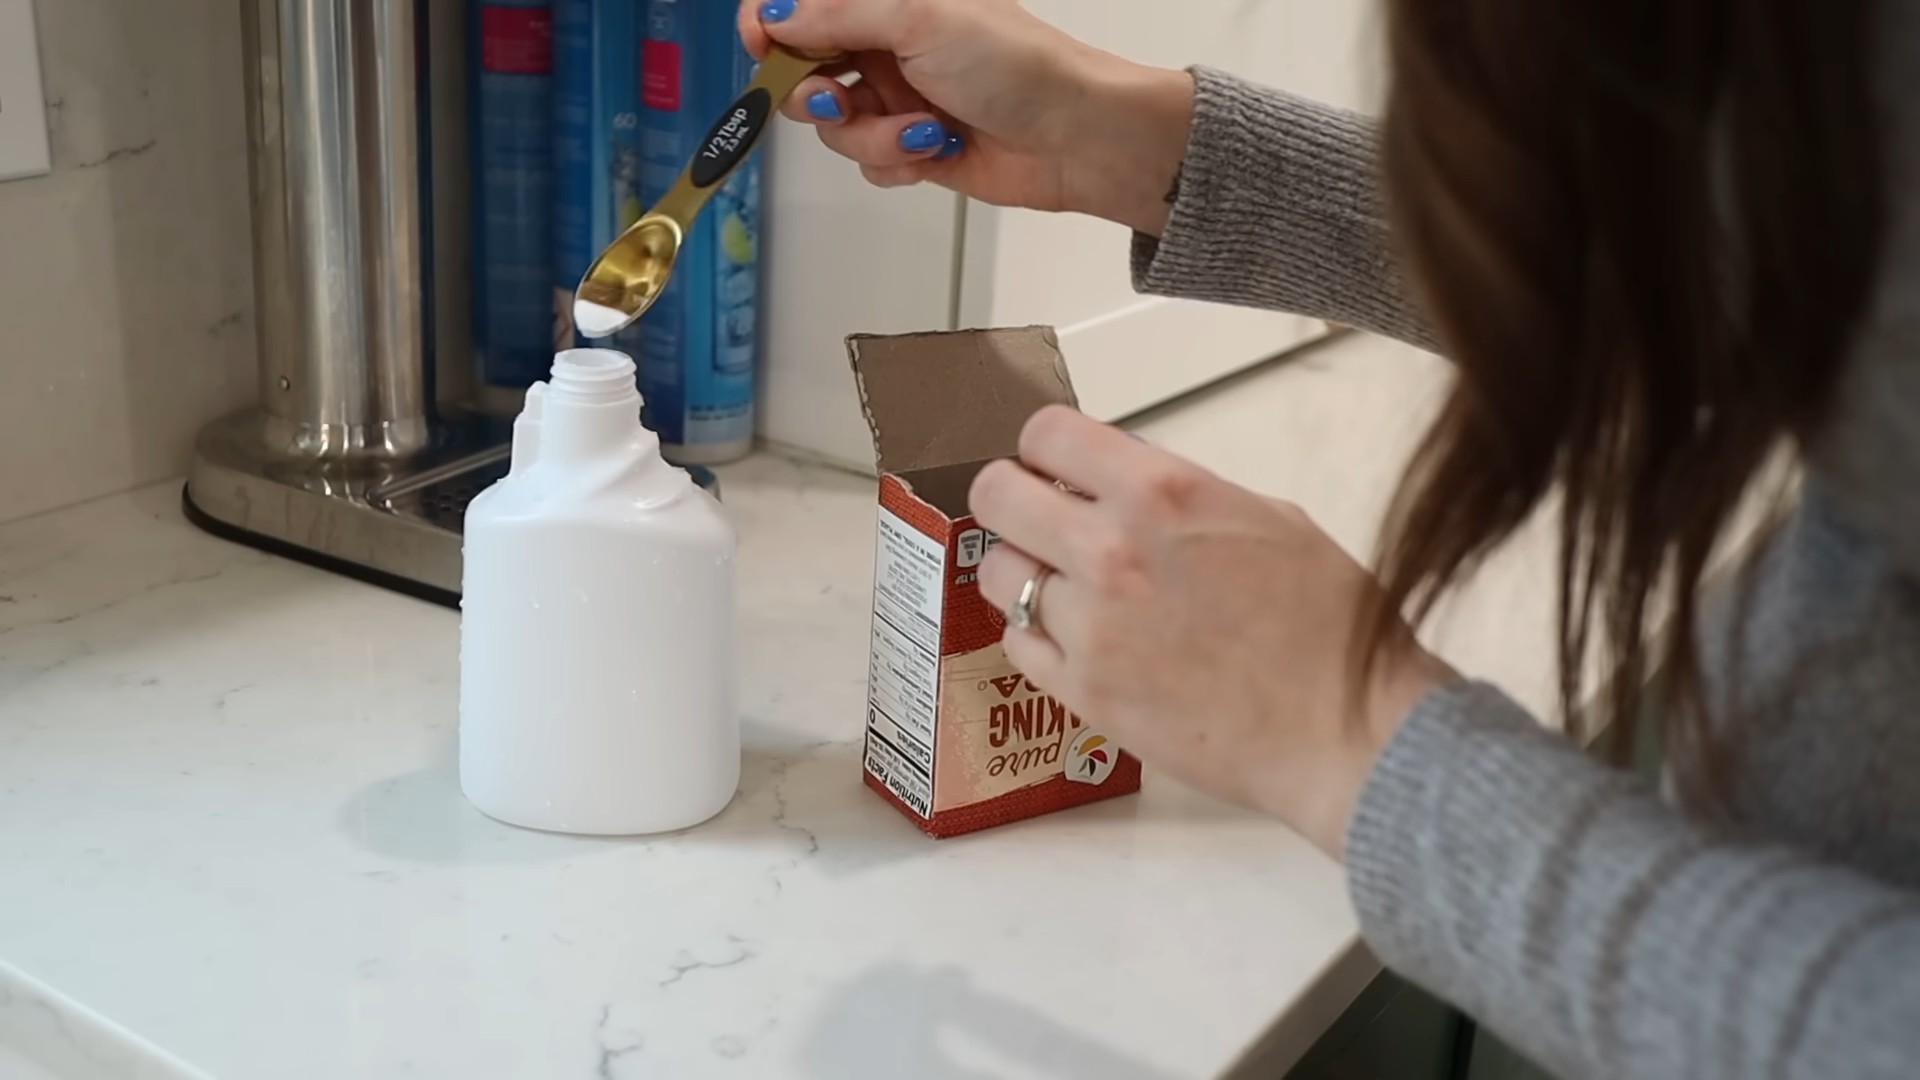
4. Baking soda boost: After the cycle is complete, sprinkle a cup of baking soda on the bottom of the dishwasher.
5. Let it sit overnight: Allow the baking soda to sit overnight.
6. Run a short cycle: The next morning, run a short cycle with hot water. The baking soda will help to absorb any remaining odors.
7. Clean the door and seals: Wipe down the dishwasher door and seals with a damp cloth and a little dish soap. Use a small brush or toothpick to clean any crevices.
Deep Cleaning the Sink
The kitchen sink is another area that can quickly become dirty and grimy. Here’s how I deep clean my sink:
What you’ll need:
* Baking soda
* White vinegar
* Lemon halves
* Salt
* Dish soap
* Scrub brush or sponge
Step-by-step instructions:
1. Rinse the sink: Rinse the sink with water to remove any loose debris.
2. Sprinkle with baking soda: Sprinkle baking soda all over the sink surface.
3. Scrub with lemon: Cut a lemon in half and use it to scrub the sink. The lemon juice will help to cut through grease and grime, and the lemon peel will provide a gentle abrasive action.
4. Rinse with vinegar: Rinse the sink with white vinegar. The vinegar will react with the baking soda, creating a foamy mixture that will help to loosen any remaining dirt and grime.
5. Scrub again: Use a scrub brush or sponge to scrub the sink again.
6. Rinse thoroughly: Rinse the sink thoroughly with clean water.
7. Clean the drain: Pour a cup of baking soda down the drain, followed by a cup of white vinegar. Let it fizz for about 30 minutes, then flush with hot water. This will help to clear any clogs and freshen up the drain.
8. Polish (optional): For stainless steel sinks, you can polish them with a small amount of olive oil to give them a shine.
Cleaning Cutting Boards
Cutting boards, especially wooden ones, can harbor bacteria if not cleaned properly. Here’s how I disinfect and clean my cutting boards:
What you’ll need:
* White vinegar
* Hydrogen
Conclusion
So, there you have it! This simple yet incredibly effective DIY kitchen cleaning trick is a game-changer for anyone looking to maintain a sparkling and hygienic cooking space without resorting to harsh chemicals or spending a fortune on specialized cleaners. We’ve shown you how to harness the power of readily available ingredients to tackle grease, grime, and stubborn stains, leaving your kitchen surfaces gleaming and your home smelling fresh.
Why is this a must-try? Because it’s not just about cleaning; it’s about creating a healthier environment for you and your family. By opting for natural solutions, you’re reducing your exposure to potentially harmful chemicals found in many commercial cleaning products. Plus, it’s incredibly cost-effective! You’re likely to have most of these ingredients already in your pantry, making this a budget-friendly way to keep your kitchen in tip-top shape.
But the beauty of this DIY approach lies in its adaptability. Feel free to experiment with variations to suit your specific needs and preferences. For instance, if you’re dealing with particularly stubborn grease, add a tablespoon of baking soda to your cleaning solution for extra scrubbing power. Or, if you prefer a different scent, swap out the lemon essential oil for lavender, eucalyptus, or tea tree oil – all known for their antibacterial properties. You can even infuse your vinegar with citrus peels for a more potent and fragrant cleaning agent.
Don’t be afraid to get creative and customize this DIY kitchen cleaning trick to make it your own!
We’re confident that once you try this method, you’ll be amazed by the results. It’s a simple, effective, and eco-friendly way to keep your kitchen clean and inviting. So, ditch the harsh chemicals and embrace the power of natural cleaning.
We highly encourage you to give this DIY kitchen cleaning trick a try. And more importantly, we want to hear about your experience! Share your results, variations, and any tips you discover along the way in the comments section below. Let’s build a community of clean kitchen enthusiasts and inspire each other to create healthier and happier homes. Your feedback is invaluable and helps us refine and improve our recipes and tips. Let us know what worked for you, what didn’t, and any creative twists you added to the formula. Together, we can unlock the secrets to a sparkling clean kitchen!
Frequently Asked Questions (FAQs)
1. What types of surfaces can I use this DIY kitchen cleaning trick on?
This DIY cleaning solution is generally safe for most kitchen surfaces, including countertops (granite, quartz, laminate), stovetops (glass, ceramic, stainless steel), sinks (stainless steel, porcelain), and appliances (stainless steel, enamel). However, it’s always a good idea to test a small, inconspicuous area first, especially on delicate or antique surfaces, to ensure there’s no discoloration or damage. Avoid using it on unsealed wood or natural stone surfaces that are prone to etching from acidic solutions like vinegar. For those surfaces, a milder soap and water solution is recommended.
2. Can I use this cleaning solution on my wooden cutting boards?
While the ingredients are natural, vinegar can be harsh on wood over time. For wooden cutting boards, it’s best to use a dedicated cleaning method. A mixture of lemon juice and coarse salt works well for scrubbing away food particles and sanitizing the surface. After cleaning, be sure to oil your cutting board regularly with food-grade mineral oil to prevent it from drying out and cracking.
3. How often should I use this DIY kitchen cleaning trick?
The frequency of cleaning depends on how often you cook and the level of mess your kitchen accumulates. For general cleaning, once or twice a week is usually sufficient. For spills and splatters, it’s best to clean them up immediately to prevent them from setting and becoming more difficult to remove. You can also use this solution for a deep clean of your kitchen appliances and surfaces every few months.
4. What if I don’t have lemon essential oil? Can I substitute it with something else?
Yes, you can definitely substitute lemon essential oil with other essential oils that have cleaning and antibacterial properties. Good alternatives include tea tree oil, eucalyptus oil, lavender oil, or orange oil. You can also use lemon juice, although it’s not as concentrated as essential oil, so you may need to use a larger amount. If you don’t have any essential oils or lemon juice, you can simply omit it altogether. The vinegar and water solution will still be effective for cleaning.
5. My kitchen has a strong odor. Will this DIY cleaning solution help eliminate it?
Yes, this DIY cleaning solution can help eliminate kitchen odors. Vinegar is a natural deodorizer, and lemon essential oil adds a fresh, clean scent. To further combat odors, you can place a small bowl of baking soda in your refrigerator or on your countertop to absorb lingering smells. Regularly cleaning your garbage disposal with a mixture of baking soda and vinegar can also help prevent unpleasant odors.
6. Can I use this solution to clean my microwave?
Absolutely! This DIY cleaning solution is perfect for cleaning your microwave. Simply heat a cup of the solution in the microwave for a few minutes until it steams up the inside. Then, carefully wipe down the interior with a clean cloth. The steam will loosen any stuck-on food particles, making them easy to remove.
7. Is this DIY cleaning solution safe for pets and children?
Yes, this DIY cleaning solution is generally safe for pets and children, as it’s made with natural ingredients. However, it’s still important to keep it out of reach of children and pets, as ingestion of large amounts of vinegar can be harmful. If you have pets that are sensitive to strong smells, you may want to ventilate the area well after cleaning.
8. How long does the DIY cleaning solution last?
This DIY cleaning solution is best used fresh. While the ingredients themselves don’t necessarily expire quickly, the mixture may lose its potency over time. It’s recommended to make a new batch every few weeks to ensure optimal cleaning effectiveness. Store the solution in a labeled spray bottle in a cool, dark place.
9. Can I add other ingredients to this DIY kitchen cleaning trick?
Yes, you can experiment with adding other ingredients to customize your cleaning solution. Some popular additions include:
* **Baking soda:** For extra scrubbing power and odor absorption.
* **Hydrogen peroxide:** For disinfecting and whitening. Use with caution on colored surfaces.
* **Dish soap:** A small amount of dish soap can help cut through grease. Use a natural, unscented dish soap to avoid adding harsh chemicals.
Remember to always test any new additions on a small, inconspicuous area first to ensure they don’t damage the surface.
10. What if I don’t have a spray bottle? Can I still use this DIY kitchen cleaning trick?
Yes, you can still use this DIY cleaning trick even if you don’t have a spray bottle. Simply mix the ingredients in a bowl or bucket and use a sponge or cloth to apply the solution to the surfaces you want to clean. Be sure to wring out the sponge or cloth well to avoid oversaturating the surfaces. A spray bottle just makes it easier to apply the solution evenly.


Leave a Comment