

Leather couch cleaning can feel like a daunting task, I know! We’ve all been there, staring at that beautiful leather couch, now sporting a few too many coffee stains or the lingering paw prints of our furry friends. But fear not, because restoring your leather couch to its former glory is totally achievable with a few simple DIY tricks.
Leather furniture has been a symbol of luxury and comfort for centuries, dating back to ancient civilizations where leather was prized for its durability and elegance. Today, a leather couch is often the centerpiece of a living room, a place for relaxation and gathering. But life happens, and our beloved couches inevitably face spills and smudges.
That’s where these DIY cleaning hacks come in! Instead of shelling out big bucks for professional cleaning services or risking damage with harsh chemicals, I’m going to share some easy, effective, and budget-friendly methods for leather couch cleaning. These tricks will not only save you money but also empower you to maintain your couch’s beauty and extend its lifespan. So, let’s dive in and learn how to keep your leather couch looking its best!
DIY Leather Couch Cleaning: Revive Your Leather Like a Pro!
Hey there, fellow DIY enthusiasts! Is your beloved leather couch looking a little…tired? Don’t fret! Before you even *think* about calling a professional (and emptying your wallet!), I’m going to walk you through a simple, effective, and totally doable DIY leather couch cleaning process. Trust me, with a little elbow grease and the right techniques, you can bring your leather back to life!
What You’ll Need: Your Cleaning Arsenal
Before we dive in, let’s gather our supplies. Having everything ready beforehand will make the whole process smoother and more enjoyable. Here’s what you’ll need:
* Vacuum cleaner with a soft brush attachment: This is crucial for removing loose dirt and debris.
* Microfiber cloths (at least 3-4): These are gentle and won’t scratch the leather.
* Leather cleaner: Choose a cleaner specifically designed for your type of leather (aniline, semi-aniline, or pigmented). I’ll explain more about leather types later.
* Leather conditioner: This is essential for moisturizing the leather and preventing cracking.
* Two clean buckets: One for your cleaning solution (if you’re making your own) and one for rinsing your cloth.
* Distilled water: Tap water can contain minerals that can damage leather.
* Saddle soap (optional, for heavily soiled areas): Use sparingly and test in an inconspicuous area first.
* Soft-bristled brush (optional, for stubborn stains): Again, test in an inconspicuous area first.
* Old towels: For drying the couch after cleaning.
* Leather protectant spray (optional): To help prevent future stains.
Understanding Your Leather: Know Your Enemy (or, Your Friend!)
Okay, this is important. Not all leather is created equal! Knowing what type of leather you have is crucial for choosing the right cleaning products and techniques. Here’s a quick rundown:
* Aniline Leather (also called Pure Aniline or Naked Leather): This is the most natural and delicate type of leather. It has no protective coating, so it’s very soft and supple but also highly susceptible to stains. Water will darken it immediately.
* Semi-Aniline Leather: This leather has a light protective coating, making it more resistant to stains than aniline leather but still retaining a soft feel.
* Pigmented Leather (also called Protected Leather or Top-Grain Leather): This is the most common and durable type of leather. It has a thick protective coating, making it resistant to stains and scratches. It’s also the easiest to clean.
How to Tell the Difference:
* The Water Test: Put a tiny drop of water on an inconspicuous area. If it soaks in quickly and darkens the leather, it’s likely aniline. If it beads up, it’s likely pigmented. Semi-aniline will fall somewhere in between.
* The Feel Test: Aniline leather feels very soft and natural. Pigmented leather feels smoother and more uniform.
* Check the Manufacturer’s Label: If you still have the original tags or paperwork, they should specify the type of leather.
Why This Matters:
Using the wrong cleaning product on your leather can cause damage, discoloration, or even strip away the protective coating. Always err on the side of caution and test any product in an inconspicuous area first!
Step-by-Step Cleaning Guide: Let’s Get Started!
Alright, now that we’ve got our supplies and know our leather, let’s get down to business!
Phase 1: Preparation is Key
1. Vacuum Thoroughly: Use the soft brush attachment to vacuum every nook and cranny of your couch. Pay special attention to seams, crevices, and under cushions. This removes loose dirt, dust, and crumbs that could scratch the leather during cleaning.
2. Test Your Cleaner: Before applying any cleaner to the entire couch, test it in an inconspicuous area, like the back or under a cushion. Apply a small amount of cleaner to a microfiber cloth and gently rub it onto the leather. Wait a few minutes and then wipe it off with a clean, damp cloth. Check for any discoloration, damage, or changes in texture. If everything looks good, you can proceed.
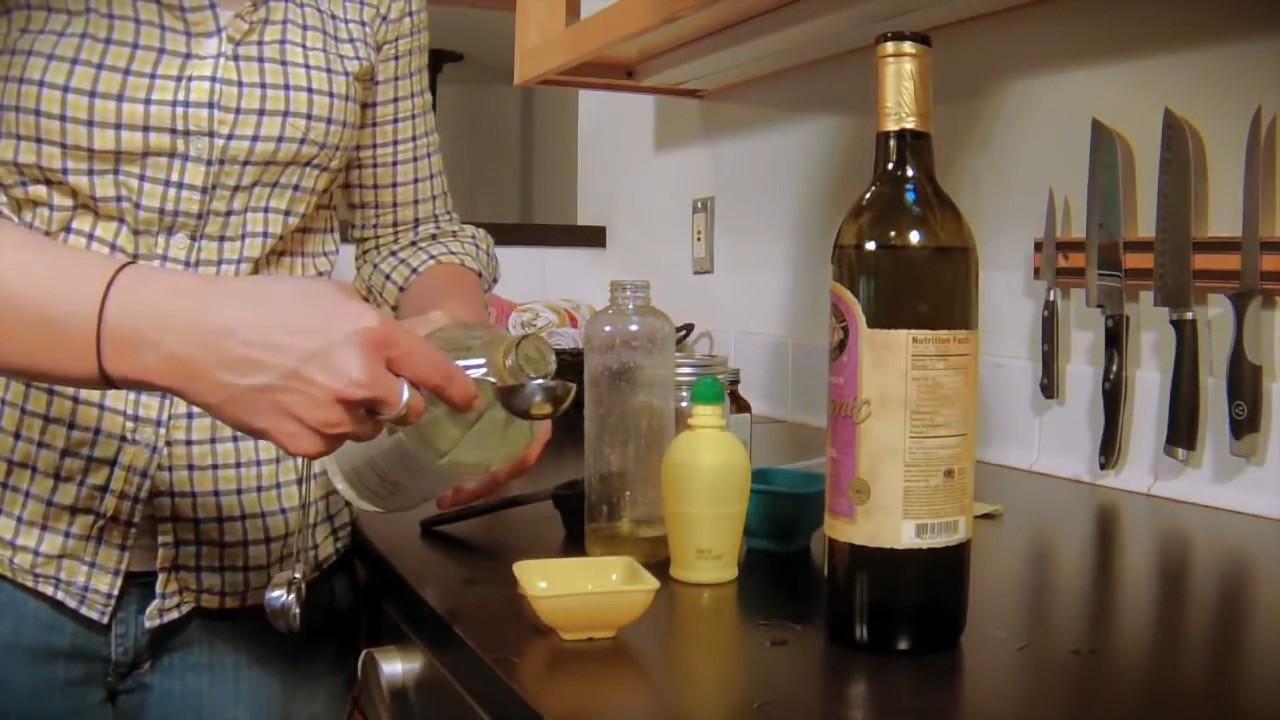
3. Prepare Your Cleaning Solution (if making your own): If you’re using a commercial leather cleaner, skip this step. If you’re making your own, here’s a simple and effective recipe:
* Mix 1/4 cup of mild dish soap (like Dawn) with 1 gallon of distilled water.
* Alternatively, you can mix equal parts white vinegar and distilled water. However, be very cautious with vinegar, especially on aniline leather, as it can be drying. Always test it first!
Phase 2: The Cleaning Process
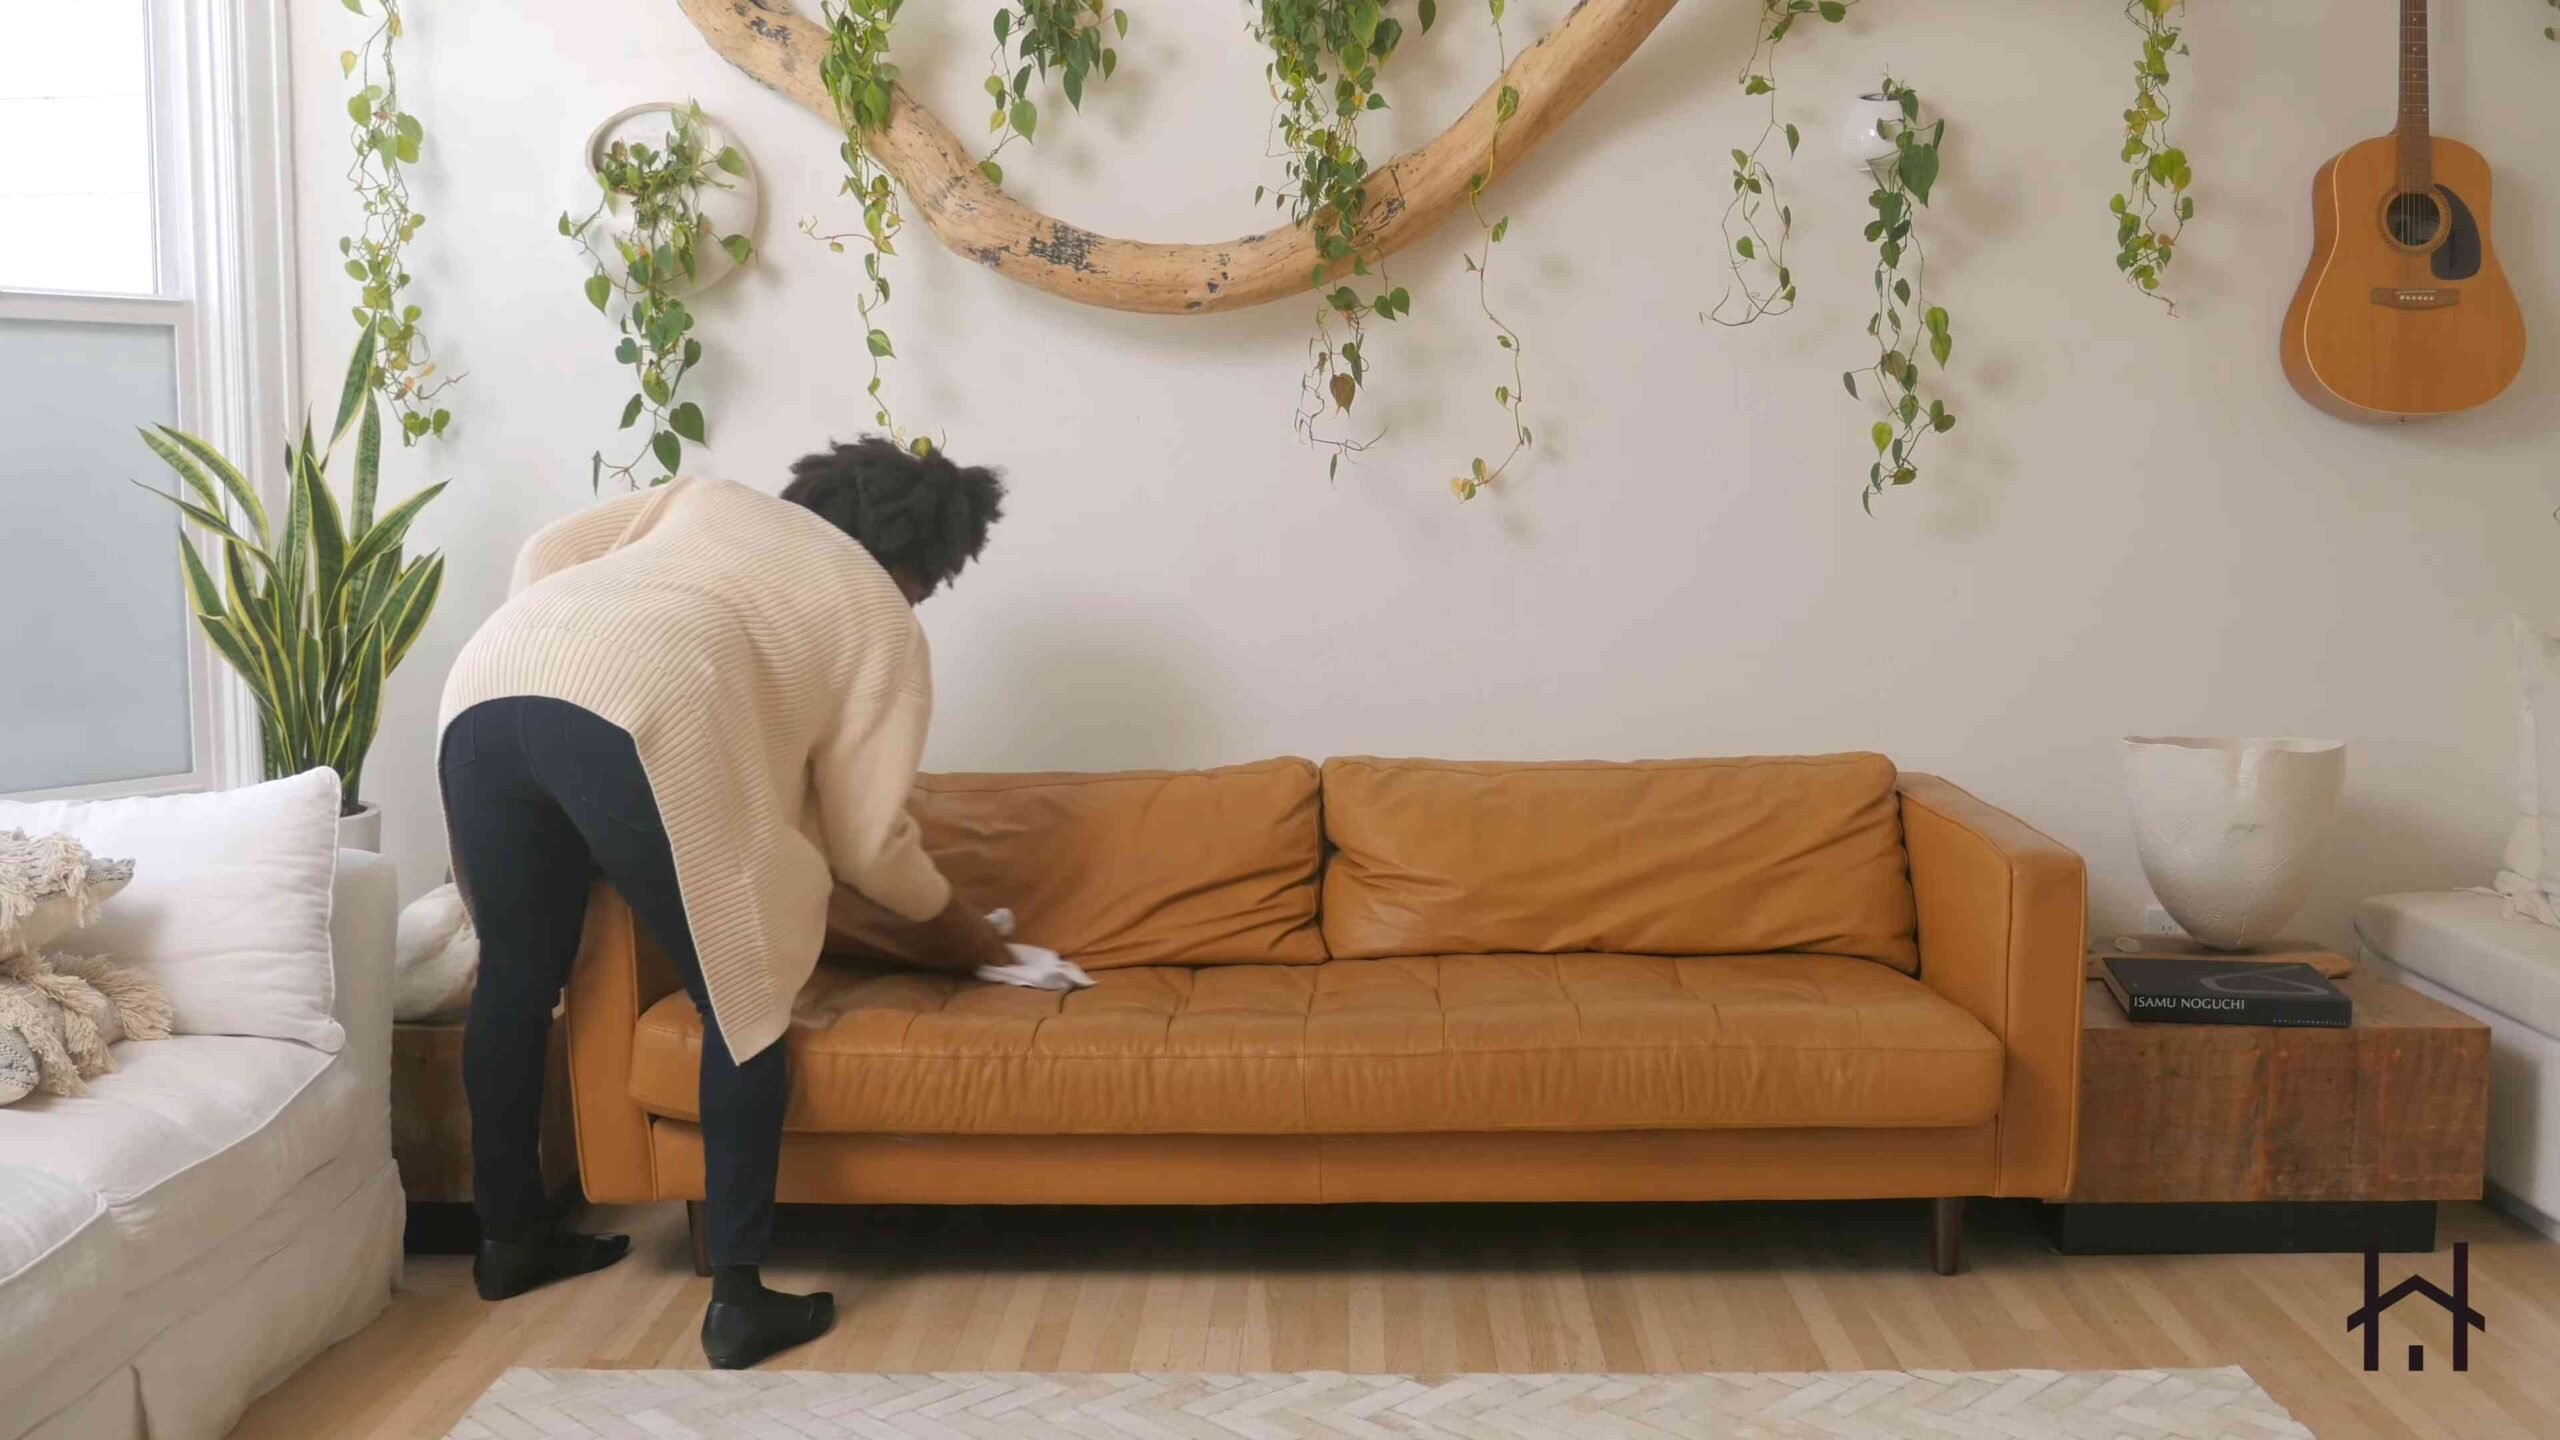
1. Dampen Your Cloth: Dip a clean microfiber cloth into your cleaning solution and wring it out thoroughly. You want the cloth to be damp, not soaking wet. Excess water can damage leather.
2. Wipe in Sections: Gently wipe the leather in small, overlapping sections. Avoid scrubbing, as this can damage the surface. Focus on areas that are visibly dirty or stained.
3. Rinse Your Cloth Frequently: As you clean, rinse your cloth frequently in the clean water bucket and wring it out thoroughly. This will prevent you from spreading dirt and grime around.
4. Tackle Stubborn Stains (Optional): If you encounter any stubborn stains, you can try using a soft-bristled brush or saddle soap. Apply a small amount of saddle soap to the stain and gently rub it in with the brush. Wipe away any excess soap with a clean, damp cloth. Remember to test in an inconspicuous area first!
5. Dry with a Clean Towel: After cleaning each section, dry it with a clean, dry towel. This will help prevent water spots and keep the leather from becoming too wet.
Phase 3: Conditioning and Protection
1. Apply Leather Conditioner: Once the couch is completely dry, apply a leather conditioner according to the manufacturer’s instructions. This will moisturize the leather, prevent cracking, and keep it looking its best. Apply a small amount of conditioner to a clean microfiber cloth and gently rub it into the leather in a circular motion.
2. Buff the Leather: After applying the conditioner, buff the leather with a clean, dry microfiber cloth. This will remove any excess conditioner and give the leather a nice shine.
3. Apply Leather Protectant (Optional): If you want to provide extra protection against future stains, you can apply a leather protectant spray. Follow the manufacturer’s instructions carefully.
Important Tips and Tricks: The Pro Secrets
* Don’t Over-Wet the Leather: Excess water is the enemy of leather. Always use a damp cloth, not a soaking wet one.
* Work in Small Sections: This will prevent the cleaner from drying on the leather and causing streaks.
* Be Gentle: Avoid scrubbing or using harsh chemicals, as this can damage the leather.
* Condition Regularly: Conditioning your leather couch every 3-6 months will help keep it looking its best.
* Clean Up Spills Immediately: The sooner you clean up a spill, the less likely it is to stain. Blot the spill with a clean cloth, working from the outside in.
* Avoid Direct Sunlight: Direct sunlight can fade and dry out leather. Keep your couch away from windows or use curtains or blinds to protect it.
* Professional Cleaning: For heavily soiled or stained leather, you may want to consider professional cleaning.
Dealing with Specific Stains: Stain-Busting Guide
* Ink Stains: Try rubbing alcohol on a cotton swab. Gently dab the stain, working from the outside in. Blot with a clean cloth.
* Grease Stains: Sprinkle cornstarch on the stain and let it sit for several hours. Vacuum up the cornstarch.
* Water Stains: Lightly dampen the entire area with distilled water and let it dry naturally. This can help blend the stain.
* Food Stains: Wipe up the spill immediately with a clean, damp cloth. If the stain persists, try using a mild dish soap solution.
Maintaining Your Leather: Keeping it Fresh
Regular maintenance is key to keeping your leather couch looking its best. Here are a few tips:
* Vacuum Regularly: Vacuum your couch at least once a week to remove dust and debris.
* Wipe Down Regularly: Wipe down your couch with a damp microfiber cloth every few weeks to remove surface dirt.
* Condition Regularly: Condition your couch every 3-6 months to keep it moisturized and prevent cracking.
* Protect from Sunlight: Keep your couch away from direct sunlight to prevent fading and drying.
And there you have it! A comprehensive guide to cleaning your leather couch like a pro. Remember to be patient, gentle, and always
Conclusion
So, there you have it! This simple, yet incredibly effective DIY leather couch cleaning trick is a game-changer for anyone looking to revitalize their beloved leather furniture without breaking the bank or resorting to harsh chemicals. We’ve walked you through the process, highlighting the ease and accessibility of the ingredients, and showcasing the potential for truly remarkable results.
Why is this a must-try? Because it’s gentle on your leather, tough on grime, and incredibly budget-friendly. Commercial leather cleaners can be expensive and often contain ingredients that, over time, can dry out and damage the leather’s natural oils. Our DIY method, using readily available household items like mild soap and water, offers a safer, more sustainable, and equally effective alternative. You’re not just cleaning; you’re conditioning and preserving the life of your leather couch.
But the beauty of this DIY approach lies in its adaptability. Feel free to experiment with subtle variations to suit your specific needs and preferences. For instance, if you’re dealing with particularly stubborn stains, consider adding a tiny amount of white vinegar to your cleaning solution. Remember to test it on an inconspicuous area first! For a deeper conditioning treatment, follow up the cleaning with a leather conditioner of your choice. You can even infuse your cleaning solution with a few drops of essential oils like lavender or cedarwood for a subtle, refreshing scent. Just be sure to use oils that are safe for leather and dilute them properly.
Don’t be intimidated by the prospect of cleaning your leather couch yourself. This method is designed to be straightforward and user-friendly, even for those with no prior experience. The key is to be gentle, patient, and thorough. Remember to always test your cleaning solution on a hidden area first to ensure colorfastness. And most importantly, enjoy the process! There’s something deeply satisfying about restoring the beauty and luster of your leather furniture with your own two hands.
We are confident that this DIY leather couch cleaning method will leave your couch looking and feeling refreshed. But don’t just take our word for it! We encourage you to give it a try and see the amazing results for yourself. Once you’ve experienced the transformative power of this simple trick, we’d love to hear about your experience. Share your before-and-after photos, your tips and tricks, and any variations you’ve discovered in the comments section below. Let’s create a community of leather-loving DIYers who are passionate about keeping their furniture looking its best! Your insights could help others achieve the same fantastic results. So go ahead, give your leather couch the TLC it deserves, and share your success story with the world! We can’t wait to see your sparkling clean couches!
FAQ
What kind of soap should I use for cleaning my leather couch?
The best type of soap to use is a mild, pH-neutral soap. Think gentle hand soap or even baby shampoo. Avoid using harsh detergents, dish soaps, or anything with strong chemicals, as these can strip the leather of its natural oils and cause it to dry out and crack. Look for soaps that are specifically labeled as being safe for delicate fabrics or skin. When in doubt, test the soap on an inconspicuous area of the couch first to ensure it doesn’t cause any discoloration or damage.
How often should I clean my leather couch?
The frequency of cleaning depends on how often you use your couch and how much dirt and grime it accumulates. As a general rule, you should aim to clean your leather couch every 2-3 months. However, if you have pets or children, or if you use your couch frequently, you may need to clean it more often. Spot clean any spills or stains immediately to prevent them from setting in. Regular dusting or vacuuming with a soft brush attachment can also help to keep your couch clean and prevent dirt from building up.
Can I use vinegar to clean my leather couch?
Yes, you can use vinegar to clean your leather couch, but it’s important to use it sparingly and dilute it properly. Vinegar is a mild acid and can help to remove stubborn stains and odors. However, it can also dry out the leather if used undiluted or too frequently. To use vinegar, mix equal parts white vinegar and water in a spray bottle. Lightly spray the solution onto a clean cloth and gently wipe the affected area. Avoid saturating the leather. After cleaning with vinegar, wipe the area with a clean, damp cloth to remove any residue and then apply a leather conditioner to rehydrate the leather. Always test the vinegar solution on an inconspicuous area first to ensure it doesn’t cause any discoloration or damage.
What if I have a stubborn stain on my leather couch?
Stubborn stains on leather can be tricky to remove, but there are a few things you can try. First, try blotting the stain with a clean, dry cloth. Avoid rubbing, as this can spread the stain and damage the leather. If blotting doesn’t work, try using a leather cleaner specifically designed for removing stains. Follow the instructions on the product label carefully. For oil-based stains, you can try applying a paste of baking soda and water to the stain and letting it sit for a few hours before wiping it away. For ink stains, you can try using rubbing alcohol on a cotton swab, but be very careful and test it on an inconspicuous area first. If you’re unsure about how to remove a particular stain, it’s best to consult a professional leather cleaner.
How do I condition my leather couch after cleaning?
Conditioning your leather couch after cleaning is essential to keep it soft, supple, and protected from drying out and cracking. After cleaning your couch, allow it to dry completely. Then, apply a leather conditioner according to the product instructions. Use a clean, soft cloth to apply the conditioner in a thin, even layer. Gently massage the conditioner into the leather, paying attention to areas that are prone to drying out, such as the cushions and armrests. Allow the conditioner to absorb into the leather for the recommended amount of time, and then buff it with a clean cloth to remove any excess. Conditioning your leather couch regularly will help to keep it looking its best for years to come.
Can I use this method on all types of leather?
While this DIY leather couch cleaning method is generally safe for most types of finished leather, it’s always best to test it on an inconspicuous area first. Avoid using this method on suede or nubuck leather, as these types of leather require specialized cleaning products and techniques. If you’re unsure about the type of leather you have, consult the manufacturer’s instructions or contact a professional leather cleaner.
My leather couch has a strong odor. Will this cleaning method help?
This cleaning method can help to reduce odors on your leather couch, but it may not completely eliminate strong or persistent odors. The mild soap and water solution can help to remove surface dirt and grime that may be contributing to the odor. You can also try adding a few drops of essential oils, such as lavender or cedarwood, to your cleaning solution to help mask the odor. For more stubborn odors, you can try sprinkling baking soda on the couch and letting it sit for a few hours before vacuuming it up. If the odor persists, you may need to consult a professional leather cleaner.
What are some preventative measures I can take to keep my leather couch clean?
There are several preventative measures you can take to keep your leather couch clean and prevent stains and damage. First, avoid eating or drinking on the couch. If you do, be sure to use coasters and placemats to protect the leather from spills. Second, keep pets off the couch, as their claws can scratch the leather. Third, avoid placing your couch in direct sunlight, as this can cause the leather to fade and dry out. Fourth, dust or vacuum your couch regularly to remove dirt and debris. Finally, consider using a leather protector spray to help repel stains and protect the leather from wear and tear.


Leave a Comment