

Living Room Cleaning Tips: Let’s face it, our living rooms often bear the brunt of daily life. From movie nights with spilled popcorn to impromptu playdates leaving toys scattered everywhere, it’s a space that quickly accumulates clutter and grime. But what if I told you that achieving a sparkling clean living room doesn’t require hours of back-breaking work or a small fortune spent on fancy cleaning products?
Historically, maintaining a clean and welcoming living space has been a cornerstone of hospitality and well-being across cultures. Think of the meticulously swept hearths of ancient homes or the carefully arranged furniture in Victorian parlors. While our modern lifestyles may differ, the desire for a tidy and inviting living room remains a constant.
That’s why I’m so excited to share these simple yet effective DIY living room cleaning tips and hacks! In today’s busy world, who has time to spend an entire weekend scrubbing? These tricks are designed to save you time, money, and energy, allowing you to reclaim your living room as a sanctuary of relaxation and enjoyment. We’ll cover everything from tackling stubborn stains on your upholstery to banishing dust bunnies from those hard-to-reach corners. Get ready to transform your living room into a space you’ll truly love to spend time in!
DIY Deep Clean: Revitalize Your Living Room Like a Pro!
Hey everyone! I know, I know, cleaning the living room isn’t exactly a thrill ride. But trust me, a sparkling clean living room can do wonders for your mood and overall home vibe. So, let’s ditch the dread and dive into a deep clean that will leave your living room looking and feeling brand new. I’m going to walk you through my tried-and-true method, breaking it down into manageable steps so you can conquer that clutter and grime like a cleaning ninja!
Phase 1: Prepping for the Cleaning Blitz
Before you even think about grabbing a duster, a little prep work goes a long way. This sets the stage for a smooth and efficient cleaning process.
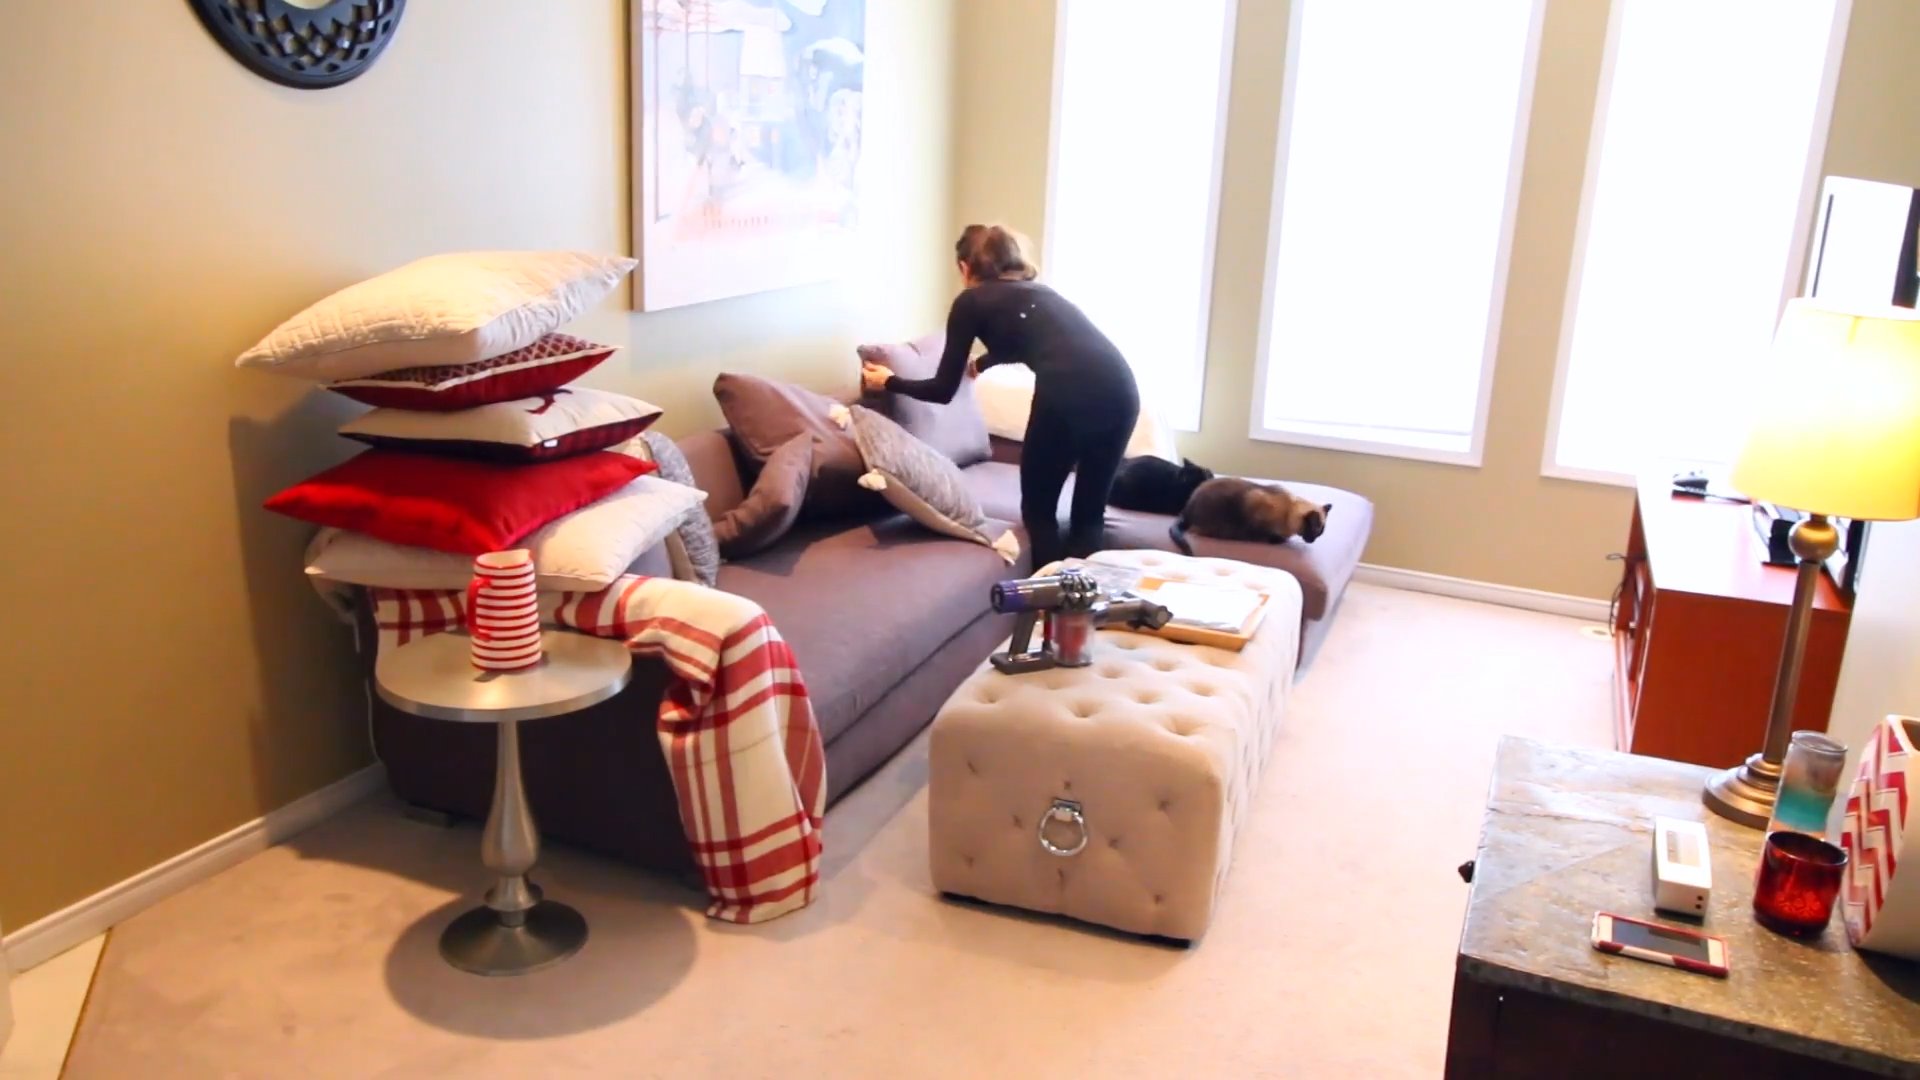
1. Declutter, Declutter, Declutter! This is the golden rule. Grab a laundry basket or large bag and go on a mission to remove anything that doesn’t belong in the living room. Think stray toys, books that belong in the bedroom, random papers, etc. Put everything in its rightful place. This simple step instantly makes the room feel less overwhelming.
2. Open the Windows: Fresh air is your friend! Crack open those windows to ventilate the room. This helps to air out any stale odors and allows cleaning products to dry faster. Plus, a little natural light never hurts!
3. Gather Your Supplies: Nothing is more frustrating than realizing you’re missing a crucial cleaning tool mid-clean. Here’s my go-to list:
* Microfiber cloths (lots of them!)
* All-purpose cleaner
* Glass cleaner
* Wood cleaner (if you have wood furniture)
* Upholstery cleaner (if needed)
* Vacuum cleaner with attachments
* Duster (extendable one is great for high places)
* Bucket
* Warm water
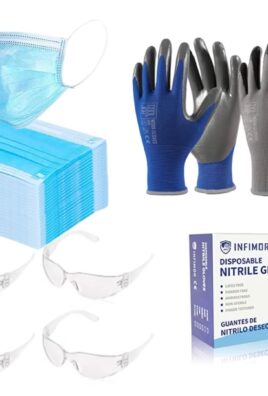
* Rubber gloves (protect those hands!)
* Old toothbrush (for those hard-to-reach spots)
* Magic Eraser (for stubborn marks)
4. Protect Your Floors: If you have delicate flooring, like hardwood, consider placing a towel or drop cloth under furniture legs to prevent scratches while you’re moving things around.
Phase 2: Tackling the Surfaces
Now that we’re prepped, let’s get down to the nitty-gritty of cleaning those surfaces!
1. Dusting from Top to Bottom: Always start high and work your way down. This prevents dust from falling onto already cleaned surfaces. Use your duster to tackle:
* Ceiling fans (make sure they’re off!)
* Light fixtures
* Crown molding
* Shelves
* Picture frames
* Wall decorations
2. Wipe Down Walls and Baseboards: Walls can accumulate dust and grime over time. Mix a small amount of all-purpose cleaner with warm water in a bucket. Dip a microfiber cloth into the solution, wring it out well (you don’t want dripping water!), and gently wipe down the walls. Pay extra attention to areas around light switches and door handles. Don’t forget the baseboards! These often get overlooked, but they can collect a surprising amount of dust.
3. Clean Windows and Mirrors: Use a good quality glass cleaner and a clean microfiber cloth to wipe down windows and mirrors. Spray the cleaner onto the cloth, not directly onto the glass, to prevent streaks. Wipe in overlapping strokes, and then buff dry with a clean, dry microfiber cloth.
4. Furniture Facelift:
* Wood Furniture: Use a wood cleaner specifically designed for your type of wood. Follow the manufacturer’s instructions carefully. Usually, you’ll spray the cleaner onto a microfiber cloth and wipe down the furniture, following the grain of the wood.
* Leather Furniture: Leather requires special care. Use a leather cleaner and conditioner to clean and protect the leather. Test the cleaner in an inconspicuous area first to make sure it doesn’t discolor the leather.
* Upholstered Furniture: This is where your vacuum attachments come in handy. Use the upholstery attachment to vacuum the entire surface of the furniture, paying attention to crevices and seams. If you have any stains, use an upholstery cleaner specifically designed for the fabric. Always test the cleaner in an inconspicuous area first. For spot cleaning, apply the cleaner to a clean cloth and blot the stain gently. Avoid rubbing, as this can spread the stain.
5. Electronics TLC: Dust and fingerprints are the enemy of your electronics. Use a dry microfiber cloth to gently wipe down your TV screen, remote controls, and other electronic devices. For stubborn fingerprints, you can lightly dampen the cloth with water, but be sure to wring it out well. Never spray liquid directly onto electronic devices.
Phase 3: Floor Focus
Now that the surfaces are sparkling, it’s time to tackle the floors!
1. Vacuuming Power: Vacuum the entire living room thoroughly, paying attention to corners, edges, and under furniture. Use the crevice tool to get into those hard-to-reach spots. If you have area rugs, vacuum them on both sides.
2. Hard Floor Heroics:
* Sweeping: If you have hard floors, sweep them thoroughly to remove any loose dirt and debris.
* Mopping: Use a mop and a floor cleaner specifically designed for your type of flooring. Follow the manufacturer’s instructions carefully. Be sure to wring out the mop well to avoid leaving streaks or puddles of water. I like to use a microfiber mop for best results.
3. Carpet Cleaning Considerations:
* Spot Cleaning: Address any stains on your carpet before deep cleaning. Use a carpet stain remover and follow the manufacturer’s instructions.
* Deep Cleaning (Optional): If your carpets are looking particularly dingy, consider renting a carpet cleaner or hiring a professional carpet cleaning service. Deep cleaning can remove embedded dirt and allergens, leaving your carpets looking and feeling fresh.
Phase 4: The Finishing Touches
We’re almost there! These final touches will take your living room from clean to truly inviting.
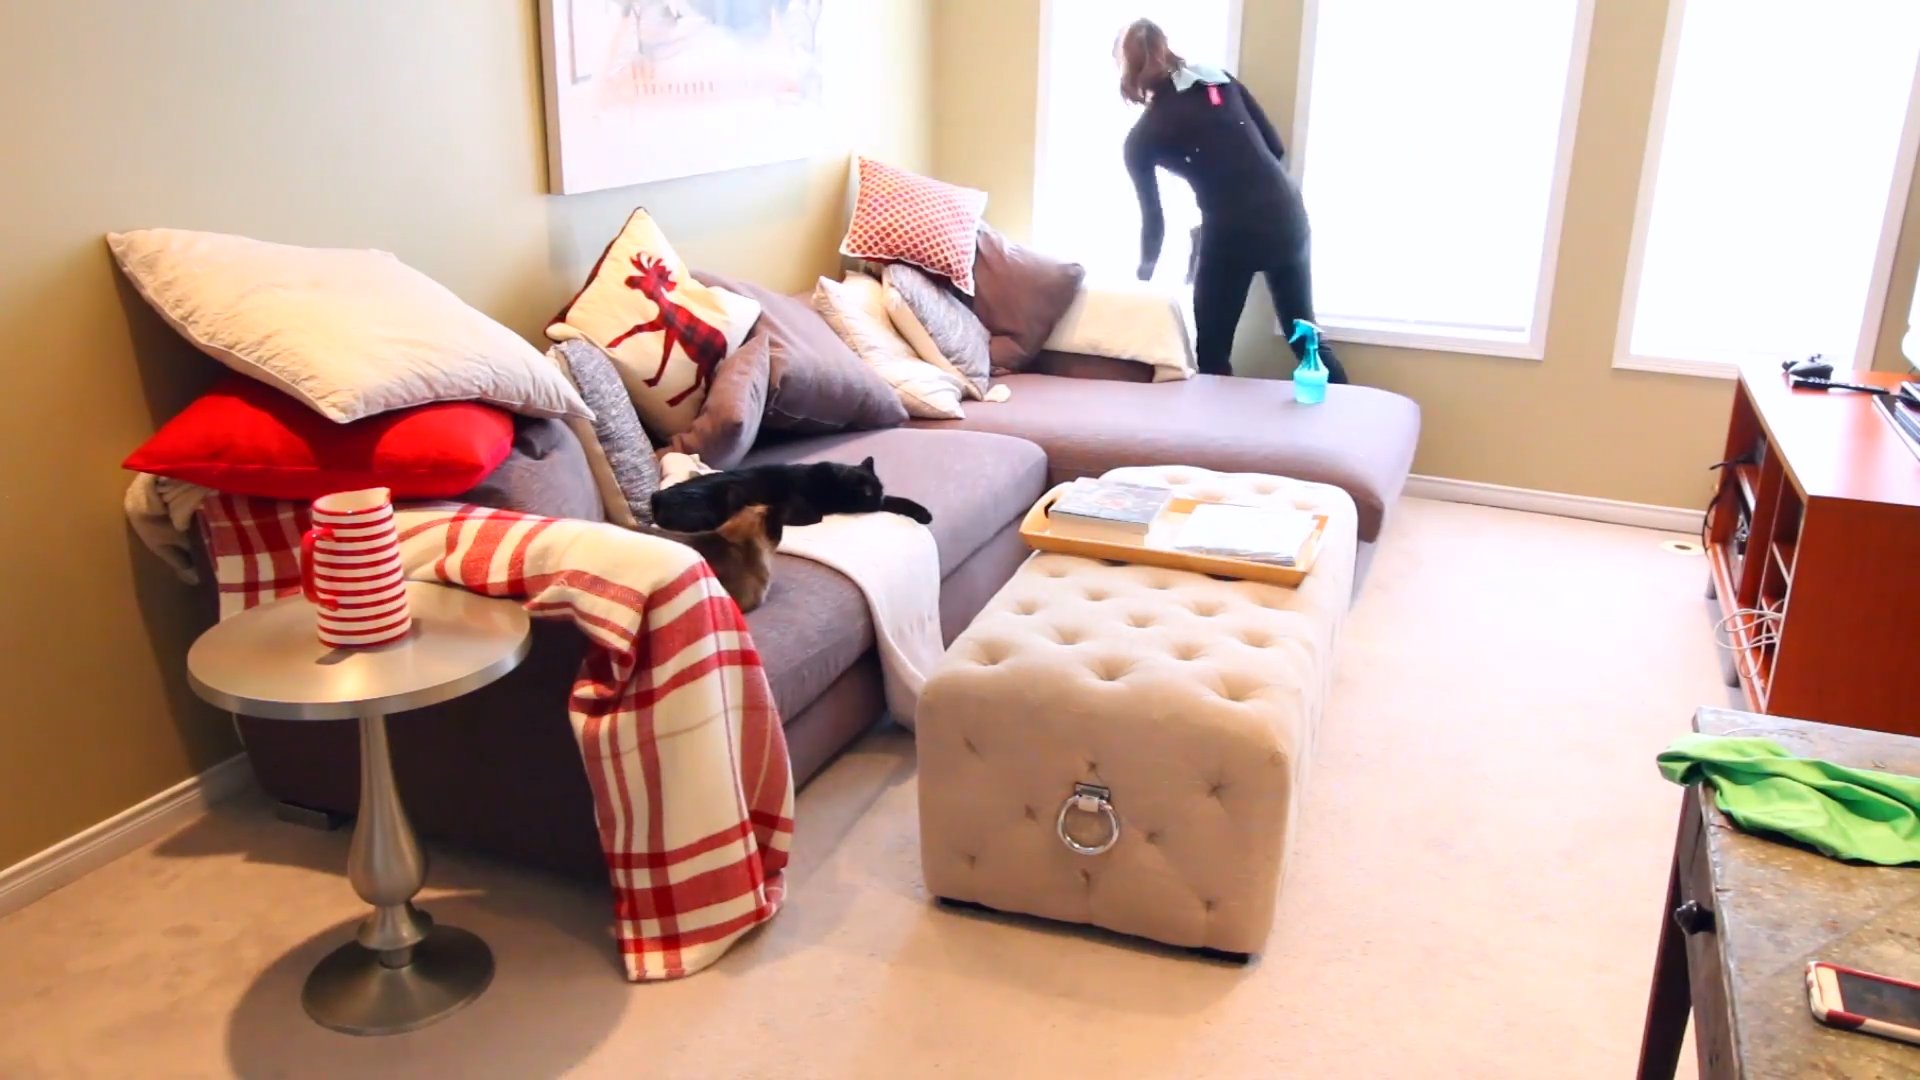
1. Fluff and Arrange: Fluff your throw pillows and blankets and arrange them neatly on the sofa. This instantly makes the room feel more inviting and comfortable.
2. Straighten Up: Straighten up any magazines, books, or other items on your coffee table or shelves. A little bit of organization goes a long way.
3. Empty Trash Cans: Empty all trash cans and replace the liners.
4. Add a Fresh Scent: Light a scented candle, use a room spray, or diffuse essential oils to create a pleasant aroma. My personal favorite is a light citrus scent.
5. Admire Your Handiwork! Take a step back and admire your sparkling clean living room. You deserve it!
Bonus Tips for Maintaining a Clean Living Room
* Daily Quick Clean: Spend just 10-15 minutes each day tidying up. This will prevent clutter from accumulating and make your weekly cleaning much easier.
* Designated Drop Zone: Create a designated drop zone near the entrance of your living room for shoes, bags, and other items. This will prevent these items from being scattered throughout the room.
* Regular Vacuuming: Vacuum your living room at least once a week, or more often if you have pets or children.
* Wipe Up Spills Immediately: Don’t let spills sit and stain. Wipe them up immediately with a clean cloth.
* Enlist Help: Don’t be afraid to ask for help from family members. Cleaning is much easier when you have a team!
I hope these tips help you transform your living room into a clean and inviting space. Happy cleaning!
Conclusion
So, there you have it! Transforming your living room into a sparkling sanctuary doesn’t require a small fortune or an army of cleaning professionals. By embracing these simple yet effective DIY living room cleaning tips, you can achieve a level of cleanliness and freshness you might not have thought possible. The beauty of these methods lies in their accessibility and adaptability. You’re not locked into rigid instructions; feel free to experiment and tailor them to your specific needs and preferences.
Think about adding a few drops of your favorite essential oil to your DIY cleaning solutions for an extra boost of freshness. Lavender, lemon, and eucalyptus are all excellent choices that not only smell amazing but also possess natural antibacterial properties. If you have particularly stubborn stains on your upholstery, consider using a specialized upholstery cleaner in conjunction with the DIY methods outlined above. Always test a small, inconspicuous area first to ensure colorfastness.
Don’t underestimate the power of regular maintenance. A quick 15-minute tidy-up each day can prevent dirt and clutter from accumulating, making your weekly deep clean much easier. Encourage family members to participate in the upkeep of the living room, fostering a sense of shared responsibility and pride in your home.
The key takeaway here is that a clean and inviting living room is within everyone’s reach. It’s not about perfection; it’s about creating a space that feels comfortable, relaxing, and conducive to spending quality time with loved ones. By incorporating these DIY living room cleaning tips into your routine, you’ll not only improve the appearance of your home but also enhance your overall well-being.
We wholeheartedly encourage you to give these methods a try. You might be surprised at how effective and rewarding they are. And most importantly, we want to hear about your experiences! Share your before-and-after photos, your favorite variations, and any other tips you’ve discovered along the way. Let’s create a community of clean living enthusiasts who are passionate about making their homes shine. So, grab your cleaning supplies, put on some music, and get ready to transform your living room into a haven of cleanliness and comfort. You won’t regret it!
Frequently Asked Questions (FAQs)
What are the most important areas to focus on when cleaning my living room?
The high-traffic areas and surfaces that accumulate the most dirt and dust should be your primary focus. These include:
* Floors: Vacuum or mop regularly, depending on the type of flooring.
* Upholstery: Vacuum furniture to remove dust and crumbs. Spot clean stains as needed.
* Coffee Table and Other Surfaces: Wipe down frequently to remove spills and dust.
* Windows and Mirrors: Clean to remove streaks and smudges.
* Electronics: Dust regularly to prevent overheating.
How often should I deep clean my living room?
A deep clean, which involves more thorough cleaning tasks like washing curtains, cleaning carpets, and polishing furniture, should ideally be done every 1-3 months, depending on how frequently the living room is used and the number of people and pets in the household. Regular maintenance cleaning, such as vacuuming and dusting, should be done weekly.
What’s the best way to remove pet hair from my living room furniture?
Pet hair can be a challenge, but several effective methods exist:
* Vacuum with a Pet Hair Attachment: Use a vacuum cleaner with a specialized pet hair attachment to lift hair from upholstery and carpets.
* Rubber Gloves: Dampen rubber gloves and run them over the furniture. The hair will cling to the gloves.
* Lint Roller: A lint roller is effective for removing surface hair from smaller areas.
* Fabric Softener Sheet: Lightly dampen a fabric softener sheet and wipe it over the furniture. This will help loosen the hair and make it easier to vacuum.
Are DIY cleaning solutions as effective as store-bought products?
In many cases, yes! DIY cleaning solutions made with ingredients like vinegar, baking soda, and lemon juice can be just as effective as store-bought products, and they are often more environmentally friendly and cost-effective. However, it’s important to use the correct ratios and to avoid mixing certain ingredients, such as bleach and ammonia, as this can create dangerous fumes. Always research and follow safe practices when making DIY cleaning solutions.
How can I prevent dust from accumulating in my living room?
Preventing dust buildup requires a multi-pronged approach:
* Regular Dusting: Dust surfaces at least once a week.
* Air Purifier: Use an air purifier to filter out dust and allergens from the air.
* Minimize Clutter: Clutter attracts dust, so declutter your living room regularly.
* Wash Bedding and Curtains: Wash bedding and curtains regularly to remove dust mites and allergens.
* Change Air Filters: Change the air filters in your HVAC system regularly to prevent dust from circulating.
Can I use vinegar on all surfaces in my living room?
No, vinegar should not be used on all surfaces. Avoid using vinegar on natural stone surfaces like marble or granite, as it can etch and damage them. It’s also best to avoid using vinegar on waxed wood furniture, as it can strip the wax. Always test a small, inconspicuous area before using vinegar on any surface.
How do I clean my living room carpet without a carpet cleaner?
You can clean your carpet without a carpet cleaner using a DIY solution and some elbow grease:
1. Vacuum Thoroughly: Vacuum the carpet to remove loose dirt and debris.
2. Make a DIY Cleaning Solution: Mix equal parts white vinegar and water in a spray bottle.
3. Spray and Blot: Lightly spray the solution onto the carpet and blot with a clean cloth. Avoid over-wetting the carpet.
4. Sprinkle Baking Soda: Sprinkle baking soda over the carpet to absorb moisture and odors.
5. Vacuum Again: Once the carpet is completely dry, vacuum thoroughly to remove the baking soda.
What are some eco-friendly living room cleaning tips?
Here are some eco-friendly cleaning tips:
* Use DIY Cleaning Solutions: As mentioned earlier, DIY solutions are often more environmentally friendly than store-bought products.
* Use Reusable Cleaning Cloths: Replace paper towels with reusable microfiber cloths.
* Choose Eco-Friendly Cleaning Products: If you prefer store-bought products, look for those that are labeled as eco-friendly or biodegradable.
* Reduce Waste: Buy cleaning products in bulk to reduce packaging waste.
* Ventilate Your Living Room: Open windows to air out your living room and reduce the need for air fresheners.
How can I make my living room smell fresh without using artificial air fresheners?
There are several natural ways to freshen up your living room:
* Open Windows: Fresh air is the best way to eliminate odors.
* Essential Oil Diffuser: Use an essential oil diffuser to fill the room with a pleasant scent.
* Simmering Pot: Simmer a pot of water with citrus peels, herbs, or spices on the stove.
* Baking Soda: Place a bowl of baking soda in the living room to absorb odors.
* Houseplants: Certain houseplants can help purify the air and freshen up the room.
What is the best way to clean leather furniture in my living room?
Cleaning leather furniture requires a gentle approach:
1. Dust Regularly: Dust the furniture regularly with a soft cloth.
2. Clean with Leather Cleaner: Use a leather cleaner specifically designed for your type of leather. Follow the manufacturer’s instructions carefully.
3. Condition the Leather: After cleaning, apply a leather conditioner to keep the leather supple and prevent cracking.
4. Avoid Harsh Chemicals: Never use harsh chemicals or abrasive cleaners on leather furniture.
5. Spot Clean Spills Immediately: Blot spills immediately with a clean, dry cloth.
By following these DIY living room cleaning tips and addressing these frequently asked questions, you can maintain a clean, comfortable, and inviting living space for yourself and your loved ones. Remember to adapt these suggestions to your specific needs and preferences, and don’t hesitate to experiment and discover what works best for you.
Leave a Comment