

Natural Mattress Cleaner: Are you tossing and turning at night, not because of stress, but because of that nagging feeling that your mattress isn’t as clean as it should be? I get it! We spend a third of our lives in bed, and while we might diligently wash our sheets, the mattress itself often gets overlooked. But fear not, fellow slumber enthusiasts! This DIY guide is your secret weapon to a fresher, healthier sleep sanctuary.
Throughout history, cultures have recognized the importance of clean bedding for health and well-being. From sun-drying mattresses in ancient times to using herbs and spices for their natural cleaning properties, the quest for a pristine sleep environment is nothing new. Today, we’re armed with even more knowledge and eco-friendly options to tackle dust mites, allergens, and lingering odors.
Why is a natural mattress cleaner so crucial? Well, beyond the obvious hygiene benefits, using natural ingredients avoids harsh chemicals that can irritate sensitive skin and disrupt your sleep. Plus, it’s a fantastic way to save money and reduce your environmental impact. In this article, I’ll share my favorite tried-and-true DIY recipes and techniques to revitalize your mattress, leaving you breathing easier and sleeping soundly. Get ready to say goodbye to restless nights and hello to a truly clean and comfortable bed!

DIY Natural Mattress Cleaner: Banish Stains and Freshen Up Your Sleep!
Okay, let’s face it, our mattresses are havens for dust mites, dead skin cells (gross, I know!), and the occasional spill. We spend a third of our lives on them, so keeping them clean is super important for our health and well-being. But who wants to douse their mattress in harsh chemicals? Not me! That’s why I’m going to share my favorite DIY natural mattress cleaner recipe and method. It’s easy, affordable, and uses ingredients you probably already have in your pantry.
What You’ll Need: Your Natural Cleaning Arsenal
Before we dive in, let’s gather our supplies. This is a pretty simple project, so the list is short and sweet:
* **Baking Soda:** This is the star of the show! Baking soda is a natural deodorizer and absorbent. It will help draw out moisture, odors, and even some stains.
* **Essential Oil (Optional):** I love adding a few drops of lavender, eucalyptus, or tea tree oil for their antibacterial properties and lovely scent. But if you’re sensitive to smells, you can skip this.
* **Spray Bottle:** A clean, empty spray bottle is essential for applying our cleaning solution.
* **Vacuum Cleaner with Upholstery Attachment:** This is crucial for removing the baking soda and all the gunk it’s absorbed.
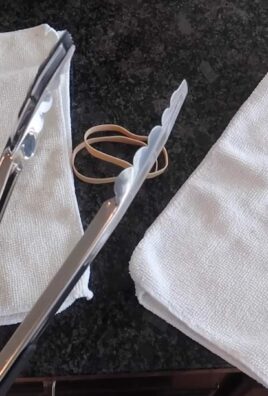
* **Clean Cloths or Sponges:** For spot cleaning any stubborn stains.
* **Sieve or Sifter (Optional):** This helps distribute the baking soda evenly.
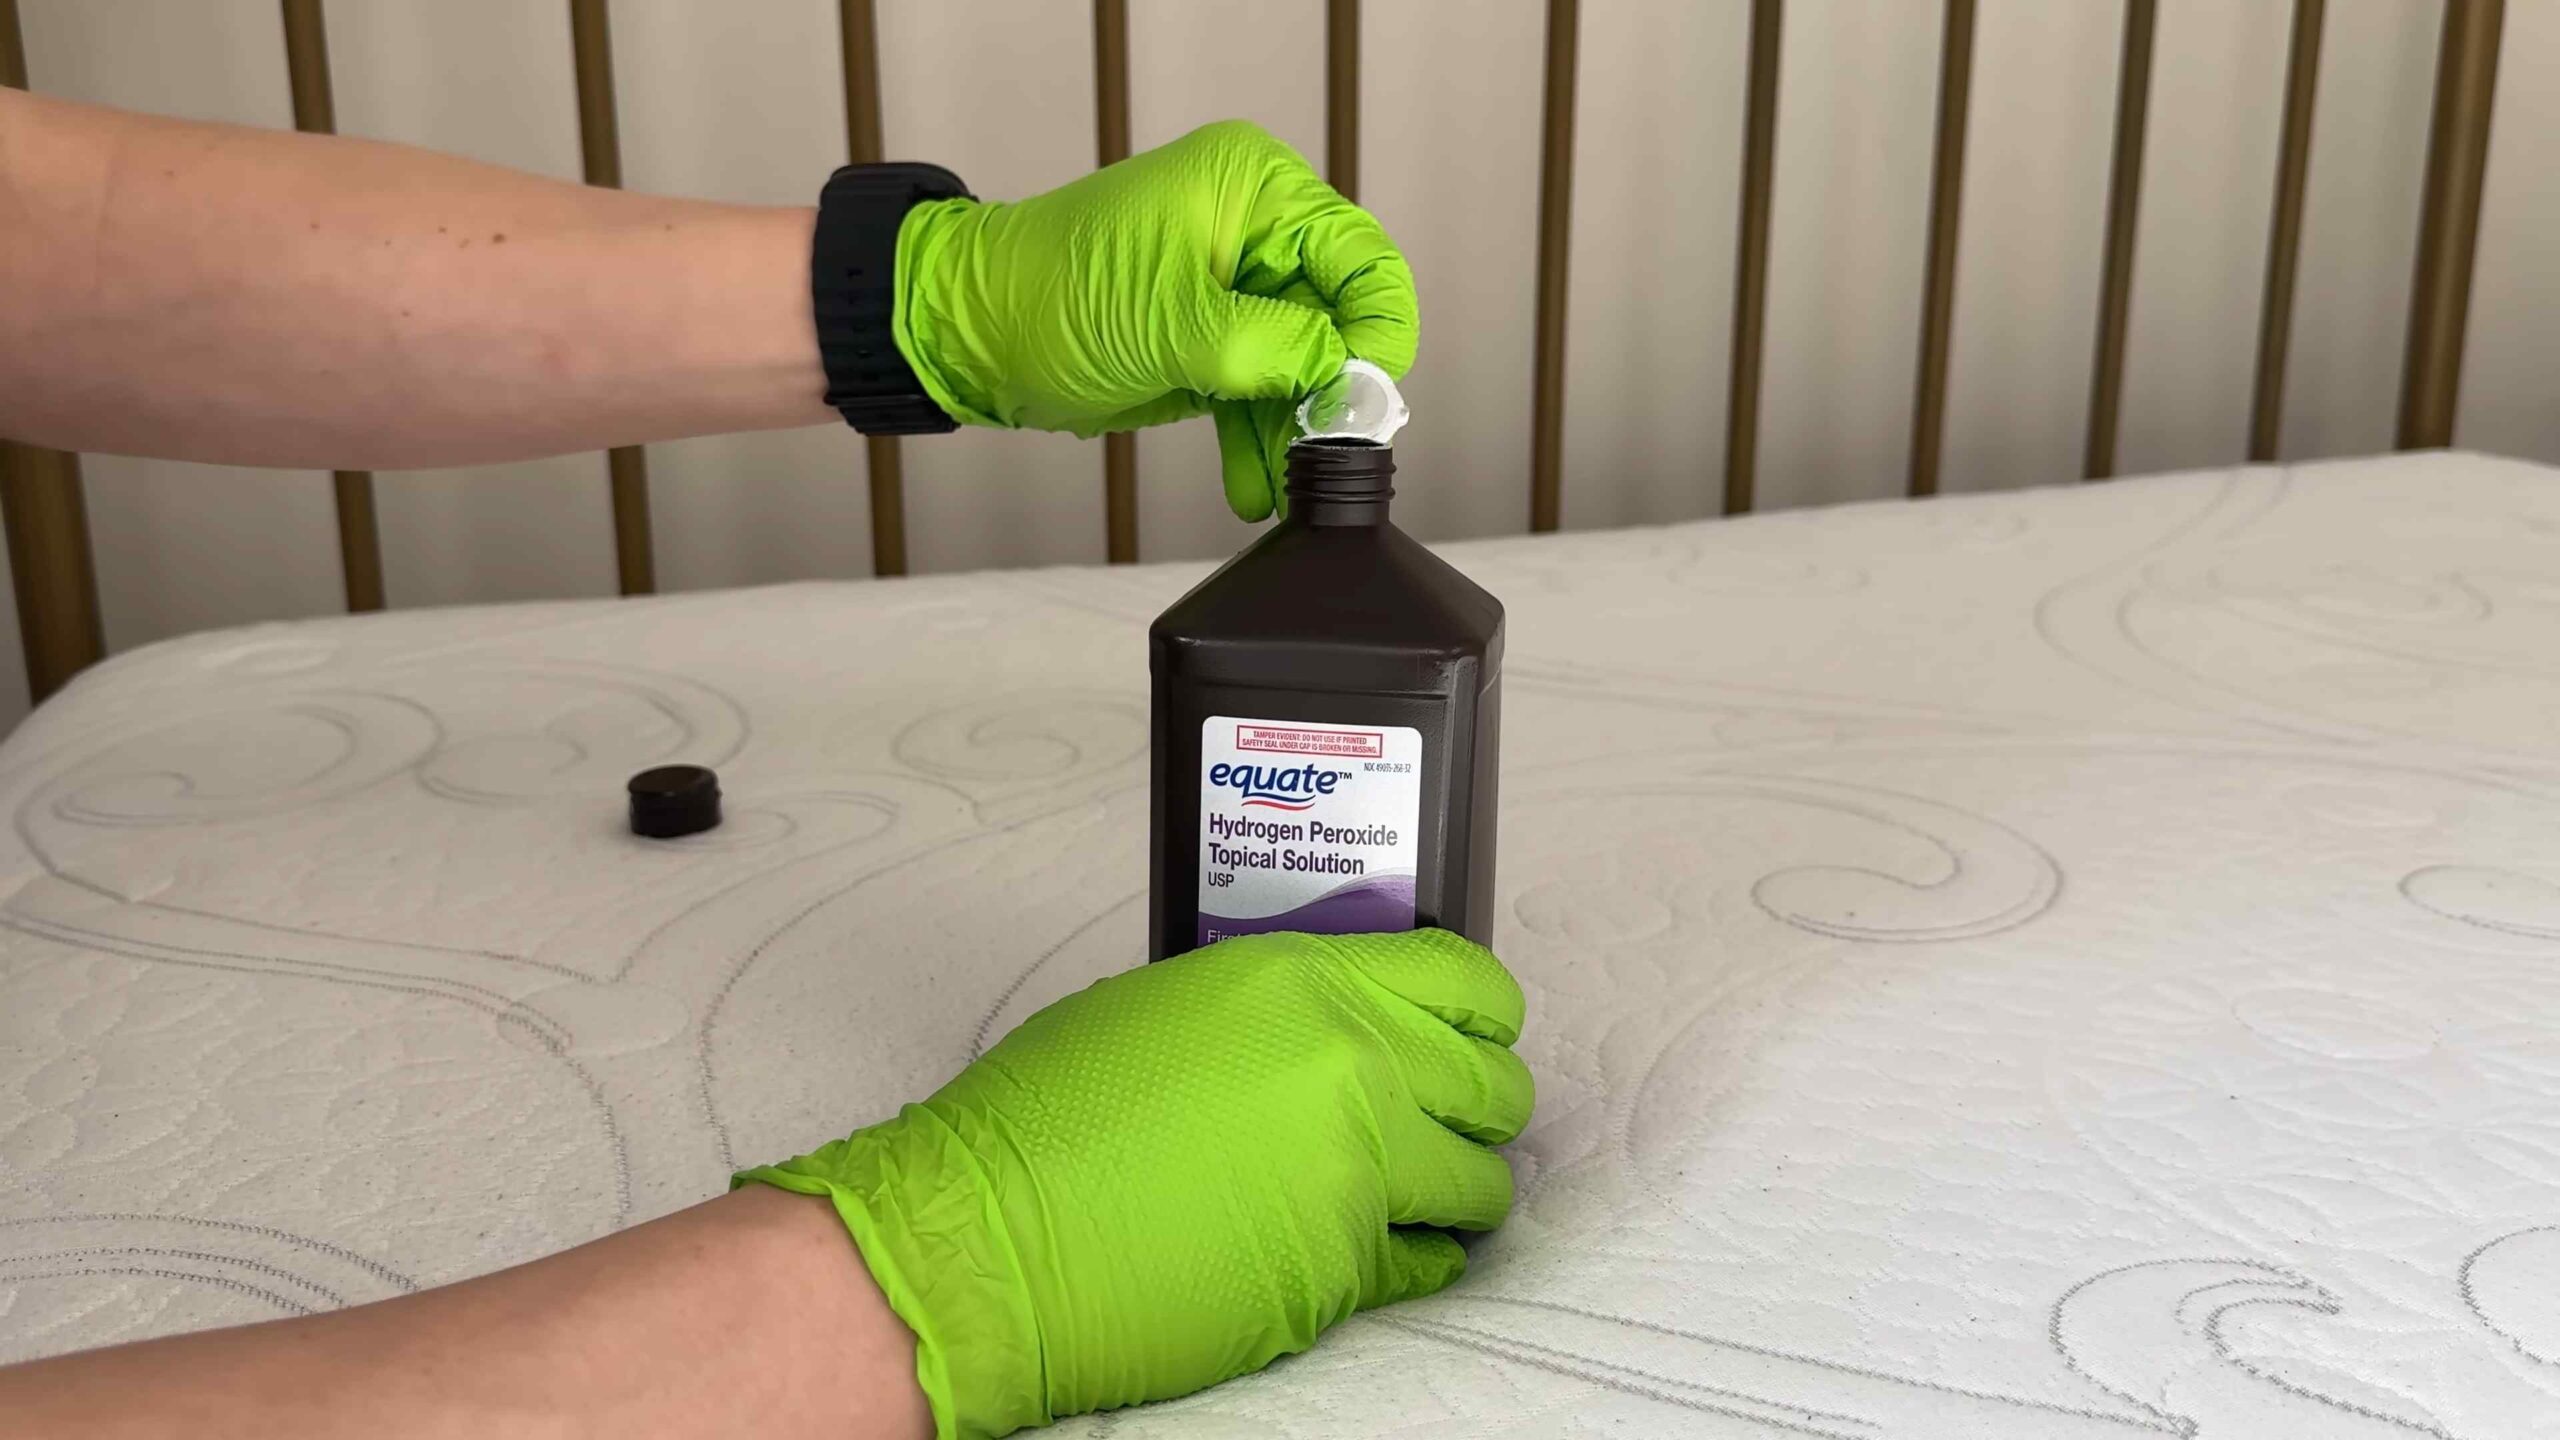
* **Hydrogen Peroxide (3%):** For tackling tougher stains.
* **Dish Soap (Gentle):** A tiny bit of dish soap can help lift grease or oil-based stains.
* **Water:** For diluting the hydrogen peroxide and dish soap.
Step-by-Step Guide: Cleaning Your Mattress Like a Pro
Alright, let’s get down to business! Here’s how I clean my mattress using this natural method:
1. Strip the Bed and Prepare the Area
* First things first, remove all bedding, including sheets, blankets, pillows, and mattress protectors. Wash everything according to the care instructions. This is a great opportunity to give your bedding a thorough cleaning too!
* Open the windows to ventilate the room. Fresh air is your friend!
* If possible, prop up your mattress to allow for better airflow. This will help it dry faster after cleaning.
2. Vacuum Thoroughly
* This is a really important step! Use the upholstery attachment on your vacuum cleaner to thoroughly vacuum the entire surface of the mattress. Pay special attention to seams, crevices, and any areas where you suspect dust mites might be hiding.
* Vacuum the sides of the mattress as well.
* Don’t rush this step! The more you vacuum, the more dirt and debris you’ll remove.
3. Deodorize with Baking Soda
* This is where the magic happens! Pour baking soda into a sieve or sifter (or just sprinkle it directly from the box if you don’t have one).
* Evenly distribute a generous layer of baking soda over the entire surface of the mattress. You want a nice, even coating.
* If you’re using essential oils, add a few drops to the baking soda before sprinkling it on the mattress. I usually use about 10-15 drops for a queen-sized mattress.
* Now, the hard part: waiting! Let the baking soda sit on the mattress for at least 4-6 hours, or even better, overnight. The longer it sits, the more odors and moisture it will absorb.
4. Vacuum Again (and Again!)
* After the baking soda has worked its magic, it’s time to vacuum it up. Use the upholstery attachment again and vacuum the entire surface of the mattress thoroughly.
* You might need to go over the mattress several times to remove all the baking soda. Be patient and persistent!
* Make sure to empty the vacuum cleaner bag or canister frequently, as it will fill up quickly with baking soda and dust.
5. Spot Treat Stains (If Necessary)
* If you have any stubborn stains, now’s the time to tackle them. Remember to always test any cleaning solution in an inconspicuous area first to make sure it doesn’t damage the mattress.
* **For General Stains:** Mix a small amount of gentle dish soap with water. Dip a clean cloth into the solution and gently blot the stain. Avoid rubbing, as this can spread the stain. Blot with a clean, damp cloth to remove any soap residue.
* **For Blood Stains:** Hydrogen peroxide (3%) is your best friend! Pour a small amount of hydrogen peroxide directly onto the stain. Let it fizz for a few minutes, then blot with a clean cloth. Repeat as needed. Be careful not to over-saturate the mattress.
* **For Urine Stains:** Mix equal parts white vinegar and water in a spray bottle. Spray the stain and let it sit for 10-15 minutes. Blot with a clean cloth. Then, sprinkle baking soda over the area to absorb any remaining moisture and odor. Let it sit for a few hours, then vacuum it up.
* Important Note: Always blot stains, never rub. Rubbing can damage the mattress fibers and spread the stain.
6. Dry Thoroughly
* This is crucial! Make sure the mattress is completely dry before putting your bedding back on.
* If possible, place the mattress in direct sunlight to help it dry faster.
* You can also use a fan to circulate air around the mattress.
* Avoid using a hairdryer, as the heat can damage the mattress.
* Important: Putting bedding on a damp mattress can lead to mold and mildew growth, so be patient and make sure it’s completely dry.
Extra Tips and Tricks for a Sparkling Clean Mattress
Here are a few extra tips and tricks I’ve learned over the years to keep my mattress in tip-top shape:
* **Use a Mattress Protector:** A good quality mattress protector is your first line of defense against spills, stains, and dust mites. Make sure to wash it regularly according to the care instructions.
* **Flip and Rotate Your Mattress Regularly:** This helps distribute wear and tear evenly and prevents sagging. I usually flip and rotate my mattress every 3-6 months.
* **Vacuum Your Mattress Regularly:** Even if you don’t have any visible stains, vacuuming your mattress every month or two can help remove dust mites and allergens.
* **Air Out Your Mattress Regularly:** Open the windows and let your mattress air out for a few hours every few months. This helps remove moisture and odors.
* **Consider a Professional Cleaning:** If you have a particularly dirty or stained mattress, or if you’re dealing with a severe allergy problem, you might want to consider hiring a professional mattress cleaning service.
* Sunlight is a Natural Disinfectant: Whenever possible, let your mattress sit in direct sunlight. The sun’s UV rays can help kill bacteria and disinfect the mattress.
* Don’t Eat or Drink in Bed: I know, it’s tempting! But eating and drinking in bed is a surefire way to end up with spills and stains.
* Address Stains Immediately: The sooner you address a stain, the easier it will be to remove. Don’t let stains sit for too long, as they can become more difficult to treat.
* Test Cleaning Solutions in an Inconspicuous Area: Before applying any cleaning solution to a stain, always test it in a small, hidden area of the mattress to make sure it doesn’t damage the fabric.
* Be Patient: Cleaning a mattress can take time and effort. Don’t get discouraged if you don’t see results immediately. Keep at it, and you’ll eventually have a clean and fresh mattress.
Why This Method Works: The Science Behind the Clean
You might be wondering why these simple ingredients are so effective at cleaning a mattress. Here’s a little bit of the science behind it:
* **Baking Soda:** Baking soda is a natural alkaline substance that neutralizes acids and absorbs odors. It also has mild abrasive properties that can help loosen dirt and grime.
* **Essential Oils:** Many essential oils have antibacterial, antifungal, and antiviral properties. They can also help to freshen and deodorize the mattress.
* **Hydrogen Peroxide:** Hydrogen peroxide is a mild bleaching agent that can help to remove stains. It also has antibacterial properties.
* **Dish Soap:** Dish soap is a surfactant, which means it helps to break down grease and oil. This makes it effective at removing greasy stains.
By combining these ingredients, you can create a powerful and effective natural mattress cleaner that will leave your mattress clean, fresh, and healthy.
So there you have it! My complete guide to cleaning your mattress naturally. It might seem like a lot of steps, but trust me, it’s worth it. A clean mattress is a happy mattress (and a happy you!). Sweet dreams!
Conclusion
So, there you have it! Creating your own natural mattress cleaner is not only incredibly simple and cost-effective, but it’s also a fantastic way to ensure a healthier sleep environment for you and your family. We’ve walked you through the process, highlighting the benefits of using natural ingredients like baking soda and essential oils, which are far gentler on your mattress fibers and your respiratory system than harsh chemical cleaners.
Think about it: your mattress is where you spend a significant portion of your life. It’s a haven for dust mites, dead skin cells, and potential allergens. Regularly cleaning it with a natural solution is an investment in your well-being. You’ll breathe easier, sleep sounder, and wake up feeling refreshed, knowing you’re resting on a surface free from harmful chemicals.
But the beauty of this DIY approach lies in its adaptability. Feel free to experiment with different essential oil combinations to find a scent that truly resonates with you. Lavender is a classic choice for relaxation, but you could also try eucalyptus for its invigorating properties, or tea tree oil for its antibacterial benefits. You can also add a few drops of lemon essential oil to the baking soda for an extra boost of cleaning power and a fresh, citrusy scent.
For those with particularly stubborn stains, consider pre-treating the area with a paste of baking soda and water before applying the overall cleaner. Let the paste sit for a few hours, or even overnight, to draw out the stain before vacuuming it away. Remember to always test any cleaning solution on a small, inconspicuous area of your mattress first to ensure it doesn’t cause any discoloration or damage.
We truly believe that this DIY natural mattress cleaner is a game-changer for anyone looking to improve their sleep hygiene and reduce their exposure to harmful chemicals. It’s a simple, effective, and affordable way to keep your mattress fresh, clean, and healthy.
Now, we want to hear from you! Give this DIY trick a try and let us know how it works for you. What essential oil combinations did you use? Did you notice a difference in your sleep quality? Share your experiences and tips in the comments below. We’re excited to learn from your successes and help troubleshoot any challenges you might encounter. Together, we can create a community of healthier sleepers, one naturally clean mattress at a time. Don’t hesitate to share this article with your friends and family who might also benefit from this simple yet powerful DIY solution. Let’s spread the word about the importance of natural cleaning and its positive impact on our health and well-being.
Frequently Asked Questions (FAQ)
What are the benefits of using a natural mattress cleaner compared to commercial cleaners?
Natural mattress cleaners offer several advantages over their commercial counterparts. Firstly, they are free from harsh chemicals, synthetic fragrances, and volatile organic compounds (VOCs) that can irritate the skin, respiratory system, and even trigger allergies. Many commercial cleaners contain ingredients that are harmful to the environment and can linger in your mattress for extended periods, exposing you to toxins while you sleep. Natural cleaners, on the other hand, utilize ingredients like baking soda, essential oils, and vinegar, which are biodegradable, non-toxic, and generally safer for both you and the planet. Secondly, DIY natural cleaners are often significantly more cost-effective than store-bought options. You likely already have many of the necessary ingredients in your pantry, making it a budget-friendly way to maintain a clean and healthy sleep environment. Finally, creating your own natural mattress cleaner allows you to customize the ingredients to suit your specific needs and preferences. You can choose essential oils with scents that you find relaxing and therapeutic, and you can adjust the concentration of ingredients based on the severity of stains or odors.
How often should I clean my mattress with a natural mattress cleaner?
The frequency of cleaning your mattress depends on several factors, including your lifestyle, allergies, and whether you have pets or children. As a general guideline, it’s recommended to deep clean your mattress at least twice a year. However, if you have allergies or asthma, or if you have pets that sleep on your bed, you may want to clean it more frequently, perhaps every three months. Regular vacuuming of your mattress is also essential to remove dust mites, dead skin cells, and other allergens. Aim to vacuum your mattress at least once a month, or even weekly if you are particularly sensitive to allergens. In between deep cleanings, you can freshen up your mattress by sprinkling baking soda over the surface, letting it sit for a few hours, and then vacuuming it up. This will help to absorb odors and moisture, keeping your mattress smelling fresh and clean.
Can I use this natural mattress cleaner on all types of mattresses?
Generally, yes, this natural mattress cleaner is safe to use on most types of mattresses, including innerspring, memory foam, latex, and hybrid mattresses. However, it’s always a good idea to test the cleaner on a small, inconspicuous area of your mattress first to ensure that it doesn’t cause any discoloration or damage. This is especially important for mattresses with delicate fabrics or special coatings. Avoid using excessive amounts of liquid when cleaning your mattress, as this can damage the internal components and promote mold growth. Instead, use a light, even spray and allow the mattress to dry completely before putting your bedding back on. If you have a particularly delicate or expensive mattress, consult the manufacturer’s instructions for specific cleaning recommendations.
What essential oils are best to use in a natural mattress cleaner?
The best essential oils to use in a natural mattress cleaner depend on your personal preferences and desired benefits. Lavender is a popular choice for its calming and relaxing properties, which can promote better sleep. Tea tree oil is known for its antibacterial and antifungal properties, making it a great option for killing germs and preventing mold growth. Eucalyptus oil has a refreshing scent and can help to clear congestion, making it ideal for those with allergies or respiratory issues. Lemon oil has a bright, citrusy scent and can help to deodorize and disinfect your mattress. Other essential oils that you might consider include chamomile, peppermint, and rosemary. When choosing essential oils, be sure to select high-quality, pure essential oils from a reputable source. Avoid using synthetic fragrances or fragrance oils, as these can contain harmful chemicals and may not provide the same therapeutic benefits.
How long does it take for a mattress to dry after using a natural mattress cleaner?
The drying time for your mattress will depend on several factors, including the amount of liquid used, the humidity in your environment, and the type of mattress you have. Generally, it can take anywhere from 2 to 6 hours for a mattress to dry completely after cleaning. To speed up the drying process, you can open windows and doors to improve ventilation, or use a fan to circulate air around the mattress. Avoid using a hairdryer or other heat source to dry your mattress, as this can damage the fibers and potentially create a fire hazard. Before putting your bedding back on, make sure that your mattress is completely dry to prevent mold growth and unpleasant odors. You can also use a mattress protector to help absorb moisture and protect your mattress from stains and spills.
Leave a Comment