

Overlooked spots to clean – we all have them! Those sneaky corners, hidden crevices, and forgotten surfaces that somehow escape our regular cleaning routines. Let’s be honest, who *really* enjoys scrubbing behind the toilet or dusting the top of the refrigerator? But neglecting these areas can lead to a build-up of grime, dust, and even allergens, impacting not only the cleanliness of your home but also your overall well-being.
Throughout history, maintaining a clean home has been a sign of prosperity and good health. From ancient civilizations using natural remedies to modern-day cleaning products, the desire for a tidy living space is deeply ingrained in our culture. But with our busy lives, it’s easy to let some areas slide. That’s where this DIY guide comes in!
I’m here to share some simple yet effective DIY tricks and hacks to tackle those overlooked spots to clean. We’ll uncover the secrets to effortlessly banishing dust bunnies, conquering stubborn stains, and revitalizing those forgotten areas. Think of it as a mini-makeover for your home, without breaking the bank or spending hours scrubbing. Ready to transform your home from “pretty clean” to sparkling? Let’s get started!
DIY Deep Clean: Conquering the Overlooked Spots in Your Home
Okay, let’s be honest, we all have those spots in our homes that we conveniently “forget” to clean. They’re not glaringly obvious, but dust, grime, and who-knows-what-else accumulate over time. Today, we’re tackling those overlooked areas and giving them the deep clean they deserve! Get ready to roll up your sleeves, because we’re going to make your home sparkle from top to bottom.
Gather Your Cleaning Arsenal
Before we dive in, let’s make sure we have all the necessary tools and supplies. Trust me, being prepared will save you time and frustration. Here’s what I recommend:
* Microfiber cloths: These are my absolute go-to for dusting and wiping surfaces. They’re super absorbent and won’t leave behind any lint.
* All-purpose cleaner: Choose your favorite! I personally prefer a natural, eco-friendly option, but anything that cuts through grease and grime will work.
* Baking soda: This is a natural cleaning powerhouse! It’s great for scrubbing, deodorizing, and removing stains.
* White vinegar: Another natural cleaning superstar! It’s excellent for disinfecting, removing hard water stains, and dissolving mineral deposits.
* Old toothbrush: Perfect for getting into those tight, hard-to-reach spots.
* Cotton swabs: Ideal for cleaning small crevices and details.
* Vacuum cleaner with attachments: A must-have for removing dust and debris from upholstery, carpets, and hard floors.
* Dish soap: For washing dishes, obviously, but also surprisingly effective for cleaning other surfaces.
* Spray bottle: For diluting cleaning solutions and applying them evenly.
* Rubber gloves: Protect your hands from harsh chemicals and keep them clean.
* Screwdriver (various sizes): You might need these to remove vent covers or other fixtures for thorough cleaning.
* Ladder or step stool: To reach high places safely.
* Bucket: For holding cleaning solutions.
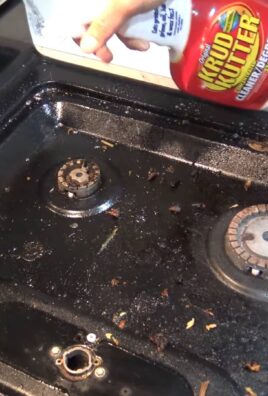
Phase 1: The Kitchen – Beyond the Countertops
The kitchen is a high-traffic area, and it’s easy for grime to build up in unexpected places. Let’s tackle those hidden dirt magnets.
1. Clean the Range Hood Filter: This is probably the most neglected area in the kitchen. Grease and grime accumulate quickly, reducing the hood’s effectiveness.
* Step 1: Carefully remove the filter(s) from the range hood. Consult your appliance manual if you’re unsure how to do this.
* Step 2: Fill a sink or bucket with hot, soapy water. Add a generous squirt of dish soap.
* Step 3: Submerge the filter(s) in the soapy water and let them soak for at least 30 minutes. For heavily soiled filters, you can add 1/2 cup of baking soda to the water.
* Step 4: After soaking, scrub the filter(s) with a scrub brush or sponge to remove any remaining grease and grime.
* Step 5: Rinse the filter(s) thoroughly with clean water.
* Step 6: Allow the filter(s) to air dry completely before reinstalling them in the range hood.
2. Wash the Dishwasher: Yes, the machine that cleans your dishes needs cleaning too! Food particles and mineral deposits can build up over time, affecting its performance.
* Step 1: Remove the bottom rack of the dishwasher.
* Step 2: Check the drain for any food debris and remove it.
* Step 3: Place a dishwasher-safe cup filled with 1 cup of white vinegar on the top rack.
* Step 4: Run the dishwasher on a hot cycle.
* Step 5: After the cycle is complete, sprinkle 1 cup of baking soda on the bottom of the dishwasher.
* Step 6: Run a short, hot cycle to freshen and deodorize the dishwasher.
* Step 7: Clean the dishwasher door seals with a damp cloth to remove any food particles or mildew.
3. Clean the Refrigerator Coils: Dust and dirt can accumulate on the refrigerator coils, making it work harder and less efficiently.
* Step 1: Unplug the refrigerator.
* Step 2: Locate the refrigerator coils. They are usually located on the back or bottom of the refrigerator.
* Step 3: Use a vacuum cleaner with a brush attachment to remove dust and dirt from the coils.
* Step 4: Plug the refrigerator back in.
4. Clean Small Appliances: Toasters, blenders, and coffee makers often get overlooked.
* Toaster: Unplug, remove the crumb tray and wash it. Turn the toaster upside down and shake out any remaining crumbs. Wipe down the exterior.
* Blender: Most blenders have self-cleaning cycles. If not, fill with soapy water and blend for a minute. Rinse thoroughly.
* Coffee Maker: Run a cycle with a mixture of equal parts white vinegar and water. Then, run two cycles with just water to rinse.
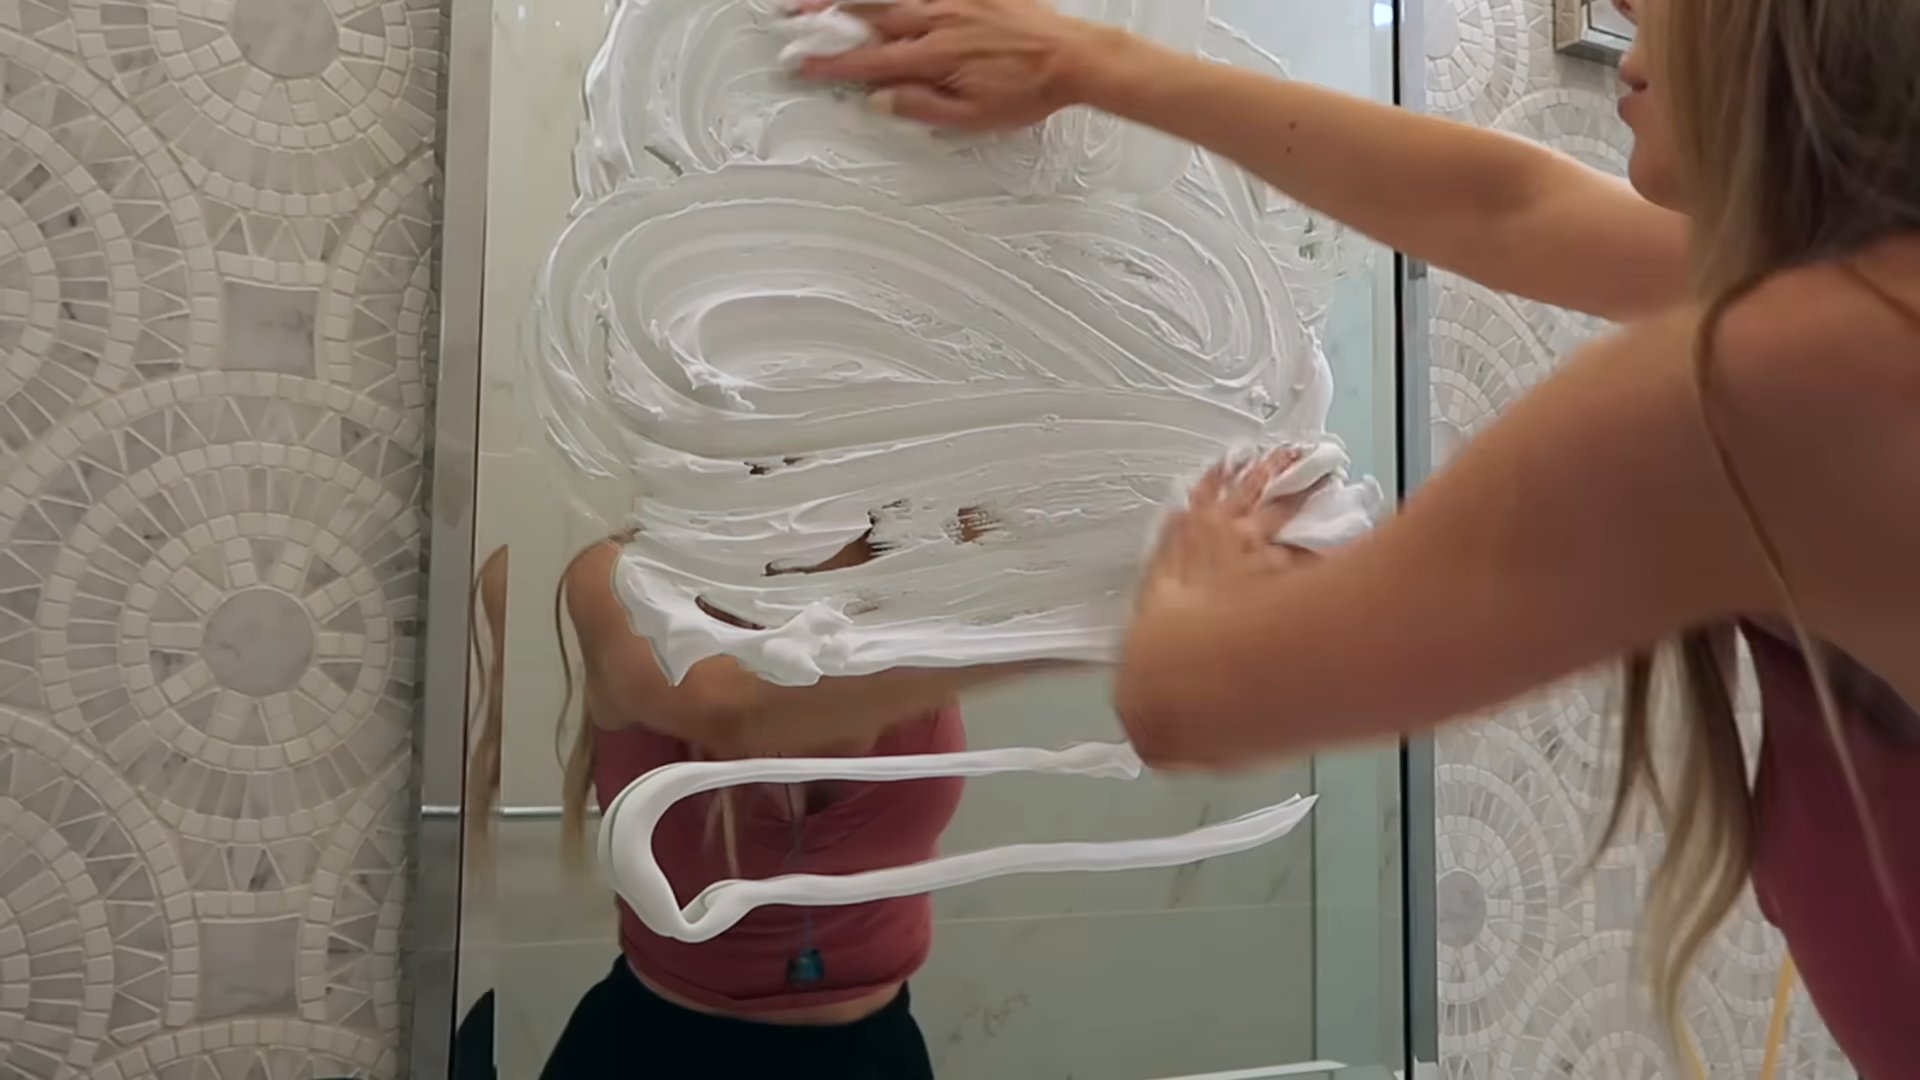
Phase 2: The Bathroom – Beyond the Sink and Shower
The bathroom is another area prone to grime and mildew. Let’s tackle those hidden spots.
1. Clean the Showerhead: Mineral deposits can clog the showerhead, reducing water pressure.
* Step 1: Fill a plastic bag with white vinegar.
* Step 2: Secure the bag around the showerhead with a rubber band, ensuring that the showerhead is submerged in the vinegar.
* Step 3: Let it soak for at least 30 minutes, or preferably overnight.
* Step 4: Remove the bag and run the shower to flush out any remaining vinegar and mineral deposits.
* Step 5: Use a toothbrush to scrub away any stubborn deposits.
2. Clean the Toilet Base and Behind the Toilet: These areas are often neglected, but they can accumulate dust, dirt, and even mold.
* Step 1: Use a vacuum cleaner with a hose attachment to remove dust and debris from the base of the toilet and behind it.
* Step 2: Spray the area with an all-purpose cleaner.
* Step 3: Wipe the area clean with a microfiber cloth.
* Step 4: For stubborn stains, use a scrub brush or sponge.
3. Clean the Bathroom Fan: Bathroom fans can accumulate dust and lint, reducing their effectiveness.
* Step 1: Turn off the power to the bathroom fan at the circuit breaker.
* Step 2: Remove the fan cover.
* Step 3: Use a vacuum cleaner with a brush attachment to remove dust and lint from the fan blades and the fan housing.
* Step 4: Wipe the fan blades and the fan housing with a damp cloth.
* Step 5: Reinstall the fan cover.
* Step 6: Turn the power back on at the circuit breaker.
4. Clean Grout: Grout can easily become stained and discolored.
* Step 1: Make a paste of baking soda and water.
* Step 2: Apply the paste to the grout.
* Step 3: Let it sit for 10-15 minutes.
* Step 4: Scrub the grout with an old toothbrush.
* Step 5: Rinse with water.
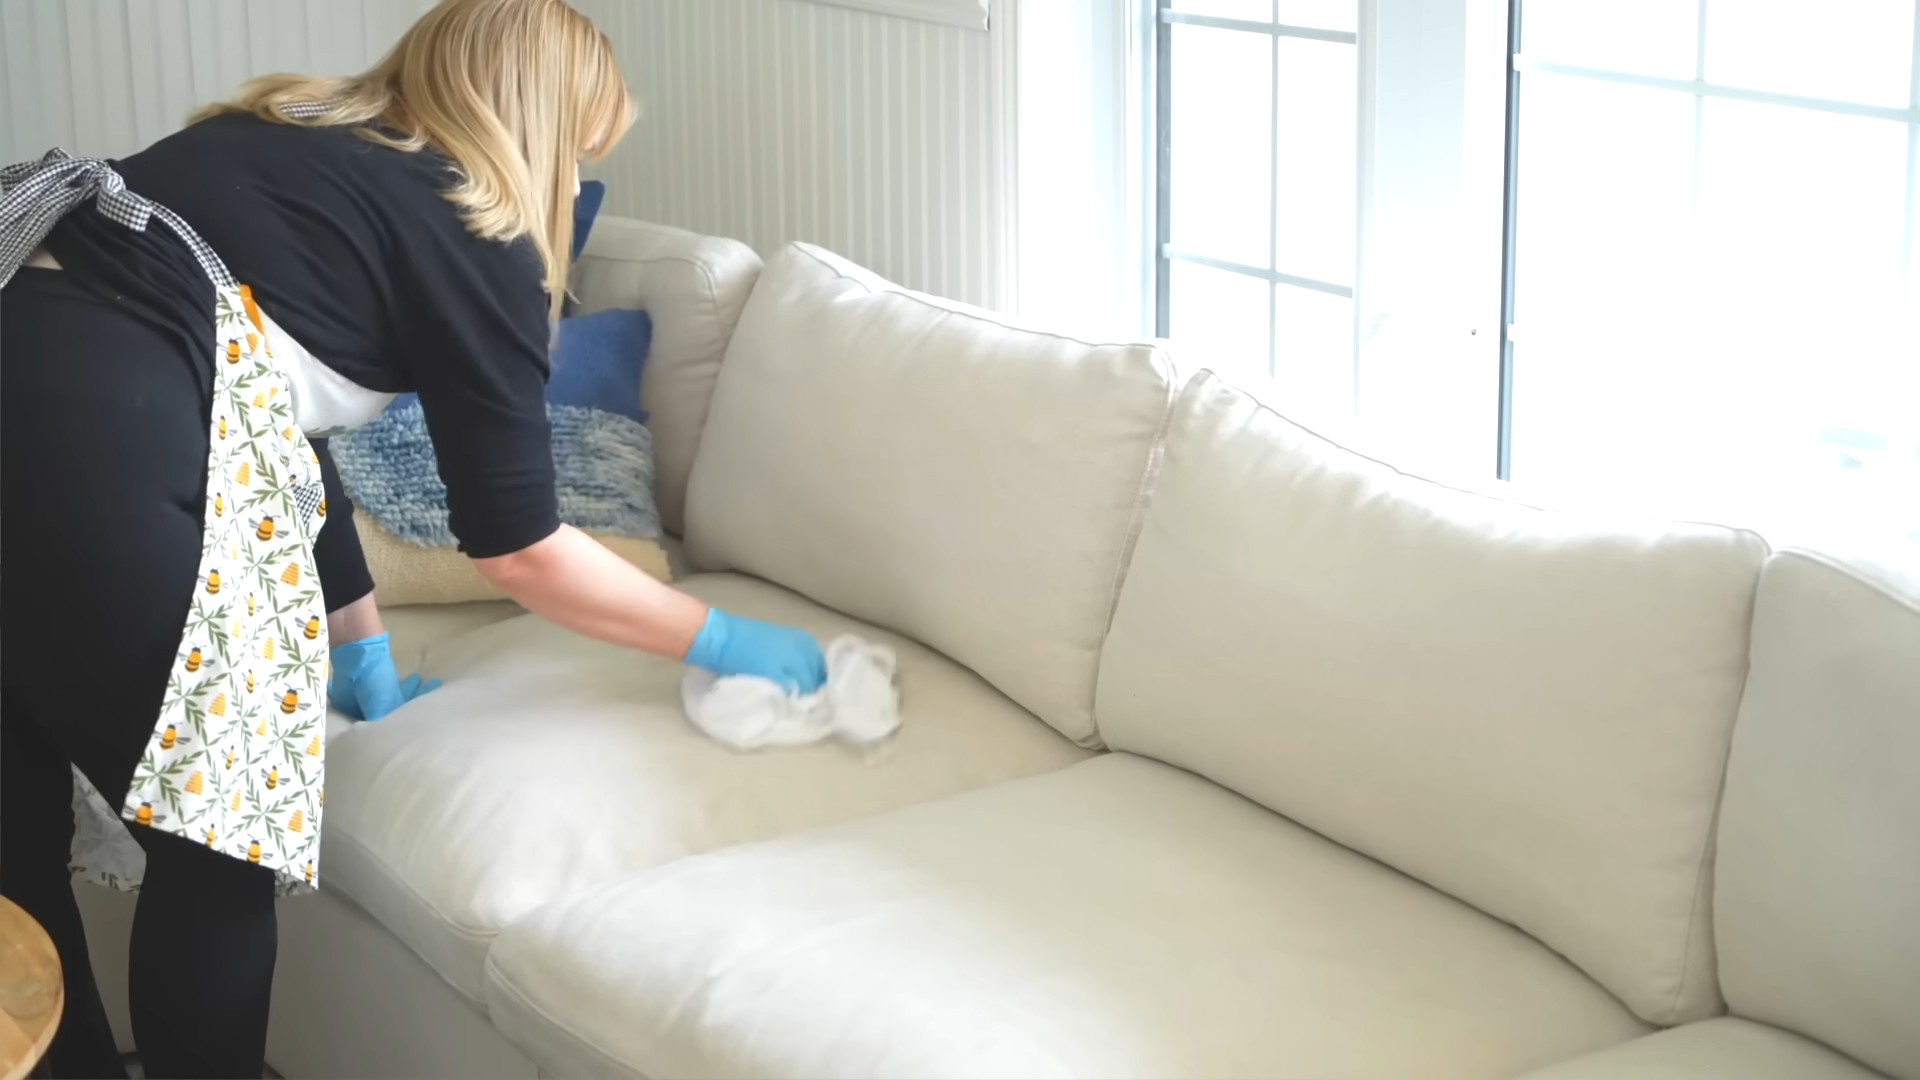
Phase 3: Living Areas – Dusting Beyond the Obvious
Living areas are where we spend a lot of our time, so it’s important to keep them clean and dust-free.
1. Dust Light Fixtures: Light fixtures can accumulate a surprising amount of dust.
* Step 1: Turn off the light fixture.
* Step 2: Use a ladder or step stool to reach the light fixture safely.
* Step 3: Use a microfiber cloth or a duster to remove dust from the light fixture.
* Step 4: For glass light fixtures, you can use a glass cleaner to remove any smudges or fingerprints.
2. Clean Baseboards and Door Frames: These areas are often overlooked, but they can accumulate dust and dirt.
* Step 1: Use a vacuum cleaner with a brush attachment to remove dust and debris from the baseboards and door frames.
* Step 2: Wipe the
Conclusion
So, there you have it! Unveiling the secrets to tackling those often-overlooked spots to clean in your home doesn’t have to be a daunting task. By incorporating these simple yet effective DIY tricks into your cleaning routine, you’ll not only achieve a sparkling clean home but also create a healthier and more inviting living space for yourself and your loved ones.
This isn’t just about surface-level cleaning; it’s about addressing the hidden grime and build-up that can accumulate in those forgotten corners. Think about it: the gunk in your dishwasher, the dust bunnies under your furniture, the soap scum on your showerhead – these are all breeding grounds for bacteria and allergens that can impact your well-being. By targeting these overlooked areas, you’re taking a proactive step towards creating a truly clean and healthy environment.
But the best part is, you don’t need to spend a fortune on expensive cleaning products or hire a professional cleaning service to achieve these results. With a few simple household ingredients and a little bit of elbow grease, you can easily tackle these overlooked spots to clean and transform your home into a pristine sanctuary.
Why is this DIY approach a must-try? Because it’s cost-effective, environmentally friendly, and incredibly satisfying. You’ll be amazed at the difference it makes to the overall cleanliness and freshness of your home. Plus, you’ll have the peace of mind knowing that you’re using safe and natural ingredients to clean your living space.
Looking for variations? Absolutely! For cleaning grout, try adding a few drops of tea tree oil to your baking soda paste for an extra boost of antibacterial power. For cleaning your washing machine, consider using white vinegar instead of bleach for a more eco-friendly approach. And for cleaning your garbage disposal, try freezing vinegar into ice cubes and running them through the disposal to freshen and sanitize it.
We encourage you to try these DIY tricks and see the difference they can make in your home. Don’t be afraid to experiment and find what works best for you. And most importantly, don’t forget to share your experiences with us! We’d love to hear your tips, tricks, and success stories in the comments below. Let’s create a community of clean-home enthusiasts who are passionate about creating healthy and happy living spaces. So, grab your cleaning supplies, roll up your sleeves, and get ready to conquer those overlooked spots to clean! Your home will thank you for it.
Frequently Asked Questions
What are the most common overlooked spots to clean in a home?
The most common overlooked spots often include areas that are either out of sight or require a bit more effort to reach. These typically include:
* Inside the dishwasher (especially the filter and spray arms)
* Inside the washing machine (including the detergent dispenser and rubber gasket)
* Underneath furniture (couches, beds, and dressers)
* Behind appliances (refrigerator, stove, and washing machine)
* Showerheads and faucets
* Grout between tiles
* Garbage disposal
* Light fixtures and ceiling fans
* Window tracks and blinds
* Doorknobs and light switches (especially important for hygiene)
* Remote controls and other frequently touched electronics
How often should I clean these overlooked spots?
The frequency of cleaning these areas depends on factors like the number of occupants in the home, the presence of pets, and personal preferences. However, a general guideline is as follows:
* Dishwasher and washing machine: Clean the filter and run a cleaning cycle monthly.
* Underneath furniture: Vacuum or sweep weekly.
* Behind appliances: Clean every 3-6 months.
* Showerheads and faucets: Clean monthly to remove mineral buildup.
* Grout: Clean monthly or as needed to prevent staining.
* Garbage disposal: Clean weekly to prevent odors and buildup.
* Light fixtures and ceiling fans: Dust monthly.
* Window tracks and blinds: Clean every 2-3 months.
* Doorknobs and light switches: Wipe down weekly, or more frequently during cold and flu season.
* Remote controls and electronics: Wipe down weekly.
What are some natural cleaning solutions I can use for these areas?
Many effective and eco-friendly cleaning solutions can be made using common household ingredients:
* White vinegar: Excellent for cleaning showerheads, faucets, washing machines, and garbage disposals. Its acidity helps dissolve mineral buildup and kill bacteria.
* Baking soda: A mild abrasive that’s great for scrubbing grout, cleaning ovens, and deodorizing.
* Lemon juice: A natural disinfectant and degreaser that can be used to clean cutting boards, microwave ovens, and stainless steel.
* Hydrogen peroxide: A powerful disinfectant that can be used to clean toilets, sinks, and countertops.
* Essential oils: Tea tree oil, lavender oil, and eucalyptus oil have antibacterial and antifungal properties and can be added to cleaning solutions for an extra boost.
How can I prevent these areas from getting so dirty in the first place?
Prevention is key to minimizing the amount of cleaning required. Here are some tips:
* Wipe up spills immediately to prevent stains and buildup.
* Use a shower squeegee after each shower to prevent water spots and mildew.
* Regularly dust and vacuum to prevent dust accumulation.
* Use a doormat to trap dirt and debris before it enters your home.
* Ventilate your home properly to reduce moisture and prevent mold growth.
* Run your dishwasher and washing machine regularly to prevent buildup.
* Clean your garbage disposal after each use to prevent odors.
What tools do I need to clean these overlooked spots?
Having the right tools can make the job much easier:
* Microfiber cloths: Excellent for dusting and wiping surfaces.
* Scrub brushes: Useful for scrubbing grout, showerheads, and other hard-to-reach areas.
* Old toothbrush: Perfect for cleaning small crevices and corners.
* Spray bottles: For dispensing cleaning solutions.
* Vacuum cleaner with attachments: For cleaning under furniture and behind appliances.
* Squeegee: For cleaning shower doors and windows.
* Rubber gloves: To protect your hands from harsh chemicals.
* Screwdriver: To remove showerheads for cleaning.
Is it safe to mix different cleaning products?
No, it is generally not safe to mix different cleaning products, especially bleach with ammonia or vinegar. Mixing these chemicals can create toxic fumes that can be harmful or even deadly. Always use cleaning products separately and follow the manufacturer’s instructions carefully.
How do I clean grout effectively?
Cleaning grout can be challenging, but here’s an effective method:
1. Make a paste of baking soda and water.
2. Apply the paste to the grout lines.
3. Let it sit for 15-20 minutes.
4. Scrub the grout with a scrub brush or old toothbrush.
5. Rinse with water.
6. For stubborn stains, you can use a grout cleaner or a solution of bleach and water (use with caution and proper ventilation).
How do I clean a showerhead effectively?
Mineral buildup can clog showerheads and reduce water pressure. Here’s how to clean them:
1. Remove the showerhead from the shower arm (if possible).
2. Soak the showerhead in a solution of white vinegar and water (equal parts) for at least 30 minutes, or overnight for heavy buildup.
3. Use a toothbrush or pin to remove any remaining debris from the nozzles.
4. Rinse the showerhead thoroughly with water.
5. Reinstall the showerhead.
How do I clean my washing machine effectively?
Washing machines can accumulate detergent residue, mold, and mildew. Here’s how to clean them:
1. Run an empty washing machine cycle on the hottest setting.
2. Add 1 cup of white vinegar or bleach to the detergent dispenser.
3. For front-loading machines, clean the rubber gasket around the door with a solution of vinegar and water.
4. Leave the door open after each wash to allow the machine to air out and prevent mold growth.
How do I clean my dishwasher effectively?
Dishwashers can accumulate food particles and mineral buildup. Here’s how to clean them:
1. Remove and clean the dishwasher filter.
2. Place a cup of white vinegar on the top rack of the dishwasher.
3. Run the dishwasher on a hot cycle.
4. Sprinkle baking soda on the bottom of the dishwasher and run a short cycle.
5. Clean the spray arms with a toothpick or wire to remove any clogs.


Leave a Comment