

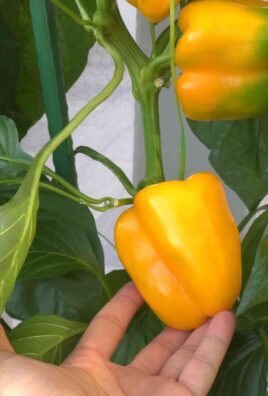
Plant Bush Beans and unlock a world of fresh, homegrown goodness right in your backyard! Have you ever dreamed of snipping vibrant green beans straight from the vine for your dinner? It’s easier than you think, and this DIY guide will show you how. For centuries, beans have been a staple crop in cultures around the globe, providing essential nutrients and a connection to the earth. From ancient civilizations to modern-day gardens, the humble bean has nourished and sustained communities.
But why should you bother planting bush beans? Well, imagine skipping those pricey, often lackluster beans at the grocery store. Instead, picture yourself harvesting crisp, flavorful beans bursting with sunshine and homegrown love. Plus, bush beans are incredibly space-efficient, making them perfect for small gardens, balconies, or even container gardening. I’m going to share some simple yet effective tricks and DIY hacks that will help you successfully plant bush beans, even if you’re a complete beginner. Get ready to enjoy a bountiful harvest and the satisfaction of growing your own delicious food!
DIY Guide: Growing Bush Beans Like a Pro (Even if You’re a Beginner!)
Okay, so you want to grow bush beans? Awesome! They’re relatively easy to care for, produce a ton of delicious beans, and are perfect for beginner gardeners. I’m going to walk you through everything you need to know, from prepping your soil to harvesting your bounty. Let’s get started!
What You’ll Need: The Bush Bean Arsenal
Before we dive into the dirt, let’s gather our supplies. Here’s a checklist of everything you’ll need to successfully grow bush beans:
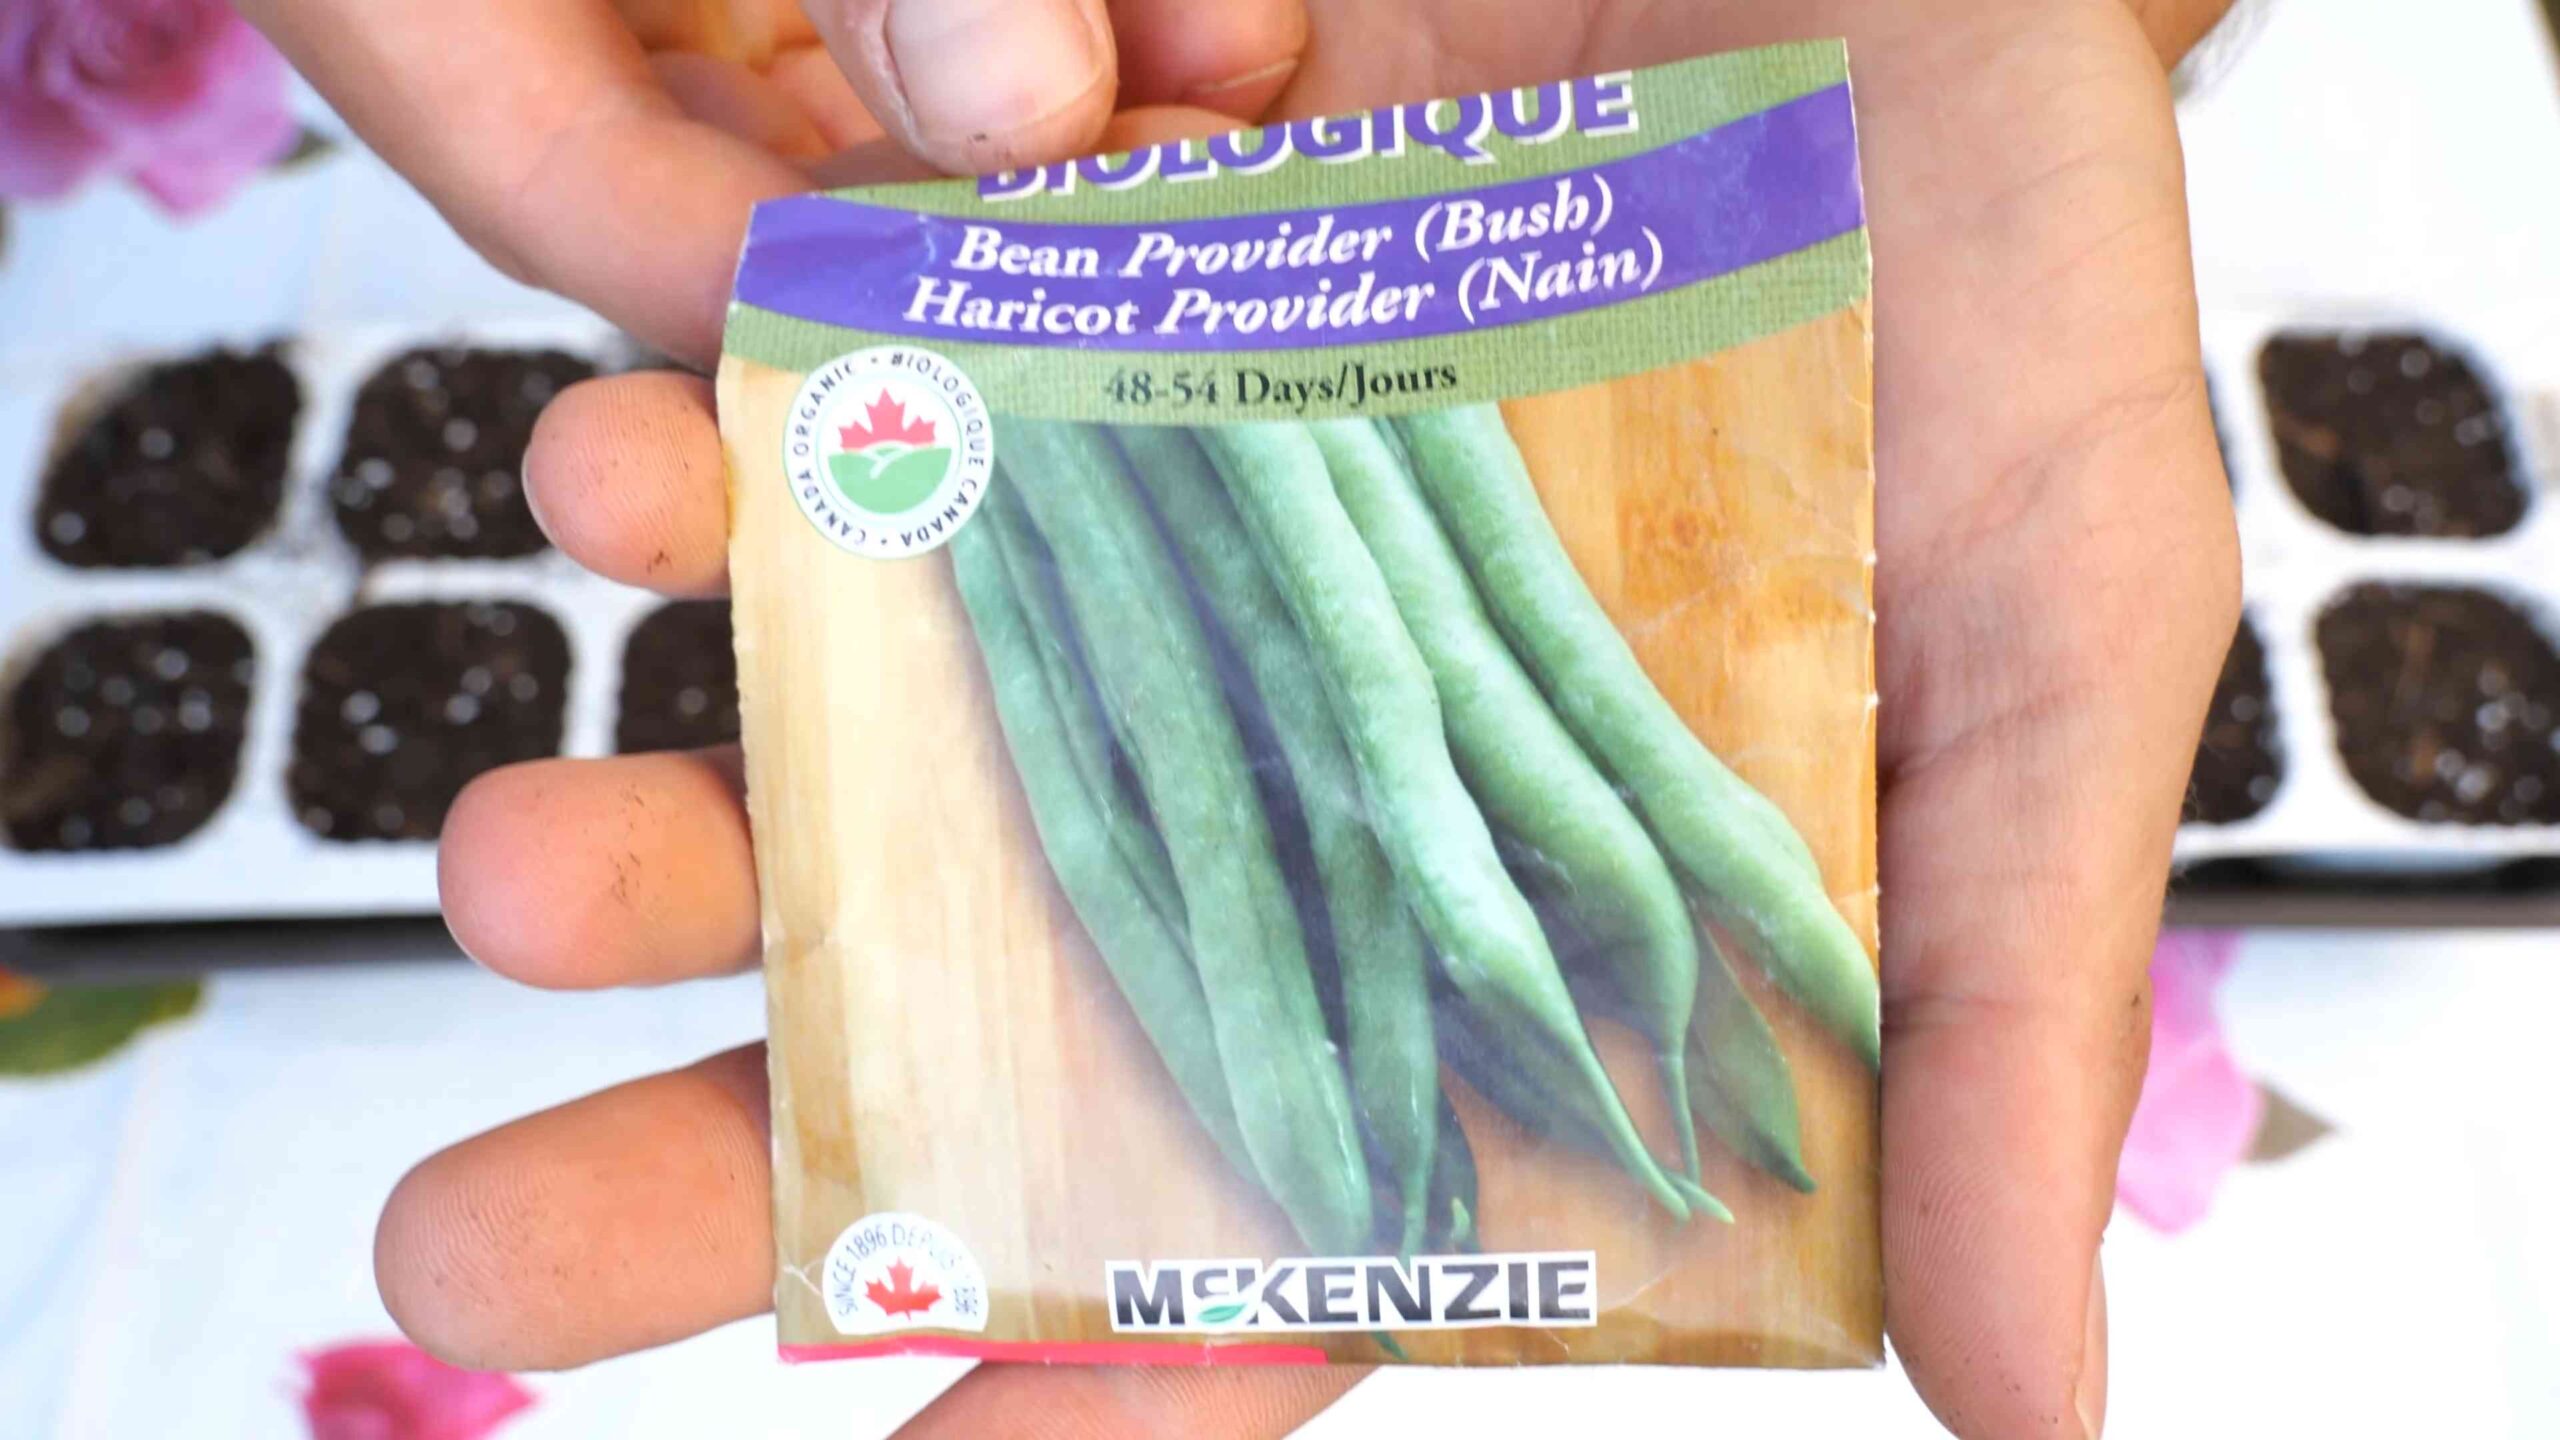
* Bush Bean Seeds: Obviously! Choose a variety that suits your taste and climate. Some popular choices include Blue Lake, Contender, and Provider. I personally love Blue Lake for their classic flavor and reliable yields.
* Gardening Gloves: Protect those hands!
* Trowel or Garden Shovel: For digging holes and moving soil.
* Measuring Tape or Ruler: To ensure proper spacing.
* Watering Can or Hose: For keeping your beans hydrated.
* Fertilizer (Optional): A balanced fertilizer can give your beans a boost, but it’s not always necessary. I usually use a slow-release organic fertilizer.
* Mulch (Optional): Helps retain moisture, suppress weeds, and regulate soil temperature. Straw, wood chips, or shredded leaves work great.
* Row Covers (Optional): To protect your seedlings from pests and frost, especially during the early stages.
* Soil Testing Kit (Optional): If you’re unsure about your soil’s pH and nutrient levels, a soil test can be incredibly helpful.
Choosing the Right Spot: Location, Location, Location!
Bush beans need at least 6-8 hours of direct sunlight per day. So, pick a spot in your garden that gets plenty of sunshine. Also, make sure the soil is well-draining. Beans don’t like to sit in soggy soil. If your soil is heavy clay, you’ll need to amend it with compost or other organic matter to improve drainage.
Preparing the Soil: Getting Down and Dirty
This is a crucial step! Healthy soil equals happy beans.
1. Clear the Area: Remove any weeds, rocks, or debris from the planting area. I like to use a garden fork to loosen the soil and make it easier to work with.
2. Amend the Soil: This is where you improve the soil’s texture and nutrient content. Spread a 2-3 inch layer of compost or well-rotted manure over the planting area.
3. Till or Dig: Use a garden fork or tiller to incorporate the compost into the top 6-8 inches of soil. This will help improve drainage and provide nutrients for your beans.
4. Smooth the Surface: Rake the soil smooth to create a level planting surface. This will make it easier to plant your seeds at the correct depth.
5. Soil Testing (Optional): If you haven’t already, now’s a good time to test your soil’s pH. Bush beans prefer a slightly acidic to neutral pH (around 6.0-7.0). If your soil is too acidic, you can add lime to raise the pH. If it’s too alkaline, you can add sulfur to lower the pH.
Planting the Seeds: The Moment of Truth
Now for the fun part! Planting those little bean seeds.
1. Timing is Key: Bush beans are warm-season crops, so you need to wait until the soil has warmed up to at least 60°F (16°C) before planting. This is usually a week or two after the last expected frost in your area. You can check your local weather forecast or use a soil thermometer to determine the soil temperature.
2. Spacing: Bush beans need adequate space to grow and produce beans. Plant seeds about 1-2 inches deep and 2-4 inches apart in rows that are 18-24 inches apart. I usually use my finger to make small holes in the soil, drop in the seeds, and then cover them with soil.
3. Watering: After planting, water the soil gently but thoroughly. This will help the seeds germinate and establish roots.
4. Mulching (Optional): Apply a layer of mulch around the plants to help retain moisture, suppress weeds, and regulate soil temperature. I like to use straw or wood chips.
5. Row Covers (Optional): If you’re concerned about pests or frost, you can cover your seedlings with row covers. These lightweight fabrics will protect your plants from the elements and keep pests away.
Caring for Your Bush Beans: Nurturing Your Crop
Once your beans have sprouted, it’s important to provide them with the care they need to thrive.
1. Watering: Bush beans need consistent moisture, especially during flowering and pod development. Water deeply whenever the top inch of soil feels dry to the touch. Avoid overhead watering, as this can promote fungal diseases. I prefer to use a soaker hose or drip irrigation to water my beans.
2. Weeding: Keep the area around your beans free of weeds. Weeds compete with your beans for water, nutrients, and sunlight. Hand-pull weeds regularly or use a hoe to cultivate the soil.
3. Fertilizing (Optional): If your soil is poor or your beans are not growing vigorously, you can fertilize them with a balanced fertilizer. Follow the instructions on the fertilizer package. I usually fertilize my beans once or twice during the growing season.
4. Pest Control: Bush beans can be susceptible to a variety of pests, including aphids, bean beetles, and spider mites. Inspect your plants regularly for signs of pests. If you find any, you can try spraying them with insecticidal soap or neem oil. I prefer to use organic pest control methods whenever possible.
5. Disease Control: Bush beans can also be susceptible to fungal diseases, such as powdery mildew and bean rust. To prevent these diseases, avoid overhead watering, provide good air circulation, and remove any infected leaves. You can also spray your plants with a fungicide if necessary.
Harvesting Your Bounty: The Fruits (or Beans!) of Your Labor
This is the most rewarding part! Harvesting your delicious bush beans.
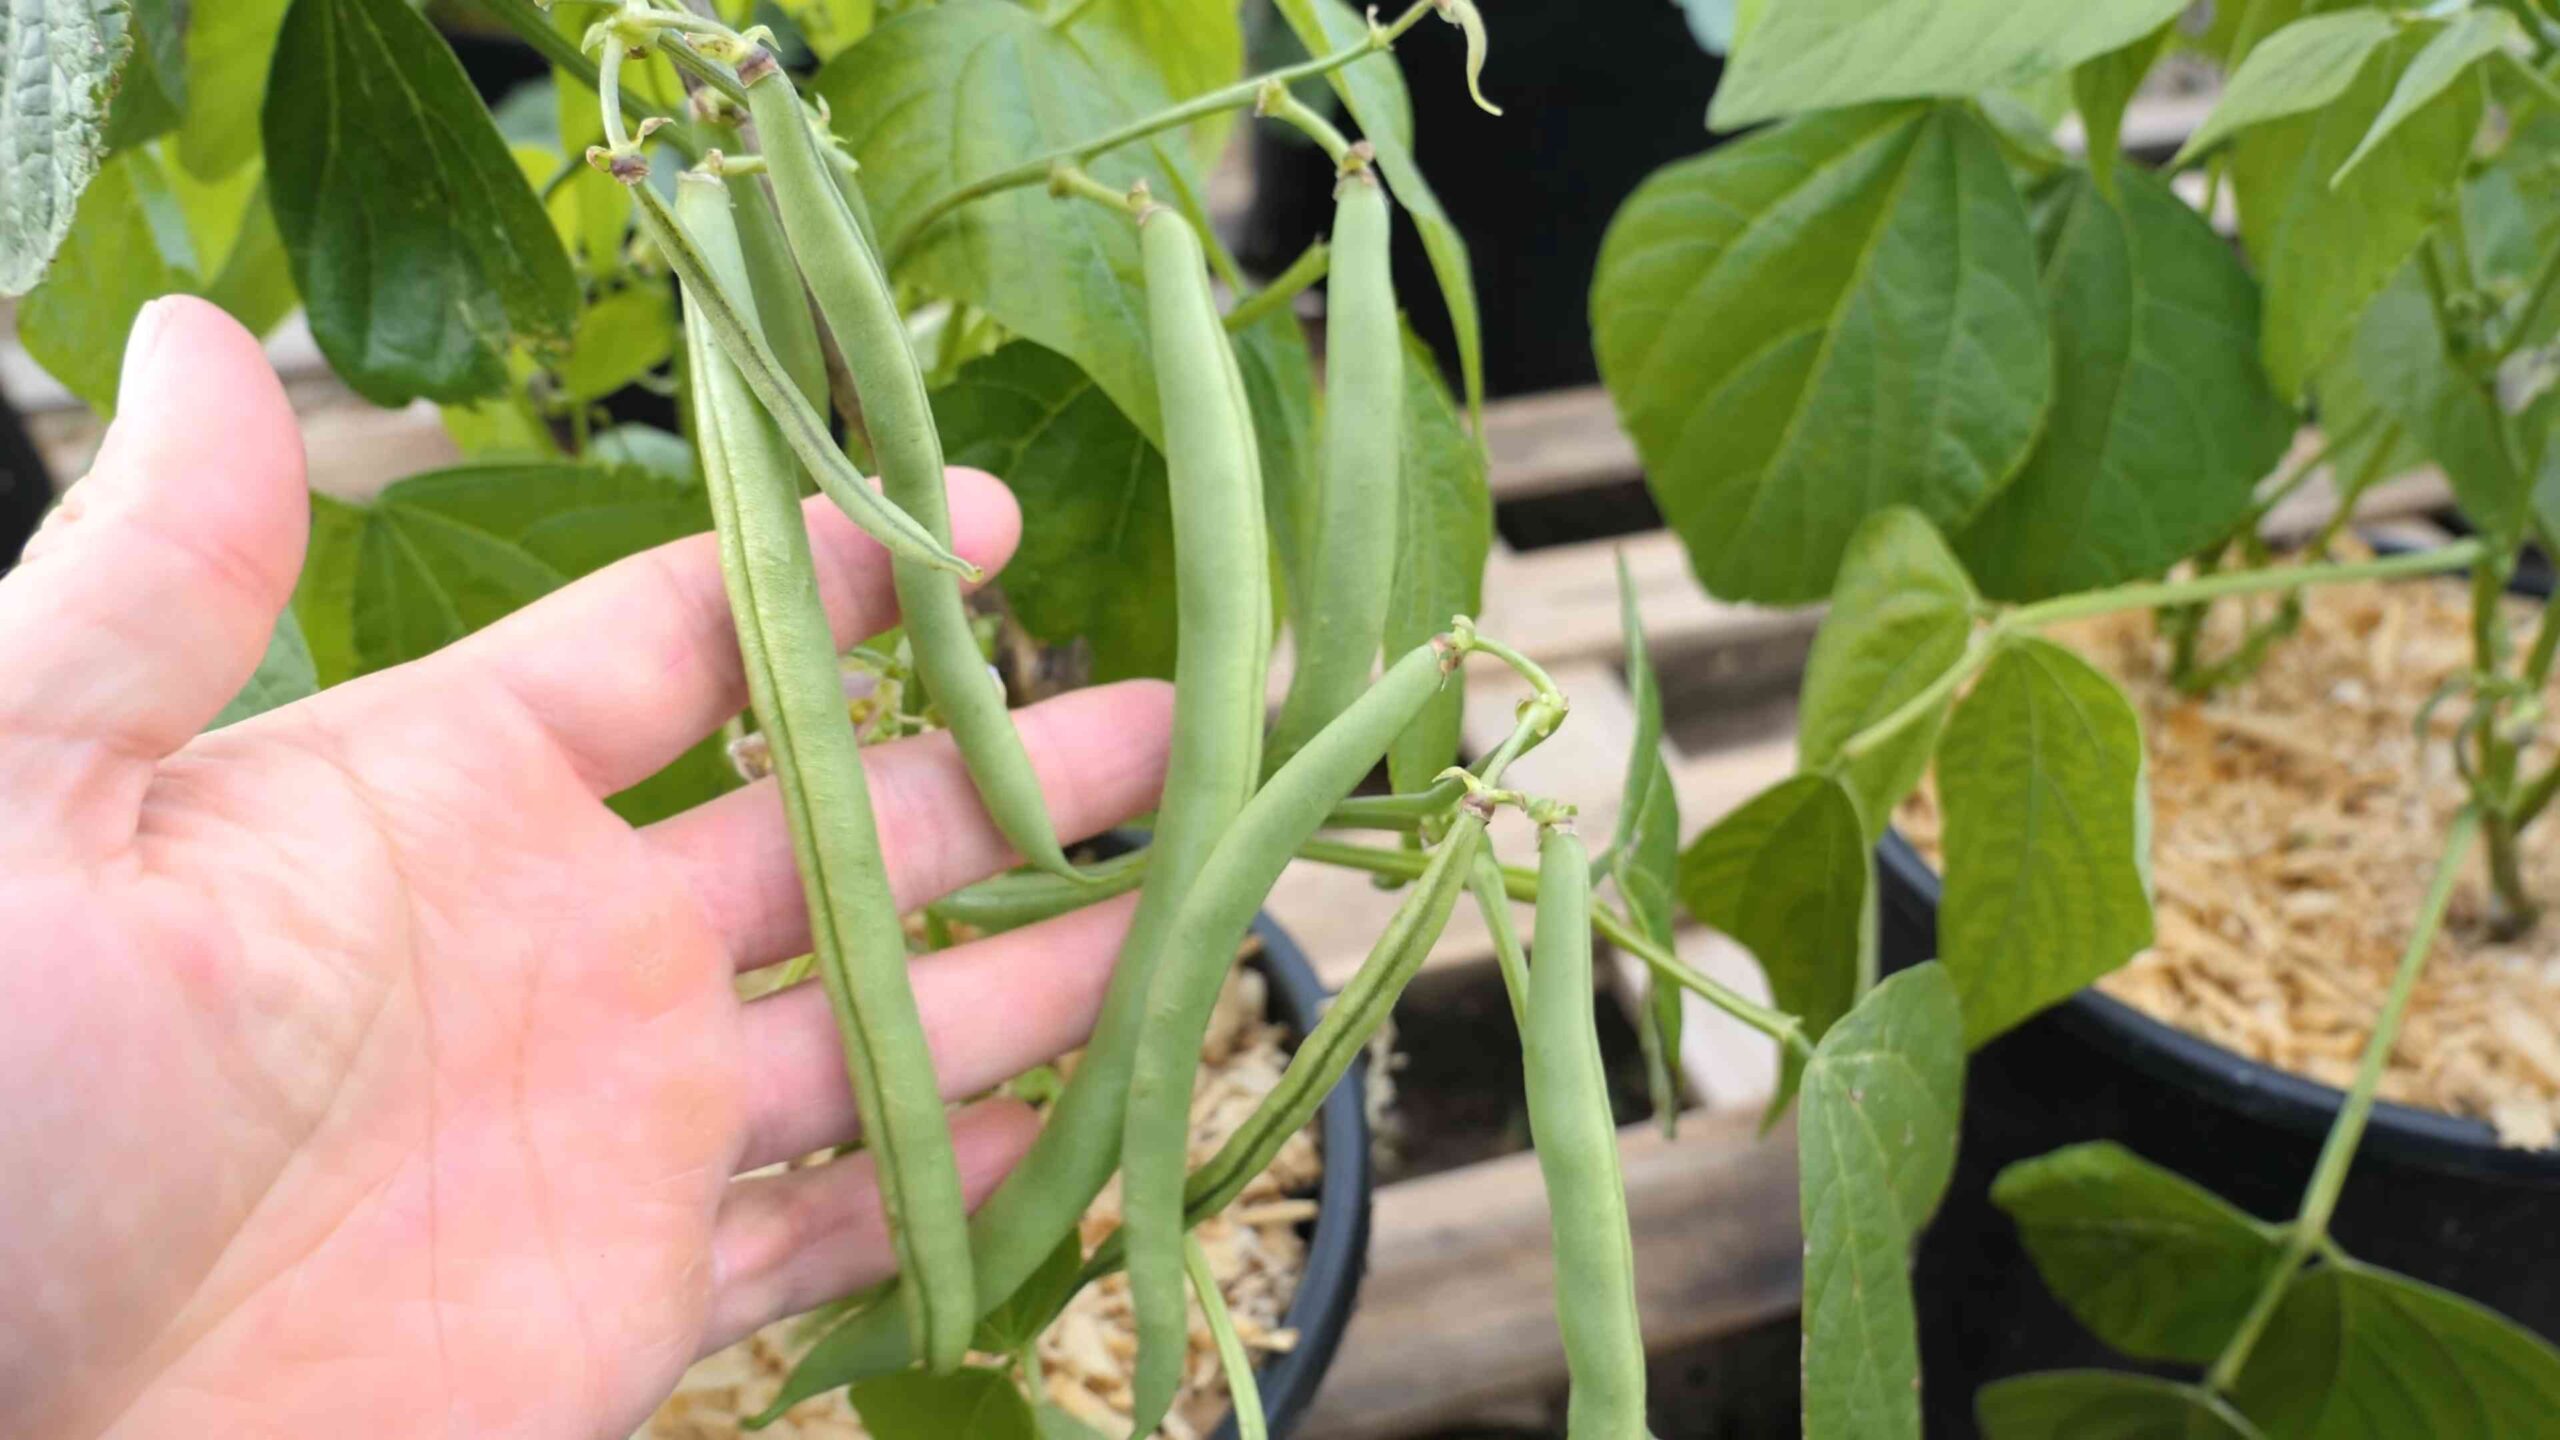
1. Timing: Bush beans are typically ready to harvest about 50-60 days after planting. The pods should be firm, plump, and snap easily when bent. Don’t let the pods get too large or they will become tough and stringy.
2. Harvesting Technique: Gently snap the pods off the plant, being careful not to damage the stems or leaves. I like to use two hands to harvest my beans – one to hold the plant and the other to snap off the pods.
3. Frequency: Harvest your beans regularly, every few days, to encourage continued production. The more you harvest, the more beans your plants will produce.
4. Storage: Freshly harvested bush beans can be stored in the refrigerator for up to a week. For longer storage, you can blanch and freeze them.
Troubleshooting: Common Bush Bean Problems and Solutions
Even with the best care, you might encounter some problems while growing bush beans. Here are some common issues and how to fix them:
* Poor Germination: If your seeds aren’t germinating, it could be due to cold soil, poor-quality seeds, or overwatering. Make sure the soil is warm enough before planting, use fresh seeds, and avoid overwatering.
* Yellowing Leaves: Yellowing leaves can be a sign of nutrient deficiency, overwatering, or disease. Check your soil’s pH and nutrient levels, adjust your watering schedule, and inspect your plants for signs of disease.
* Pest Infestations: As mentioned earlier, bush beans can be susceptible to a variety of pests. Inspect your plants regularly and take action to control pests as soon as you see them.
* Disease Problems: Fungal diseases can be a problem, especially in humid climates. Avoid overhead watering, provide good air circulation, and remove any infected leaves.
Enjoying Your Harvest: From Garden to Table
Now that you’ve harvested your delicious bush beans, it’s time to enjoy them! Bush beans can be eaten fresh, steamed, sautéed, or added to soups and stews. They’re a versatile and nutritious vegetable that’s sure to be a hit with your family and friends. I love to simply steam them with a little butter and salt.
Growing bush beans is a rewarding experience that anyone can enjoy. With a little planning and care, you can have a bountiful harvest of fresh, delicious beans right from your own backyard. Happy gardening!
Conclusion
So, there you have it! Mastering the art of planting bush beans doesn’t require a green thumb blessed by the gardening gods. It’s a simple, rewarding process that yields a bounty of fresh, delicious beans right in your own backyard (or even on your balcony!). We’ve walked you through the essentials, from selecting the right variety to ensuring proper spacing and care.
But why is this DIY approach a must-try? Beyond the obvious benefit of having access to incredibly fresh produce, planting bush beans yourself offers a connection to nature that’s hard to replicate. You’ll witness the miracle of growth firsthand, from tiny seeds sprouting into vibrant plants laden with crisp, flavorful beans. Plus, you’ll know exactly what went into your food – no mystery pesticides or long-distance transportation. It’s a healthier, more sustainable, and ultimately more satisfying way to enjoy one of summer’s most versatile vegetables.
Think of the possibilities! You can experiment with different varieties of bush beans to find your favorites. Try planting a mix of green beans, yellow wax beans, and even purple beans for a colorful and exciting harvest. Consider companion planting – marigolds to deter pests, or nasturtiums to attract beneficial insects. You could even succession plant, sowing new seeds every few weeks, to ensure a continuous supply of beans throughout the growing season.
Don’t be afraid to get your hands dirty and experiment! Gardening is a journey of learning and discovery, and there’s no better way to learn than by doing. The satisfaction of harvesting your own homegrown bush beans is truly unparalleled.
We’re confident that with a little effort and attention, you’ll be enjoying a bumper crop of delicious bush beans in no time. So, grab your seeds, prepare your soil, and get planting! We can’t wait to hear about your experiences. Share your photos, tips, and triumphs in the comments below. Let’s build a community of thriving bush bean growers! Happy gardening!
Frequently Asked Questions (FAQs)
What are the best varieties of bush beans to plant?
Choosing the right variety of bush bean depends on your climate, soil conditions, and personal preferences. Some popular and reliable choices include:
* Blue Lake Bush: A classic green bean known for its excellent flavor and high yields. It’s a reliable choice for most gardens.
* Provider: An early-maturing variety that’s resistant to many common bean diseases. Great for gardeners in cooler climates or those who want a quick harvest.
* Contender: Another early-maturing variety with a slightly curved pod. It’s known for its tolerance to heat and drought.
* Derby: A stringless green bean with a smooth, tender texture. It’s a good choice for fresh eating or freezing.
* Golden Wax: A yellow wax bean with a mild, buttery flavor. It adds a splash of color to your garden and your plate.
* Royal Burgundy: A purple bean that turns green when cooked. It’s a fun and unique variety that’s sure to impress.
Consider your local climate and growing conditions when making your selection. Check with your local nursery or extension office for recommendations specific to your area.
How much sun do bush beans need?
Bush beans require at least 6-8 hours of direct sunlight per day to thrive. Choose a planting location that receives plenty of sunshine throughout the day. If you’re growing beans in containers, make sure to place them in a sunny spot. Insufficient sunlight can lead to weak, leggy plants and reduced yields.
What kind of soil is best for bush beans?
Bush beans prefer well-drained soil that is rich in organic matter. The ideal soil pH is between 6.0 and 7.0. Before planting, amend your soil with compost or other organic matter to improve drainage and fertility. Avoid planting in heavy clay soil, as this can lead to root rot. If you have clay soil, consider planting in raised beds or containers.
How often should I water my bush beans?
Bush beans need consistent moisture, especially during flowering and pod development. Water deeply and regularly, aiming to keep the soil consistently moist but not waterlogged. Avoid overhead watering, as this can promote fungal diseases. Instead, water at the base of the plants. Mulching around the plants can help to retain moisture and suppress weeds. As a general rule, water when the top inch of soil feels dry to the touch.
When should I harvest my bush beans?
Bush beans are typically ready to harvest about 50-60 days after planting. The pods should be firm, plump, and snap easily when bent. Harvest beans regularly to encourage continued production. Overripe beans can become tough and stringy. Check your plants every few days and harvest any beans that are ready.
How do I deal with pests and diseases on my bush beans?
Bush beans can be susceptible to various pests and diseases, including aphids, bean beetles, and fungal diseases. To prevent problems, practice good garden hygiene. Remove any diseased or infested plants promptly. Encourage beneficial insects, such as ladybugs and lacewings, which prey on aphids and other pests. Consider using organic pest control methods, such as insecticidal soap or neem oil, if necessary. To prevent fungal diseases, avoid overhead watering and ensure good air circulation around the plants.
Can I grow bush beans in containers?
Yes, bush beans are well-suited for container gardening. Choose a container that is at least 12 inches deep and wide. Use a well-draining potting mix and provide adequate sunlight and water. Container-grown beans may require more frequent watering and fertilization than those grown in the ground.
How do I store my harvested bush beans?
Freshly harvested bush beans can be stored in the refrigerator for up to a week. To store them, place them in a plastic bag or container lined with a paper towel. You can also freeze bush beans for longer storage. To freeze them, blanch them in boiling water for 2-3 minutes, then plunge them into ice water to stop the cooking process. Drain the beans thoroughly and freeze them in freezer bags or containers.
Can I save seeds from my bush beans for next year?
Yes, you can save seeds from your bush beans, but only if you are growing heirloom or open-pollinated varieties. Hybrid varieties will not produce true-to-type seeds. To save seeds, allow some of the pods to dry completely on the plant. Once the pods are dry and brittle, shell the beans and store them in an airtight container in a cool, dry place.
What are some good companion plants for bush beans?
Companion planting can help to improve the health and productivity of your bush beans. Some good companion plants for bush beans include:
* Marigolds: Deter pests such as bean beetles and nematodes.
* Nasturtiums: Attract beneficial insects and deter aphids.
* Summer Savory: Repels bean beetles and improves the flavor of the beans.
* Carrots: Improve soil structure and deter bean flies.
* Cucumbers: Provide shade and support for the beans.
* Potatoes: Help to break up the soil and improve drainage.
Avoid planting bush beans near onions or garlic, as these can inhibit their growth.
Leave a Comment