

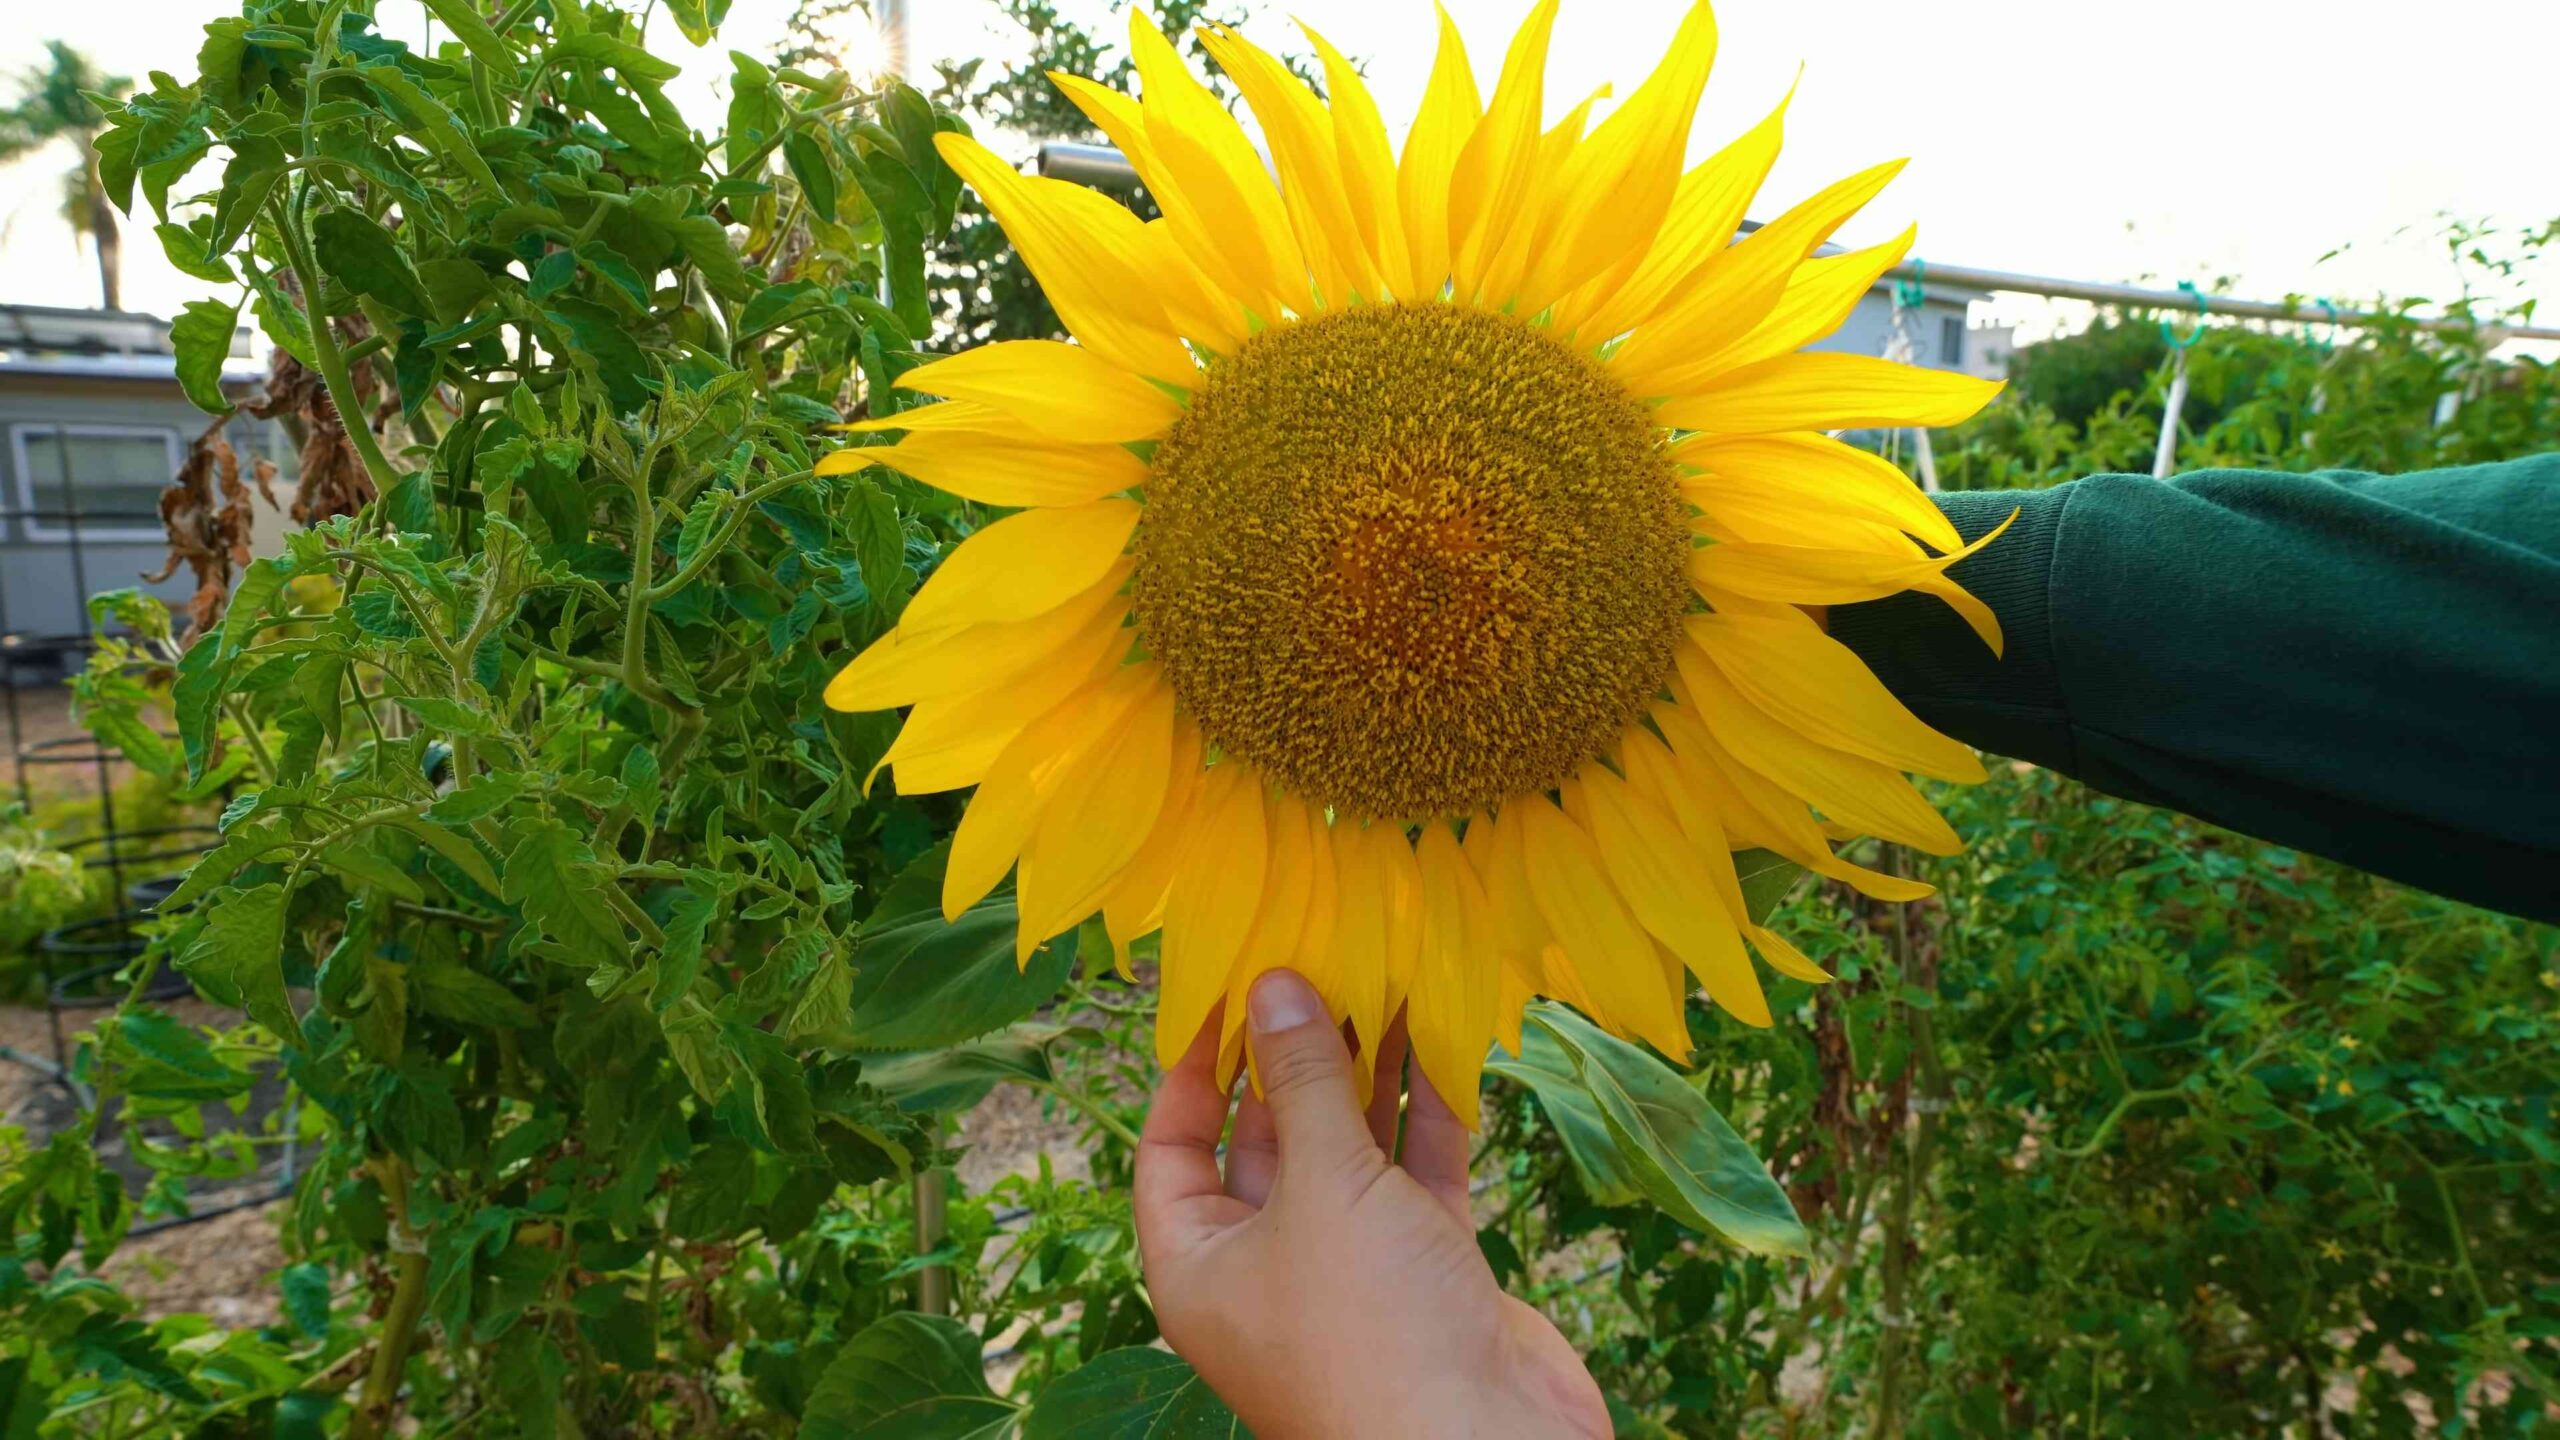
Planting Sunflowers at Home: Imagine waking up to a vibrant display of golden faces, all turned towards the sun, right in your own backyard! Sunflowers, with their cheerful disposition and impressive stature, have captivated hearts for centuries. Originating in North America, these magnificent blooms were not only a source of food and oil for indigenous peoples but also held deep spiritual significance, often symbolizing adoration and longevity.
But you don’t need to be a seasoned gardener to enjoy the beauty and benefits of these sunny giants. I’m here to tell you that planting sunflowers at home is easier than you think! In this DIY guide, I’ll share my favorite tricks and hacks to help you cultivate a thriving sunflower patch, even if you’re a complete beginner.
Why should you bother? Well, beyond their undeniable aesthetic appeal, sunflowers attract pollinators like bees and butterflies, boosting the biodiversity of your garden. Plus, they produce delicious seeds that you can roast and enjoy. In a world that often feels chaotic, nurturing something beautiful and life-affirming like sunflowers can be incredibly rewarding. So, grab your gardening gloves, and let’s get started on this sunny adventure together! I promise, you’ll be amazed at how simple and satisfying it is to bring a little bit of sunshine into your life.
Planting Sunflowers: A Sunny DIY Project for Your Home
Okay, sunflower lovers, let’s get our hands dirty! I’m going to walk you through everything you need to know to grow your own towering sunflowers right at home. Whether you have a sprawling garden or just a sunny balcony, you can absolutely enjoy these cheerful giants. I promise, it’s easier than you think, and the reward is absolutely worth it.
Choosing Your Sunflower Variety
First things first, let’s talk about sunflower varieties. They aren’t all created equal! Some are massive, some are dwarf, some are yellow, some are red… the possibilities are endless!
* Giant Sunflowers: These are the classic, towering sunflowers we all know and love. Think ‘Mammoth’ or ‘Russian Giant’. They need plenty of space and support.
* Dwarf Sunflowers: Perfect for containers or smaller gardens. Varieties like ‘Teddy Bear’ (fluffy and double-flowered) or ‘Little Becka’ (bi-colored) are great choices.
* Colored Sunflowers: Branch out (literally!) with sunflowers in shades of red, orange, and bronze. ‘Autumn Beauty’ is a popular mix of colors.
* Branching Sunflowers: Instead of one giant head, these sunflowers produce multiple smaller blooms on branching stems. ‘Sonja’ is a beautiful example.
* Oilseed Sunflowers: These are grown commercially for their oil-rich seeds. They’re usually black-seeded and attract lots of birds.
Think about the space you have available, the look you’re going for, and how much maintenance you’re willing to do. Dwarf varieties are obviously less demanding in terms of space and support. I personally love the giant ones, but I’ve also had great success with ‘Teddy Bear’ in pots.
Getting Started: Seeds or Seedlings?
You have two options: starting from seeds or buying seedlings. I always prefer starting from seeds because it’s more affordable and I enjoy watching them sprout. However, if you’re short on time or want a head start, seedlings are a perfectly good option.
* Starting from Seeds: This is the most common and cost-effective method. You can sow seeds directly into the ground or start them indoors.
* Buying Seedlings: This gives you a head start and ensures you’re getting healthy plants. Choose seedlings that are sturdy and have healthy green leaves.
If you’re starting from seeds, make sure you buy them from a reputable source. Look for seeds that are plump and undamaged.
Preparing the Soil
Sunflowers are heavy feeders, meaning they need a lot of nutrients to grow big and strong. So, soil preparation is key!
* Sunlight: Sunflowers need at least 6-8 hours of direct sunlight per day. Choose a location that gets plenty of sun.
* Soil Type: Sunflowers prefer well-drained soil that is rich in organic matter.
* Soil Amendment: Amend your soil with compost, aged manure, or other organic matter to improve drainage and fertility.
* pH Level: Sunflowers prefer a slightly acidic to neutral soil pH (around 6.0 to 7.5).
I usually dig in a generous amount of compost before planting. It really makes a difference! If your soil is heavy clay, you might also want to add some sand or perlite to improve drainage.
Planting Your Sunflowers
Okay, now for the fun part! Let’s get those sunflowers in the ground.
Direct Sowing (Outdoors)
This is the easiest method, especially if you live in a warm climate.
1. Wait for Warm Weather: Sunflowers are sensitive to frost, so wait until the danger of frost has passed before planting. The soil temperature should be at least 50°F (10°C).
2. Prepare the Soil: As mentioned earlier, amend the soil with compost or other organic matter.
3. Sow the Seeds: Plant the seeds about 1 inch deep and 6-12 inches apart, depending on the variety. For giant sunflowers, give them more space (up to 2 feet apart).
4. Water Gently: Water the soil gently after planting to keep it moist.
5. Mark the Spot: It’s a good idea to mark where you planted the seeds so you don’t accidentally dig them up later.
6. Protect from Pests: Birds and squirrels love sunflower seeds! You might need to cover the area with netting or use other deterrents until the seedlings emerge.
Starting Seeds Indoors
This is a good option if you want a head start or live in a cooler climate.
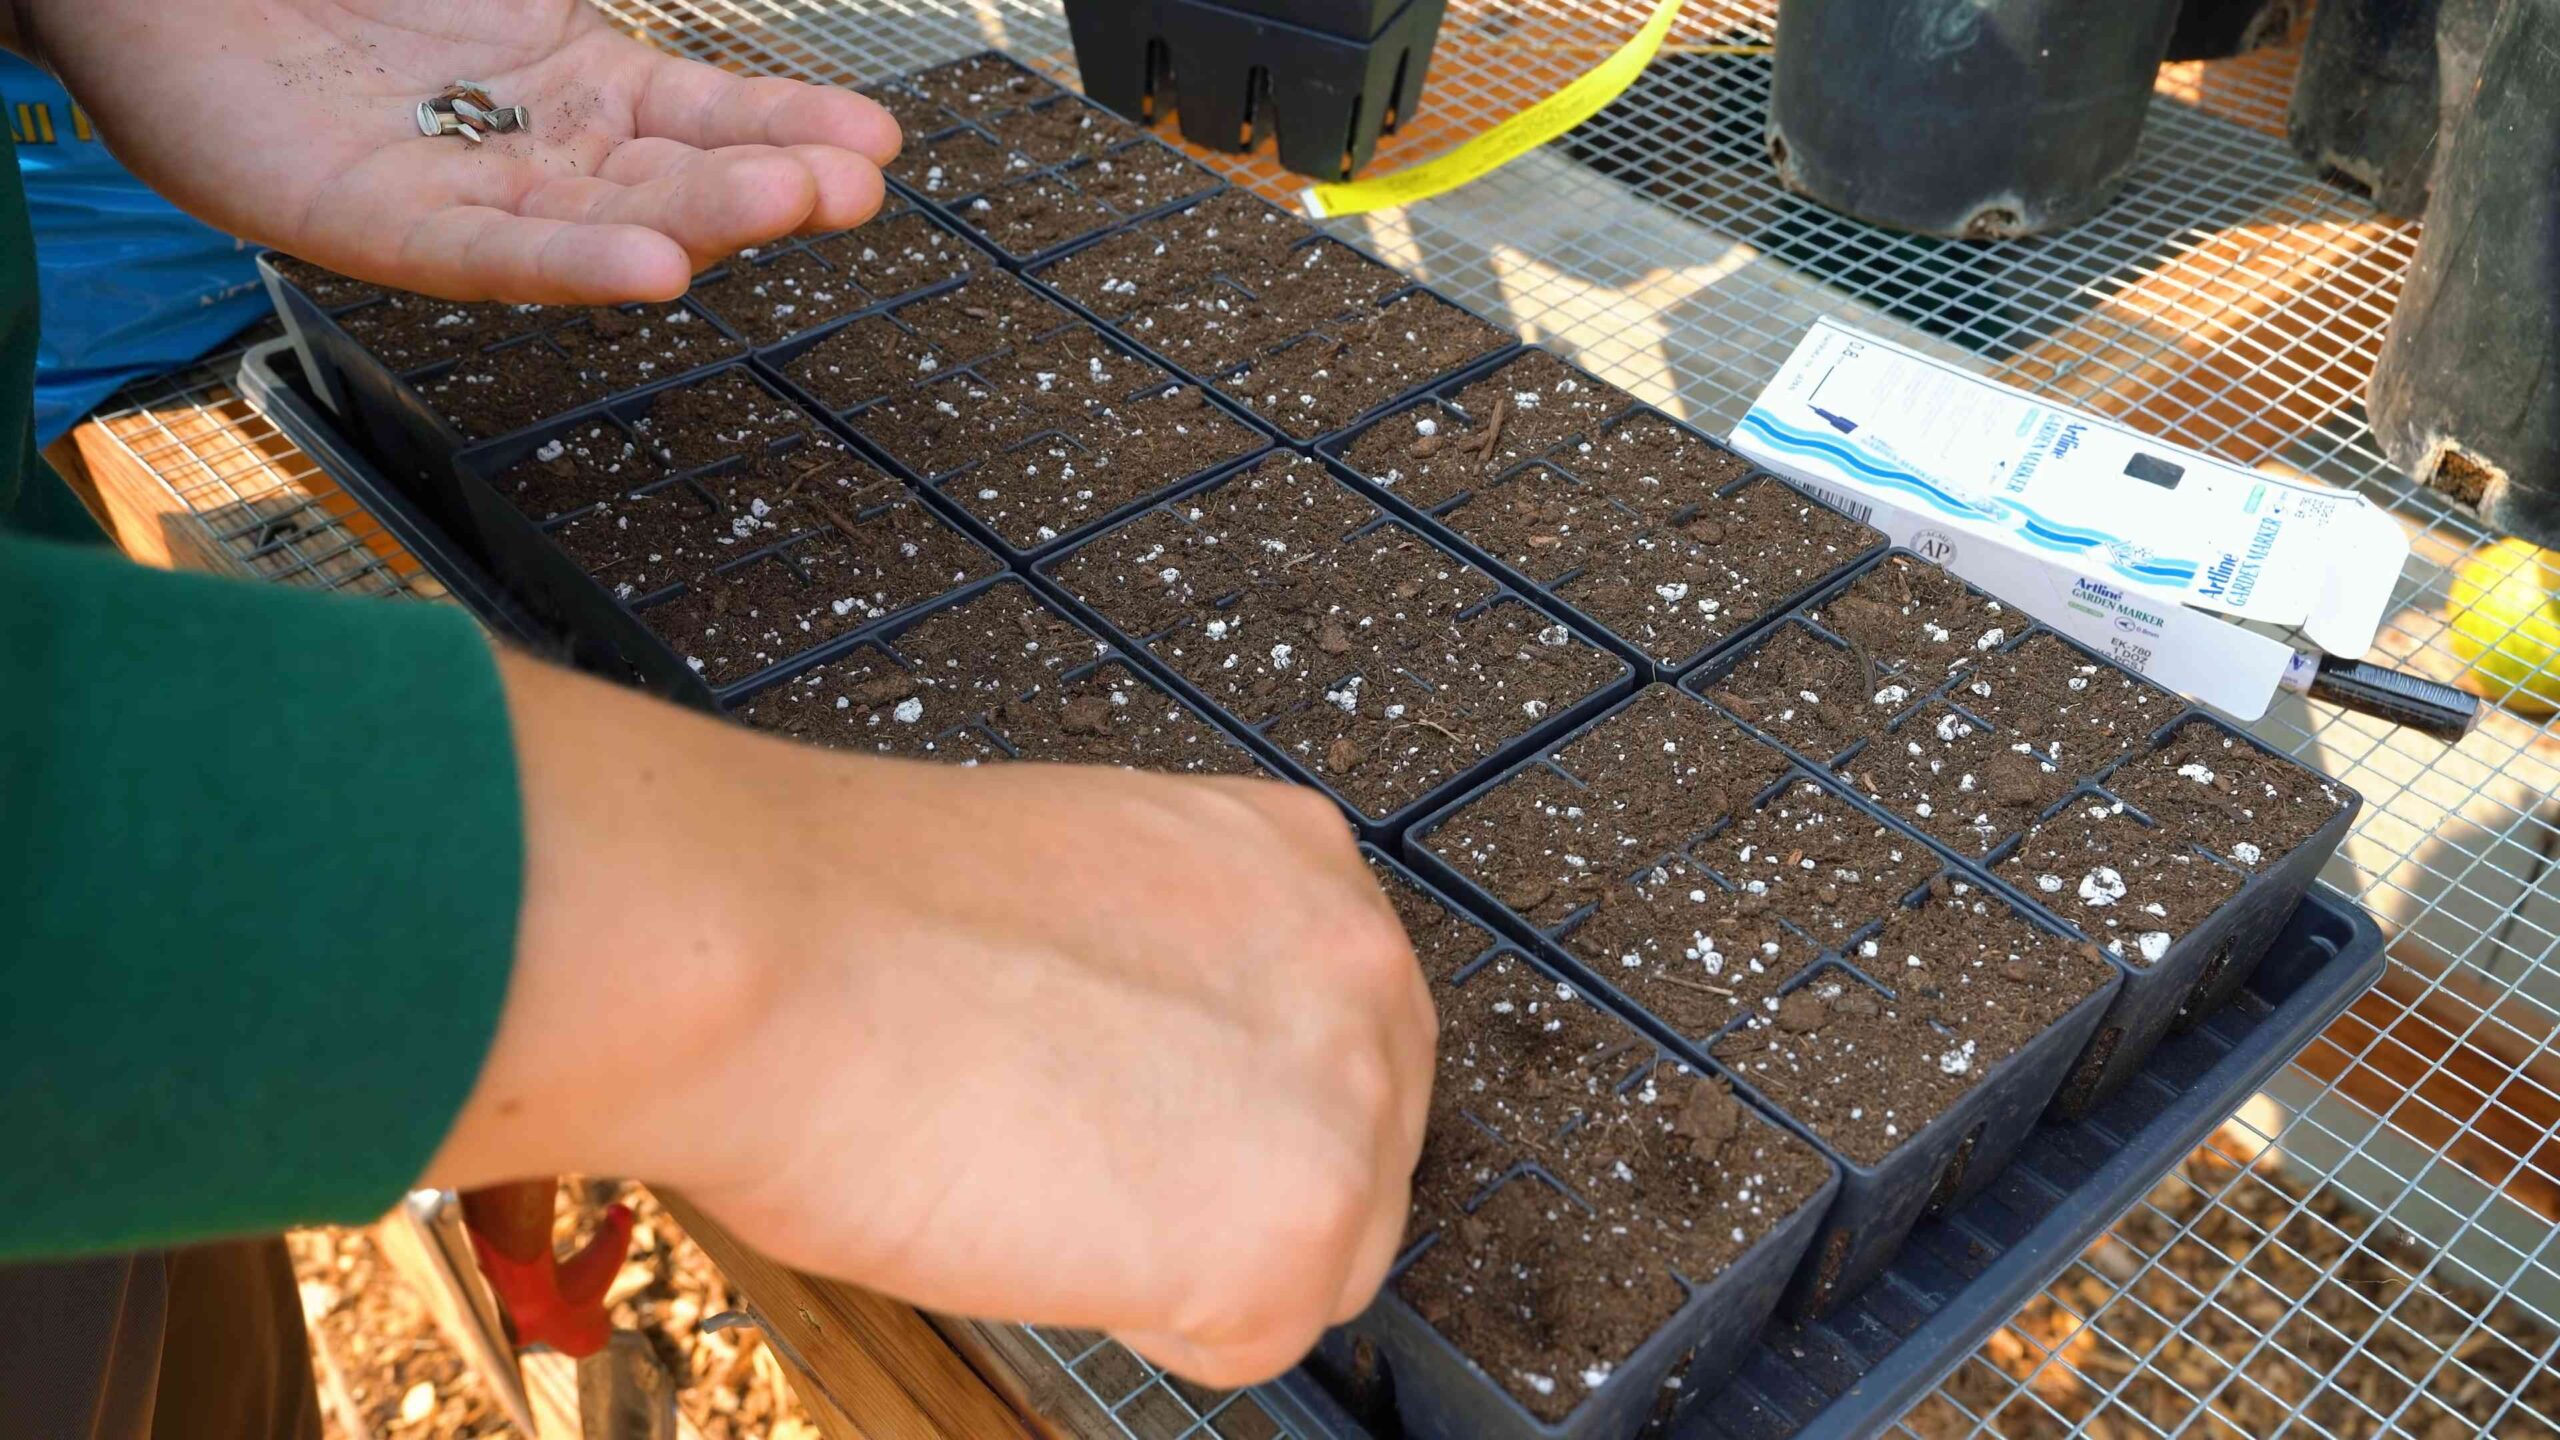
1. Choose Your Containers: Use small pots or seed trays filled with seed-starting mix.
2. Sow the Seeds: Plant the seeds about 1 inch deep in the seed-starting mix.
3. Water Gently: Water the soil gently to keep it moist.
4. Provide Light: Place the containers in a sunny window or under grow lights.
5. Keep Warm: Maintain a temperature of around 70-75°F (21-24°C).
6. Transplant Seedlings: Once the seedlings have developed a few sets of true leaves and the weather has warmed up, you can transplant them outdoors. Harden them off gradually by exposing them to outdoor conditions for a few hours each day for a week before transplanting.
Caring for Your Sunflowers
Once your sunflowers are planted, it’s important to provide them with the care they need to thrive.
* Watering: Water deeply and regularly, especially during hot, dry weather. Sunflowers need about 1 inch of water per week.
* Fertilizing: Fertilize your sunflowers every few weeks with a balanced fertilizer.
* Weeding: Keep the area around your sunflowers free of weeds.
* Staking: Tall sunflower varieties may need staking to prevent them from falling over, especially in windy areas. I use bamboo stakes and garden twine.
* Pest Control: Watch out for pests like aphids, sunflower beetles, and snails. You can usually control them with insecticidal soap or by handpicking them off the plants.
* Disease Prevention: Sunflowers can be susceptible to diseases like powdery mildew and rust. To prevent these diseases, provide good air circulation and avoid overhead watering.
Dealing with Common Sunflower Problems
Even with the best care, you might encounter some problems along the way. Here’s how to deal with some common sunflower issues:
* Birds Eating Seeds: As I mentioned earlier, birds love sunflower seeds. Cover the area with netting or use bird deterrents.
* Squirrels Digging Up Seeds: Squirrels can also be a problem. Try covering the area with chicken wire or hardware cloth until the seedlings emerge.
* Aphids: These tiny pests can suck the sap from your sunflower leaves. Spray them with insecticidal soap or blast them off with a strong stream of water.
* Sunflower Beetles: These beetles can defoliate your sunflowers. Handpick them off the plants or use an insecticide.
* Powdery Mildew: This fungal disease can cause a white, powdery coating on the leaves. Improve air circulation and spray with a fungicide if necessary.
* Rust: This fungal disease can cause orange or brown spots on the leaves. Remove infected leaves and spray with a fungicide.
* Falling Over: Tall sunflowers can fall over in strong winds. Stake them securely to prevent this.
Harvesting Sunflower Seeds
If you’re growing sunflowers for their seeds, you’ll need to know when and how to harvest them.
1. Wait for Maturity: The sunflower head will start to droop and the back of the head will turn brown. The seeds will also become plump and the petals will start to dry out.
2. Protect from Birds: Birds will start to feast on the seeds as they ripen. Cover the head with netting or a paper bag to protect them.
3. Harvest the Head: Once the head is fully mature, cut it off the stalk with a sharp knife.
4. Dry the Head: Hang the head upside down in a dry, well-ventilated place for a few weeks to allow the seeds to dry completely.
5. Remove the Seeds: Once the head is dry, you can remove the seeds by rubbing the head with your hands or using a fork.
6. Store the Seeds: Store the seeds in an airtight container in a cool, dry place.
You can eat the seeds raw, roasted, or use them in baking. They’re also a great source of food for birds.
Enjoying Your Sunflowers
Growing sunflowers is a rewarding experience. Not only are they beautiful to look at, but they also attract pollinators and provide food for birds. Plus, you get to enjoy the satisfaction of growing your own food.
* Cut Flowers: Sunflowers make beautiful cut flowers.
Conclusion
So, there you have it! Planting sunflowers at home isn’t just about adding a splash of sunshine to your garden; it’s a rewarding experience that connects you with nature and provides a beautiful, sustainable source of joy. From the initial sprout to the towering bloom, watching these giants grow is a truly magical process.
This DIY trick, focusing on the simple yet effective method of direct sowing and strategic location, is a must-try for several reasons. First, it eliminates the often-fussy step of transplanting seedlings, which can be particularly beneficial for sunflowers, as their delicate roots can be easily disturbed. Second, it allows you to tailor the planting location to maximize sunlight exposure, crucial for these sun-loving plants. And third, it’s incredibly cost-effective! You can start with a single packet of seeds and potentially harvest hundreds more for future planting or even a tasty snack.
But don’t stop there! Feel free to experiment with different sunflower varieties. Try branching sunflowers for a bushier display, or dwarf varieties if you have limited space. You can also explore companion planting, pairing your sunflowers with beneficial herbs like basil or marigolds to deter pests and attract pollinators. Consider adding a trellis or support system for taller varieties, especially in windy areas, to prevent them from toppling over. Another fun variation is to create a sunflower house or maze for children, using the towering plants as natural walls.
The beauty of this DIY sunflower planting method lies in its simplicity and adaptability. It’s a project that anyone, regardless of gardening experience, can undertake and enjoy. The key is to remember the basics: plenty of sunshine, well-drained soil, and consistent watering, especially during the initial growth stages.
We’re confident that once you experience the joy of growing your own sunflowers, you’ll be hooked! The vibrant colors, the towering height, and the cheerful faces of these blooms are sure to brighten your day and bring a smile to your face.
So, grab a packet of sunflower seeds, find a sunny spot in your garden, and get planting! We encourage you to try this DIY trick and share your experiences with us. Let us know what varieties you planted, what challenges you faced, and what successes you celebrated. Share your photos and stories on social media using #HomegrownSunflowers and inspire others to join the sunflower-growing movement. We can’t wait to see your beautiful sunflower creations! Happy gardening!
Frequently Asked Questions (FAQ)
What is the best time to plant sunflowers directly in the ground?
The ideal time for direct sowing sunflowers is after the last frost of spring, when the soil has warmed up to at least 50°F (10°C). Sunflowers are sensitive to cold temperatures, and frost can damage or kill young seedlings. In most regions, this typically falls between late April and early June. Check your local weather forecast and planting guides to determine the best time for your specific area. You can also use a soil thermometer to ensure the soil is warm enough before planting. Planting too early can lead to poor germination rates and stunted growth.
How much sunlight do sunflowers need?
Sunflowers are aptly named for their love of the sun! They require at least 6-8 hours of direct sunlight per day to thrive. Choose a planting location that receives full sun throughout the day. If your garden is partially shaded, try to plant your sunflowers in the area that receives the most sunlight. Insufficient sunlight can result in weak stems, smaller blooms, and reduced seed production. Observe your garden throughout the day to identify the sunniest spots before planting.
What type of soil is best for sunflowers?
Sunflowers prefer well-drained soil that is rich in organic matter. They can tolerate a variety of soil types, but heavy clay soil can be problematic, as it can retain too much moisture and lead to root rot. Amend heavy clay soil with compost, peat moss, or other organic materials to improve drainage. Sandy soil, on the other hand, may drain too quickly and require more frequent watering. A slightly acidic to neutral soil pH (6.0-7.5) is ideal. Before planting, consider conducting a soil test to determine the pH and nutrient levels of your soil. Amend the soil as needed based on the test results.
How deep and far apart should I plant sunflower seeds?
Plant sunflower seeds about 1 inch deep and 6-12 inches apart for smaller varieties, and 18-24 inches apart for larger varieties. The spacing will depend on the specific variety you are planting and the desired size of the mature plants. Closer spacing can result in smaller blooms, while wider spacing allows for larger, more robust plants. After planting, gently water the soil to ensure good seed-to-soil contact. Thin out seedlings if necessary to maintain the recommended spacing.
How often should I water sunflowers?
Sunflowers need consistent watering, especially during the initial growth stages. Water deeply and regularly, especially during dry periods. Avoid overwatering, as this can lead to root rot. Once established, sunflowers are relatively drought-tolerant, but they will still benefit from regular watering, especially during hot weather. Check the soil moisture regularly and water when the top inch of soil feels dry to the touch. Mulching around the base of the plants can help retain moisture and suppress weeds.
Do sunflowers need fertilizer?
While sunflowers are not heavy feeders, they can benefit from a balanced fertilizer, especially if your soil is lacking in nutrients. Apply a slow-release fertilizer at planting time, following the instructions on the package. Avoid over-fertilizing, as this can lead to excessive foliage growth and fewer blooms. You can also amend the soil with compost or other organic materials to provide a slow-release source of nutrients. A soil test can help you determine if your soil is deficient in any specific nutrients.
How do I protect sunflowers from pests and diseases?
Sunflowers can be susceptible to various pests and diseases, including aphids, sunflower beetles, and fungal diseases. Regularly inspect your plants for signs of pests or diseases. Control aphids with insecticidal soap or neem oil. Handpick sunflower beetles or use an appropriate insecticide. Prevent fungal diseases by providing good air circulation and avoiding overwatering. Companion planting with herbs like basil or marigolds can help deter pests. Consider using row covers to protect young seedlings from pests.
How do I harvest sunflower seeds?
Sunflower seeds are ready to harvest when the back of the flower head turns brown and the seeds are plump and easily removed. You can protect the flower heads from birds by covering them with netting or paper bags. To harvest the seeds, cut the flower head off the stalk and allow it to dry completely in a well-ventilated area. Once dry, rub the seeds off the flower head. You can then roast the seeds for a tasty snack or save them for planting next year. Store the seeds in an airtight container in a cool, dry place.
Leave a Comment