

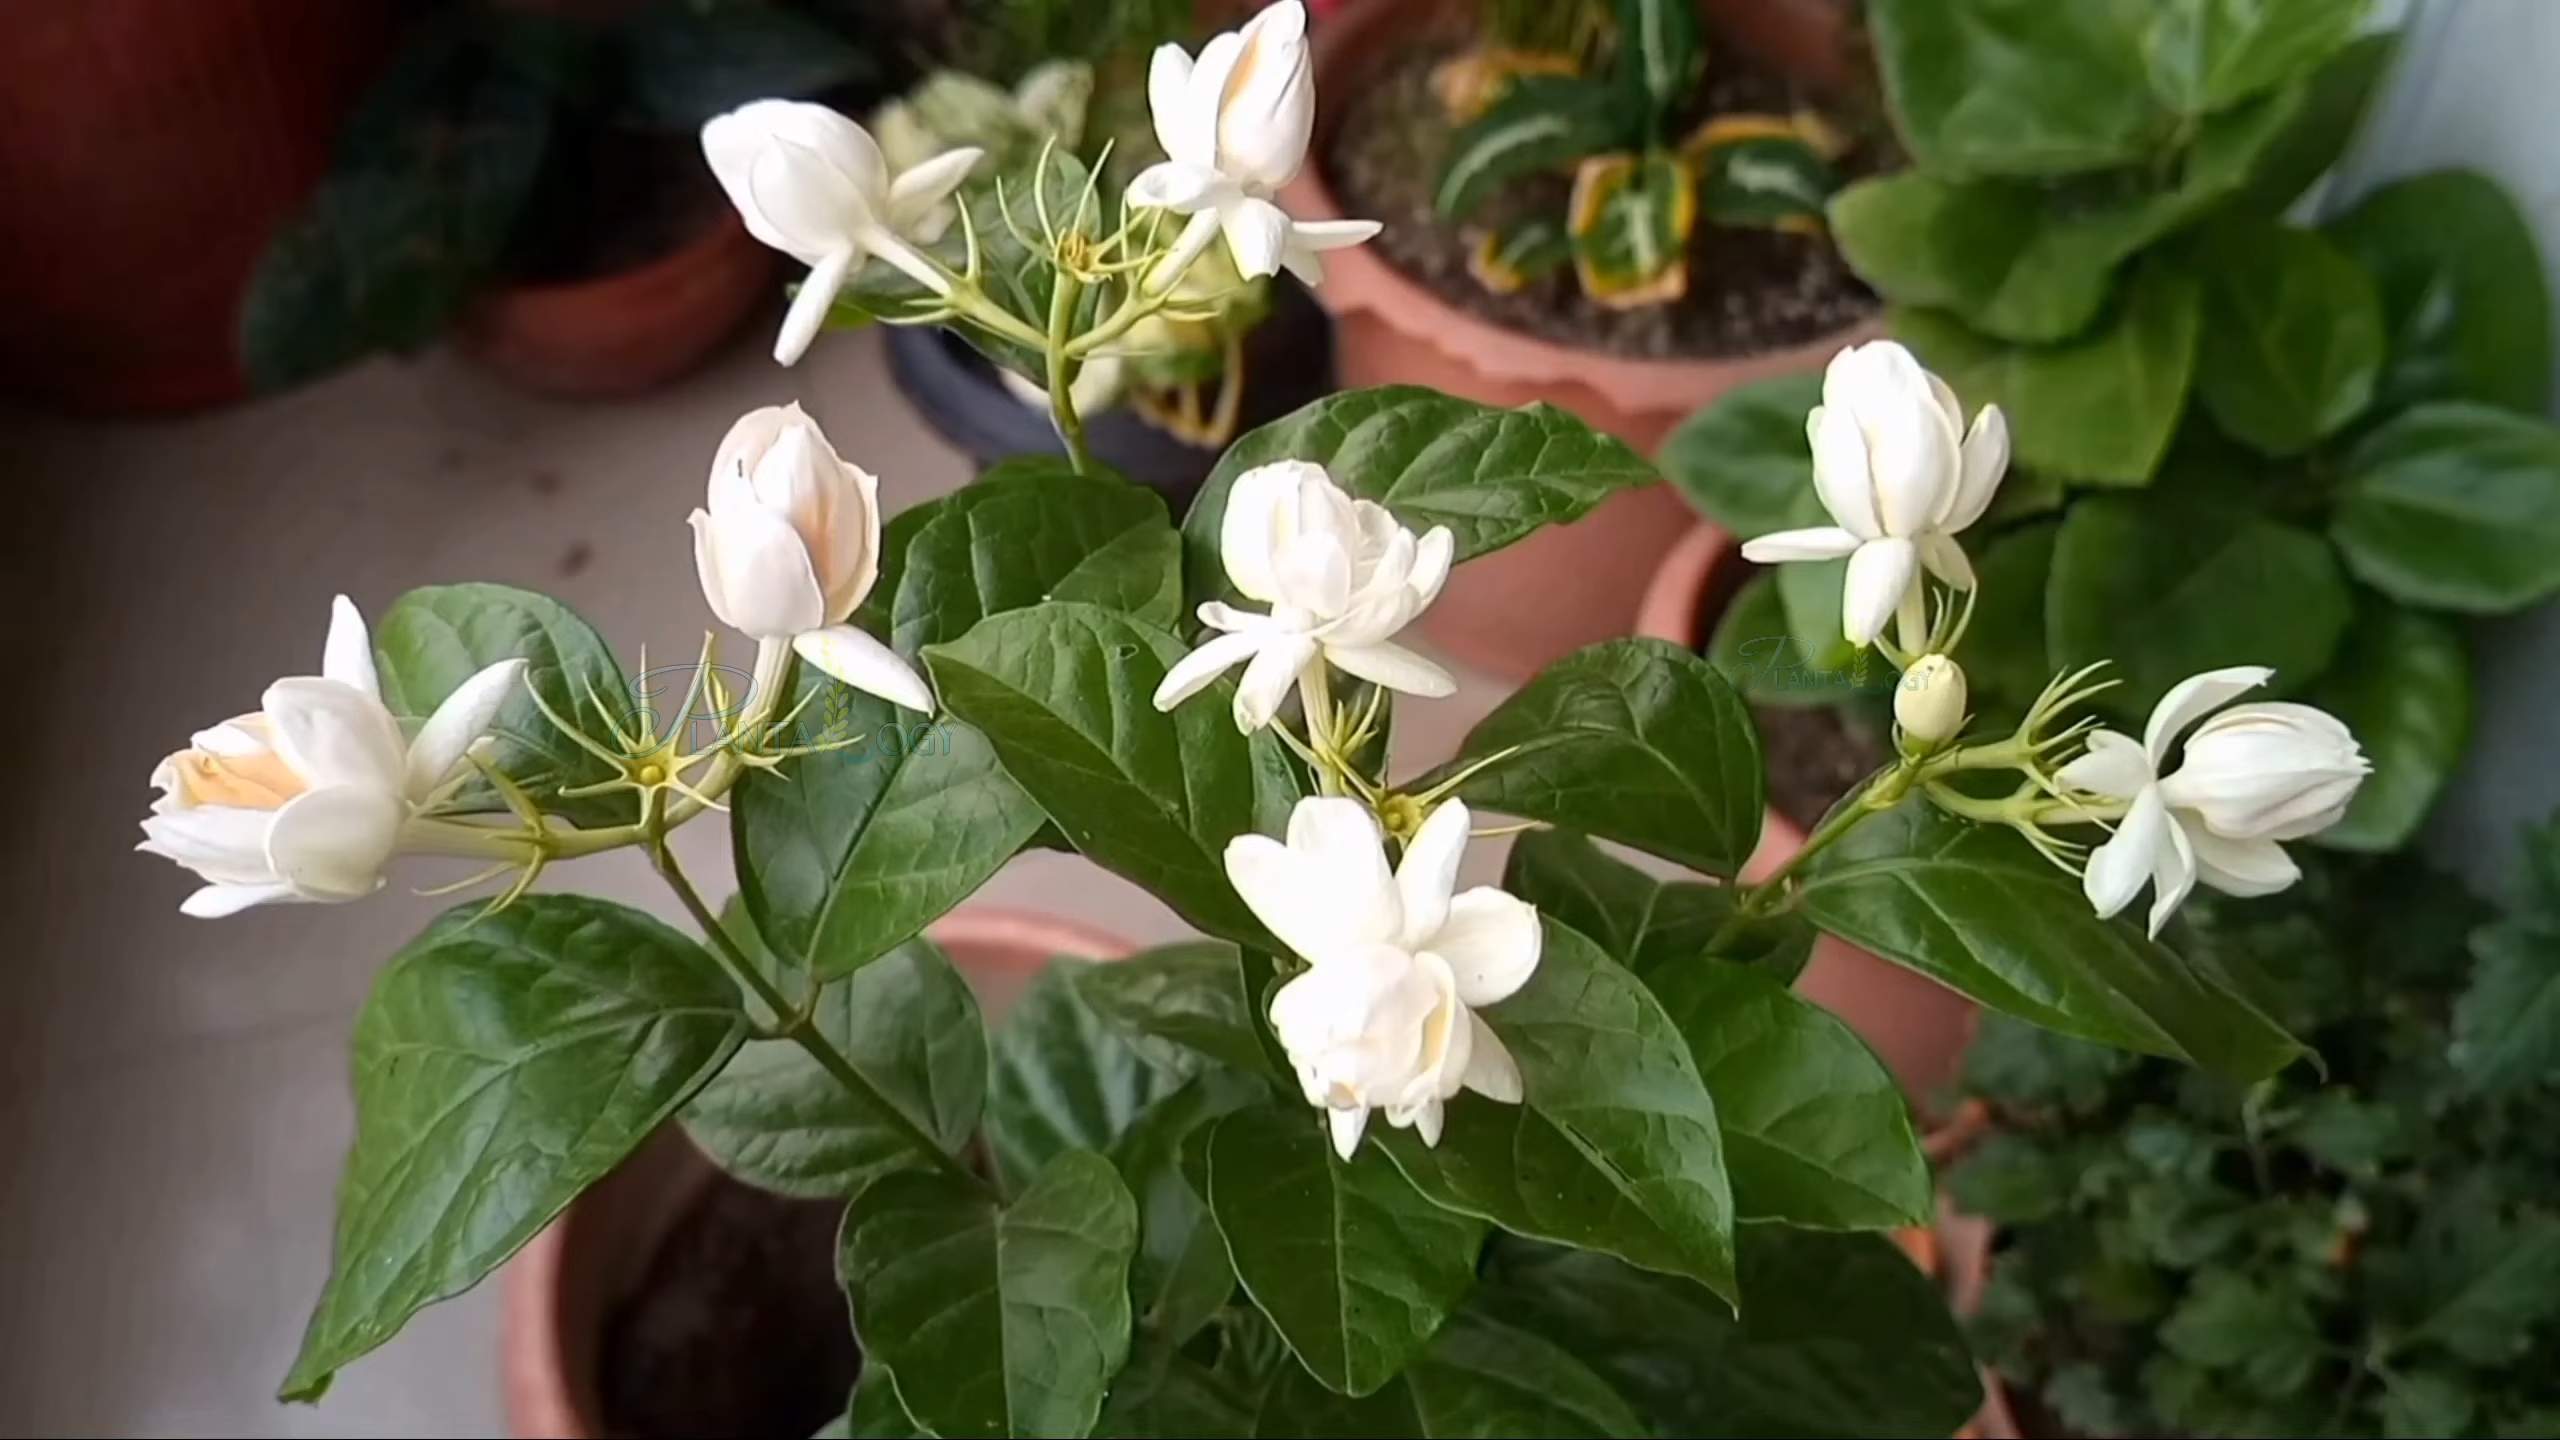
Propagate Arabian Jasmine and fill your home with the intoxicating fragrance of this beautiful flowering plant! Have you ever admired the delicate, star-shaped blossoms of Arabian Jasmine and wished you could have more of them? Well, you’re in luck! This DIY guide will unlock the secrets to easily multiplying your existing plant, saving you money and expanding your fragrant oasis.
The Arabian Jasmine, also known as Jasminum sambac, boasts a rich history deeply intertwined with cultures across Asia, particularly in India and the Philippines, where it’s revered for its exquisite scent and used in religious ceremonies, traditional medicine, and even as a symbol of purity and love. Imagine bringing a piece of that history into your own home!
Why learn to propagate Arabian Jasmine? Because buying new plants can get expensive, and sometimes, you just want more of what you already love! Plus, propagating your own plants is incredibly rewarding. It’s a fantastic way to connect with nature, learn about plant life cycles, and create personalized gifts for friends and family. I’m going to show you simple, step-by-step methods that even beginners can master. Get ready to transform a single Arabian Jasmine into a thriving collection!
Propagating Arabian Jasmine: A Step-by-Step Guide
Hey plant lovers! Ever wanted more of that intoxicating Arabian Jasmine scent wafting through your home? Well, you’re in luck! Propagating Arabian Jasmine is surprisingly easy, and I’m here to walk you through it. I’ve successfully multiplied my own jasmine collection using these methods, and I’m confident you can too. We’ll cover everything from choosing the right cutting to nurturing your new plantlets. Let’s get started!
Choosing Your Cutting: The Key to Success
Before we dive into the nitty-gritty, let’s talk about selecting the perfect cutting. This is arguably the most important step, as a healthy cutting is far more likely to root successfully.
* Look for Healthy Stems: Choose stems that are vibrant green, free from any signs of disease or pests. Avoid stems that are brown, yellowing, or have spots.
* Select Semi-Hardwood: The ideal cutting is “semi-hardwood,” meaning it’s not brand new growth (too soft) and not old, woody growth (too hard to root). Think of it as the sweet spot in between. You’ll know it when you feel it – it should be firm but still pliable.
* Length Matters: Aim for cuttings that are about 4-6 inches long. This provides enough stem for root development while still being manageable.
* Nodes are Your Friends: Make sure your cutting has at least 2-3 nodes (the points where leaves grow). Roots will typically emerge from these nodes.
* Timing is Everything (Sort Of): While you can propagate Arabian Jasmine year-round, spring and summer are generally the best times, as the plant is actively growing.
Preparing Your Cutting: Setting the Stage for Rooting
Now that you’ve selected your cutting, it’s time to prepare it for rooting. This involves a few simple steps to maximize its chances of success.
1. Sanitize Your Tools: Before you even touch your cutting, sterilize your pruning shears or knife with rubbing alcohol. This prevents the spread of disease. I cannot stress this enough!
2. Make the Cut: Using your sanitized tool, make a clean cut just below a node. A slanted cut is often recommended, as it increases the surface area for root development.
3. Remove Lower Leaves: Remove the leaves from the bottom 1-2 inches of the cutting. This prevents them from rotting in the rooting medium and encourages the plant to focus its energy on root production.
4. Optional: Rooting Hormone: While not strictly necessary, rooting hormone can significantly increase your success rate. Dip the cut end of the stem into rooting hormone powder or liquid, following the instructions on the product label. I personally find it gives my cuttings a real boost.
5. Prepare Your Rooting Medium: There are several options for rooting medium, including:
* Water: Simple and effective, but change the water every few days to prevent algae growth.
* Perlite: Provides excellent drainage and aeration.
* Vermiculite: Retains moisture well.
* Seed Starting Mix: A lightweight mix specifically designed for starting seeds and cuttings.
* My Personal Favorite: A mix of equal parts perlite and vermiculite. I find this provides the perfect balance of drainage and moisture retention.
Rooting in Water: A Simple Method
Rooting in water is a great option for beginners, as it allows you to easily monitor root development.
1. Choose a Container: Select a clear glass or jar. This allows you to see the roots as they grow.
2. Fill with Water: Fill the container with fresh, clean water. Tap water is fine, but let it sit out for 24 hours to allow chlorine to dissipate.
3. Place the Cutting: Place the cutting in the water, ensuring that the bottom nodes are submerged but the leaves are above the water line.
4. Find the Right Spot: Place the container in a warm, bright location, but avoid direct sunlight, which can scorch the leaves. An east-facing window is ideal.
5. Change the Water Regularly: Change the water every 2-3 days to prevent algae growth and keep the water fresh.
6. Be Patient: Root development can take several weeks, so be patient. You should start to see small roots emerging from the nodes within 2-4 weeks.
7. Potting Up: Once the roots are about 1-2 inches long, it’s time to pot up your new plant.
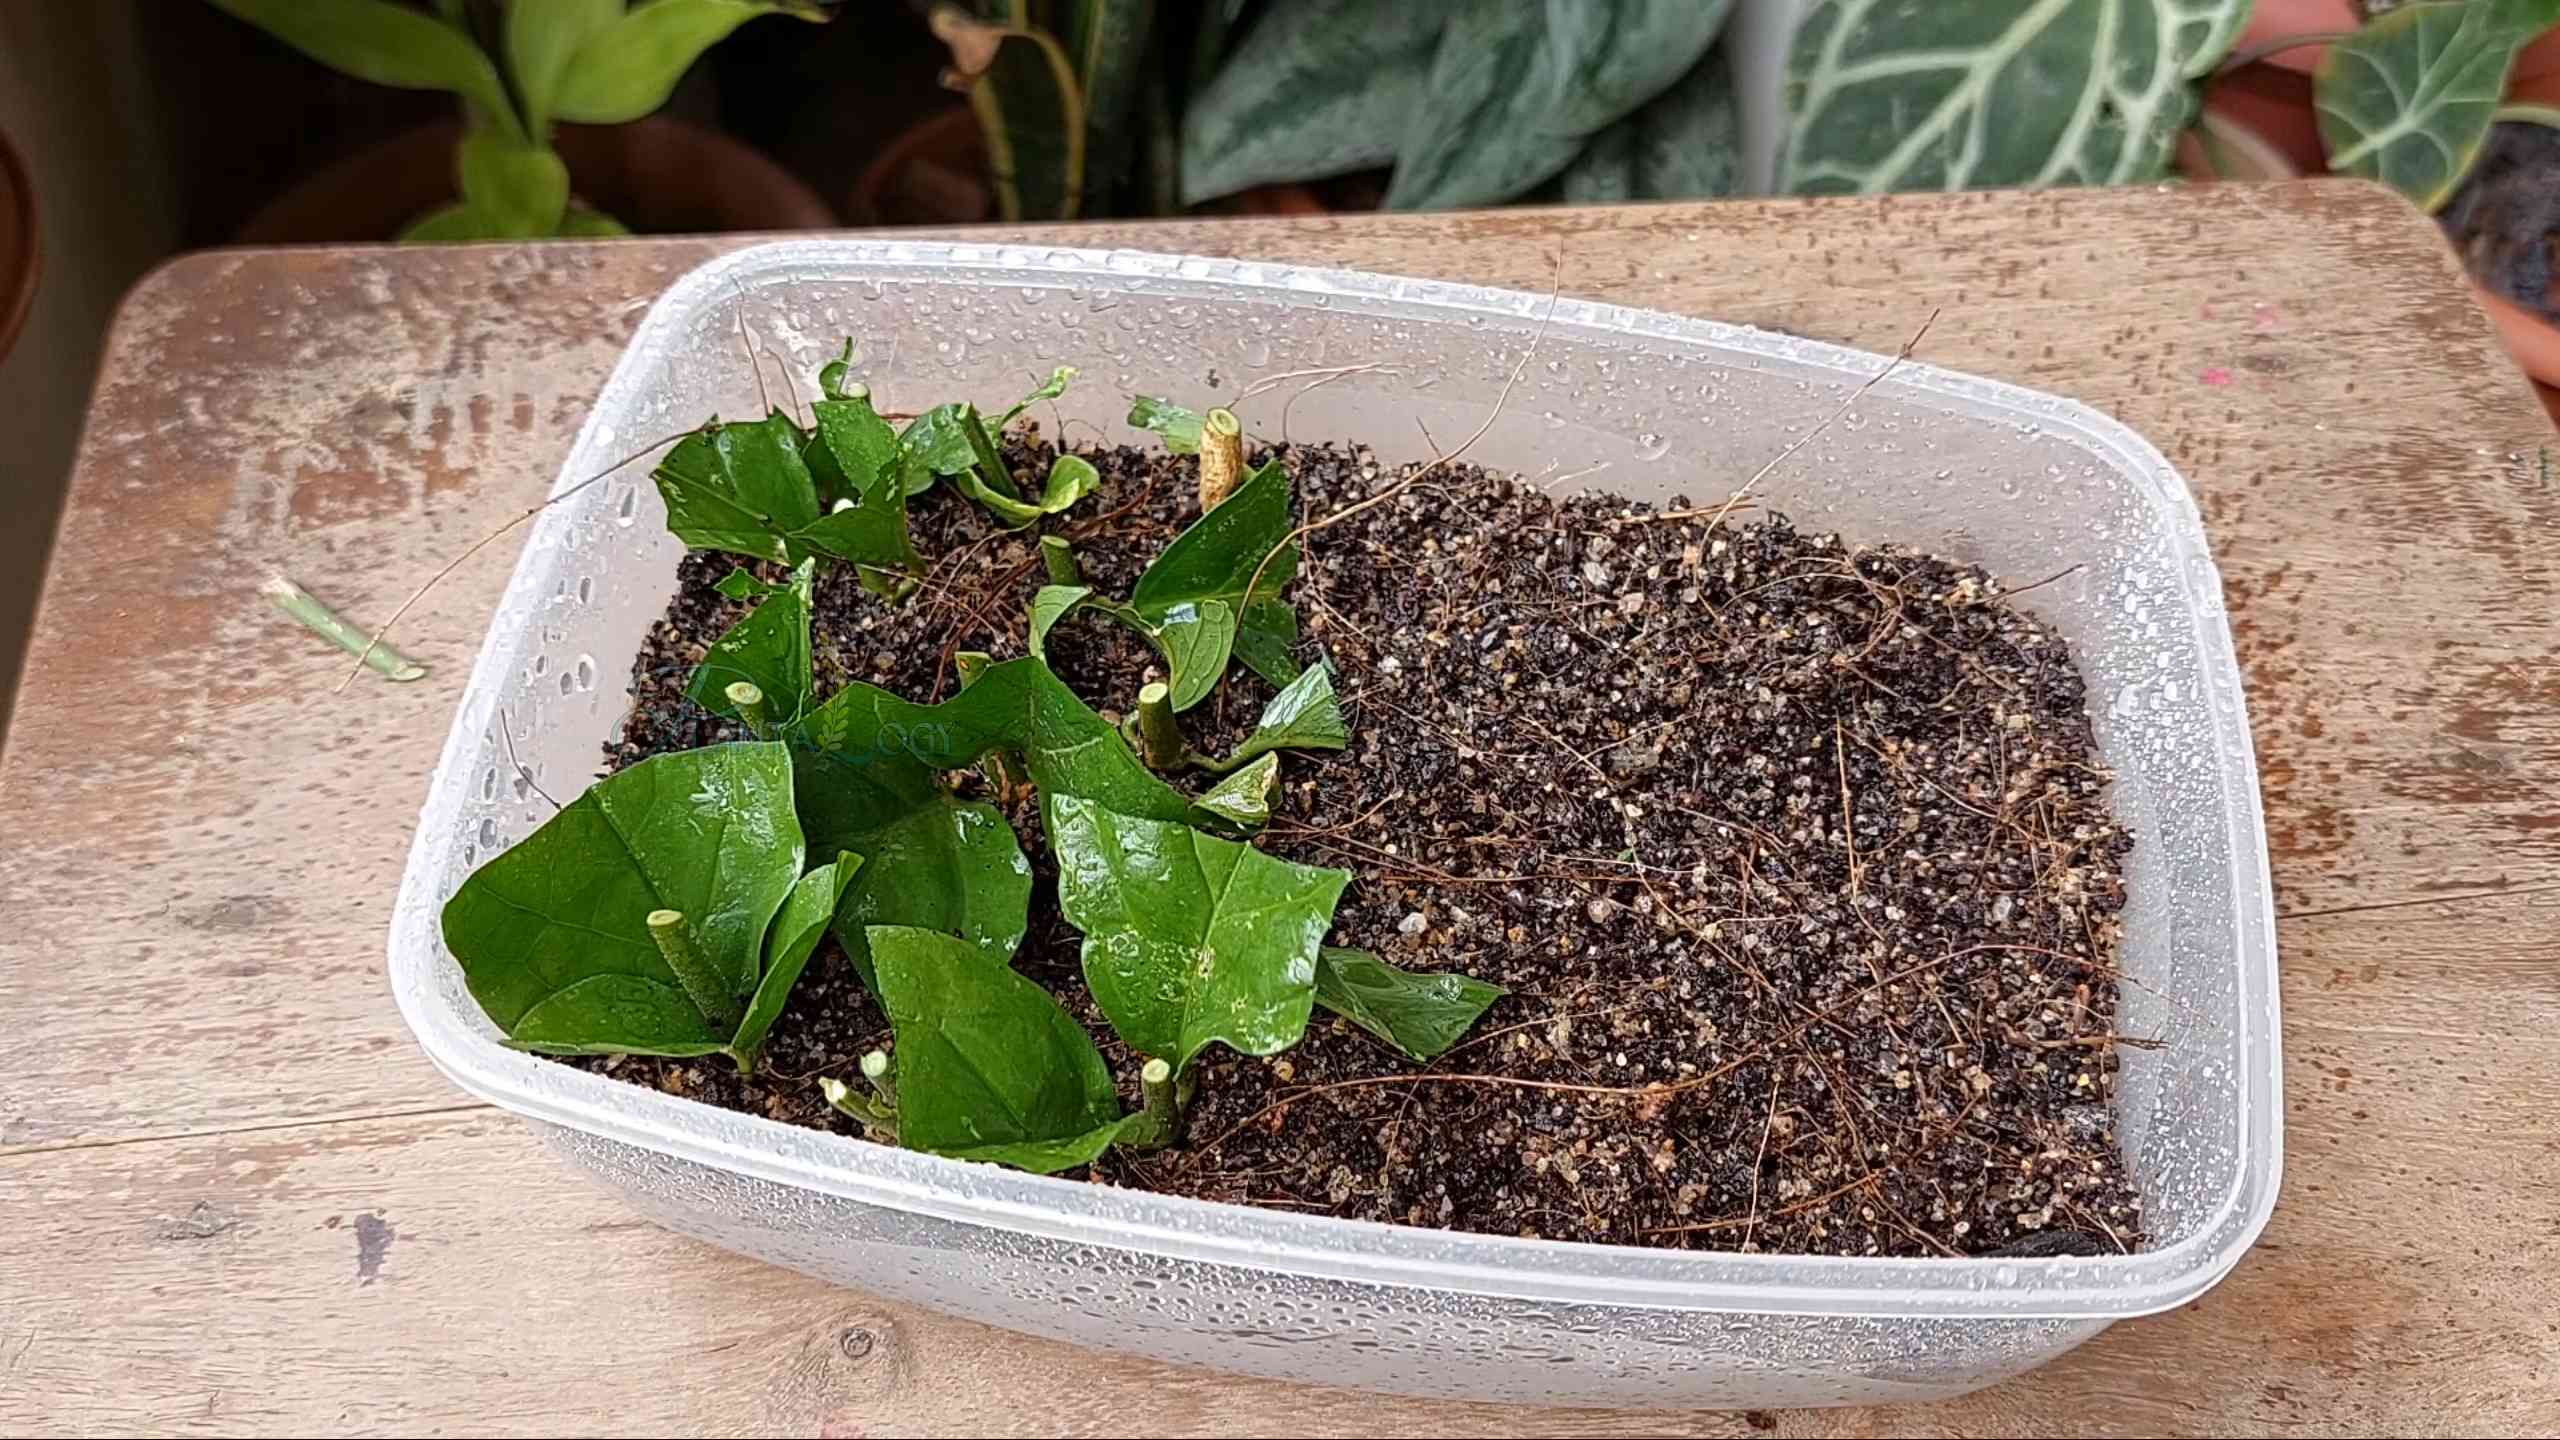
Rooting in Soil or a Soil-less Mix: A More Direct Approach
Rooting in soil or a soil-less mix is another effective method, and it can sometimes result in stronger root systems.
1. Prepare Your Pot: Choose a small pot (2-3 inches in diameter) with drainage holes. Fill it with your chosen rooting medium (perlite, vermiculite, seed starting mix, or a combination).
2. Moisten the Medium: Thoroughly moisten the rooting medium, but don’t let it become waterlogged.
3. Make a Hole: Use a pencil or your finger to create a small hole in the center of the pot.
4. Insert the Cutting: Gently insert the cutting into the hole, ensuring that the bottom nodes are buried in the medium.
5. Gently Firm the Soil: Gently firm the medium around the cutting to provide support.
6. Create a Humid Environment: Arabian Jasmine cuttings thrive in humid environments. You can create this by:
* Using a Humidity Dome: Place a clear plastic bag or dome over the pot to trap moisture. Make sure to vent it occasionally to prevent mold growth.
* Misting Regularly: Mist the cutting with water several times a day to keep it hydrated.
7. Find the Right Spot: Place the pot in a warm, bright location, but avoid direct sunlight.
8. Keep the Medium Moist: Keep the rooting medium consistently moist, but not soggy. Check it daily and water as needed.
9. Be Patient: Root development can take several weeks. You can gently tug on the cutting after a few weeks to see if it has rooted. If it resists, it has likely rooted.
10. Potting Up: Once the cutting has developed a strong root system, it’s time to pot it up into a larger pot.
Potting Up Your New Jasmine Plant: Giving it a Home
Congratulations! You’ve successfully rooted your Arabian Jasmine cutting. Now it’s time to give it a permanent home.
1. Choose the Right Pot: Select a pot that is slightly larger than the root ball of your cutting. A pot that is too large can lead to overwatering.
2. Use Well-Draining Soil: Arabian Jasmine prefers well-draining soil. A good potting mix for jasmine is a combination of:
* Potting Soil: Provides nutrients and structure.
* Perlite: Improves drainage and aeration.
* Coco Coir: Helps retain moisture.
I usually use a mix of 2 parts potting soil, 1 part perlite, and 1 part coco coir.
3. Gently Remove the Cutting: Carefully remove the rooted cutting from its rooting medium. Be gentle to avoid damaging the roots.
4. Plant the Cutting: Place the cutting in the new pot and fill it with potting mix, gently firming the soil around the roots.
5. Water Thoroughly: Water the plant thoroughly after potting, allowing excess water to drain out of the drainage holes.
6. Find the Perfect Spot: Place your new jasmine plant in a sunny location. Arabian Jasmine needs at least 6 hours of sunlight per day to thrive.
7. Water Regularly: Water your jasmine plant regularly, allowing the soil to dry out slightly between waterings.
8. Fertilize Regularly: Fertilize your jasmine plant every 2-4 weeks during the growing season (spring and summer) with a balanced fertilizer.
9. Prune as Needed: Prune your jasmine plant regularly to encourage bushier growth and remove any dead or damaged stems.
Caring for Your New Arabian Jasmine: Ensuring Long-Term Success
Now that your Arabian Jasmine is potted and thriving, here are a few tips to ensure its long-term success:
* Sunlight is Key: As mentioned earlier, Arabian Jasmine needs plenty of sunlight. If you don’t have a sunny spot indoors, consider using a grow light.
* Watering Wisely: Overwatering is a common problem with jasmine plants. Allow the soil to dry out slightly between waterings. Yellowing leaves are often a sign of overwatering.
* Humidity is Your Friend: Arabian Jasmine loves humidity. If you live in a dry climate, consider using a humidifier or placing your plant on a pebble tray
Conclusion
So, there you have it! Propagating Arabian Jasmine doesn’t have to be shrouded in mystery or require a green thumb blessed by the gardening gods. With a little patience, the right tools, and this straightforward guide, you can easily expand your collection of these fragrant beauties and fill your home or garden with their intoxicating scent.
Why is this DIY propagation trick a must-try? Because it’s cost-effective, rewarding, and allows you to create new plants from a single, healthy parent. Instead of shelling out money at a nursery, you’re essentially cloning your favorite Arabian Jasmine, ensuring you have more of what you love. Plus, there’s an undeniable satisfaction in nurturing a new plant from a simple cutting. It’s a testament to your gardening skills and a tangible representation of your connection to nature.
But the fun doesn’t stop there! Feel free to experiment with different propagation methods. While we’ve focused on stem cuttings in water, you can also try propagating Arabian Jasmine using soil or even air layering. Each method has its own advantages and disadvantages, so explore what works best for you and your environment.
Consider these variations to personalize your propagation journey:
* Rooting Hormone Boost: While not strictly necessary, dipping your cuttings in rooting hormone can significantly increase your success rate, especially if you’re working with more mature or woody stems.
* Humidity Control: Creating a humid environment around your cuttings can help prevent them from drying out before they develop roots. You can achieve this by placing a clear plastic bag or dome over the cuttings, ensuring adequate ventilation to prevent mold growth.
* Cutting Selection: Experiment with different types of cuttings. Softwood cuttings (new growth) tend to root more quickly than hardwood cuttings (older, more mature growth). Try both and see which yields the best results for you.
* Potting Mix Matters: When transplanting your rooted cuttings into pots, use a well-draining potting mix specifically formulated for flowering plants. This will provide the necessary nutrients and drainage for healthy growth.
Ultimately, the key to successful Arabian Jasmine propagation is observation and adaptation. Pay attention to your cuttings, monitor their progress, and adjust your techniques as needed. Don’t be discouraged if your first attempt isn’t perfect. Gardening is a learning process, and every failure is an opportunity to improve.
We wholeheartedly encourage you to try this DIY propagation trick and experience the joy of creating new Arabian Jasmine plants. It’s a simple, rewarding, and sustainable way to expand your garden and share the beauty of these fragrant flowers with friends and family.
Once you’ve successfully propagated your Arabian Jasmine, we’d love to hear about your experience! Share your tips, tricks, and photos in the comments below. Let’s create a community of Arabian Jasmine enthusiasts and learn from each other’s successes and challenges. Happy propagating!
FAQ
Q: What is the best time of year to propagate Arabian Jasmine?
A: The best time to propagate Arabian Jasmine is during the spring or early summer. This is when the plant is actively growing, and cuttings are more likely to root successfully. The warmer temperatures and longer daylight hours provide optimal conditions for root development. However, with proper care and environmental control, you can attempt propagation at other times of the year, although success rates may vary.
Q: How long does it take for Arabian Jasmine cuttings to root?
A: Rooting time can vary depending on several factors, including the type of cutting, the propagation method, and the environmental conditions. Generally, you can expect to see roots developing within 2-4 weeks. However, it may take longer for some cuttings to root, so be patient and continue to provide proper care. Look for signs of new growth, such as small roots emerging from the stem or new leaves developing.
Q: What type of water should I use for propagating Arabian Jasmine cuttings?
A: It’s best to use filtered or distilled water for propagating Arabian Jasmine cuttings. Tap water can contain chlorine and other chemicals that may inhibit root growth. If you don’t have access to filtered or distilled water, you can let tap water sit out for 24 hours to allow the chlorine to evaporate. Change the water every few days to prevent the growth of bacteria and algae.
Q: How often should I change the water when propagating Arabian Jasmine cuttings in water?
A: You should change the water every 2-3 days to keep it fresh and prevent the growth of bacteria and algae. Stagnant water can harbor harmful microorganisms that can inhibit root growth and even cause the cuttings to rot. When changing the water, gently rinse the cuttings to remove any debris or slime that may have accumulated.
Q: What do I do if my Arabian Jasmine cuttings start to turn yellow or brown?
A: Yellowing or browning leaves on your cuttings can indicate several problems, such as overwatering, underwatering, or fungal infection. First, check the water level and ensure that the cuttings are not sitting in too much water. If the water is stagnant or cloudy, change it immediately. If the leaves are dry and brittle, the cuttings may be underwatered. Increase the humidity around the cuttings by placing a plastic bag or dome over them. If you suspect a fungal infection, treat the cuttings with a fungicide. Remove any affected leaves to prevent the spread of the infection.
Q: Can I propagate Arabian Jasmine from leaf cuttings?
A: While stem cuttings are the most common and reliable method for propagating Arabian Jasmine, it is possible, though less common and generally less successful, to propagate from leaf cuttings. The process involves taking a healthy leaf with a small portion of the stem attached and placing it in a rooting medium. However, leaf cuttings often take longer to root and may not always produce a new plant. Stem cuttings are generally preferred for their higher success rate.
Q: How do I know when my Arabian Jasmine cuttings are ready to be transplanted into soil?
A: Your Arabian Jasmine cuttings are ready to be transplanted into soil when they have developed a healthy root system. Look for roots that are at least 1-2 inches long and have several branches. The roots should be white or light brown in color and appear healthy and vigorous. Avoid transplanting the cuttings too early, as they may not be able to survive in soil without a well-established root system.
Q: What type of soil should I use for transplanting my rooted Arabian Jasmine cuttings?
A: Use a well-draining potting mix specifically formulated for flowering plants. This type of potting mix typically contains a blend of peat moss, perlite, and vermiculite, which provides good drainage and aeration. Avoid using garden soil, as it can be too heavy and may not drain well. You can also add some compost to the potting mix to provide additional nutrients.
Q: How much sunlight do newly transplanted Arabian Jasmine cuttings need?
A: Newly transplanted Arabian Jasmine cuttings need bright, indirect sunlight. Avoid placing them in direct sunlight, as this can scorch the leaves. A location near an east-facing window is ideal. As the plants mature, they can tolerate more sunlight, but it’s important to gradually acclimate them to brighter conditions to prevent leaf burn.
Q: How often should I water my newly transplanted Arabian Jasmine cuttings?
A: Water your newly transplanted Arabian Jasmine cuttings when the top inch of soil feels dry to the touch. Avoid overwatering, as this can lead to root rot. Ensure that the pot has drainage holes to allow excess water to escape. During the growing season, you may need to water more frequently, especially in hot, dry weather. Reduce watering during the winter months when the plant is dormant.


Leave a Comment