

Sticker Residue Removal with Salt: We’ve all been there, haven’t we? You peel off a shiny new sticker, feeling accomplished, only to be greeted by that sticky, stubborn residue clinging stubbornly to your prized possession. It’s frustrating, unsightly, and feels like a permanent blemish. But fear not, fellow DIY enthusiasts! I’m here to share a simple, yet incredibly effective, trick that will banish that sticky menace for good, and the best part? It only requires common table salt!
Throughout history, people have sought natural and resourceful solutions to everyday problems. From ancient civilizations using ash for cleaning to our grandmothers’ reliance on vinegar, the spirit of DIY ingenuity runs deep. This simple hack for sticker residue removal with salt taps into that same resourceful spirit, offering a cost-effective and eco-friendly alternative to harsh chemical cleaners.
Why is this DIY trick so essential? Because nobody wants to live with sticky, grimy surfaces! Whether it’s removing price tag residue from a beautiful new vase, cleaning up after your kids’ sticker obsession on furniture, or rescuing a beloved book from a misplaced label, this method is a game-changer. It’s gentle enough for delicate surfaces, yet powerful enough to tackle even the most stubborn adhesive. So, ditch the expensive sprays and embrace the power of salt! I’m going to show you exactly how to achieve sticker-free perfection with this easy and effective method.
DIY Sticker Residue Removal with Salt: A Simple & Effective Guide
Hey there, fellow DIY enthusiasts! Ever been plagued by that sticky, stubborn residue left behind after peeling off a sticker? It’s the bane of every crafter, organizer, and anyone who’s ever tried to re-purpose a jar. But fear not! I’m here to share a super simple, surprisingly effective method for removing sticker residue using something you probably already have in your kitchen: salt!
This method is fantastic because it’s non-toxic, inexpensive, and works on a variety of surfaces. I’ve personally used it on glass, plastic, metal, and even some painted surfaces (always test in an inconspicuous area first, though!). Let’s dive in!
What You’ll Need
Before we get started, gather these simple supplies:
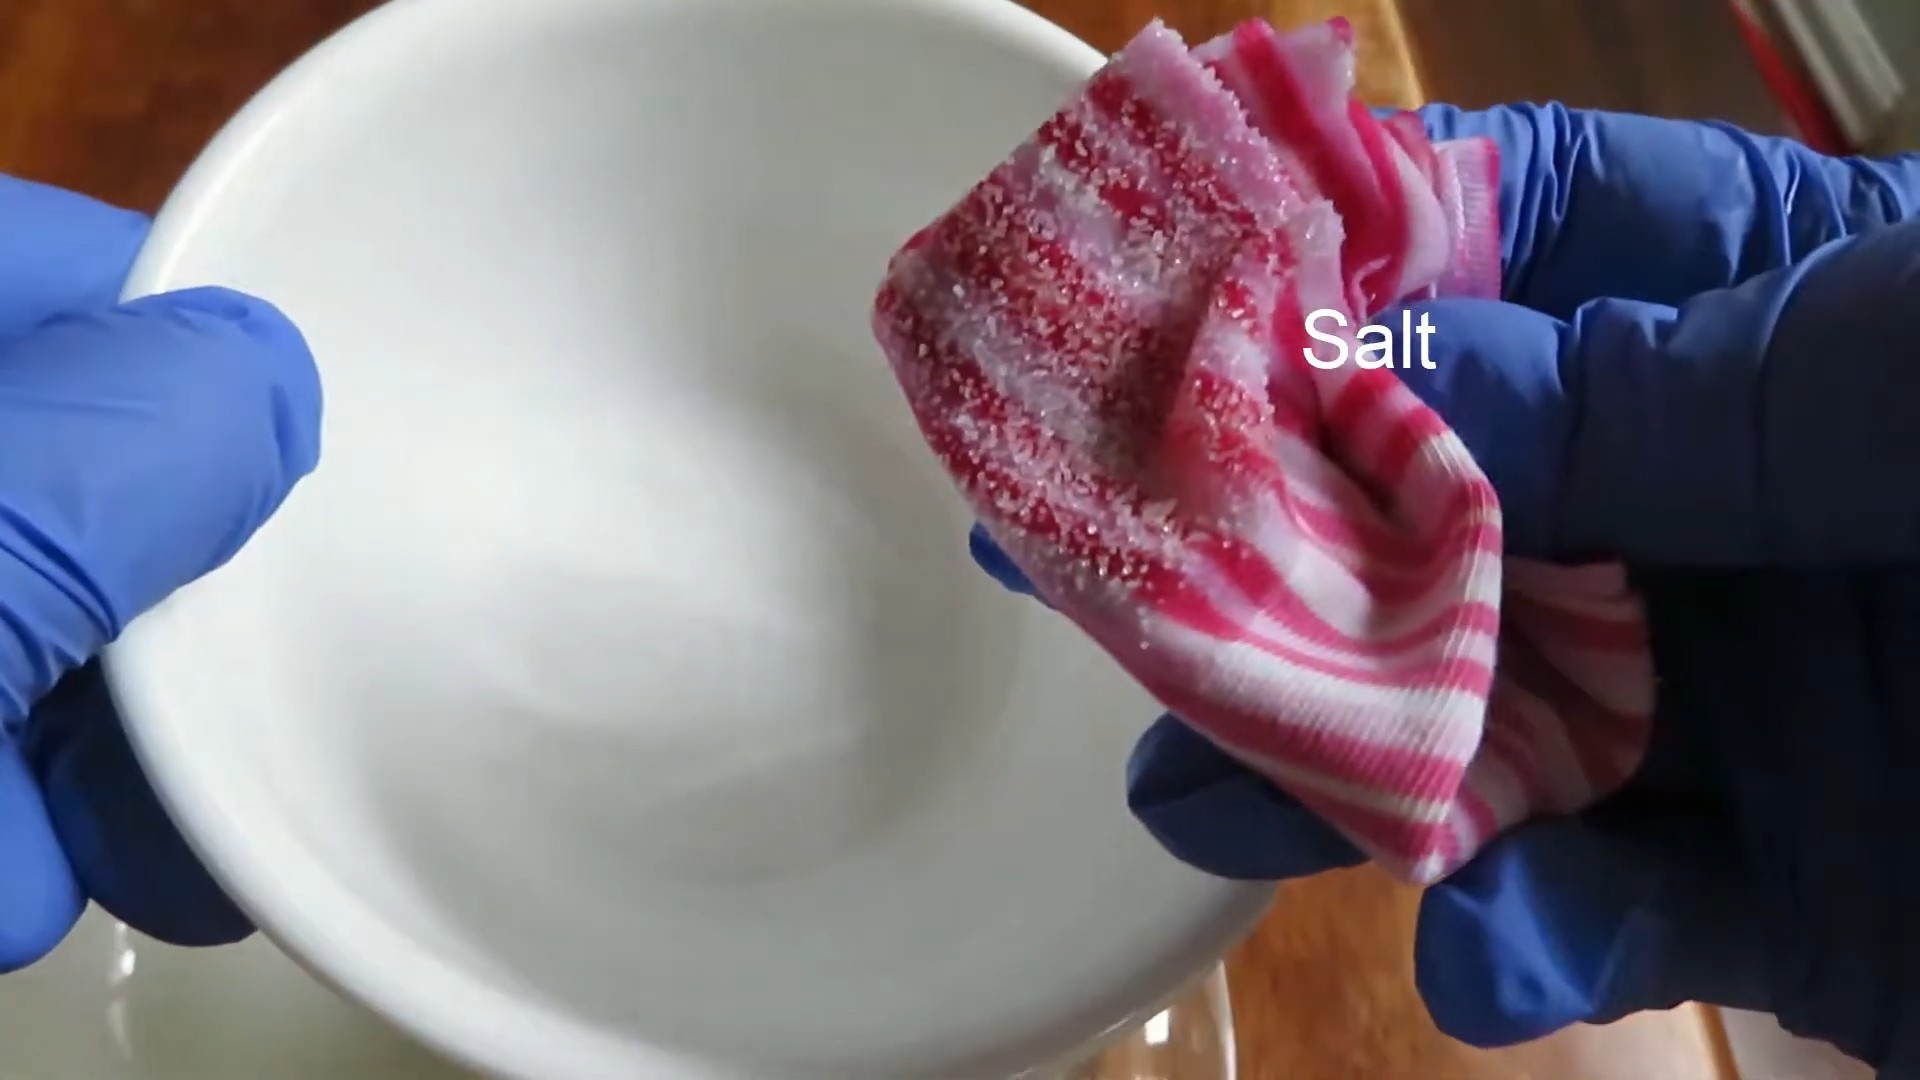
* Table Salt (or Coarse Salt): Regular table salt works just fine, but I find that coarse salt, like sea salt or kosher salt, provides a bit more abrasive power.
* Cooking Oil (Vegetable, Olive, or Coconut): Any cooking oil will do the trick. The oil helps to loosen the adhesive. I usually grab whatever I have on hand.
* Soft Cloth or Paper Towel: You’ll need this to apply the salt mixture and wipe away the residue. Microfiber cloths are great for delicate surfaces.
* Spoon or Small Bowl: For mixing the salt and oil.
* Warm Water (Optional): For rinsing the surface afterward.
* Mild Dish Soap (Optional): For cleaning the surface after removing the residue.
* Plastic Scraper or Old Credit Card (Optional): For stubborn residue, a plastic scraper can help lift it without scratching the surface.
Step-by-Step Instructions: The Salt Scrub Method
Here’s the breakdown of how to banish that sticky mess:
1. Prepare the Salt Scrub: In your small bowl, mix together the salt and oil. I usually start with a ratio of about 2 parts salt to 1 part oil. You want to create a thick paste. If it’s too runny, add more salt. If it’s too dry, add a little more oil. The consistency should be similar to wet sand. I like to mix it well until it forms a nice, spreadable paste.
2. Apply the Salt Scrub: Using your finger or a soft cloth, generously apply the salt scrub to the sticker residue. Make sure the entire area is covered. Don’t be shy! The more contact the salt has with the adhesive, the better.
3. Let it Sit (Important!): This is a crucial step. Allow the salt scrub to sit on the residue for at least 10-15 minutes. This gives the oil time to penetrate and loosen the adhesive. For really stubborn residue, you can let it sit for up to 30 minutes. I usually set a timer so I don’t forget.
4. Gently Scrub: After the soaking time, gently scrub the area with your soft cloth or paper towel. Use circular motions and apply moderate pressure. You should start to see the residue lifting and balling up. Be patient and avoid scrubbing too hard, especially on delicate surfaces, as you don’t want to scratch them.
5. Wipe Away the Residue: As the residue loosens, wipe it away with a clean section of your cloth or paper towel. You might need to repeat the scrubbing and wiping process several times to remove all the sticky stuff.
6. Rinse (Optional): If you’re working on a surface that can be rinsed, like glass or plastic, rinse the area with warm water to remove any remaining salt and oil.
7. Wash with Soap (Optional): After rinsing, you can wash the area with mild dish soap and water to remove any lingering oiliness. This is especially helpful for surfaces that will come into contact with food.
8. Dry the Surface: Finally, dry the surface thoroughly with a clean cloth. And voila! Sticker residue gone!
Dealing with Stubborn Residue
Sometimes, the residue is particularly stubborn and requires a little extra effort. Here are a few tips for tackling those tough cases:
* Reapply and Soak Longer: If the residue isn’t coming off easily, reapply the salt scrub and let it sit for a longer period, up to an hour. The extra soaking time can make a big difference.
* Use a Plastic Scraper: For really stubborn residue, gently use a plastic scraper or an old credit card to help lift the adhesive. Hold the scraper at a slight angle and apply gentle pressure. Be careful not to scratch the surface. I find that working from the edge of the residue inward is most effective.
* Try a Different Type of Salt: If regular table salt isn’t doing the trick, try using coarse salt, like sea salt or kosher salt. The larger granules provide more abrasive power.
* Heat it Up (Carefully!): Applying a little heat can help loosen the adhesive. You can use a hairdryer on a low setting to gently warm the residue before applying the salt scrub. Be careful not to overheat the surface, especially if it’s plastic.
* Repeat the Process: Sometimes, it just takes a few applications to completely remove the residue. Don’t give up! Just keep repeating the process until the surface is clean.
Surfaces to Be Cautious With
While this salt scrub method is generally safe, there are a few surfaces you should be cautious with:
* Painted Surfaces: Always test the salt scrub in an inconspicuous area before applying it to a painted surface. The abrasive nature of the salt could potentially damage the paint. If you notice any damage, stop immediately.
* Delicate Plastics: Some delicate plastics can be easily scratched. Use a very soft cloth and apply minimal pressure when scrubbing.
* Wood: Be careful when using the salt scrub on wood, especially unfinished wood. The oil can stain the wood, and the salt can scratch the surface. Test in an inconspicuous area first.
* Electronics: Avoid using the salt scrub on electronic devices, as the moisture could damage the internal components.
Alternative Oils
While I typically use vegetable, olive, or coconut oil, you can experiment with other types of oils as well. Here are a few alternatives:
* Baby Oil: Baby oil is a gentle option that can be effective for removing sticker residue.
* Essential Oils: Some essential oils, like lemon or orange oil, have natural adhesive-removing properties. Add a few drops of essential oil to your salt scrub for an extra boost. Be sure to test the essential oil on an inconspicuous area first, as some oils can damage certain surfaces.
* Peanut Butter: Believe it or not, peanut butter can also be used to remove sticker residue! The oils in peanut butter help to loosen the adhesive. Apply a thin layer of peanut butter to the residue, let it sit for 30 minutes, and then wipe it away.
Why This Works: The Science Behind the Scrub
So, why does this simple salt scrub method work so well? It’s all about the combination of abrasion and lubrication.
* The Salt: The salt acts as a gentle abrasive, helping to physically break down the adhesive bonds of the sticker residue. The small, sharp edges of the salt crystals help to lift the residue from the surface.
* The Oil: The oil acts as a lubricant, allowing the salt to move freely across the surface without scratching it. The oil also penetrates the adhesive, weakening its grip and making it easier to remove.
The combination of these two ingredients creates a powerful yet gentle cleaning solution that effectively removes sticker residue without damaging most surfaces.
My Personal Experiences and Tips
I’ve used this method countless times, and I’ve learned a few things along the way. Here are some of my personal tips:
* Don’t be afraid to experiment with the salt-to-oil ratio. Sometimes, a slightly wetter or drier scrub works better depending on the type of residue.
* Always test in an inconspicuous area first, especially on delicate surfaces.
* Be patient! Removing sticker residue can sometimes take a little time and effort. Don’t get discouraged if it doesn’t come off immediately.
* Keep a jar of pre-mixed salt scrub on hand for quick and easy residue removal.
* This method also works great for removing other sticky substances, like glue or tape residue.
I hope this guide has been helpful! With a little salt, oil, and elbow grease, you can say goodbye to those pesky sticker remnants for good. Happy cleaning!
Conclusion
So, there you have it! Removing stubborn sticker residue doesn’t require harsh chemicals or expensive specialized products. This simple, effective, and surprisingly satisfying DIY sticker residue removal with salt method is a game-changer for anyone who’s ever battled sticky messes. It’s a testament to the power of everyday ingredients and a little bit of elbow grease.
Why is this a must-try? Because it’s gentle on surfaces, readily available, and incredibly cost-effective. Think about all those times you’ve struggled with sticky labels on jars, price tags on gifts, or remnants of old stickers on furniture. This method offers a safe and natural alternative to potentially damaging solvents, saving you money and protecting your belongings. Plus, it’s a great way to repurpose that salt shaker sitting in your pantry!
But the beauty of this trick lies not only in its simplicity but also in its adaptability. Feel free to experiment with different types of salt. Coarse sea salt can provide extra scrubbing power for tougher residues, while finer table salt might be gentler on delicate surfaces. You can also adjust the amount of oil you use to create the perfect paste consistency. For particularly stubborn residue, try letting the salt and oil mixture sit on the affected area for a few minutes before scrubbing. You could even add a drop or two of essential oil, like lemon or orange, for an extra boost of degreasing power and a pleasant scent. Just be sure to test the essential oil on an inconspicuous area first to ensure it doesn’t damage the surface.
Beyond the basic method, consider these variations:
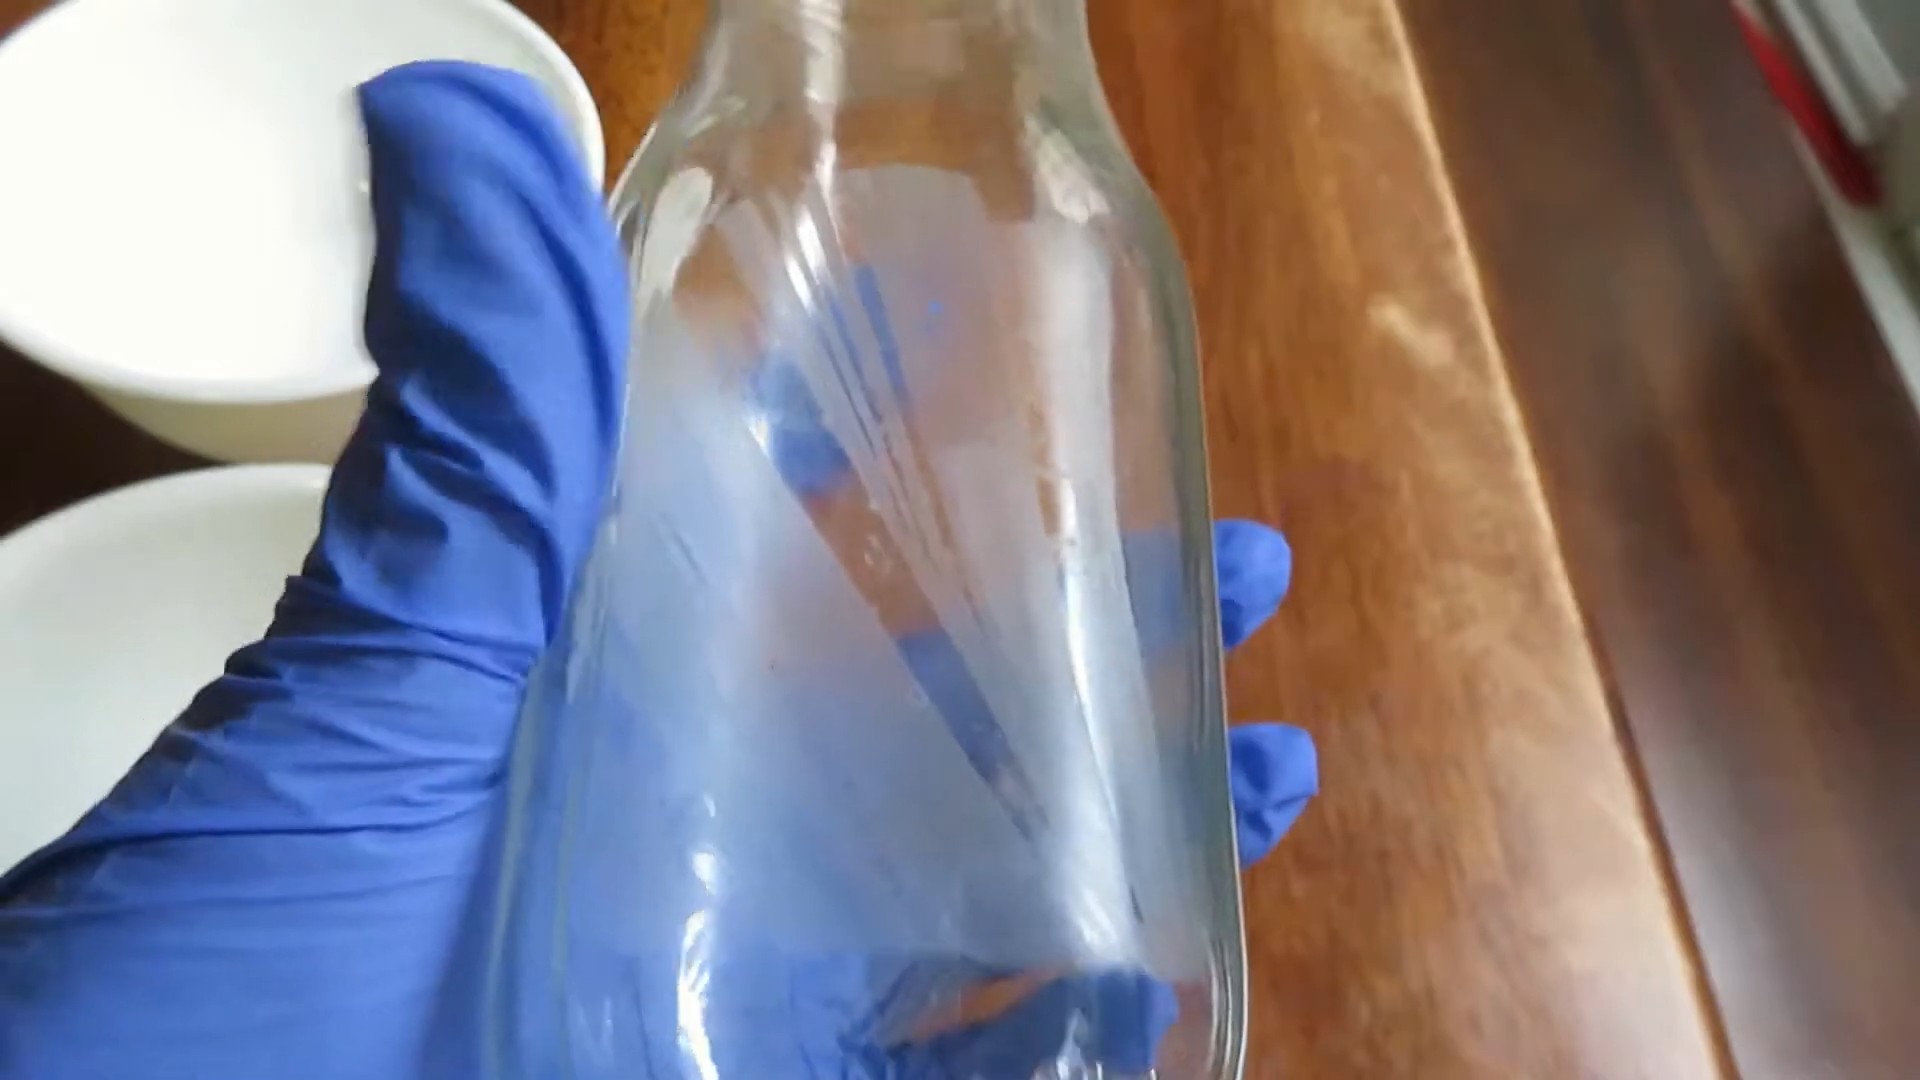
* For Glass Surfaces: This method works wonders on glass! Use a slightly wetter paste and gentle circular motions to avoid scratching.
* For Plastic Surfaces: Be extra cautious with plastic, as some types can be sensitive to abrasion. Start with a very fine salt and a light touch.
* For Painted Surfaces: Test the salt and oil mixture on a hidden area first to ensure it doesn’t affect the paint. Use a very gentle scrubbing motion.
* For Fabrics: While this method can work on some fabrics, it’s crucial to test it in an inconspicuous area first. Blot the residue with the salt and oil mixture, then gently rub and rinse thoroughly.
We’re confident that this DIY sticker residue removal with salt trick will become your go-to solution for sticky situations. It’s a simple, effective, and eco-friendly way to keep your belongings looking their best.
Now, it’s your turn! We encourage you to try this method and share your experience with us. Did it work for you? Did you discover any helpful variations? Let us know in the comments below! Your feedback will help others discover the magic of salt and oil for removing stubborn sticker residue. We can’t wait to hear your success stories!
Frequently Asked Questions (FAQ)
What kind of salt works best for removing sticker residue?
The type of salt you use depends on the surface you’re cleaning and the stubbornness of the residue. For most surfaces, regular table salt will work just fine. However, for tougher residues or more durable surfaces like glass, coarse sea salt can provide extra scrubbing power. Just be mindful of using coarse salt on delicate surfaces like plastic or painted items, as it could cause scratches. Always test in an inconspicuous area first.
What kind of oil should I use?
Most common household oils will work for this method. Olive oil is a popular choice due to its availability and gentle nature. Vegetable oil, canola oil, or even coconut oil can also be used. The oil acts as a lubricant and helps to break down the adhesive in the sticker residue. Experiment with different oils to see which one works best for your specific situation.
Will this method scratch my surfaces?
The risk of scratching depends on the type of salt you use, the pressure you apply, and the sensitivity of the surface you’re cleaning. To minimize the risk of scratching, start with a fine salt and use a gentle scrubbing motion. Avoid applying excessive pressure. Always test the method in an inconspicuous area first to ensure it doesn’t damage the surface. For delicate surfaces like plastic or painted items, consider using a very fine salt and a light touch.
How long should I scrub the residue?
The amount of time you need to scrub will vary depending on the type and amount of residue. Start with a gentle scrubbing motion and gradually increase the pressure if needed. Avoid scrubbing too aggressively, as this could damage the surface. If the residue is particularly stubborn, try letting the salt and oil mixture sit on the affected area for a few minutes before scrubbing. This will give the oil time to penetrate the adhesive and make it easier to remove.
What if the residue is still there after scrubbing?
If the residue persists after scrubbing, try repeating the process. You may need to apply more salt and oil and scrub for a longer period. You can also try using a different type of salt or oil. For particularly stubborn residues, consider using a specialized adhesive remover, but be sure to test it in an inconspicuous area first to ensure it doesn’t damage the surface.
Can I use this method on clothing or other fabrics?
While this method can work on some fabrics, it’s crucial to test it in an inconspicuous area first. Blot the residue with the salt and oil mixture, then gently rub and rinse thoroughly. Avoid scrubbing too aggressively, as this could damage the fabric. If the fabric is delicate, consider using a very fine salt and a light touch. If the residue is particularly stubborn, you may need to repeat the process or try a different method.
Is this method safe for all types of surfaces?
While this method is generally safe for most surfaces, it’s always best to test it in an inconspicuous area first to ensure it doesn’t cause any damage. Be particularly cautious with delicate surfaces like plastic, painted items, and certain types of fabrics. Avoid using coarse salt or excessive pressure on these surfaces.
Can I add essential oils to the salt and oil mixture?
Yes, you can add a drop or two of essential oil to the salt and oil mixture for an extra boost of degreasing power and a pleasant scent. Lemon and orange essential oils are particularly effective for removing sticky residues. However, be sure to test the essential oil on an inconspicuous area first to ensure it doesn’t damage the surface. Some essential oils can be corrosive or cause discoloration.
How do I clean up the salt and oil mixture after removing the residue?
After removing the residue, simply wipe the area with a clean, damp cloth to remove any remaining salt and oil mixture. You may need to use a mild soap and water solution to remove any lingering oiliness. Be sure to dry the area thoroughly to prevent water spots.
Is this method environmentally friendly?
Yes, this method is generally considered to be environmentally friendly, as it uses natural ingredients like salt and oil. It’s a great alternative to harsh chemicals and specialized adhesive removers, which can be harmful to the environment. By using this method, you can reduce your reliance on potentially toxic products and help protect the planet.
Leave a Comment