

Toilet limescale removal can feel like an endless battle, right? I know the frustration of scrubbing and scrubbing, only to see those stubborn stains reappear. But what if I told you there’s a way to conquer limescale without harsh chemicals or back-breaking effort? This DIY guide is your secret weapon to a sparkling clean toilet, and trust me, it’s easier than you think!
Limescale, that chalky buildup we all dread, isn’t just unsightly; it can also harbor bacteria and even damage your toilet over time. Think of it as a tiny, unwelcome guest that’s slowly taking over. Historically, people have used various methods to combat limescale, from simple vinegar solutions to more abrasive techniques. But let’s face it, who has time for complicated remedies?
That’s where this DIY trick comes in. I’m going to share a simple, effective, and budget-friendly method for toilet limescale removal that will leave your toilet bowl gleaming. You’ll save money on expensive cleaners, protect the environment from harsh chemicals, and, most importantly, reclaim your precious time. So, ditch the elbow grease and get ready to say goodbye to limescale for good!
DIY Toilet Limescale Removal: A Sparkling Clean Throne Awaits!
Okay, let’s face it, nobody *likes* cleaning the toilet. But that stubborn limescale buildup? It’s not just unsightly; it can actually affect the efficiency of your flush. So, I’m going to walk you through a few tried-and-true methods to banish that limescale and get your toilet bowl looking sparkling clean again. I’ve tested these myself, and trust me, they work!
Understanding Limescale: The Enemy Within
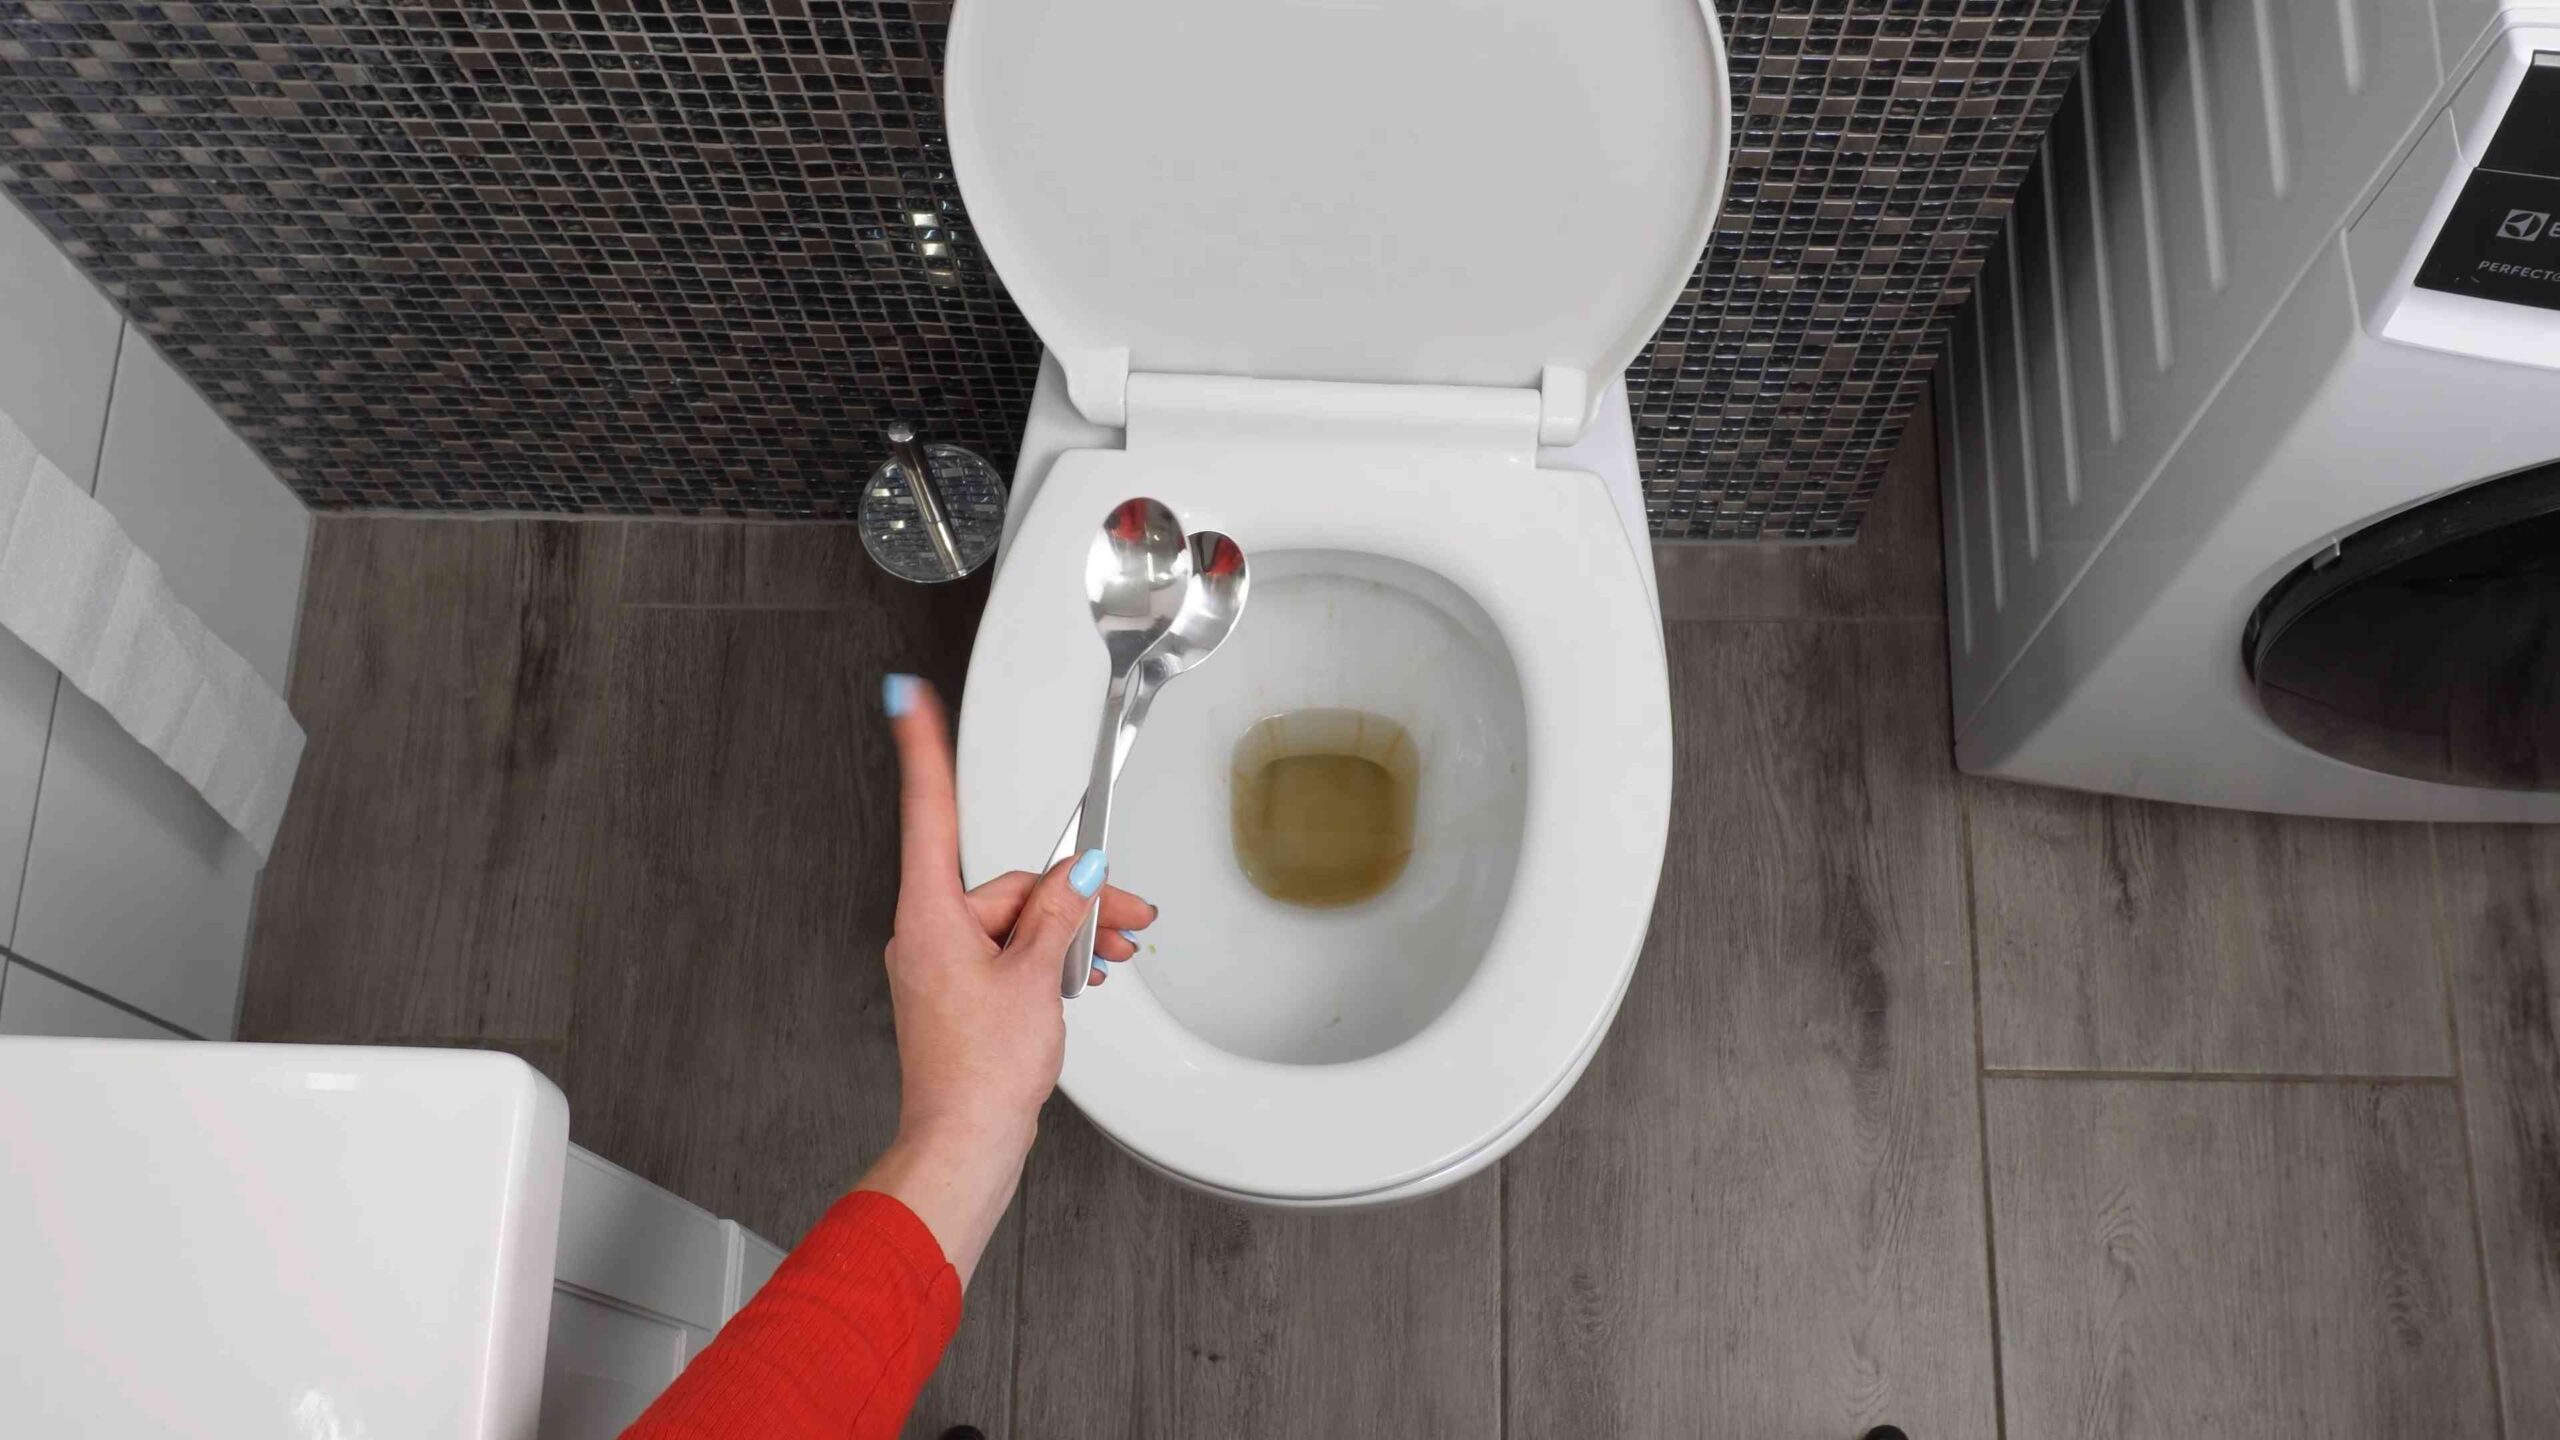
Before we dive into the cleaning, let’s understand what we’re fighting. Limescale is that hard, chalky deposit you see in your toilet bowl, especially around the waterline and in the jets. It’s primarily made up of calcium and magnesium carbonates, which are left behind when hard water evaporates. The longer you leave it, the harder it gets to remove. So, regular cleaning is key!
Method 1: The Vinegar and Baking Soda Powerhouse
This is my go-to method for tackling mild to moderate limescale. It’s relatively gentle, uses ingredients you probably already have, and is environmentally friendly.
What You’ll Need:
* White vinegar (at least 5% acidity)
* Baking soda
* Toilet brush
* Rubber gloves (optional, but recommended)
* Kettle (for heating the vinegar)
* Eye protection (recommended)
Step-by-Step Instructions:
1. Prepare the Vinegar: Heat about 2-3 cups of white vinegar in a kettle. You want it hot, but not boiling. Boiling vinegar can release fumes that aren’t pleasant to breathe. Safety first!
2. Pour in the Vinegar: Carefully pour the hot vinegar into the toilet bowl, making sure to coat all the areas affected by limescale, especially under the rim.
3. Add the Baking Soda: Immediately add about one cup of baking soda to the vinegar. It will fizz and bubble – that’s the chemical reaction working its magic!
4. Let it Sit: This is the crucial part. Let the vinegar and baking soda mixture sit in the toilet bowl for at least 3-4 hours, or even better, overnight. The longer it sits, the more time it has to break down the limescale. I usually do this before bed so it can work its magic while I sleep.
5. Scrub-a-dub-dub: After the soaking period, put on your gloves (if you’re using them) and grab your toilet brush. Give the toilet bowl a good scrub, paying extra attention to the areas with limescale. You should notice the limescale starting to loosen and flake off.
6. Flush Away: Flush the toilet to rinse away the loosened limescale and the cleaning mixture.
7. Repeat if Necessary: If there’s still some stubborn limescale remaining, repeat the process. Sometimes, a second application is needed for really tough buildup.
Method 2: The Citric Acid Solution: A Natural Limescale Fighter
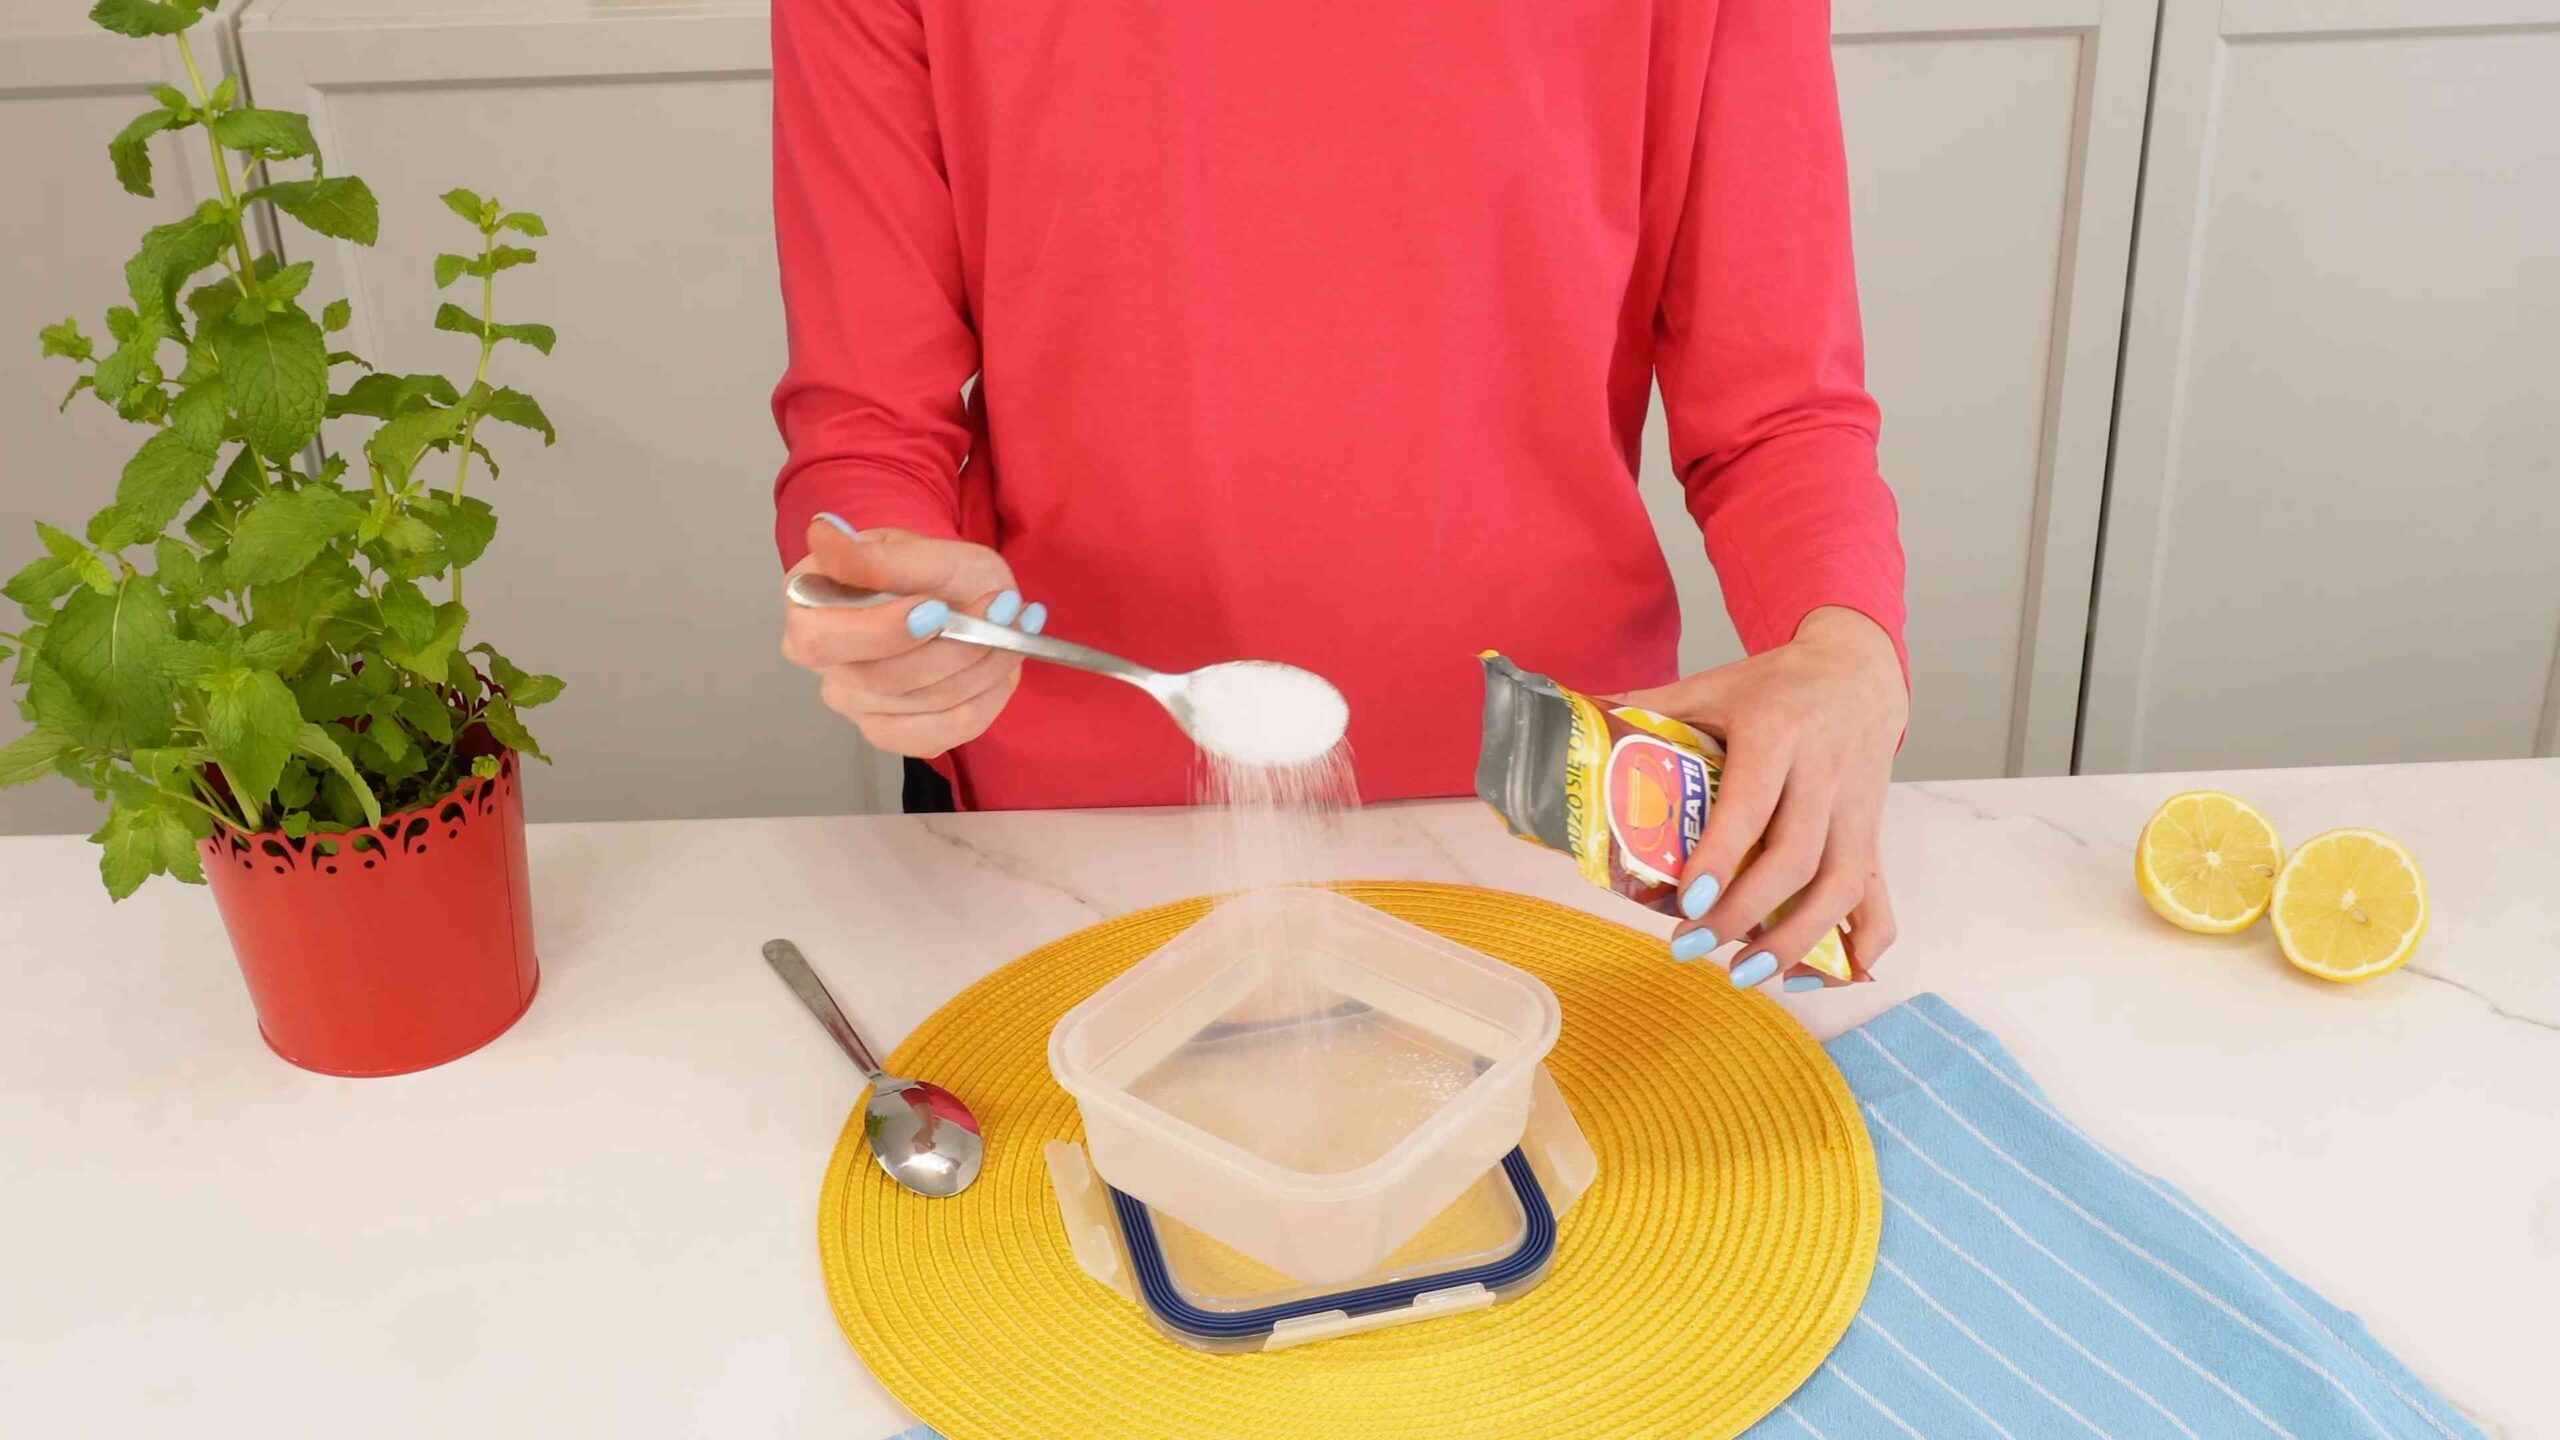
Citric acid is another fantastic natural cleaner that’s great for removing limescale. You can find it in powder form at most supermarkets or online. It’s a bit stronger than vinegar and baking soda, so it’s a good option for more stubborn limescale.
What You’ll Need:
* Citric acid powder
* Hot water
* Toilet brush
* Rubber gloves (optional, but recommended)
* Eye protection (recommended)
Step-by-Step Instructions:
1. Prepare the Solution: In a separate container (not the toilet bowl!), mix about 2-3 tablespoons of citric acid powder with 2 cups of hot water. Stir until the citric acid is completely dissolved.
2. Pour into the Toilet Bowl: Pour the citric acid solution into the toilet bowl, making sure to coat all the affected areas.
3. Let it Sit: Let the solution sit for at least 2-3 hours, or overnight for best results.
4. Scrub and Flush: After the soaking period, scrub the toilet bowl thoroughly with your toilet brush. The limescale should be much easier to remove now.
5. Flush Away: Flush the toilet to rinse away the loosened limescale and the citric acid solution.
6. Repeat if Necessary: If needed, repeat the process for any remaining limescale.
Method 3: The Borax Boost: For Seriously Stubborn Limescale
Borax (sodium borate) is a natural mineral that’s a bit stronger than vinegar or citric acid. It’s effective for tackling really stubborn limescale, but it’s important to use it carefully. Always wear gloves and avoid inhaling the powder.
What You’ll Need:
* Borax powder
* White vinegar
* Toilet brush
* Rubber gloves (essential!)
* Eye protection (essential!)
* Old toothbrush (optional, for hard-to-reach areas)
Step-by-Step Instructions:
1. Dry the Toilet Bowl: This is important for the borax to adhere properly. Turn off the water supply to the toilet (usually a valve behind the toilet) and flush to remove as much water as possible. You can use a sponge to soak up any remaining water.
2. Apply the Borax: Sprinkle a generous amount of borax powder directly onto the limescale deposits.
3. Drizzle with Vinegar: Gently drizzle white vinegar over the borax powder. It will create a paste.
4. Let it Sit: Let the borax and vinegar paste sit for at least 2-3 hours, or overnight for severe limescale.
5. Scrub Thoroughly: Put on your gloves and eye protection! Scrub the toilet bowl vigorously with your toilet brush. For hard-to-reach areas, like under the rim, use an old toothbrush.
6. Turn on the Water and Flush: Turn the water supply back on and flush the toilet several times to rinse away all the borax and loosened limescale.
7. Inspect and Repeat: Check for any remaining limescale and repeat the process if necessary.
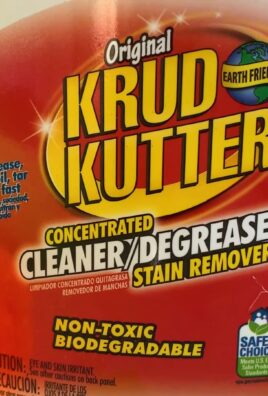
Method 4: The Commercial Toilet Bowl Cleaner (Use with Caution!)
Okay, sometimes you just need to bring out the big guns. Commercial toilet bowl cleaners are formulated to dissolve limescale quickly, but they often contain harsh chemicals. If you choose to use one, follow the instructions on the label *very* carefully.
What You’ll Need:
* Commercial toilet bowl cleaner (specifically designed for limescale removal)
* Toilet brush
* Rubber gloves (essential!)
* Eye protection (essential!)
* Good ventilation
Step-by-Step Instructions:
1. Read the Instructions: This is the most important step! Read the instructions on the toilet bowl cleaner label carefully. Pay attention to safety precautions and recommended application times.
2. Apply the Cleaner: Apply the toilet bowl cleaner to the affected areas, following the instructions on the label. Usually, you’ll squirt it under the rim and around the waterline.
3. Let it Sit: Let the cleaner sit for the recommended amount of time. Do not exceed the recommended time, as this could damage your toilet.
4. Scrub and Flush: Scrub the toilet bowl with your toilet brush.
5. Flush Thoroughly: Flush the toilet several times to rinse away all the cleaner and loosened limescale.
6. Ventilate: Open a window or turn on the bathroom fan to ventilate the area.
Important Considerations and Safety Tips:
* Never mix bleach with any other cleaning products, especially vinegar or ammonia. This can create toxic fumes.
* Always wear rubber gloves and eye protection when cleaning the toilet, especially when using strong cleaning agents.
* Ensure good ventilation in the bathroom while cleaning.
* If you have a septic system, be mindful of the chemicals you use. Some commercial cleaners can harm the beneficial bacteria in your septic tank. Natural methods like vinegar, baking soda, and citric acid are generally safer for septic systems.
* Test any cleaning solution in an inconspicuous area first to ensure it doesn’t damage the toilet bowl.
* If you have colored toilet fixtures, be extra cautious when using strong cleaning agents, as they may cause discoloration.
* Regular cleaning is key to preventing limescale buildup. Aim to clean your toilet at least once a week.
Preventing Future Limescale Buildup:
* Use a water softener: If you have hard water, a water softener can significantly reduce limescale buildup throughout your home, including in your toilet.
* Flush regularly: Flushing the toilet regularly helps to prevent water from sitting and evaporating, which contributes to limescale formation.
* Use toilet bowl cleaners regularly: Using a mild toilet bowl cleaner regularly can help to prevent limescale from building up in the first place.
* Vinegar treatment: Pour a cup of white vinegar
Conclusion
So, there you have it! This simple, yet incredibly effective DIY trick for toilet limescale removal is a game-changer for anyone battling those stubborn stains. Forget harsh chemicals and expensive cleaners that promise the world but often fall short. This method is not only budget-friendly, utilizing ingredients you likely already have in your pantry, but it’s also a much gentler approach for your plumbing and the environment.
Why is this a must-try? Because it works! The combination of readily available ingredients creates a powerful cleaning action that breaks down limescale without the need for excessive scrubbing or potentially damaging chemicals. You’ll be amazed at how easily those unsightly rings and deposits disappear, leaving your toilet bowl sparkling clean and fresh.
But the beauty of this DIY solution lies in its adaptability. Feel free to experiment with variations to suit your specific needs and preferences. For instance, if you’re dealing with particularly stubborn limescale, you can increase the concentration of vinegar or let the solution sit overnight for maximum effectiveness. You could also add a few drops of your favorite essential oil, like tea tree or eucalyptus, for an extra boost of freshness and antibacterial properties. Another variation is to use a pumice stone gently after the solution has soaked, to help lift any remaining stubborn deposits. Remember to always wet the pumice stone thoroughly before using it to avoid scratching the porcelain.
This isn’t just about cleaning; it’s about taking control of your home cleaning routine and finding solutions that are both effective and sustainable. It’s about ditching the harsh chemicals and embracing a more natural approach to keeping your bathroom sparkling.
We wholeheartedly encourage you to give this DIY toilet limescale removal trick a try. You’ll be surprised at how simple and effective it is. And once you’ve experienced the satisfaction of a sparkling clean toilet bowl, we’d love to hear about your results! Share your experiences, tips, and variations in the comments below. Let’s build a community of DIY cleaning enthusiasts who are passionate about finding natural and effective solutions for a cleaner, healthier home. Your insights could help others discover the magic of this simple yet powerful cleaning method. Don’t hesitate to share before and after photos – we’re eager to see your success stories! Let’s conquer toilet limescale together!
Frequently Asked Questions (FAQs)
What exactly is limescale, and why does it form in my toilet?
Limescale is a hard, chalky deposit that primarily consists of calcium carbonate. It forms when hard water, which contains dissolved minerals like calcium and magnesium, evaporates or is heated. In toilets, limescale builds up due to the constant presence of water and the frequent flushing, which introduces fresh hard water. The minerals in the water precipitate out and adhere to the surfaces of the toilet bowl, especially around the waterline and in areas where water tends to sit. Over time, these deposits accumulate, forming the stubborn, unsightly layers we know as limescale.
Is this DIY method safe for all types of toilets and plumbing systems?
Generally, this DIY method is safe for most standard toilets and plumbing systems. The ingredients used, primarily vinegar and baking soda, are relatively mild and non-corrosive. However, it’s always a good idea to exercise caution, especially if you have an older plumbing system or a toilet made of a delicate material. Avoid using abrasive scrub brushes or harsh scouring pads, as these can scratch the porcelain. If you’re unsure about the compatibility of this method with your specific toilet or plumbing, it’s best to test it on a small, inconspicuous area first. Also, never mix vinegar with bleach, as this creates toxic fumes.
How often should I use this DIY limescale removal method?
The frequency of application depends on the severity of the limescale buildup and the hardness of your water. In areas with very hard water, you may need to use this method more frequently, perhaps once a week or every other week. For less severe cases, once a month may be sufficient. Regular maintenance is key to preventing limescale from becoming too difficult to remove. Consider incorporating this DIY method into your regular cleaning routine to keep your toilet bowl sparkling clean.
Can I use other types of vinegar besides white vinegar?
While white vinegar is the most commonly recommended type for cleaning due to its high acidity and lack of color, you can technically use other types of vinegar, such as apple cider vinegar. However, white vinegar is generally preferred because it’s the most effective and least likely to stain or discolor the toilet bowl. If you do use apple cider vinegar, be sure to rinse thoroughly to prevent any potential staining, especially if your toilet bowl is white.
What if the limescale is extremely stubborn and doesn’t come off easily?
For extremely stubborn limescale, you may need to repeat the process multiple times or increase the concentration of vinegar. You can also try letting the solution soak overnight for maximum effectiveness. Another helpful tip is to use a pumice stone gently after the solution has soaked. Wet the pumice stone thoroughly and rub it gently over the limescale deposits. Be careful not to apply too much pressure, as this can scratch the porcelain. In severe cases, you might consider using a commercial limescale remover specifically designed for toilets, but always follow the manufacturer’s instructions carefully and wear appropriate protective gear.
Is there anything I can do to prevent limescale from building up in the first place?
Yes, there are several things you can do to prevent limescale buildup. One of the most effective methods is to install a water softener in your home. Water softeners remove the minerals that cause limescale, preventing it from forming in the first place. You can also try using a toilet bowl cleaner that contains limescale inhibitors. These cleaners help to prevent minerals from adhering to the surfaces of the toilet bowl. Regularly flushing the toilet can also help to prevent limescale buildup, as it prevents water from sitting in the bowl for extended periods. Finally, consider wiping down the toilet bowl with a vinegar solution after each use to prevent mineral deposits from accumulating.
Can I use this method to clean other bathroom fixtures besides the toilet?
Yes, this DIY method can be used to clean other bathroom fixtures affected by limescale, such as showerheads, faucets, and sinks. The same principles apply: the vinegar helps to dissolve the mineral deposits, making them easier to remove. For showerheads, you can soak them in a vinegar solution overnight. For faucets and sinks, you can apply a paste of baking soda and vinegar, let it sit for a few minutes, and then scrub gently. Always rinse thoroughly with water after cleaning to remove any residue.
What safety precautions should I take when using this DIY method?
While this DIY method is generally safe, it’s always a good idea to take a few basic safety precautions. Wear gloves to protect your hands from irritation. Avoid getting the solution in your eyes. If you do, rinse immediately with plenty of water. Never mix vinegar with bleach, as this creates toxic fumes. Ensure adequate ventilation when cleaning, especially in enclosed spaces. Keep the ingredients out of reach of children and pets. And as always, if you experience any adverse reactions, discontinue use and consult a medical professional.

Leave a Comment