

Unclog Sink DIY: Are you tired of staring into a murky pool of water in your sink, wondering if it’s ever going to drain again? I know the feeling! A clogged sink is more than just an inconvenience; it’s a disruption to your daily routine, a breeding ground for unpleasant odors, and frankly, just plain gross. But before you reach for harsh chemicals or call a pricey plumber, let’s explore some simple, effective, and budget-friendly DIY solutions.
For generations, resourceful homeowners have relied on clever tricks and hacks to maintain their homes. Think about it – our grandparents didn’t have access to the same arsenal of cleaning products we do today. They used ingenuity and readily available materials to keep their drains flowing freely. This tradition of resourcefulness is something I deeply admire, and it’s what inspired me to compile these easy-to-follow unclog sink DIY methods.
Why is this DIY knowledge so crucial? Because a clogged sink can happen to anyone, anytime. Hair, grease, food scraps – they all contribute to the slow and eventual blockage of your drain. Instead of panicking and spending a fortune on professional help, you can empower yourself with these simple techniques. I’m going to show you how to tackle that stubborn clog with items you probably already have in your kitchen. Let’s get that water flowing again!
DIY Sink Unclogging: A Comprehensive Guide
Okay, so your sink is clogged. We’ve all been there! It’s annoying, messy, and can really throw a wrench in your day. But don’t panic and call a plumber just yet! More often than not, you can tackle this problem yourself with a few simple tools and a little elbow grease. I’m going to walk you through several methods, starting with the easiest and working our way up to the more intense ones. Let’s get that water flowing again!
Assessing the Situation
Before you dive in, let’s take a quick look at the situation. This will help you choose the best approach.
* How clogged is it? Is the water draining slowly, or is it completely stopped? A slow drain might indicate a minor blockage, while a completely stopped drain suggests something more significant.
* Are there any other clogged drains? If multiple drains are clogged, it could indicate a problem further down the drain line, possibly in the main drain. This might require professional help.
* What kind of sink is it? Knowing if you have a single basin, double basin, or a bathroom sink with a pop-up stopper will influence the tools and techniques you use.
* Have you recently poured anything down the drain that might have caused the clog? Knowing if you’ve recently poured grease, coffee grounds, or other clog-inducing substances down the drain can help you target the problem.
Method 1: The Boiling Water Trick
This is the simplest and often most effective first step, especially for grease clogs.
What you’ll need:
* A kettle or pot
* Boiling water
Step-by-step instructions:
1. Remove standing water: If there’s standing water in the sink, bail it out with a cup or small container. You want the boiling water to directly hit the clog.
2. Boil the water: Bring a kettle or pot of water to a rolling boil.
3. Pour slowly: Carefully pour the boiling water down the drain in stages. Give the water a few seconds to work its magic between pours. This allows the heat to melt any grease or dissolve any soap buildup.
4. Repeat if necessary: If the water still isn’t draining, repeat the process a couple more times. Be patient!
5. Run the tap: After a few attempts, run hot tap water for a minute or two to flush out any remaining debris.
Method 2: The Plunger Power
The trusty plunger is a classic for a reason! It creates suction that can dislodge many types of clogs.
What you’ll need:
* A plunger (a cup plunger works best for flat surfaces, while a flange plunger is better for toilets)
* Water
Step-by-step instructions:
1. Remove standing water: Again, remove as much standing water as possible, leaving just enough to cover the cup of the plunger.
2. Create a seal: Place the plunger over the drain opening, ensuring a tight seal. You might need to add a little more water to help create the seal.
3. Plunge vigorously: Push and pull the plunger up and down with force, maintaining the seal. Avoid splashing water everywhere!
4. Repeat and check: Continue plunging for several minutes. Then, remove the plunger and see if the water drains. If not, repeat the process.
5. For double sinks: If you have a double sink, plug the other drain opening with a wet cloth or stopper to create better suction on the clogged side.
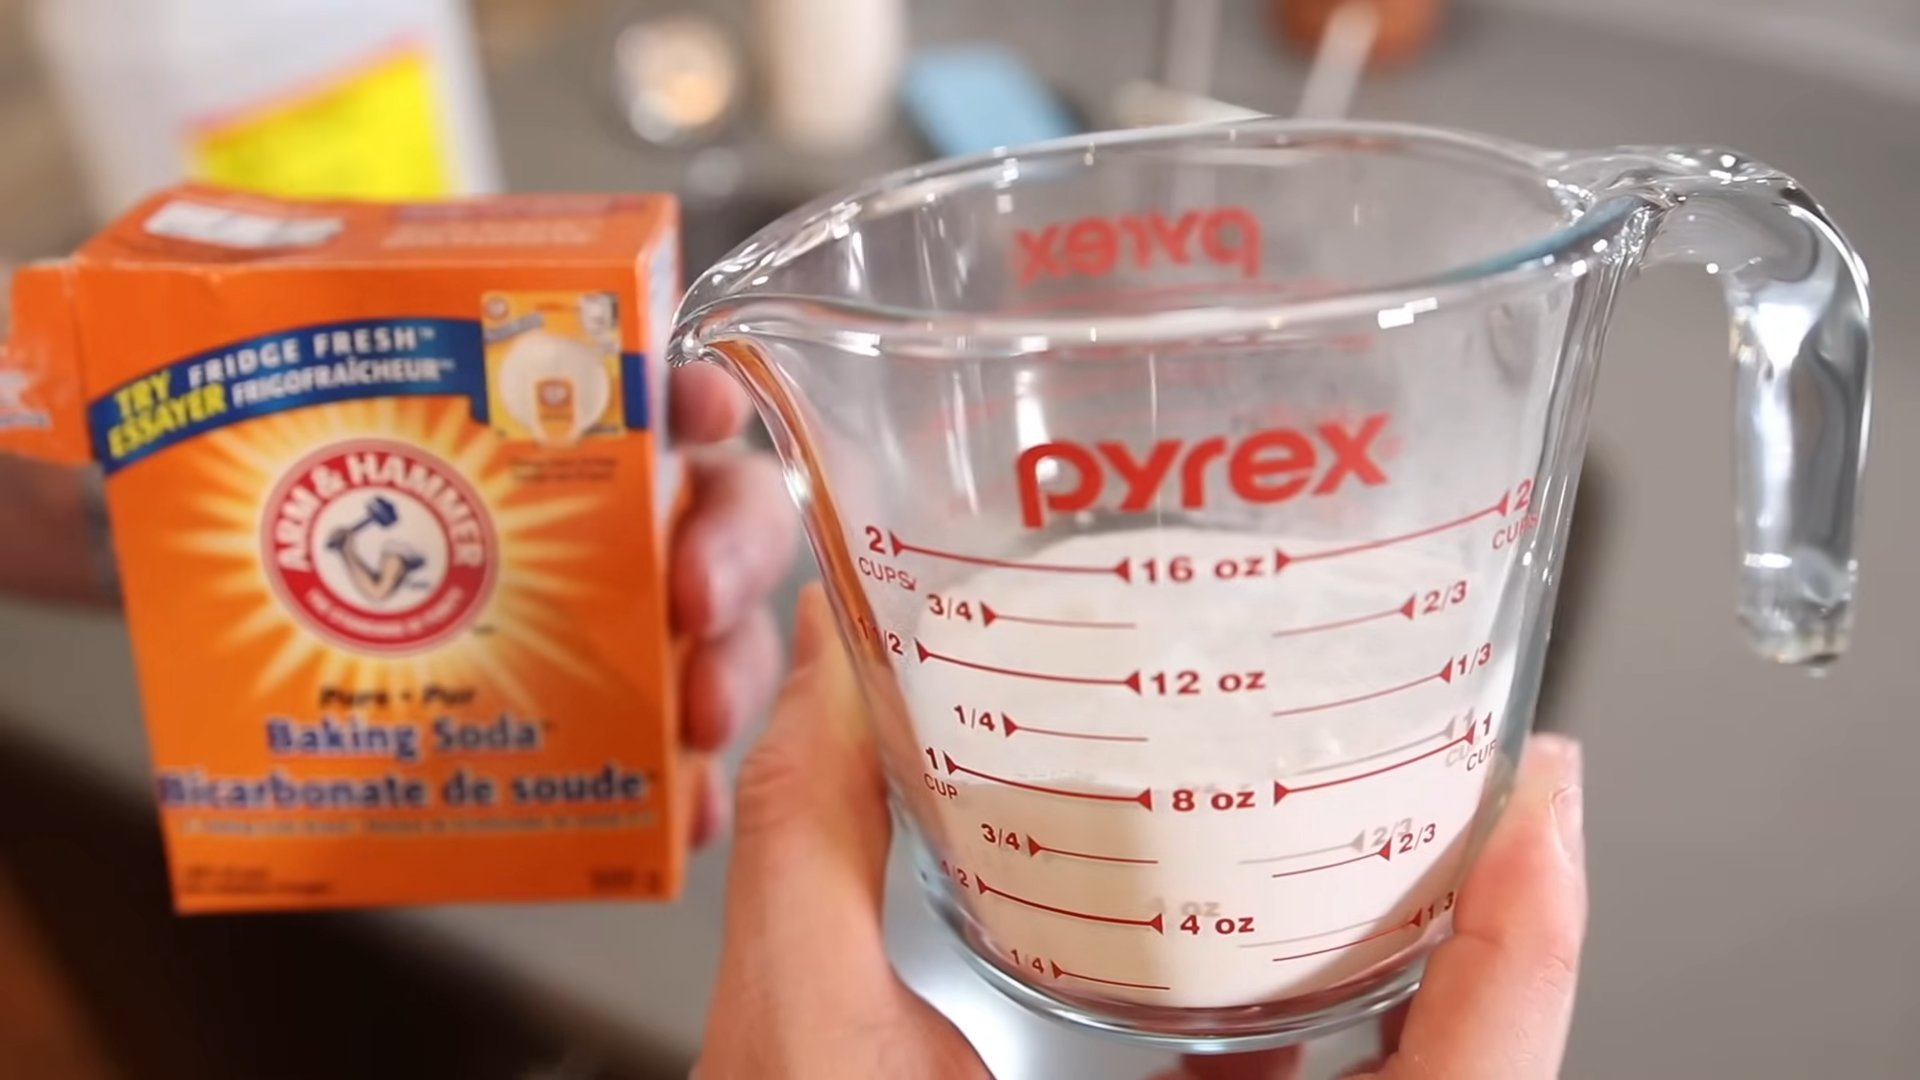
Method 3: Baking Soda and Vinegar Volcano
This is a natural and effective alternative to harsh chemical drain cleaners. The chemical reaction between baking soda and vinegar can break down many types of clogs.
What you’ll need:
* 1 cup baking soda
* 1 cup vinegar (white vinegar works best)
* Hot water
Step-by-step instructions:
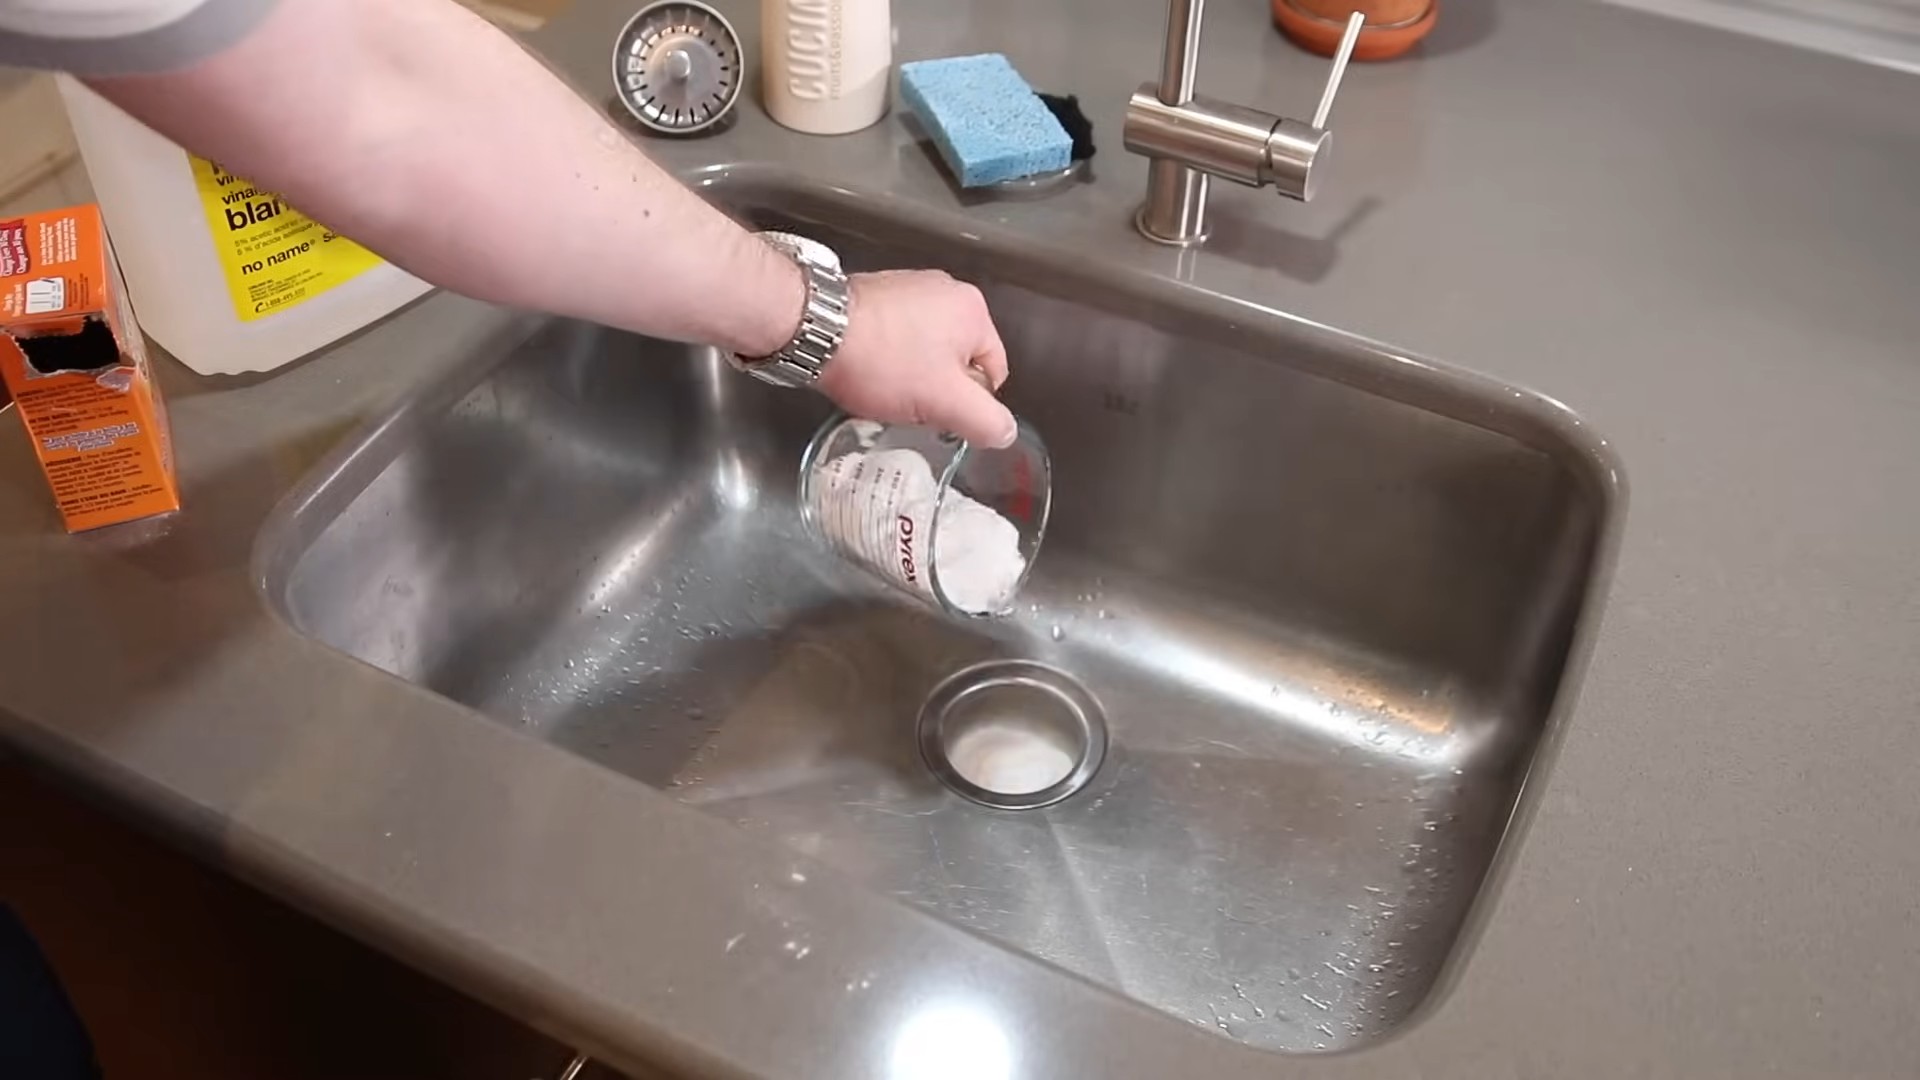
1. Remove standing water: Remove as much standing water as possible from the sink.
2. Pour in baking soda: Pour one cup of baking soda down the drain. Try to get as much of it down the drain as possible.
3. Add vinegar: Immediately follow with one cup of vinegar.
4. Let it fizz: The mixture will start to fizz and bubble. This is the chemical reaction at work! Let it sit for at least 30 minutes, or even better, overnight.
5. Flush with hot water: After the waiting period, flush the drain with a pot of boiling water or very hot tap water.
6. Repeat if necessary: If the drain is still slow, repeat the process.
Method 4: The Bent Wire Hanger Rescue
Sometimes, the clog is just within reach! A bent wire hanger can be surprisingly effective at grabbing and pulling out hair, gunk, and other debris.
What you’ll need:
* A wire coat hanger
* Pliers (optional, for bending the hanger)
* Gloves (optional, but recommended!)
Step-by-step instructions:
1. Straighten the hanger: Straighten the wire coat hanger as much as possible.
2. Create a hook: Bend one end of the hanger into a small hook. Pliers can be helpful for this.
3. Insert and fish: Carefully insert the hooked end of the hanger down the drain.
4. Twist and pull: Twist and turn the hanger to try to snag the clog. Then, slowly and carefully pull the hanger back up, bringing any debris with it.
5. Dispose of debris: Dispose of the gunk you pull out in a trash can.
6. Repeat as needed: Repeat the process until you’re no longer pulling out debris.
7. Flush with hot water: After you’ve removed as much debris as possible, flush the drain with hot water.
Method 5: Cleaning the P-Trap
The P-trap is the curved pipe under your sink. It’s designed to trap debris and prevent sewer gases from entering your home, but it can also be a common source of clogs. This method requires a bit more effort, but it’s often very effective.
What you’ll need:
* A bucket
* Adjustable pliers or a wrench
* Gloves
* Old towels or rags
Section 1: Preparation
1. Clear the area: Clear out the cabinet under the sink to give yourself plenty of room to work.
2. Place the bucket: Place the bucket directly under the P-trap to catch any water and debris that will spill out.
3. Prepare towels: Have old towels or rags handy to clean up any spills.
Section 2: Disconnecting the P-Trap
1. Loosen the slip nuts: Locate the slip nuts that connect the P-trap to the drain pipes. Use adjustable pliers or a wrench to carefully loosen these nuts. Important: Don’t completely remove the nuts yet!
2. Support the P-trap: Hold the P-trap with one hand while you completely unscrew the slip nuts with the other.
3. Remove the P-trap: Carefully remove the P-trap from the drain pipes. Be prepared for water and debris to spill into the bucket.
Section 3: Cleaning the P-Trap
1. Empty the P-trap: Empty the contents of the P-trap into the bucket.
2. Rinse the P-trap: Rinse the P-trap thoroughly with water to remove any remaining debris. You can use a garden hose or a sink in another location.
3. Inspect for clogs: Inspect the P-trap for any remaining clogs. If necessary, use a wire hanger or a small brush to dislodge any stubborn debris.
4. Clean the drain pipes: While the P-trap is removed, take the opportunity to clean the drain pipes that connect to the P-trap. You can use a wire hanger or a bottle brush to remove any buildup.
Section 4: Reassembling the P-Trap
1. Reattach the P-trap: Carefully reattach the P-trap to the drain pipes, making sure the slip nuts are properly aligned.
2. Tighten the slip nuts: Hand-tighten the slip nuts first, then use adjustable pliers or a wrench to tighten them a little further. Important: Don’t overtighten the nuts, as this can damage the pipes.
3. Test for leaks: Run water into the sink and check for leaks around the slip nuts. If you see any leaks, tighten the nuts a little more.
Method 6: The Drain Snake (Auger)
If all else fails, a drain
Conclusion
So, there you have it! No more battling with stubborn sink clogs and expensive plumber bills. This simple, effective, and eco-friendly DIY unclog sink trick is a game-changer for any homeowner. We’ve walked you through the steps, highlighting the ease and affordability of using common household ingredients to tackle even the most persistent blockages.
Why is this a must-try? Because it works! It’s a powerful alternative to harsh chemical drain cleaners that can damage your pipes and harm the environment. Plus, you likely already have everything you need in your pantry. Think of the money you’ll save and the peace of mind knowing you’re using a safe and sustainable solution.
But don’t stop there! Feel free to experiment with variations to suit your specific needs. For a particularly stubborn clog, try letting the baking soda and vinegar mixture sit overnight before flushing with hot water. You can also add a few drops of essential oils, like tea tree or eucalyptus, to the hot water for a refreshing scent and added antibacterial properties. Another variation is to use washing soda instead of baking soda for a stronger reaction, but be sure to wear gloves and eye protection when handling it.
This DIY unclog sink method is not just a quick fix; it’s a proactive approach to maintaining healthy plumbing. Regular use can help prevent future clogs from forming, saving you time and frustration in the long run.
We’re confident that this DIY trick will become your go-to solution for a clogged sink. It’s simple, effective, and environmentally conscious. But don’t just take our word for it – try it yourself! We’re eager to hear about your experiences. Did it work for you? Did you try any variations? Share your stories, tips, and photos in the comments below. Let’s build a community of DIY enthusiasts who are empowered to tackle common household problems with simple, sustainable solutions. Your feedback will help others discover the power of this amazing DIY unclog sink method and keep their drains flowing freely! Let us know if you have any questions, we are here to help.
Frequently Asked Questions (FAQs)
What causes sink clogs in the first place?
Sink clogs are typically caused by a buildup of organic matter, such as hair, grease, food scraps, soap scum, and mineral deposits. These materials accumulate over time, gradually restricting water flow until a complete blockage occurs. In kitchen sinks, grease and food particles are the primary culprits, while hair and soap residue are more common in bathroom sinks. Improper disposal of items like coffee grounds, feminine hygiene products, and paper towels can also contribute to clogs.
How often should I use this DIY unclog sink method to prevent clogs?
For preventative maintenance, we recommend using this DIY method once a month. This will help to break down any buildup before it becomes a major clog. If you notice your sink draining slower than usual, it’s a good idea to use the method immediately, even if it’s not your scheduled maintenance time. Regular use will significantly reduce the likelihood of future clogs and keep your drains flowing smoothly.
Is this DIY method safe for all types of pipes?
Generally, this DIY method is safe for most types of pipes, including PVC, copper, and PEX. The baking soda and vinegar reaction is relatively mild and doesn’t produce excessive heat or pressure that could damage pipes. However, if you have very old or corroded pipes, it’s always a good idea to exercise caution. In such cases, you might want to use a slightly diluted solution or consult with a plumber before proceeding. Avoid using harsh chemical drain cleaners, as they can be corrosive and damage pipes over time.
What if the DIY method doesn’t work the first time?
If the clog persists after the first attempt, don’t give up! Try repeating the process one or two more times. You can also try letting the baking soda and vinegar mixture sit for a longer period, such as overnight, to give it more time to break down the clog. If the clog is particularly stubborn, you might need to use a plunger in conjunction with the DIY method. After letting the baking soda and vinegar sit, use the plunger to create suction and dislodge the remaining debris. If all else fails, it’s best to consult with a professional plumber to avoid damaging your pipes.
Can I use this method to unclog other drains, such as shower or bathtub drains?
Yes, this DIY method can be used to unclog other drains, such as shower or bathtub drains. The process is the same: pour baking soda down the drain, followed by vinegar, let it fizz, and then flush with hot water. However, shower and bathtub drains often have hair as the primary culprit, so you may need to remove any visible hair from the drain opening before starting the process. You can also use a bent wire hanger or a drain snake to remove any large clumps of hair that are lodged deeper in the drain.
What are some signs that I need to call a plumber instead of trying to DIY unclog sink?
While this DIY method is effective for many clogs, there are certain situations where it’s best to call a plumber. These include:
* If the clog is causing water to back up into multiple drains.
* If you suspect a more serious plumbing issue, such as a broken pipe or a problem with the main sewer line.
* If you’ve tried multiple DIY methods without success.
* If you’re uncomfortable working with plumbing or unsure about the safety of the process.
* If you notice a foul odor coming from your drains, which could indicate a sewer gas leak.
In these cases, it’s best to err on the side of caution and consult with a qualified plumber to avoid further damage or complications.
Can I use this method if I have a septic system?
Yes, this DIY method is generally safe to use if you have a septic system. The baking soda and vinegar are natural and biodegradable, so they won’t harm the beneficial bacteria in your septic tank. However, it’s important to avoid using harsh chemical drain cleaners, as they can kill the bacteria and disrupt the balance of your septic system. If you’re unsure about the safety of a particular product, it’s always best to consult with a septic system professional.
What kind of vinegar should I use?
White distilled vinegar is the best choice for this DIY method. It’s inexpensive, readily available, and has a high acidity level, which makes it effective at breaking down clogs. Avoid using other types of vinegar, such as apple cider vinegar or balsamic vinegar, as they may not be as effective and could potentially stain your sink.
How hot should the water be that I use to flush the drain?
The water should be hot, but not boiling. Boiling water can damage some types of pipes, especially PVC pipes. Hot tap water is usually sufficient to flush the drain and help dissolve any remaining debris. Be careful when pouring hot water into the drain to avoid burns.


Leave a Comment