

Watermelon Farming Tips: Your Guide to Juicy Success!
Have you ever dreamed of biting into a perfectly ripe, homegrown watermelon on a hot summer day? I know I have! There’s just something incredibly satisfying about nurturing a tiny seed into a massive, delicious fruit. Watermelons, symbols of summer picnics and backyard barbecues, have a rich history, dating back thousands of years to Africa, where they were prized for their hydrating properties in arid climates. Today, they’re enjoyed worldwide, and you too can experience the joy of growing your own!
But let’s be honest, watermelon farming can seem a little daunting, especially for beginners. That’s where this guide comes in! We’re diving deep into practical, DIY tricks and hacks that will help you cultivate thriving watermelon plants, even if you’re short on space or experience. Forget complicated techniques and expensive equipment. I’m here to share simple, effective methods that will maximize your yield and minimize your effort.
Why do you need these watermelon farming tips? Because store-bought watermelons often lack the intense flavor and sweetness of homegrown varieties. Plus, knowing exactly where your food comes from and how it’s grown is incredibly empowering. So, get ready to roll up your sleeves, grab your gardening gloves, and embark on a rewarding journey to grow the juiciest, most flavorful watermelons you’ve ever tasted!
DIY Watermelon Planter from a Laundry Basket
Hey there, fellow gardening enthusiasts! I’m super excited to share a fun and surprisingly effective DIY project with you: growing watermelons in a laundry basket! Yes, you read that right. This method is perfect if you’re short on space, have poor soil, or just want to try something a little different. It’s also a great way to contain those sprawling watermelon vines. Let’s get started!
Why a Laundry Basket?
You might be wondering, “Why a laundry basket?” Well, there are several reasons why this works so well:
* Excellent Drainage: The holes in the basket provide fantastic drainage, preventing root rot, which watermelons are susceptible to.
* Air Circulation: The open structure allows for good air circulation around the roots, further reducing the risk of disease.
* Portability: While a full-grown watermelon plant in a basket will be heavy, it’s still more portable than a traditional in-ground planting, allowing you to move it to the sunniest spot in your yard.
* Space Saving: It contains the sprawling vines, making it manageable even in smaller gardens or on patios.
* Upcycling: Gives a new life to an old laundry basket!
Materials You’ll Need
Before we dive in, let’s gather our supplies. Here’s what you’ll need:
* A sturdy laundry basket: Choose one that’s relatively large and in good condition. A plastic one works best.
* Heavy-duty landscape fabric or burlap: This will line the basket and prevent the soil from washing out.
* High-quality potting mix: Watermelons are heavy feeders, so a nutrient-rich mix is essential. I recommend a mix specifically formulated for vegetables.
* Compost: Adding compost will boost the nutrient content and improve drainage.
* Slow-release fertilizer: This will provide a steady supply of nutrients throughout the growing season. Look for one formulated for fruits and vegetables.
* Watermelon seeds or seedlings: Choose a variety that’s well-suited to your climate and growing conditions. Smaller varieties like Sugar Baby or Bush Sugar Baby are ideal for container gardening.
* Water: Of course!
* Gardening gloves: To keep your hands clean.
* Trowel or small shovel: For scooping and mixing soil.
* Scissors or utility knife: For cutting the landscape fabric.
* Optional: Trellis or support structure: For vining varieties, a trellis will help keep the plant off the ground and improve air circulation.
Step-by-Step Instructions
Okay, let’s get our hands dirty! Here’s how to create your watermelon planter:
1. Prepare the Laundry Basket
* Clean the basket: Give the laundry basket a good scrub with soap and water to remove any dirt or debris.
* Line the basket: Cut the landscape fabric or burlap to a size that’s large enough to line the entire inside of the basket, with plenty of overlap.
* Secure the liner: Place the fabric inside the basket, making sure it covers the bottom and sides completely. You can secure it with staples, safety pins, or even just by folding the excess fabric over the top edge of the basket. The goal is to create a barrier that will prevent the soil from escaping through the holes.
2. Prepare the Soil Mix
* Combine the ingredients: In a large container or on a tarp, mix together the potting mix, compost, and slow-release fertilizer. I usually go for a ratio of about 2 parts potting mix, 1 part compost, and follow the instructions on the fertilizer package for the correct amount.
* Mix thoroughly: Use your trowel or shovel to mix everything together until it’s well combined. You want the compost and fertilizer to be evenly distributed throughout the potting mix.
3. Fill the Basket
* Add the soil mix: Carefully fill the lined laundry basket with the soil mixture, leaving about 2-3 inches of space at the top.
* Lightly compact the soil: Gently press down on the soil to compact it slightly. This will help to settle the soil and prevent it from sinking too much after watering.
4. Plant Your Watermelon
* Choose your planting method: You can either start with seeds or seedlings. Seedlings will give you a head start, but seeds are more economical.
* Planting seeds: If you’re using seeds, sow them directly into the soil, following the instructions on the seed packet for spacing and depth. I usually plant 2-3 seeds per hill (a small mound of soil) and then thin them out to the strongest seedling once they germinate.
* Planting seedlings: If you’re using seedlings, gently remove them from their containers and plant them in the center of the basket, making sure the top of the root ball is level with the soil surface.
* Water thoroughly: After planting, water the soil thoroughly until it’s evenly moist.
5. Provide Support (Optional)
* Install a trellis: If you’re growing a vining variety, install a trellis or other support structure near the basket. As the plant grows, you can train the vines to climb the trellis. This will help to keep the plant off the ground, improve air circulation, and prevent the fruits from rotting. You can use a tomato cage, a homemade trellis made from bamboo stakes, or even a sturdy fence.
6. Ongoing Care
* Water regularly: Watermelons need plenty of water, especially during hot weather. Check the soil moisture regularly and water when the top inch or two feels dry. Avoid overwatering, as this can lead to root rot.
* Fertilize regularly: Watermelons are heavy feeders, so you’ll need to fertilize them regularly throughout the growing season. Use a balanced fertilizer or one specifically formulated for fruits and vegetables. Follow the instructions on the fertilizer package for the correct amount and frequency.
* Provide sunlight: Watermelons need at least 6-8 hours of sunlight per day. Place the basket in the sunniest spot in your yard.
* Protect from pests and diseases: Keep an eye out for pests and diseases, such as aphids, squash bugs, and powdery mildew. Take action promptly to control any problems. You can use organic pesticides or fungicides if necessary.
* Pollinate the flowers: Watermelons have separate male and female flowers. The female flowers need to be pollinated in order to produce fruit. If you’re not seeing any fruit develop, you may need to hand-pollinate the flowers. To do this, use a small paintbrush to transfer pollen from the male flowers to the female flowers.
* Support the fruits: As the watermelons grow, they can become quite heavy. If you’re growing a large variety, you may need to support the fruits to prevent them from breaking off the vine. You can use slings made from pantyhose or netting to support the fruits.
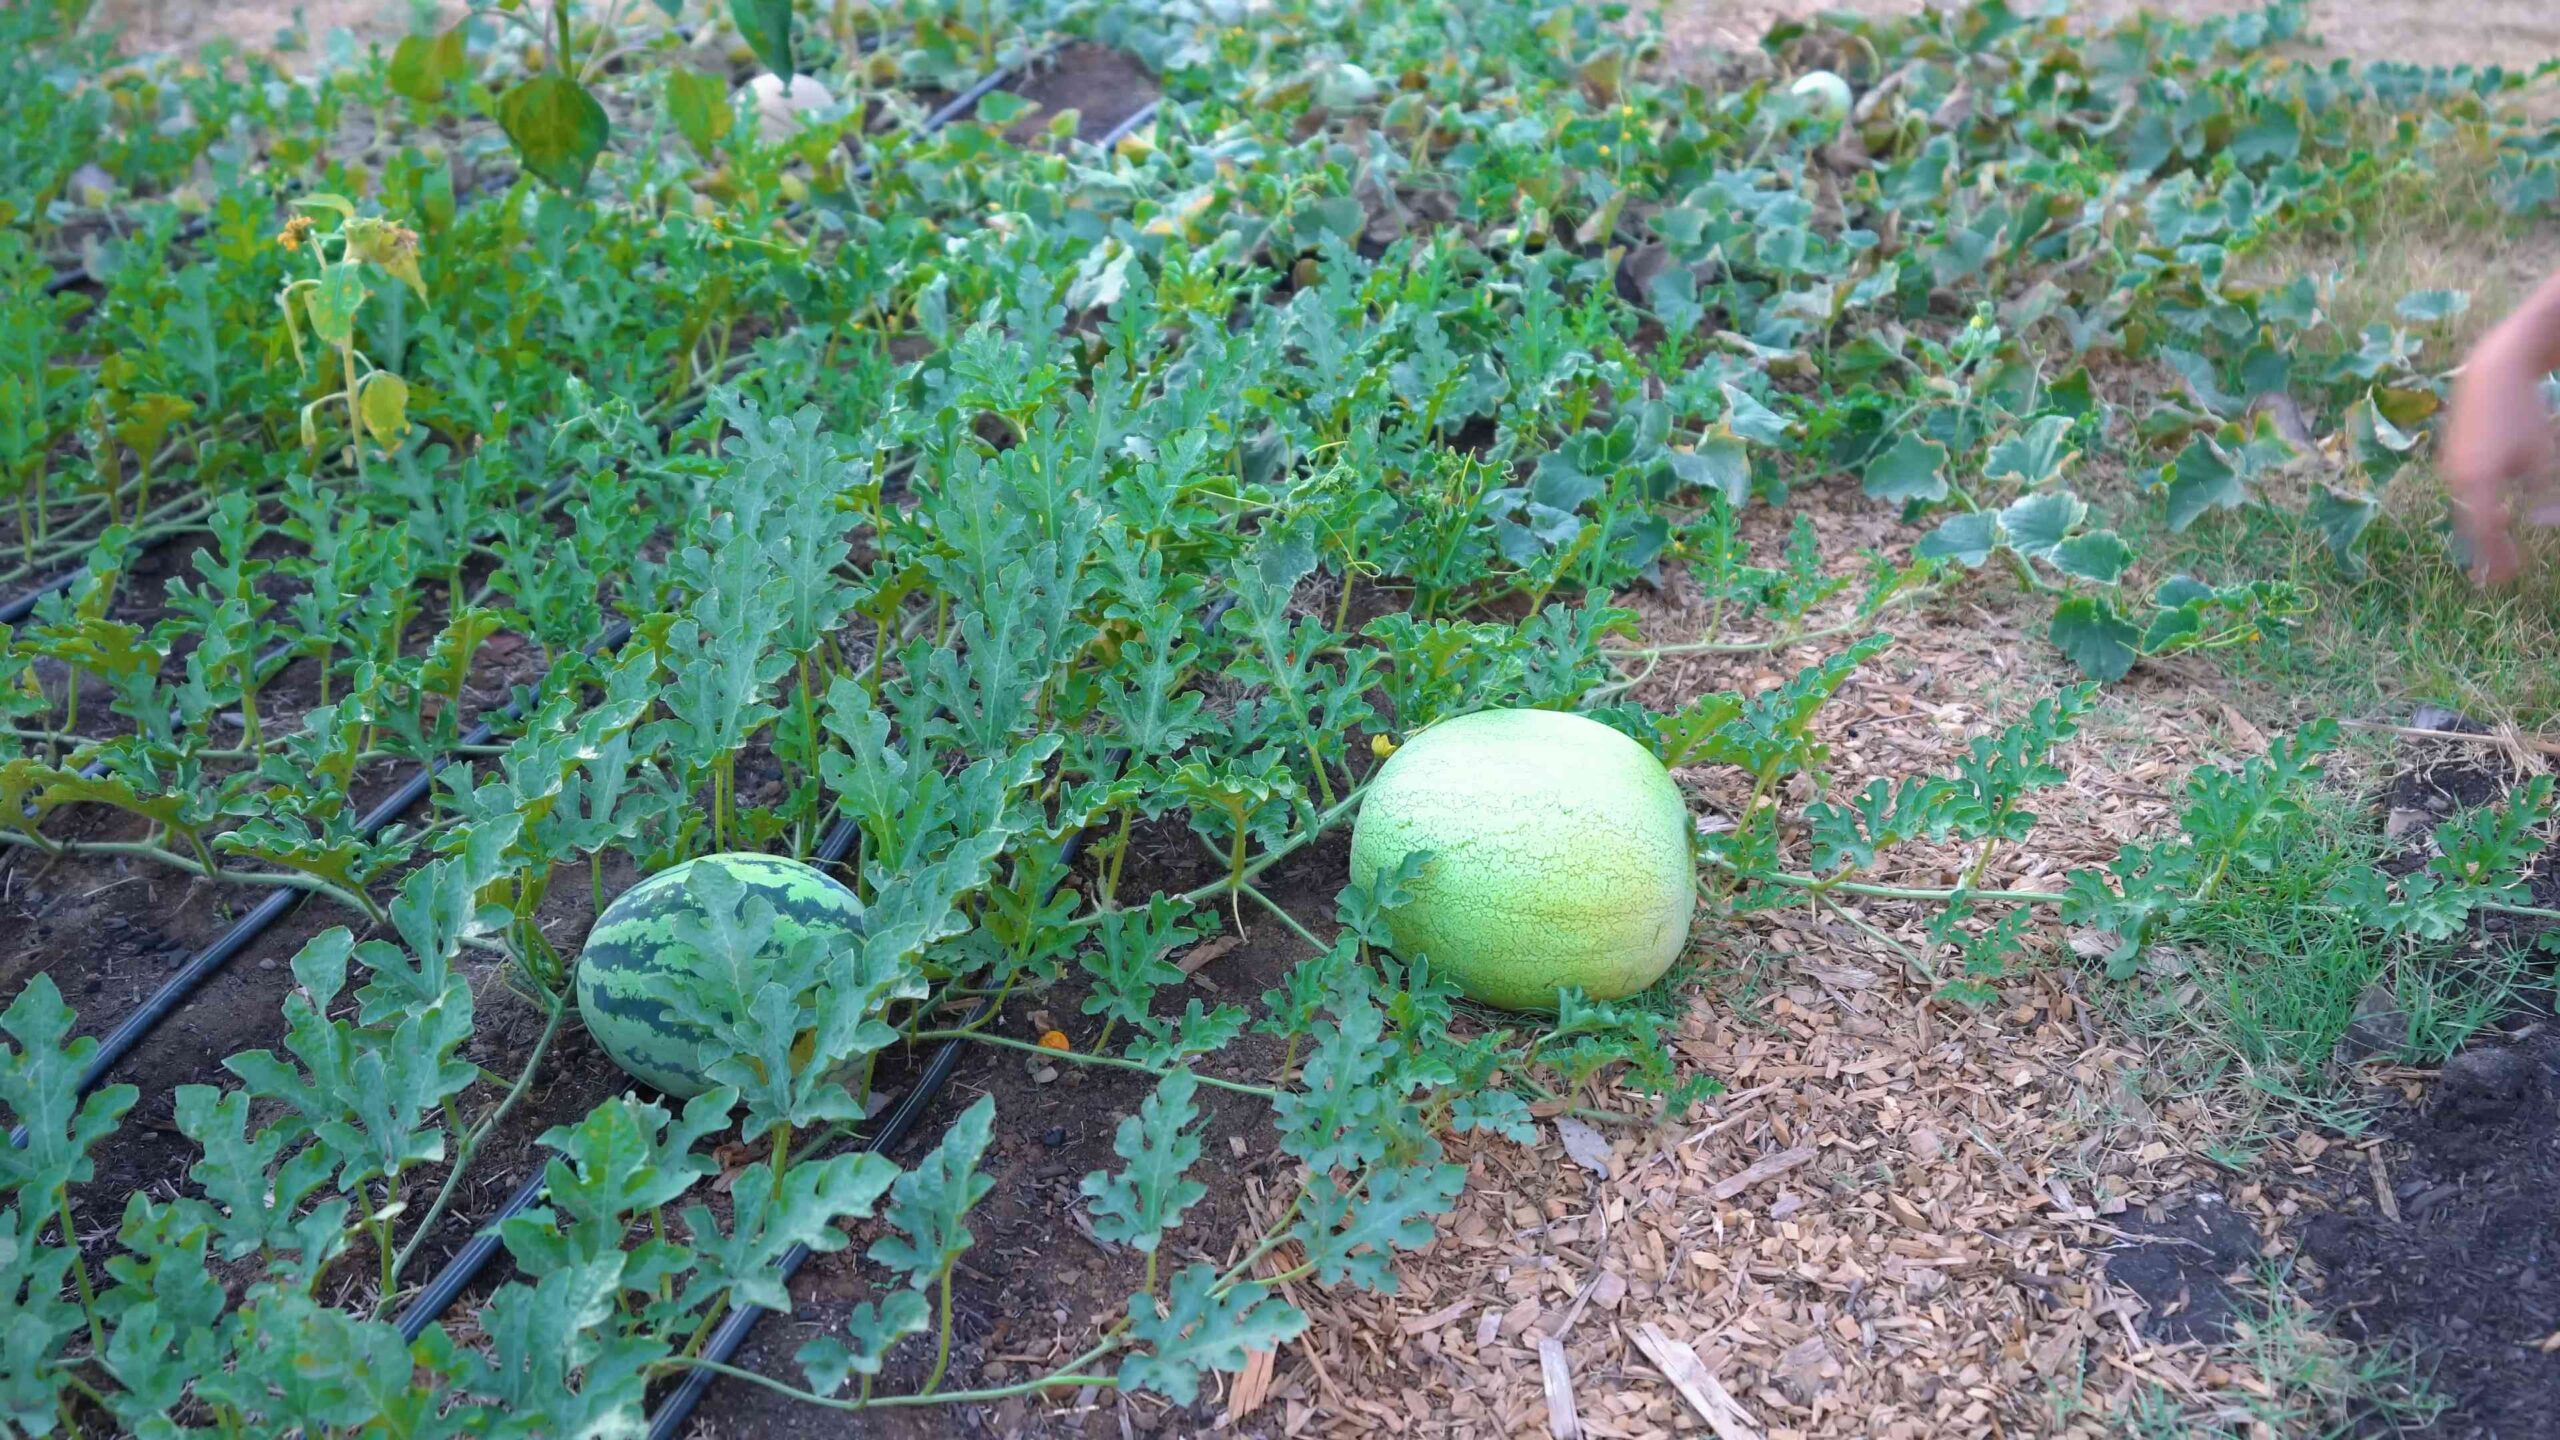
* Harvesting: Watermelons are typically ready to harvest about 80-100 days after planting. Look for these signs of ripeness: the tendril closest to the fruit turns brown and dry, the bottom of the watermelon (where it rests on the ground) turns yellow, and the watermelon sounds hollow when you thump it.
Troubleshooting
Even with the best care, you might encounter some challenges. Here are a few common problems and how to address them:
* Yellowing leaves: This could be a sign of overwatering, underwatering, nutrient deficiency, or disease. Check the soil moisture and adjust your watering accordingly. Fertilize regularly with a balanced fertilizer. Inspect the plant for signs of disease and take action promptly.
* Lack of fruit: This could be due to poor pollination, lack of sunlight, or nutrient deficiency. Hand-pollinate the flowers if necessary. Make sure the plant is getting at least 6-8 hours of sunlight per day. Fertilize regularly with a fertilizer that’s high in phosphorus.
* Fruit rot: This is usually caused by excessive moisture or poor air circulation. Make sure the soil is well-draining and avoid overwatering. Provide good air circulation around the plant by pruning the vines and removing any dead or diseased leaves.
* Pests: Aphids, squash bugs, and other pests can damage watermelon plants. Inspect the plant regularly and take action promptly to control any infestations. You can use organic pesticides or insecticidal soap.
Choosing the Right Watermelon Variety
Not all watermelon varieties are created equal, especially when it comes to container gardening. Here are a few varieties that tend to do well in containers:
* Sugar Baby: This is a popular choice for container gardening because it’s a compact variety that produces small, sweet watermelons.
* Bush Sugar Baby: As the name suggests, this is an even more compact variety than Sugar Baby, making it ideal for small spaces.
* Golden Midget:
Conclusion
So, there you have it! Mastering watermelon farming isn’t just about planting seeds and hoping for the best; it’s about understanding the nuances of the plant, the soil, and the environment. By implementing these DIY watermelon farming tips, you’re setting yourself up for a harvest that’s not only bountiful but also bursting with flavor.
Why is this a must-try? Because these aren’t just theoretical suggestions; they’re practical, hands-on techniques that address the most common challenges faced by watermelon growers, from soil preparation to pest control. Imagine biting into a juicy, perfectly ripe watermelon that you nurtured from seed to fruit, knowing you played an active role in its deliciousness. That’s the reward waiting for you.
Consider these variations to tailor the techniques to your specific needs and climate. If you live in an area with particularly acidic soil, you might need to amend it more aggressively with lime. If you’re battling a specific pest, research organic solutions that are effective in your region. And if you’re feeling adventurous, experiment with different watermelon varieties to discover your personal favorite. Perhaps a smaller, personal-sized watermelon like Sugar Baby, or a yellow-fleshed variety for a unique twist.
Don’t be afraid to get your hands dirty! Watermelon farming, like any gardening endeavor, is a learning process. There will be successes and setbacks, but each experience will bring you closer to becoming a watermelon-growing expert.
We wholeheartedly encourage you to try these DIY watermelon farming tips. Start small, perhaps with just a few plants, and gradually expand your operation as you gain confidence. The satisfaction of harvesting your own watermelons is truly unparalleled.
And most importantly, share your experience! We want to hear about your successes, your challenges, and any variations you’ve discovered that work well in your area. Post pictures of your watermelons, share your tips on social media, and let’s create a community of passionate watermelon farmers. Your insights could be invaluable to other growers. Let’s cultivate a world filled with delicious, homegrown watermelons, one seed at a time.
Frequently Asked Questions (FAQ)
What is the best time to start watermelon seeds indoors?
The ideal time to start watermelon seeds indoors is typically 4-6 weeks before the last expected frost in your area. This allows the seedlings to develop a strong root system before being transplanted outdoors. Check your local weather forecasts and historical data to determine the average date of the last frost. Starting too early can result in leggy, weak seedlings, while starting too late may shorten your growing season.
How much space do watermelon plants need?
Watermelon plants are sprawling vines that require a significant amount of space. Generally, allow at least 3-4 feet between plants in a row and 6-8 feet between rows. This spacing allows for adequate air circulation, sunlight penetration, and room for the vines to spread. If you’re growing watermelons in a raised bed or container, choose a large container (at least 20 gallons) and provide support for the vines to climb.
What type of soil is best for watermelons?
Watermelons thrive in well-drained, sandy loam soil that is rich in organic matter. The soil should have a pH between 6.0 and 6.8. Before planting, amend the soil with compost, aged manure, or other organic materials to improve drainage, fertility, and water retention. Avoid heavy clay soils, as they can become waterlogged and hinder root development.
How often should I water my watermelon plants?
Watermelon plants need consistent moisture, especially during fruit development. Water deeply and regularly, aiming for about 1-2 inches of water per week. Water at the base of the plants to avoid wetting the foliage, which can increase the risk of fungal diseases. Monitor the soil moisture levels and adjust watering frequency as needed, depending on weather conditions and soil type. During periods of drought or extreme heat, you may need to water more frequently.
What are some common pests and diseases that affect watermelons?
Watermelons are susceptible to various pests and diseases, including aphids, squash bugs, cucumber beetles, vine borers, powdery mildew, and fusarium wilt. Regularly inspect your plants for signs of infestation or disease. Implement preventative measures such as crop rotation, companion planting, and using row covers to protect young plants. If you encounter pests or diseases, consider using organic pest control methods or disease-resistant watermelon varieties.
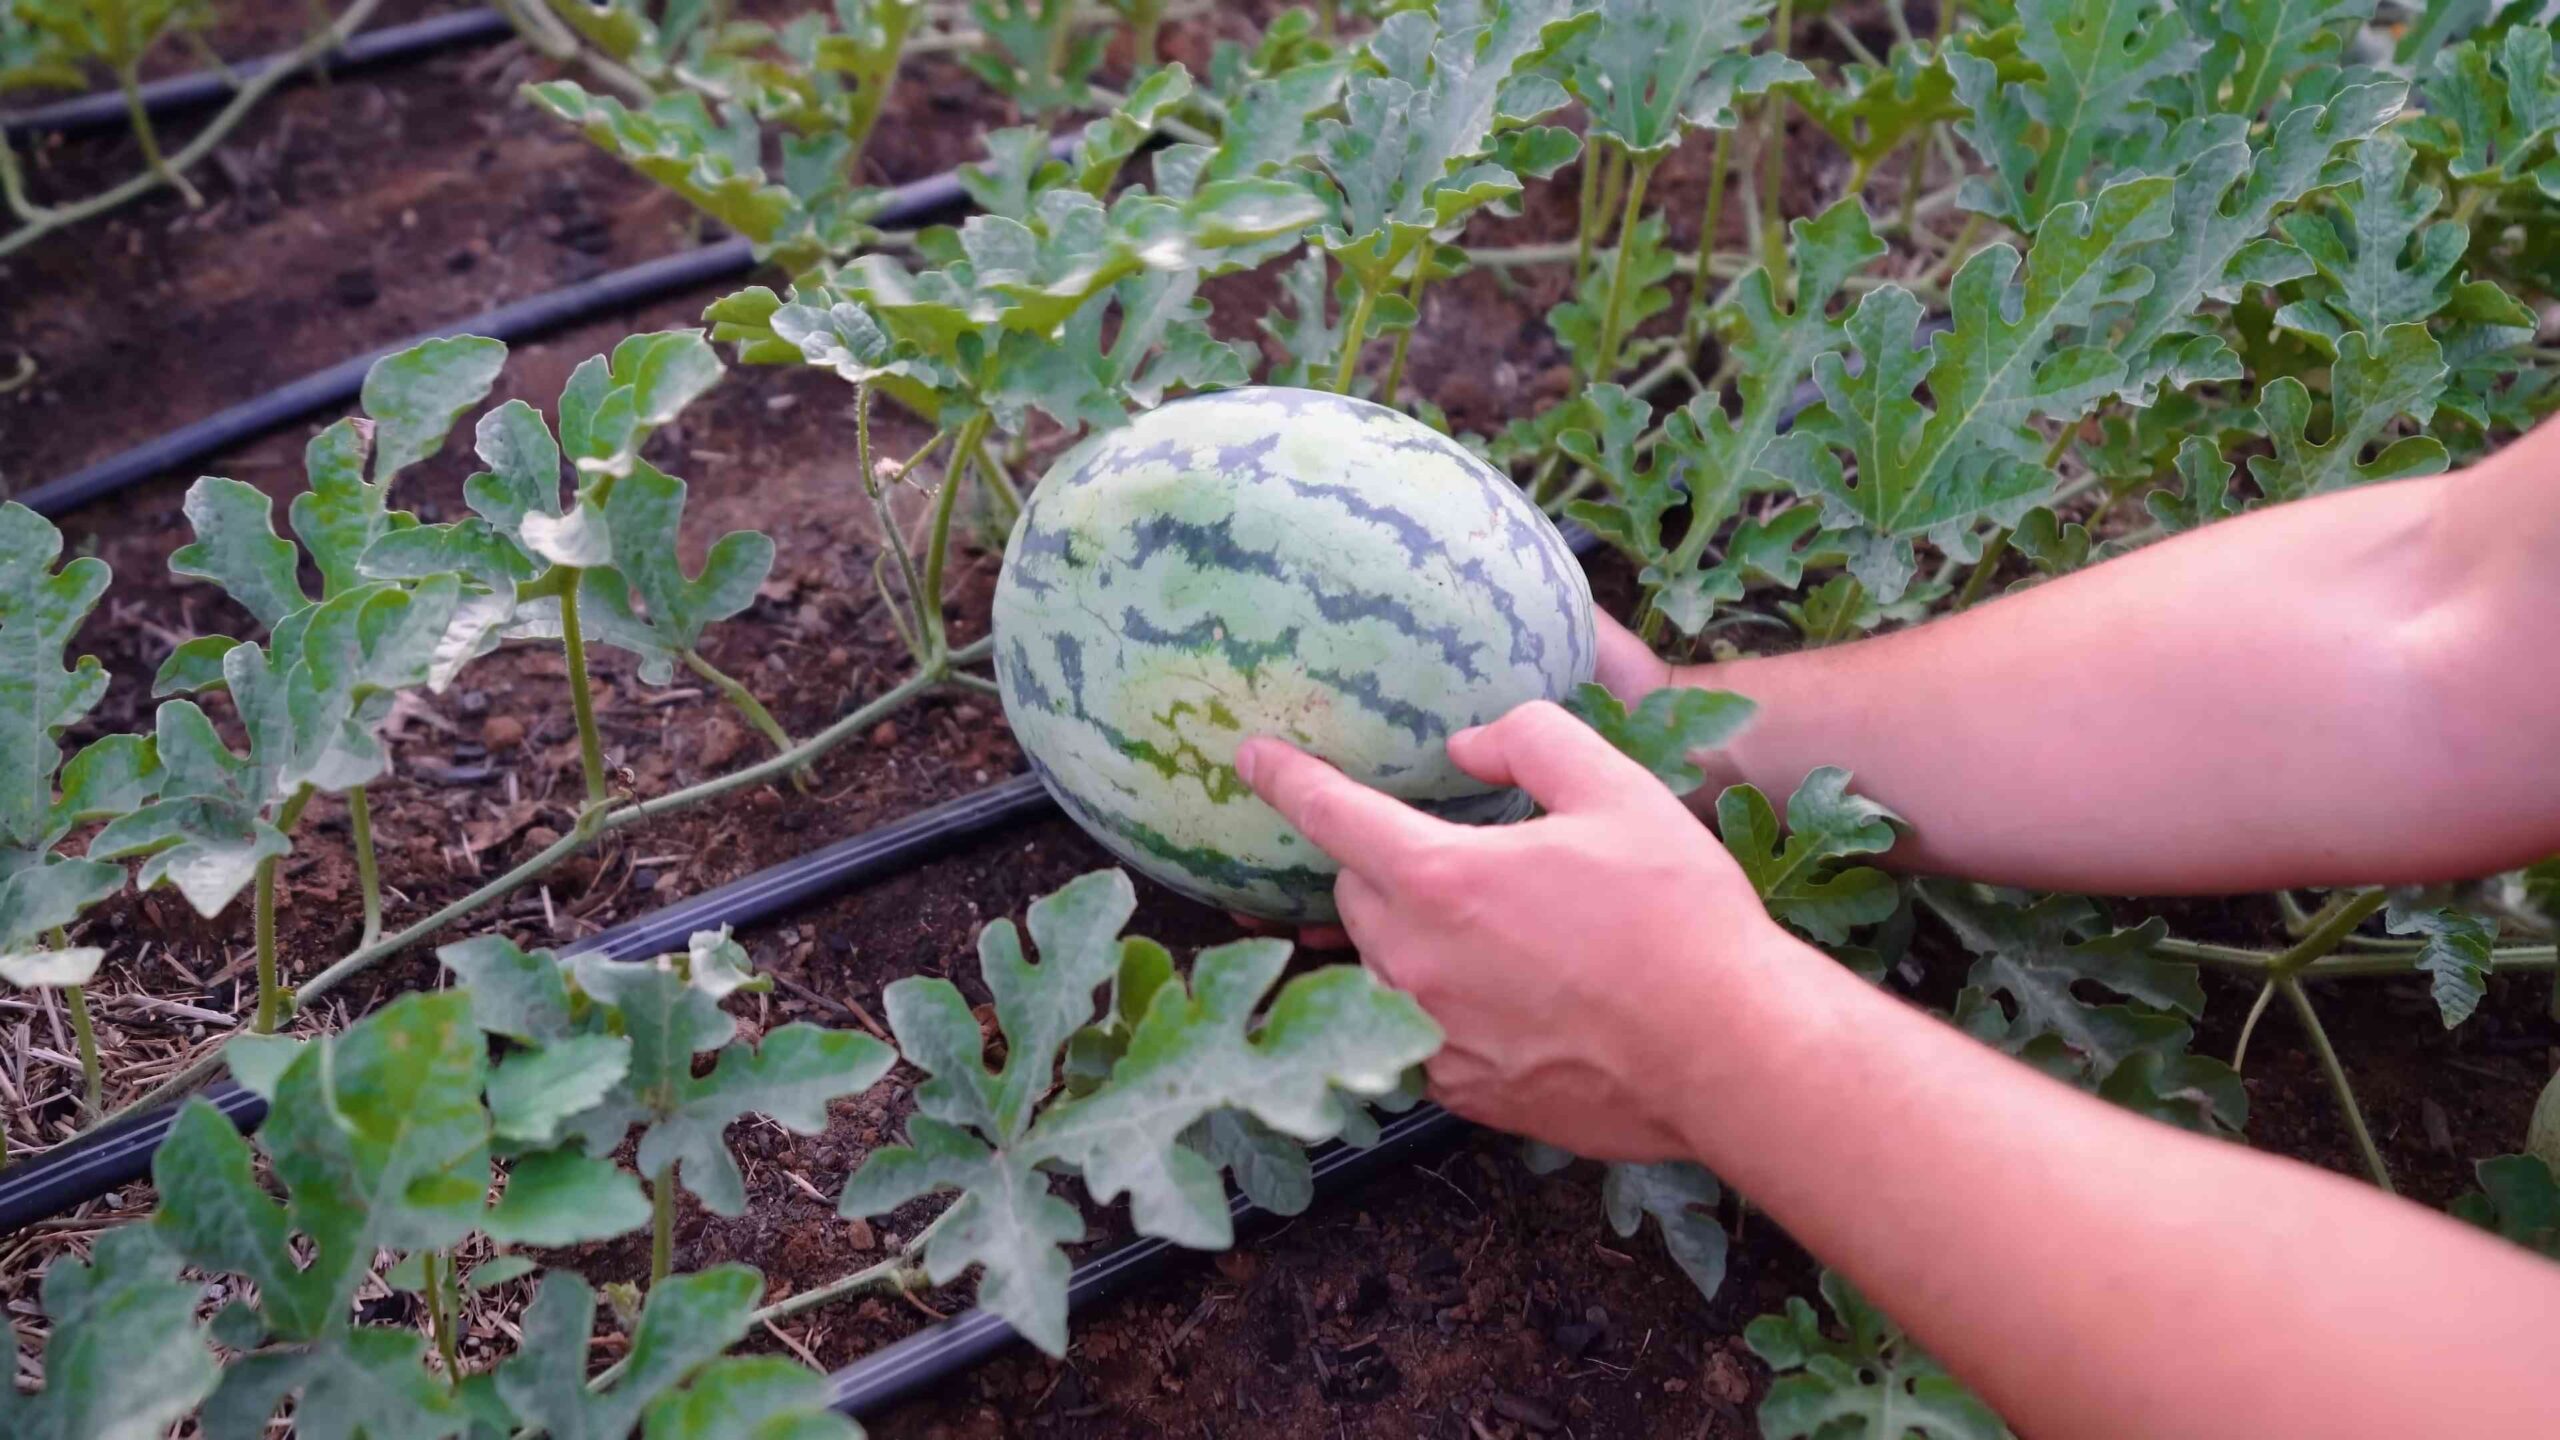
How do I know when a watermelon is ripe?
Determining when a watermelon is ripe can be tricky, but there are several indicators to look for. The tendril closest to the fruit should be brown and dry. The underside of the watermelon (where it rests on the ground) should be a creamy yellow color. When you thump the watermelon, it should sound hollow and deep. Also, the skin should be dull rather than shiny. With practice, you’ll develop a feel for identifying ripe watermelons.
Can I grow watermelons in containers?
Yes, you can grow watermelons in containers, but it requires careful planning and attention. Choose a large container (at least 20 gallons) with good drainage. Select a compact or bush-type watermelon variety that is suitable for container growing. Use a high-quality potting mix and provide regular watering and fertilization. Support the vines with a trellis or stake to prevent them from sprawling.
What are some good companion plants for watermelons?
Companion planting can benefit watermelons by attracting beneficial insects, repelling pests, and improving soil health. Some good companion plants for watermelons include marigolds, nasturtiums, basil, oregano, and radishes. Marigolds and nasturtiums deter pests, while basil and oregano attract pollinators. Radishes can help break up the soil and improve drainage.
How can I improve pollination for my watermelons?
Watermelons require pollination to produce fruit. If you’re experiencing poor fruit set, you may need to improve pollination. Attract pollinators to your garden by planting flowering herbs and vegetables. You can also hand-pollinate the flowers by transferring pollen from the male flowers to the female flowers using a small brush.
What kind of fertilizer should I use for watermelons?
Watermelons benefit from regular fertilization, especially during fruit development. Use a balanced fertilizer with a ratio of 10-10-10 or 14-14-14. Apply fertilizer according to the package instructions, and avoid over-fertilizing, which can lead to excessive vine growth and reduced fruit production. You can also supplement with organic fertilizers such as compost tea or fish emulsion.

Leave a Comment