

Weekly cleaning missed spots – we all have them! Those little nooks and crannies that somehow escape our attention during our regular cleaning routine. It’s like they’re playing hide-and-seek, and honestly, sometimes they win! But fear not, fellow cleaning enthusiasts, because I’m here to arm you with some clever DIY tricks and hacks to conquer those forgotten areas and achieve a truly sparkling home.
For centuries, maintaining a clean and organized home has been a symbol of prosperity and well-being across various cultures. From ancient Roman bathhouses to meticulously kept Japanese homes, cleanliness has always been valued. But let’s be real, life gets busy, and sometimes those “weekly cleaning missed spots” become monthly, or even… well, let’s not go there!
Why is it so important to tackle these often-overlooked areas? Beyond the obvious aesthetic benefits of a spotless home, addressing these spots can significantly improve your indoor air quality, reduce allergens, and even prevent the build-up of harmful bacteria. Plus, let’s face it, a clean home is a happy home, and who doesn’t want a little more happiness in their life? I know I do! So, let’s dive into some simple yet effective DIY solutions to finally conquer those pesky weekly cleaning missed spots and create a healthier, more inviting living space. Get ready to say goodbye to dust bunnies and hello to a truly clean home!
DIY Deep Clean: Conquering Those Pesky Missed Spots in Your Weekly Cleaning Routine
Okay, let’s be honest, we all have those spots in our homes that seem to magically evade our cleaning efforts week after week. You know, the dust bunnies under the bed, the grime buildup around the faucet, the mysterious sticky residue on the kitchen counter. It’s time to tackle them head-on! This guide will help you identify and conquer those often-overlooked areas, transforming your weekly cleaning routine into a truly deep clean.
Identifying Your Home’s “Missed Spots”
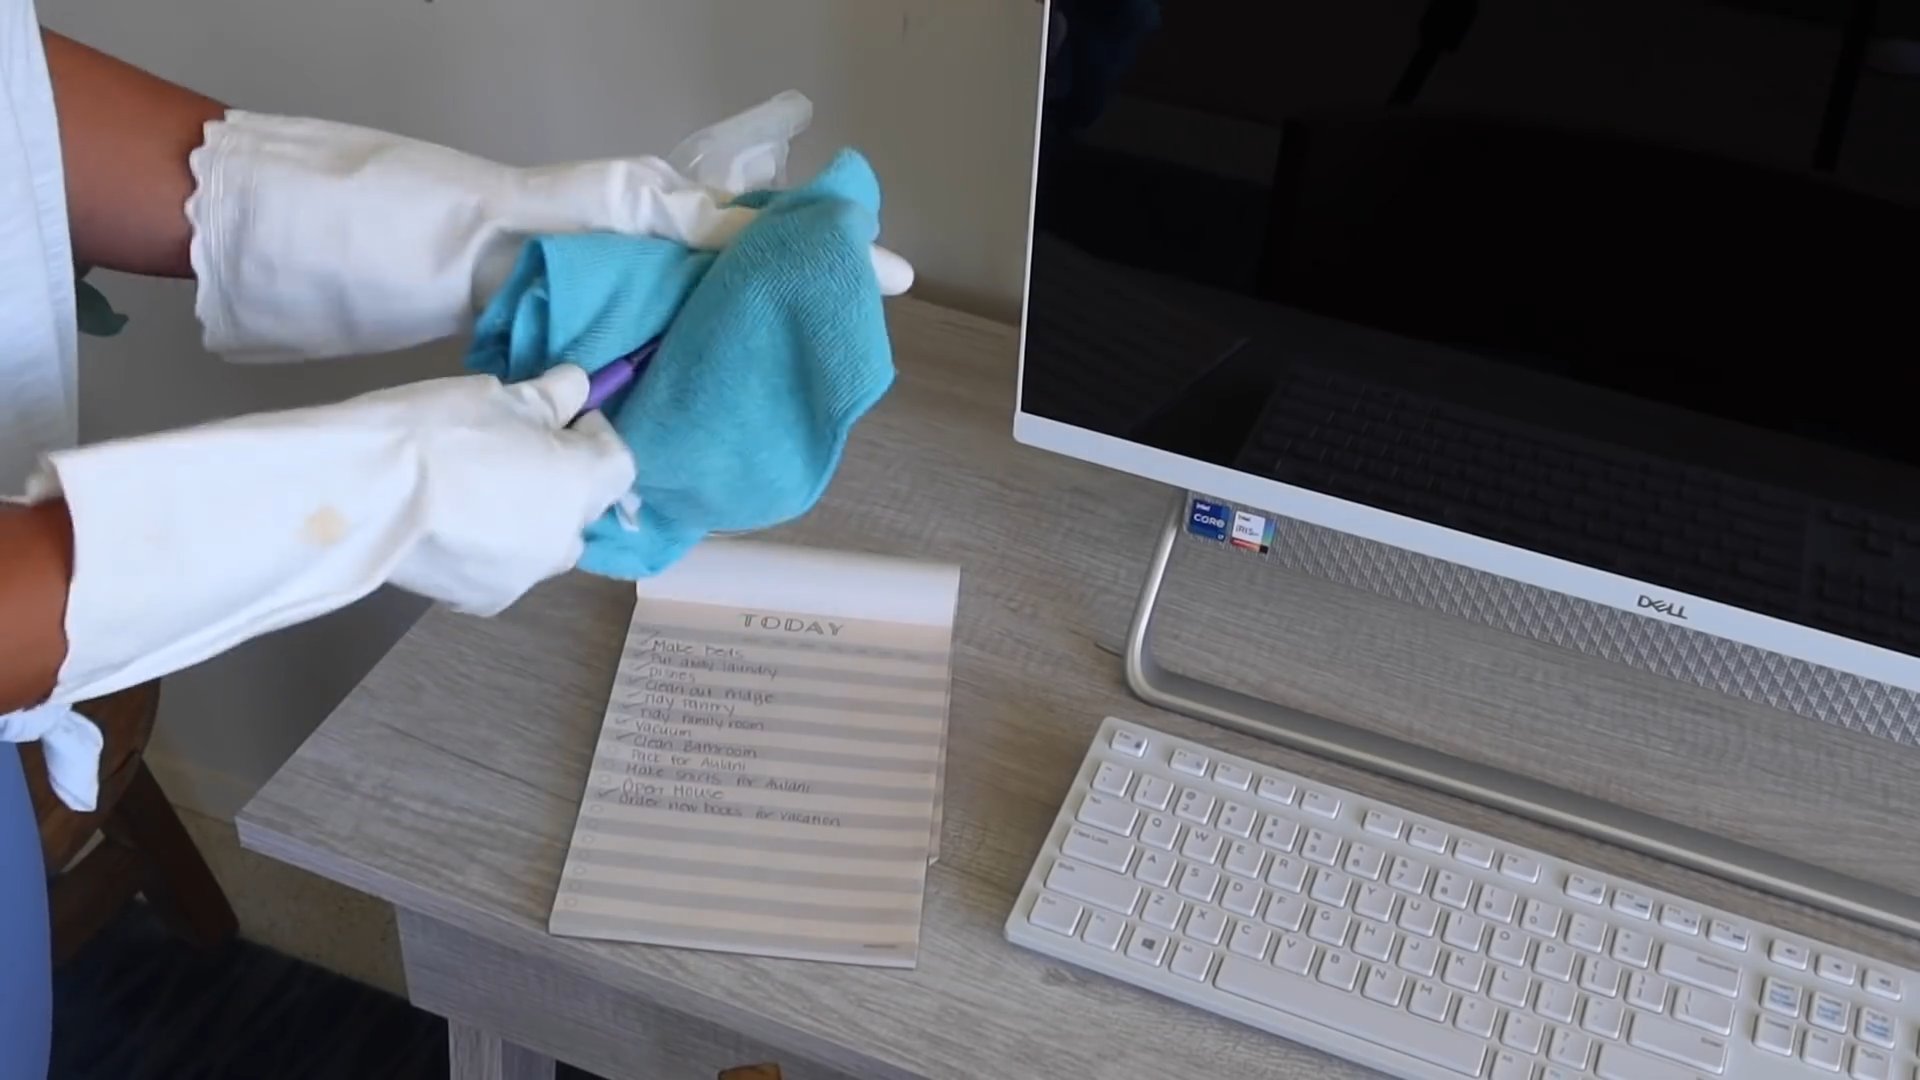
Before we dive into the cleaning itself, let’s take a moment to pinpoint those problem areas. Grab a notepad and pen (or your phone) and walk through your home, room by room. Be critical! Look closely and ask yourself:
* When was the last time I *really* cleaned this area? If you can’t remember, it’s probably a missed spot.
* Is there any visible dirt, dust, or grime? Obvious, right? But sometimes we get so used to seeing it, we stop noticing.
* Does this area get a lot of traffic or use? High-traffic areas tend to accumulate dirt faster.
* Is this area difficult to reach or clean? Awkward angles and tight spaces are prime candidates for missed spots.
Here are some common culprits to get you started:
* Kitchen: Behind the faucet, inside the microwave, under the appliances, grout lines, range hood filter, dishwasher filter, cabinet hardware.
* Bathroom: Shower grout, showerhead, toilet base, behind the toilet, sink overflow drain, exhaust fan, under the sink.
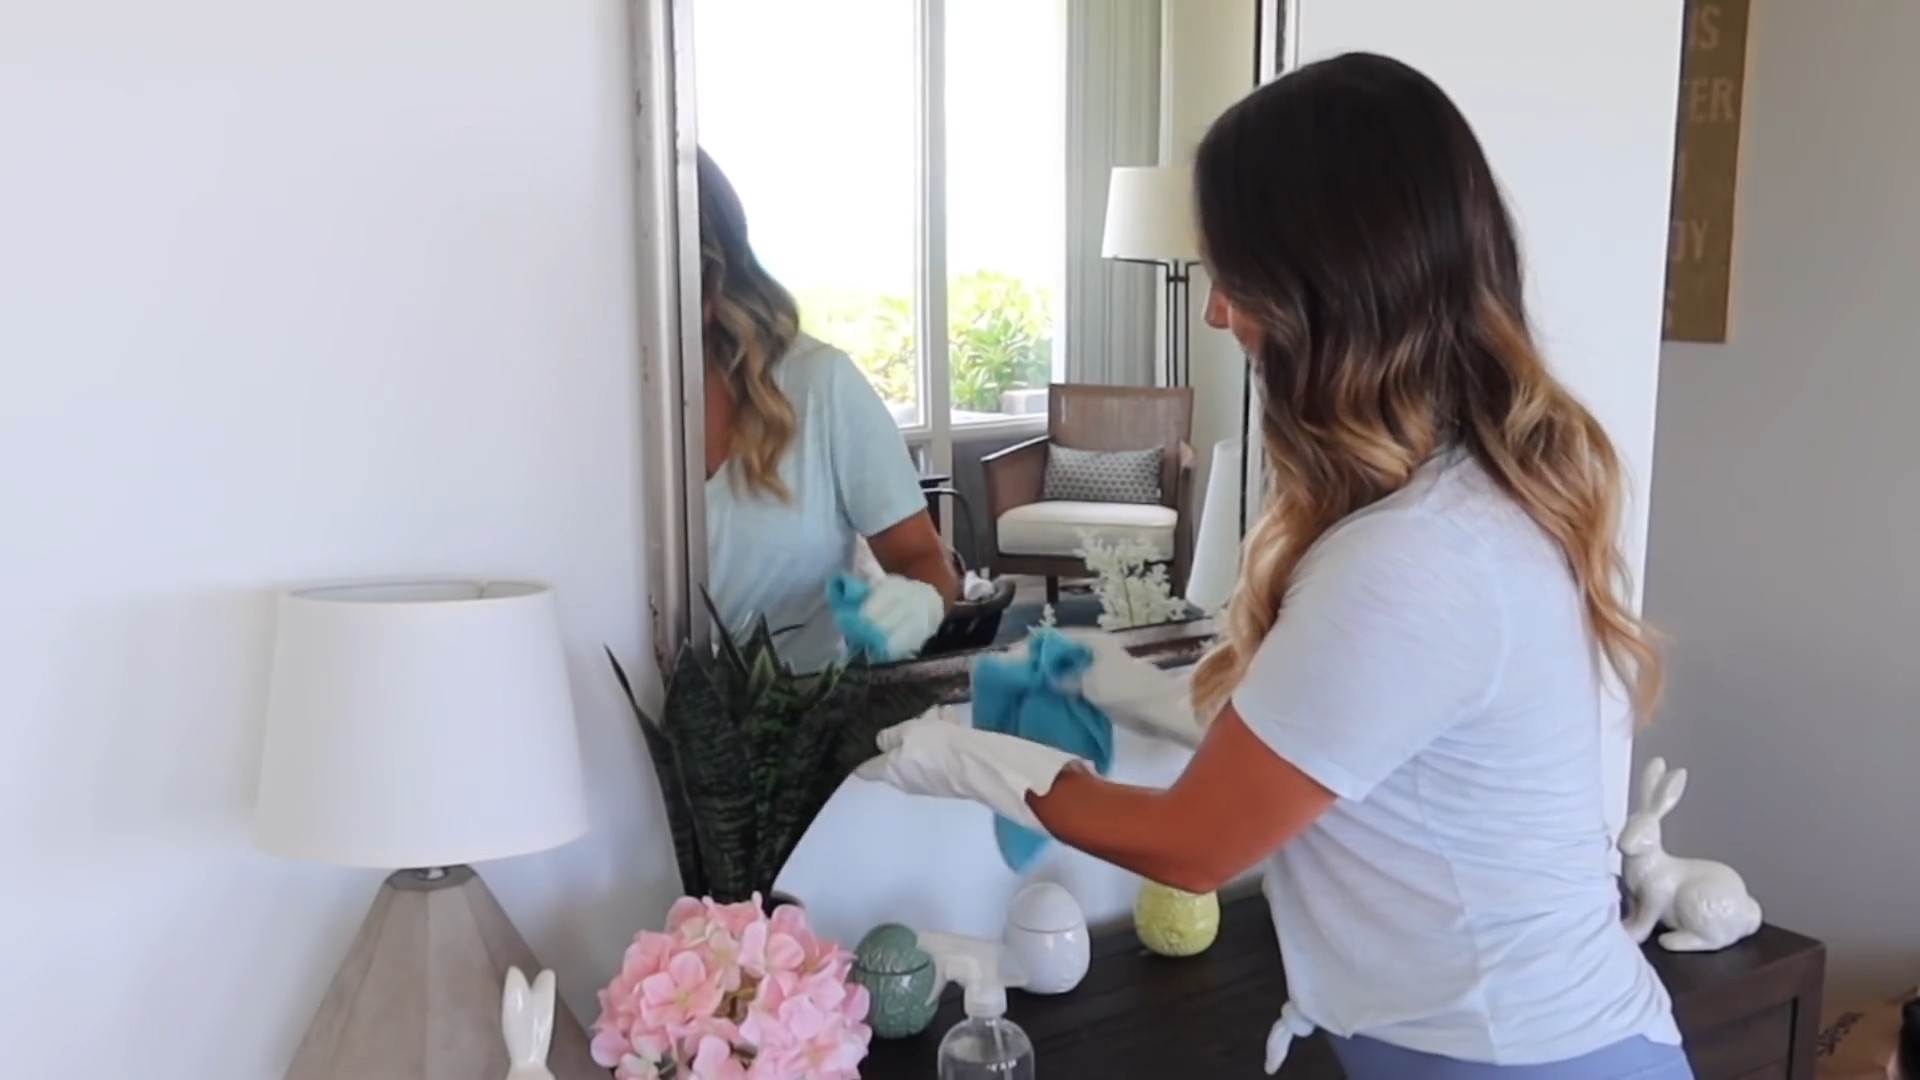
* Living Room/Bedrooms: Under furniture, baseboards, window tracks, light fixtures, remote controls, electronics screens, door frames.
* Throughout the House: Doorknobs and light switches, air vents, blinds and curtains, picture frames, houseplants.
Gathering Your Cleaning Arsenal
Now that we know what we’re up against, let’s assemble our cleaning supplies. Having the right tools makes all the difference! Here’s what I recommend:
* All-Purpose Cleaner: A good all-purpose cleaner is essential for tackling most surfaces. I prefer a natural, non-toxic option, but use whatever you’re comfortable with.
* Bathroom Cleaner: Specifically formulated for soap scum and hard water stains.
* Glass Cleaner: For streak-free windows and mirrors.
* Baking Soda: A natural abrasive and deodorizer.
* White Vinegar: A powerful cleaner and disinfectant.
* Dish Soap: For degreasing and general cleaning.
* Microfiber Cloths: These are my go-to for almost everything. They’re absorbent, lint-free, and reusable.
* Sponges: For scrubbing tougher messes.
* Old Toothbrush: Perfect for cleaning grout, tight corners, and small crevices.
* Cotton Swabs: For detail cleaning.
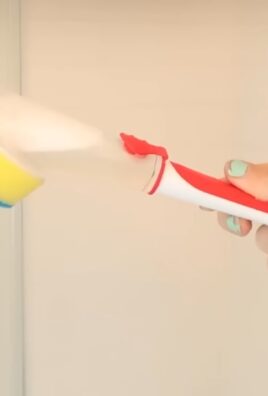
* Spray Bottles: For diluting cleaners and making your own solutions.
* Vacuum Cleaner with Attachments: A must for getting under furniture and into corners.
* Duster: For reaching high places and dusting delicate items.
* Rubber Gloves: To protect your hands.
* Screwdriver: For removing vent covers and other fixtures.
* Small Bucket or Bowl: For soaking small items.
* Magic Eraser: For stubborn marks and scuffs.
Deep Cleaning Step-by-Step: Room by Room
Alright, let’s get down to business! I’m going to walk you through each room, highlighting those missed spots and providing detailed instructions on how to clean them.
Kitchen Deep Clean
1. Behind the Faucet: This area is a breeding ground for mold and mildew.
* Mix equal parts white vinegar and water in a spray bottle.
* Spray the area thoroughly and let it sit for 10-15 minutes.
* Scrub with an old toothbrush or sponge.
* Rinse with water and dry with a microfiber cloth.
2. Inside the Microwave: Splatters and spills can quickly accumulate.
* Place a microwave-safe bowl filled with 1 cup of water and a few tablespoons of white vinegar inside the microwave.
* Microwave on high for 5 minutes.
* Let it sit for another 5 minutes (don’t open the door!). The steam will loosen the grime.
* Carefully remove the bowl and wipe down the inside of the microwave with a sponge or microfiber cloth.
3. Under the Appliances: Dust, crumbs, and even small toys can end up under your refrigerator, stove, and dishwasher.
* Carefully pull out each appliance (if possible). Be careful not to damage the floor.
* Vacuum up any debris.
* Wipe down the floor with an all-purpose cleaner.
* Use a long-handled duster or vacuum attachment to reach behind the appliances.
4. Grout Lines: Grout can become stained and discolored over time.
* Make a paste of baking soda and water.
* Apply the paste to the grout lines.
* Let it sit for 10-15 minutes.
* Scrub with an old toothbrush.
* Rinse with water and dry with a microfiber cloth.
* For stubborn stains, try using a grout cleaner or a bleach pen (use with caution and proper ventilation).
5. Range Hood Filter: This filter traps grease and grime, so it needs regular cleaning.
* Remove the filter according to the manufacturer’s instructions.
* Soak the filter in hot, soapy water for 30 minutes.
* Scrub with a brush to remove any remaining grease.
* Rinse thoroughly and let it dry completely before replacing it.
6. Dishwasher Filter: A clogged dishwasher filter can affect the performance of your dishwasher.
* Locate the filter (usually at the bottom of the dishwasher).
* Remove the filter and rinse it under running water.
* Use a brush to remove any debris.
* Replace the filter.
7. Cabinet Hardware: Handles and knobs can accumulate fingerprints and grime.
* Wipe down the hardware with a damp microfiber cloth and all-purpose cleaner.
* For stubborn grime, use an old toothbrush to scrub around the edges.
Bathroom Deep Clean
1. Shower Grout: Similar to kitchen grout, shower grout is prone to mold and mildew.
* Follow the same cleaning instructions as for kitchen grout (baking soda paste or grout cleaner).
* Ensure proper ventilation while cleaning.
2. Showerhead: Mineral deposits can clog the showerhead and reduce water pressure.
* Fill a plastic bag with white vinegar.
* Attach the bag to the showerhead with a rubber band, ensuring the showerhead is submerged in the vinegar.
* Let it soak overnight.
* Remove the bag and run the shower for a few minutes to flush out any remaining vinegar and mineral deposits.
3. Toilet Base: Dust and grime can accumulate around the base of the toilet.
* Wipe down the base with a damp microfiber cloth and all-purpose cleaner.
* Use an old toothbrush to clean around the edges and in hard-to-reach areas.
4. Behind the Toilet: This area is often neglected.
* Use a vacuum cleaner with a hose attachment to remove dust and debris.
* Wipe down the wall and floor with a damp microfiber cloth and all-purpose cleaner.
5. Sink Overflow Drain: This drain can harbor bacteria and unpleasant odors.
* Pour a mixture of baking soda and white vinegar down the drain.
* Let it fizz for 15-20 minutes.
* Flush with hot water.
6. Exhaust Fan: Dust and lint can accumulate on the exhaust fan, reducing its efficiency.
* Turn off the power to the exhaust fan at the circuit breaker.
* Remove the fan cover (usually held in place by clips or screws).
* Vacuum the fan blades and the inside of the fan housing.
* Wash the fan cover with soap and water.
* Dry thoroughly and reassemble.
7. Under the Sink: Check for leaks and clean up any spills.
* Remove everything from under the sink.
* Wipe down the shelves and floor with a damp microfiber cloth and all-purpose cleaner.
* Organize your cleaning supplies and other items.
Living Room/Bedrooms Deep Clean
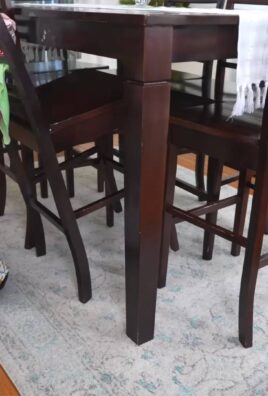
1. Under Furniture: Dust bunnies and lost items tend to accumulate
Conclusion
So, there you have it! This simple yet incredibly effective DIY trick for tackling those weekly cleaning missed spots is a game-changer for anyone striving for a truly spotless home. We’ve all been there – diligently cleaning, only to discover a lingering dust bunny in a corner or a stubborn stain behind the faucet. These overlooked areas can quickly accumulate grime and detract from the overall cleanliness of your space. This method, however, offers a targeted and efficient solution, ensuring that no nook or cranny is left untouched.
The beauty of this DIY approach lies in its adaptability. You’re not confined to using harsh chemicals or expensive cleaning products. Instead, you can tailor the solution to your specific needs and preferences. For instance, if you’re dealing with particularly stubborn grime in the bathroom, consider adding a few drops of tea tree oil to your cleaning solution for its antibacterial properties. Or, if you’re cleaning delicate surfaces, opt for a gentler mixture of water and white vinegar. The possibilities are endless!
Beyond its effectiveness and versatility, this DIY trick is also incredibly cost-effective and environmentally friendly. By using readily available household ingredients, you can save money on expensive cleaning products and reduce your reliance on harsh chemicals that can be harmful to both your health and the environment. It’s a win-win situation!
Why is this a must-try? Because it addresses a common problem – those pesky missed spots that can undermine your cleaning efforts. It’s easy to implement, customizable to your needs, and offers a sustainable and budget-friendly alternative to conventional cleaning methods.
We encourage you to give this DIY trick a try and experience the difference it can make in your weekly cleaning routine. You’ll be amazed at how much cleaner and fresher your home feels when those often-overlooked areas are finally addressed.
Don’t just take our word for it! Experiment with different variations, find what works best for you, and most importantly, share your experiences with us. We’d love to hear your tips, tricks, and success stories in the comments below. Let’s create a community of clean-home enthusiasts who are dedicated to achieving a truly spotless living space, one missed spot at a time. Remember, consistent attention to detail, especially when addressing those weekly cleaning missed spots, is the key to a consistently clean and healthy home. So, grab your supplies, roll up your sleeves, and get ready to transform your cleaning routine!
Frequently Asked Questions (FAQ)
What exactly are “weekly cleaning missed spots”?
These are the areas in your home that are frequently overlooked during regular cleaning sessions. They tend to be out of sight or require a little extra effort to reach, leading to a build-up of dust, grime, and other debris over time. Common examples include:
* Behind toilets and under sinks
* Corners of rooms, especially where the floor meets the wall
* Baseboards and door frames
* Light fixtures and ceiling fans
* Inside cabinets and drawers
* Grout lines in bathrooms and kitchens
* Underneath furniture
* Window sills and tracks
Why are these missed spots so important to address?
While they may seem insignificant, these missed spots can have a significant impact on the overall cleanliness and hygiene of your home. They can harbor allergens, bacteria, and mold, which can contribute to respiratory problems, allergies, and other health issues. Additionally, accumulated grime can damage surfaces over time, leading to costly repairs or replacements. Addressing these areas regularly ensures a healthier and more aesthetically pleasing living environment.
What kind of cleaning solution should I use for these missed spots?
The best cleaning solution will depend on the type of surface you’re cleaning and the type of grime you’re dealing with. However, a simple and effective all-purpose solution can be made by mixing equal parts water and white vinegar. For tougher stains, you can add a small amount of dish soap or baking soda. Always test the solution on an inconspicuous area first to ensure it doesn’t damage the surface.
How often should I address these weekly cleaning missed spots?
Ideally, you should address these areas at least once a week as part of your regular cleaning routine. However, the frequency may vary depending on your lifestyle and the amount of traffic your home receives. If you have pets or children, you may need to clean these areas more frequently.
What tools do I need to clean these missed spots effectively?
A few essential tools can make the job much easier:
* Microfiber cloths: These are excellent for wiping surfaces and trapping dust and grime.
* Old toothbrush: Perfect for scrubbing grout lines and other hard-to-reach areas.
* Cotton swabs: Ideal for cleaning small crevices and corners.
* Vacuum cleaner with attachments: Use the crevice tool to reach tight spaces and the brush attachment for dusting.
* Spray bottle: For applying your cleaning solution.
* Long-handled duster: For reaching high areas like ceiling fans and light fixtures.
Can I use this DIY trick on all surfaces?
While the basic DIY cleaning solution of water and vinegar is generally safe for most surfaces, it’s always best to test it on an inconspicuous area first. Avoid using vinegar on natural stone surfaces like marble or granite, as it can etch the surface. For delicate surfaces, opt for a gentler solution of water and a mild dish soap.
What if I have allergies or sensitivities to certain cleaning products?
This DIY trick is particularly beneficial for individuals with allergies or sensitivities, as it allows you to control the ingredients and avoid harsh chemicals. If you’re sensitive to vinegar, you can substitute it with lemon juice or baking soda. Always wear gloves and a mask if you’re concerned about potential irritants.
How can I prevent these missed spots from accumulating grime so quickly?
Prevention is key! Here are a few tips to help minimize the build-up of grime in these areas:
* Wipe up spills immediately.
* Dust regularly.
* Use doormats to trap dirt and debris before it enters your home.
* Ventilate your home properly to prevent moisture build-up.
* Declutter regularly to make cleaning easier.
What are some variations of this DIY cleaning trick?
Here are a few variations you can try:
* For a fresh scent, add a few drops of your favorite essential oil to the cleaning solution.
* For extra cleaning power, add a tablespoon of baking soda to the solution.
* For disinfecting, add a few drops of tea tree oil or hydrogen peroxide to the solution.
* For cleaning grout, make a paste of baking soda and water and apply it to the grout lines. Let it sit for a few minutes, then scrub with a toothbrush.
How do I share my experience with this DIY trick?
We encourage you to share your experiences in the comments section below this article. Let us know what worked well for you, what variations you tried, and any tips or tricks you discovered along the way. Your feedback will help others achieve a cleaner and healthier home!

Leave a Comment