

Zinnia flower gardening guide: Ready to splash your garden with vibrant colors and attract buzzing pollinators? I’m so excited to share my favorite tips and tricks for growing these cheerful blooms! For generations, zinnias have been a garden staple, bringing joy and beauty to landscapes around the world. Originating in Mexico, these sun-loving annuals were initially overlooked, but their resilience and dazzling array of colors eventually won hearts, transforming them into the beloved flowers we know today.
But let’s be honest, sometimes even the easiest plants can throw us a curveball. Are your zinnias looking a little lackluster? Maybe you’re struggling with pests or diseases? Don’t worry, I’ve been there! That’s why I’ve put together this comprehensive zinnia flower gardening guide, packed with DIY solutions and simple hacks to help you cultivate a thriving zinnia patch.
This isn’t just about pretty flowers; it’s about creating a vibrant ecosystem in your backyard, attracting beneficial insects, and enjoying the therapeutic benefits of gardening. Plus, who doesn’t love having a constant supply of fresh-cut flowers to brighten up their home? So, grab your gardening gloves, and let’s dive in! I’m confident that with these tips, you’ll be enjoying a riot of zinnia color in no time!
Growing Gorgeous Zinnias: A DIY Guide to a Riot of Color!
Hey there, fellow flower enthusiasts! Zinnias are, hands down, one of the easiest and most rewarding flowers to grow. They’re like little sunshine bombs in your garden, attracting butterflies and hummingbirds while providing a constant supply of cut flowers for your home. I’m going to walk you through everything you need to know to cultivate a zinnia patch that will be the envy of the neighborhood. Let’s get our hands dirty!
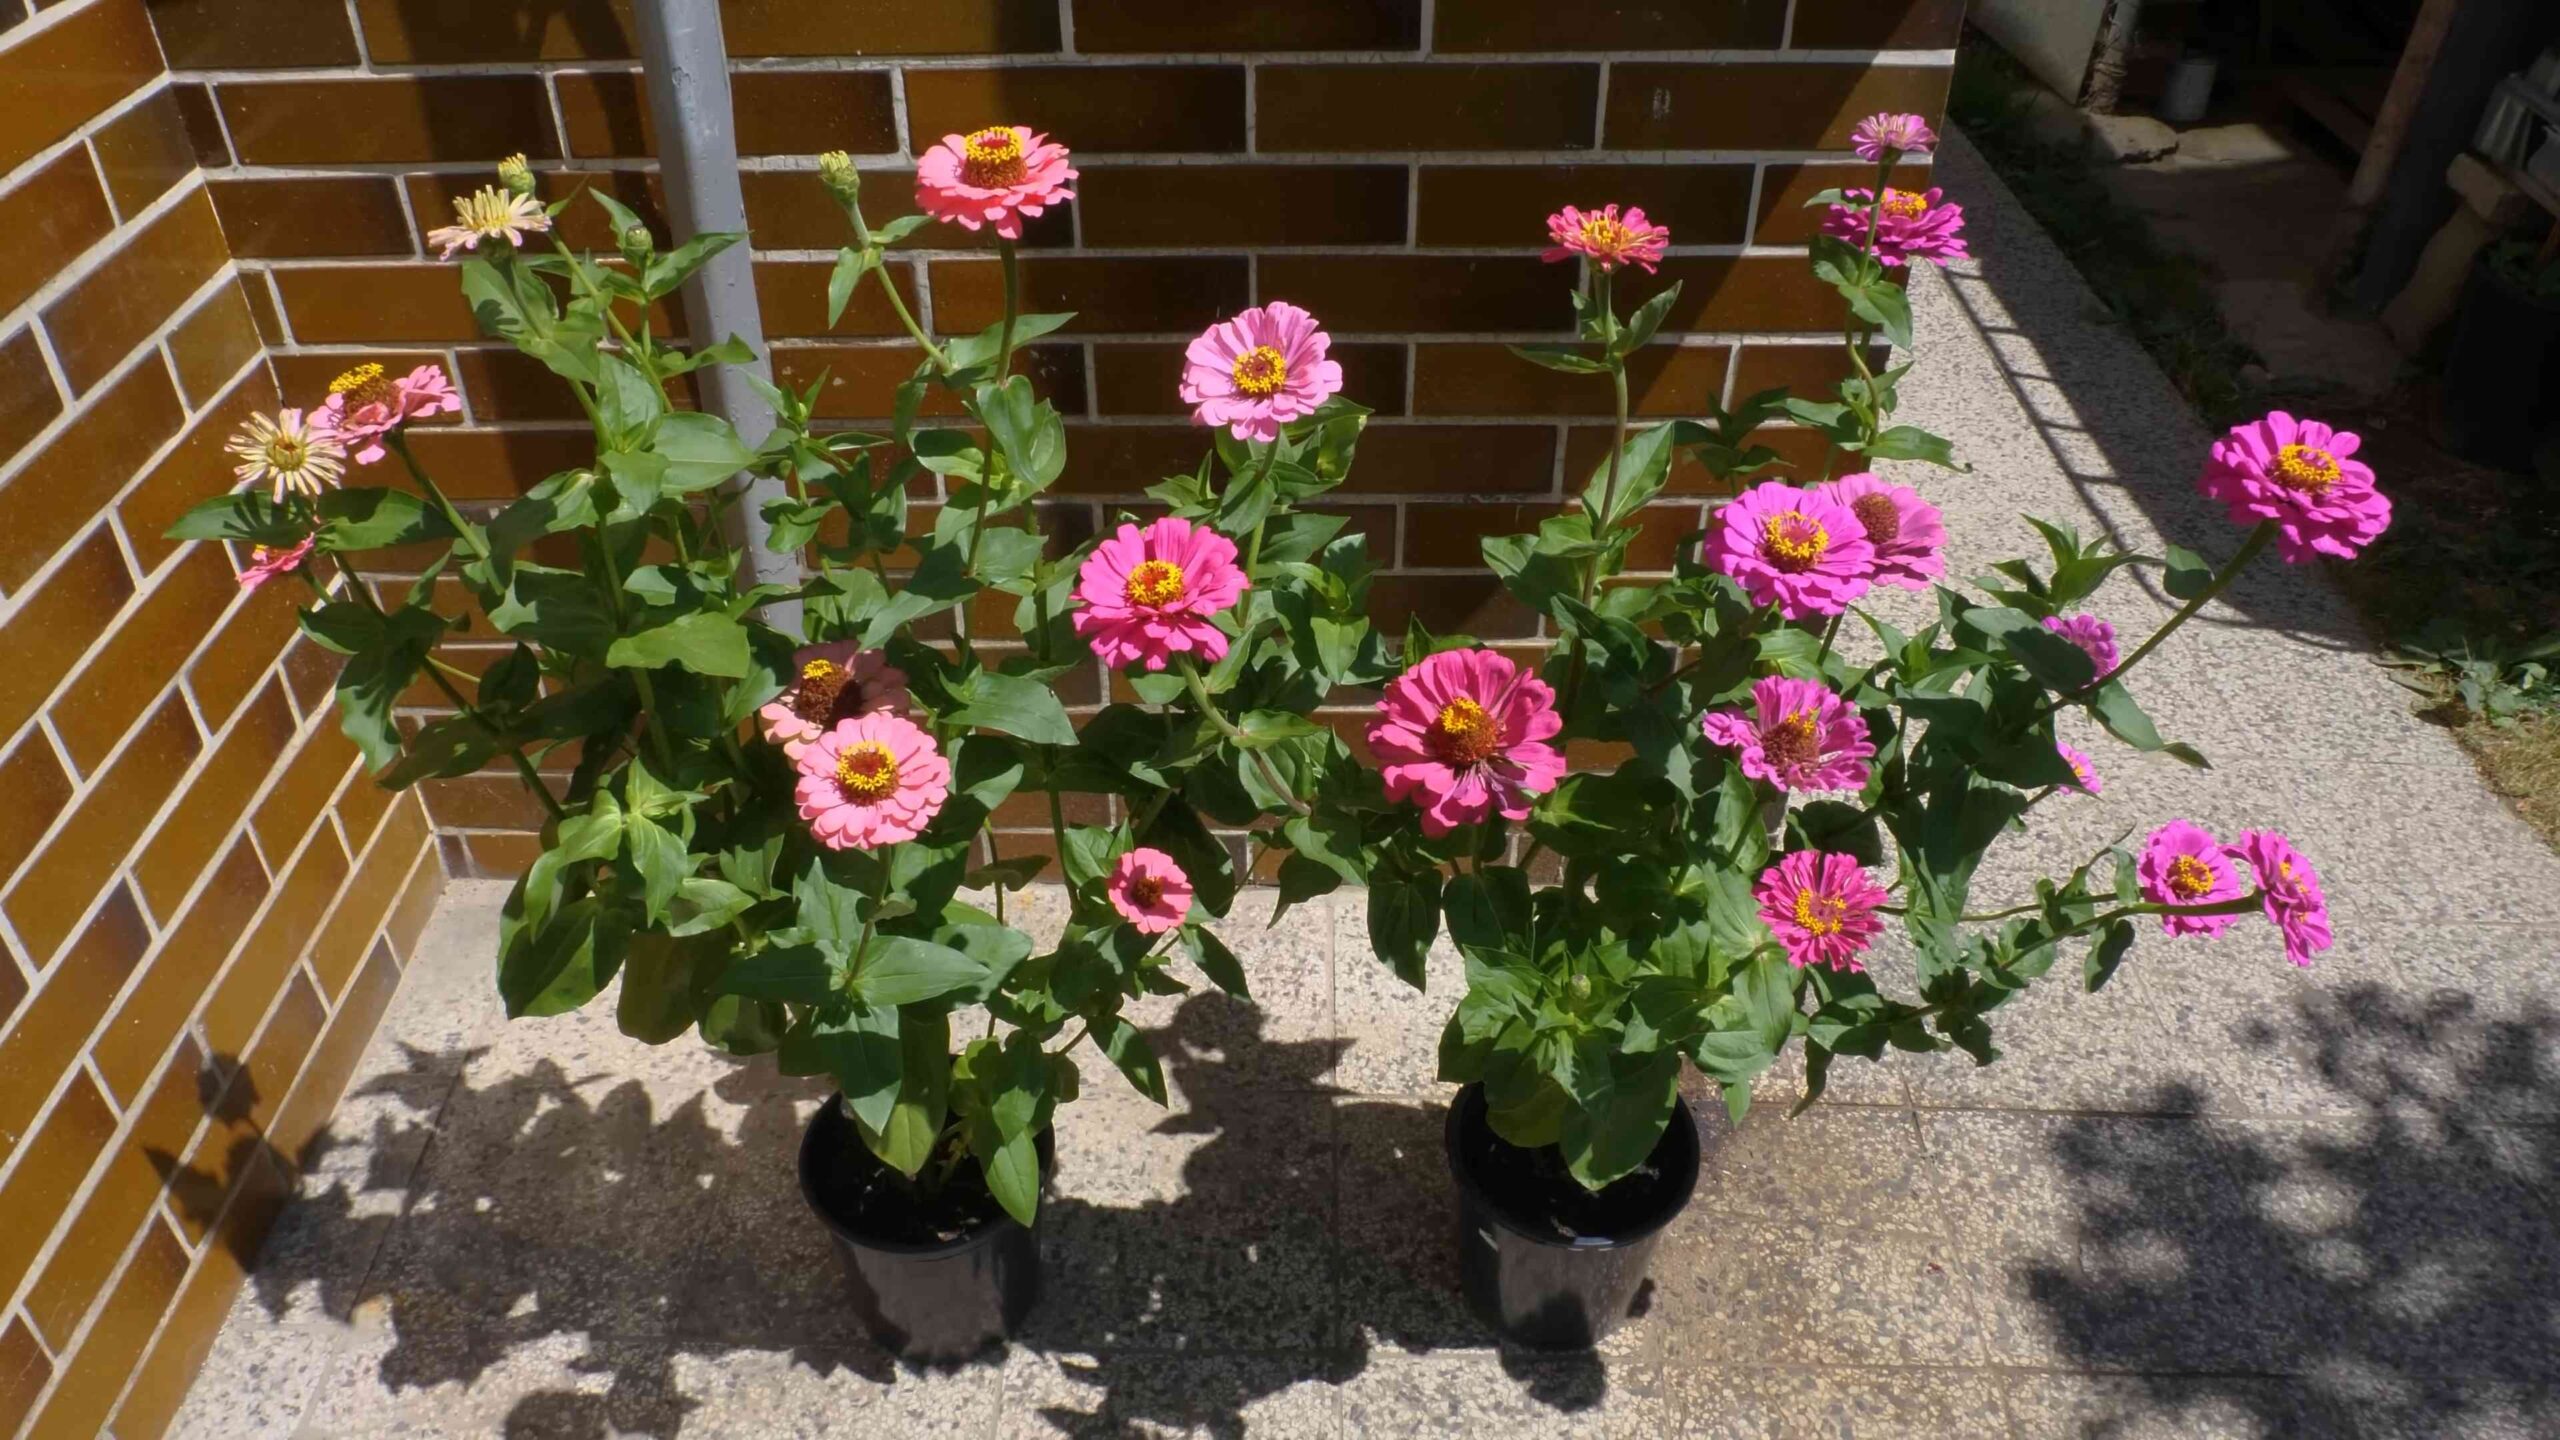
Choosing Your Zinnia Varieties
Before we even think about planting, let’s talk about the amazing variety of zinnias available. This is where the fun really begins! You’re not just limited to one type; you can create a whole zinnia rainbow.
* Single-flowered Zinnias: These have a single row of petals around a central disc. They’re great for attracting pollinators because the pollen is easily accessible. Think ‘Profusion’ or ‘Zahara’ series.
* Double-flowered Zinnias: These are the showstoppers! They have multiple rows of petals, creating a fuller, more dramatic bloom. ‘Benary’s Giant’ and ‘Oklahoma’ are popular choices.
* Cactus-flowered Zinnias: These have spiky, rolled petals that give them a unique, almost whimsical look.
* Dwarf Zinnias: Perfect for containers or edging, these stay compact and bushy. ‘Thumbelina’ is a classic dwarf variety.
* Giant Zinnias: As the name suggests, these produce huge, impressive blooms on tall stems. Ideal for cut flower gardens.
Consider the height, color, and bloom size when making your selections. I personally love mixing different varieties for a vibrant and textured display.
Preparing Your Zinnia Planting Site
Zinnias are sun-worshippers, so location is key. They need at least 6-8 hours of direct sunlight each day to thrive.
* Sunlight: Choose a spot in your garden that gets plenty of sunshine.
* Soil: Zinnias aren’t too picky about soil, but they do prefer well-draining soil. If your soil is heavy clay, amend it with compost or other organic matter to improve drainage.
* Soil Testing: While not essential, a soil test can tell you if your soil is lacking any essential nutrients. Zinnias generally prefer a slightly acidic to neutral pH (around 6.0-7.0).
* Clearing the Area: Remove any weeds, rocks, or debris from the planting area.
* Tilling or Loosening the Soil: Use a garden fork or tiller to loosen the soil to a depth of about 12 inches. This will make it easier for the zinnia roots to establish.
* Adding Compost: Incorporate a generous amount of compost into the soil. Compost provides nutrients, improves drainage, and helps retain moisture.
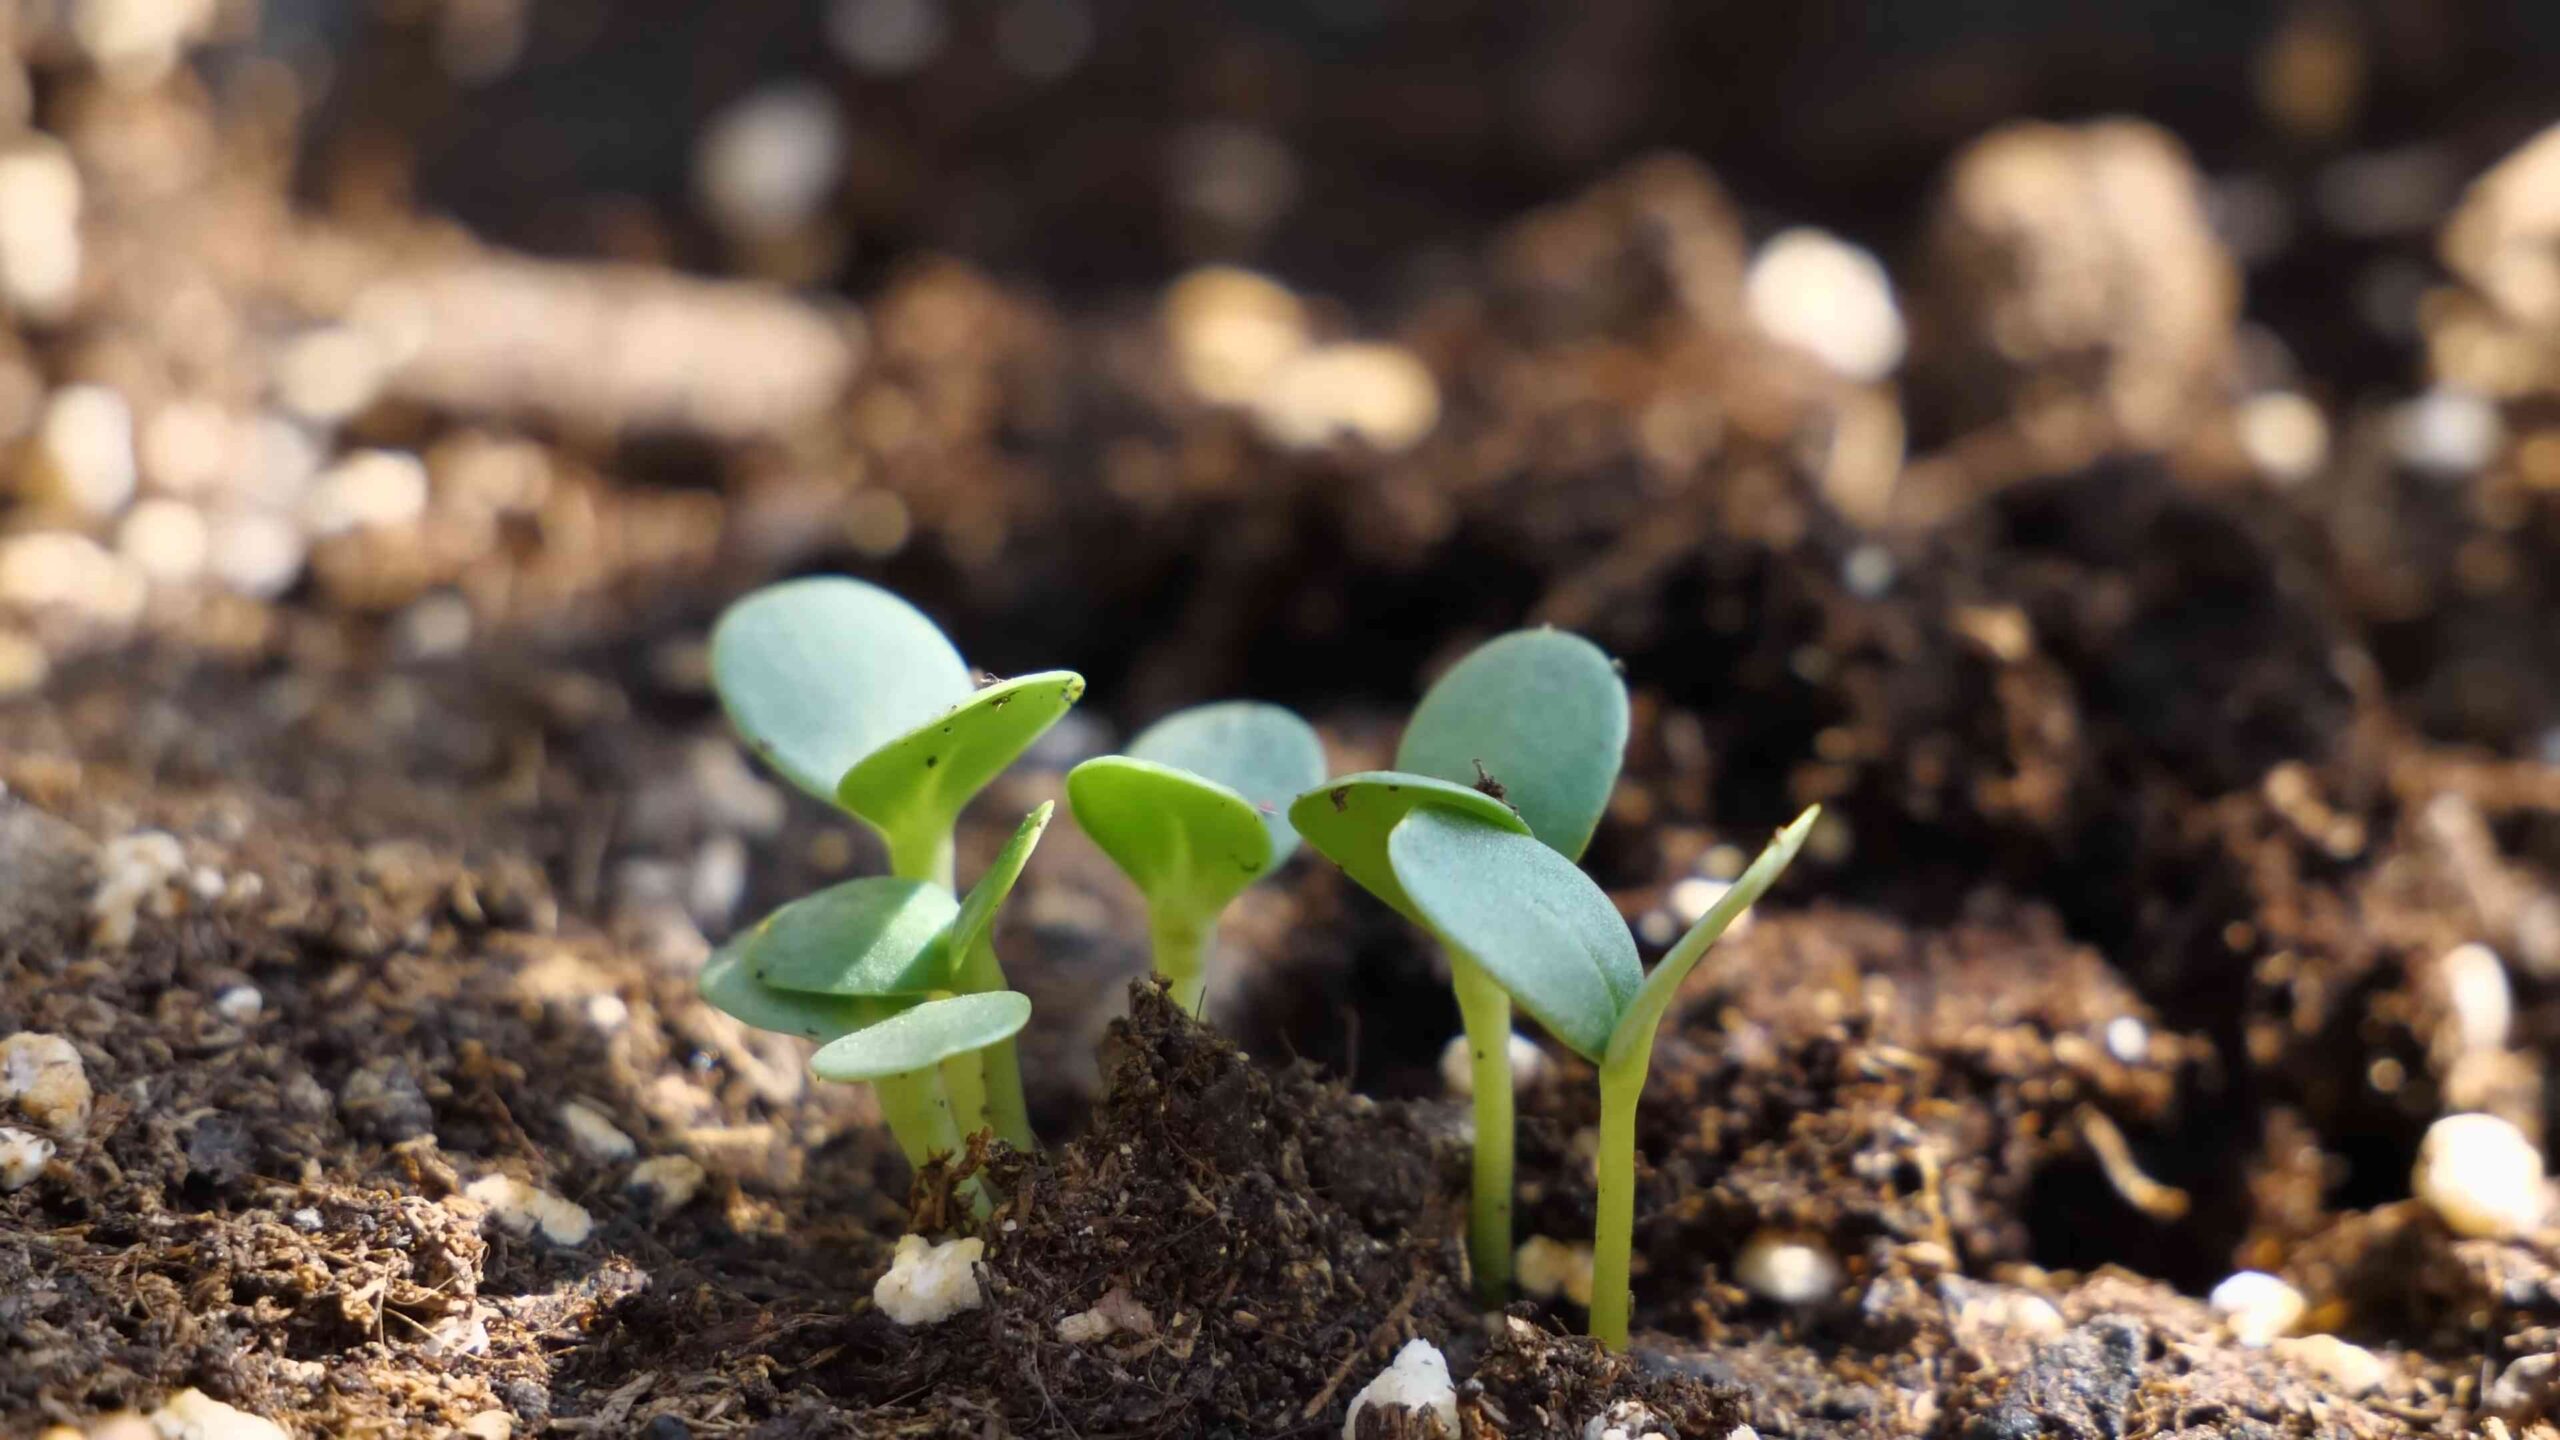
Starting Zinnias from Seed: Indoors or Outdoors?
Zinnias are relatively easy to start from seed, either directly in the garden or indoors.
* Direct Sowing: This is the easiest method, especially if you live in a warm climate. Wait until the danger of frost has passed and the soil has warmed up to at least 60°F (15°C).
1. Prepare the soil: Follow the steps outlined above for preparing your planting site.
2. Sow the seeds: Sow the seeds about 1/4 inch deep and 1-2 inches apart.
3. Water gently: Water the soil gently to avoid washing away the seeds.
4. Keep the soil moist: Keep the soil consistently moist until the seeds germinate, which usually takes 5-10 days.
5. Thin the seedlings: Once the seedlings have a few sets of true leaves, thin them to 6-12 inches apart, depending on the variety.
* Starting Indoors: Starting zinnias indoors gives you a head start on the growing season, especially if you live in a cooler climate.
1. Choose your containers: Use seed trays or small pots filled with seed-starting mix.
2. Sow the seeds: Sow the seeds about 1/4 inch deep in the seed-starting mix.
3. Water gently: Water the soil gently to moisten it.
4. Provide warmth and light: Place the seed trays or pots in a warm location (around 70-75°F or 21-24°C) and provide plenty of light. A grow light is ideal, but a sunny windowsill can also work.
5. Keep the soil moist: Keep the soil consistently moist until the seeds germinate.
6. Harden off the seedlings: Once the seedlings have a few sets of true leaves, gradually acclimate them to outdoor conditions by placing them outside for a few hours each day, increasing the time each day.
7. Transplant the seedlings: After the last frost, transplant the seedlings into your garden, spacing them 6-12 inches apart.
Caring for Your Zinnias: Watering, Fertilizing, and Deadheading
Once your zinnias are established, they’re relatively low-maintenance. However, a little TLC will go a long way in ensuring a bountiful bloom.
* Watering: Water your zinnias regularly, especially during dry spells. Water deeply, but avoid getting the foliage wet, as this can lead to fungal diseases. I prefer watering at the base of the plant.
* Fertilizing: Zinnias aren’t heavy feeders, but they will benefit from a light feeding of fertilizer every few weeks. Use a balanced fertilizer or one specifically formulated for flowering plants.
* Deadheading: This is the most important thing you can do to keep your zinnias blooming. Deadheading involves removing spent flowers. This encourages the plant to produce more blooms instead of putting energy into seed production. Simply snip off the dead flowers just below the flower head.
* Pinching: When your zinnia seedlings are about 6 inches tall, pinch off the top of the stem. This will encourage the plant to branch out and produce more flowers.
* Supporting Tall Varieties: Tall zinnia varieties may need staking or other support to prevent them from flopping over, especially after heavy rain.
Dealing with Pests and Diseases
Zinnias are generally pest-resistant, but they can be susceptible to a few common problems.
* Powdery Mildew: This is a fungal disease that causes a white, powdery coating on the leaves. To prevent powdery mildew, provide good air circulation, avoid overhead watering, and consider using a fungicide if necessary.
* Leaf Spot: This is another fungal disease that causes spots on the leaves. Remove infected leaves and avoid overhead watering.
* Japanese Beetles: These pesky beetles can skeletonize zinnia leaves. Handpick them off the plants or use an insecticide if necessary.
* Aphids: These small, sap-sucking insects can weaken plants. Spray them off with a strong stream of water or use an insecticidal soap.
Harvesting Zinnia Flowers
One of the best things about growing zinnias is that you can cut them for bouquets!
* When to Harvest: Harvest zinnia flowers when they are fully open and the stems are firm.
* How to Harvest: Use sharp scissors or pruning shears to cut the stems at an angle.
* “Zinnia Neck”: To ensure your cut zinnias last longer, use the “zinnia neck” test. Gently hold the stem about 8 inches below the flower head. If the stem is firm and doesn’t droop, it’s ready to cut. If it droops, it’s not quite ready.
* Conditioning the Flowers: Remove any leaves that will be below the water line in your vase. Place the cut flowers in a vase of fresh water with flower food.
Saving Zinnia Seeds
Saving zinnia seeds is a great way to perpetuate your favorite varieties and save money.
* Allow the Flowers to Dry: Let the flowers dry completely on the plant. The petals will turn brown and crispy.
* Collect the Seeds: Once the flowers are dry, cut off the flower heads and crumble them in your hands to release the seeds. The seeds are the small, arrow-shaped structures at the base of the petals.
* Dry the Seeds: Spread the seeds out on a paper towel to dry completely.
* Store the Seeds: Store the dried seeds in an airtight container in a cool, dark, and dry place. They should remain viable for several years.
Zinnias in Containers
Zinnias thrive in containers, making them perfect for patios, balconies, or small gardens.
* Choose the Right Container: Select a container that is at least 12 inches in diameter and has good drainage holes.
*
Conclusion
So, there you have it! Cultivating vibrant, show-stopping zinnias doesn’t require a green thumb blessed by the gardening gods or a wallet overflowing with expensive products. This simple, yet incredibly effective, DIY trick for nurturing your zinnia patch is a game-changer, and we wholeheartedly believe it’s a must-try for any zinnia enthusiast, from the novice gardener to the seasoned pro.
Why is it so essential? Because it addresses the two biggest challenges zinnia growers face: powdery mildew and nutrient deficiencies. By proactively tackling these issues with a homemade solution, you’re setting your zinnias up for success from the very beginning. You’ll witness healthier foliage, more abundant blooms, and a longer flowering season – all without breaking the bank or resorting to harsh chemicals.
But the beauty of this DIY approach lies in its adaptability. Feel free to experiment with variations to suit your specific needs and preferences. For instance, if you’re dealing with particularly alkaline soil, you might consider adding a splash of white vinegar to your foliar spray to help lower the pH. Or, if you’re looking for an extra boost of phosphorus to encourage even more blooms, incorporate a small amount of bone meal into your soil amendment. The possibilities are endless!
Remember, gardening is a journey of discovery, and every garden is unique. What works wonders for one gardener might need a slight tweak for another. That’s why we encourage you to embrace the spirit of experimentation and find what works best for your zinnias and your local environment.
We’re confident that this DIY trick will revolutionize your zinnia gardening experience. Imagine a garden bursting with color, filled with healthy, thriving zinnias that are the envy of the neighborhood. This is within your reach!
Don’t just take our word for it, though. We urge you to give this DIY zinnia gardening method a try. Plant your zinnia seeds or seedlings, prepare your homemade solution, and watch the magic unfold. And most importantly, we want to hear about your experiences! Share your successes, your challenges, and any variations you’ve discovered in the comments below. Let’s build a community of zinnia lovers who are passionate about growing beautiful, healthy flowers using sustainable and cost-effective methods. Your insights could be invaluable to other gardeners, and together, we can all create stunning zinnia displays that bring joy to our lives and beauty to our world. So, get out there, get your hands dirty, and let’s grow some amazing zinnias!
Frequently Asked Questions (FAQ)
What exactly is powdery mildew, and why is it so bad for zinnias?
Powdery mildew is a fungal disease that appears as a white, powdery coating on the leaves and stems of plants, including zinnias. It thrives in humid conditions with poor air circulation. While it rarely kills a plant outright, it weakens it significantly, hindering its ability to photosynthesize and produce blooms. It can also make the plant more susceptible to other diseases and pests. Preventing powdery mildew is crucial for healthy, vibrant zinnias.
What are the key ingredients in this DIY solution, and why are they effective?
The core ingredients typically include baking soda, horticultural oil (or neem oil), and liquid soap. Baking soda helps to raise the pH of the leaf surface, making it less hospitable to powdery mildew spores. Horticultural oil smothers existing fungal spores and also acts as a mild insecticide. Liquid soap helps the solution to adhere to the leaves, ensuring better coverage and effectiveness. Some variations also include Epsom salts for magnesium, which is beneficial for overall plant health and bloom production.
How often should I apply the DIY solution to my zinnias?
The frequency of application depends on the weather conditions and the severity of any existing powdery mildew. As a preventative measure, apply the solution every 7-10 days, especially during periods of high humidity or after rainfall. If you notice signs of powdery mildew, increase the frequency to every 3-5 days until the infection is under control. Always apply the solution in the early morning or late evening to avoid burning the leaves in direct sunlight.
Is this DIY solution safe for beneficial insects and pollinators?
While the ingredients are generally considered safe, it’s essential to use them responsibly. Avoid spraying the solution directly on beneficial insects like bees and butterflies. Apply the solution in the early morning or late evening when pollinators are less active. Horticultural oil can potentially harm some beneficial insects, so use it sparingly and only when necessary. Neem oil is generally considered safer for beneficial insects than synthetic pesticides.
Can I use this DIY solution on other plants besides zinnias?
Yes, this DIY solution can be used on other plants that are susceptible to powdery mildew, such as squash, cucumbers, roses, and tomatoes. However, it’s always a good idea to test the solution on a small area of the plant first to ensure that it doesn’t cause any adverse reactions. The concentration of the solution may need to be adjusted depending on the plant species.
What are some signs that my zinnias are suffering from nutrient deficiencies?
Signs of nutrient deficiencies in zinnias can include yellowing leaves (chlorosis), stunted growth, poor bloom production, and leaf curling or distortion. The specific symptoms will vary depending on which nutrient is lacking. For example, a nitrogen deficiency often manifests as yellowing of the older leaves, while a phosphorus deficiency can lead to stunted growth and poor root development.
How can I improve the soil drainage for my zinnias?
Zinnias prefer well-draining soil to prevent root rot. To improve soil drainage, you can amend the soil with organic matter such as compost, peat moss, or well-rotted manure. These materials help to improve soil structure and aeration. You can also add perlite or vermiculite to the soil to further enhance drainage. Avoid planting zinnias in areas where water tends to pool after rainfall.
What are some common pests that affect zinnias, and how can I control them naturally?
Common pests that affect zinnias include aphids, spider mites, and Japanese beetles. Aphids can be controlled with a strong spray of water or by introducing beneficial insects like ladybugs. Spider mites can be controlled with horticultural oil or neem oil. Japanese beetles can be handpicked off the plants or trapped with pheromone traps. Encourage beneficial insects in your garden to help keep pest populations in check.
How do I properly deadhead my zinnias to encourage more blooms?
Deadheading is the process of removing spent flowers to encourage the plant to produce more blooms. To deadhead zinnias, simply cut the stem of the spent flower just above the next set of leaves. This will encourage the plant to send out new growth and produce more flowers. Deadhead your zinnias regularly throughout the growing season to keep them blooming profusely.
What are the best companion plants for zinnias?
Zinnias make excellent companion plants for a variety of vegetables and flowers. They attract pollinators to the garden, which can benefit other plants. Some good companion plants for zinnias include tomatoes, peppers, basil, marigolds, and cosmos. Avoid planting zinnias near plants that are susceptible to powdery mildew, such as squash and cucumbers.

Leave a Comment